
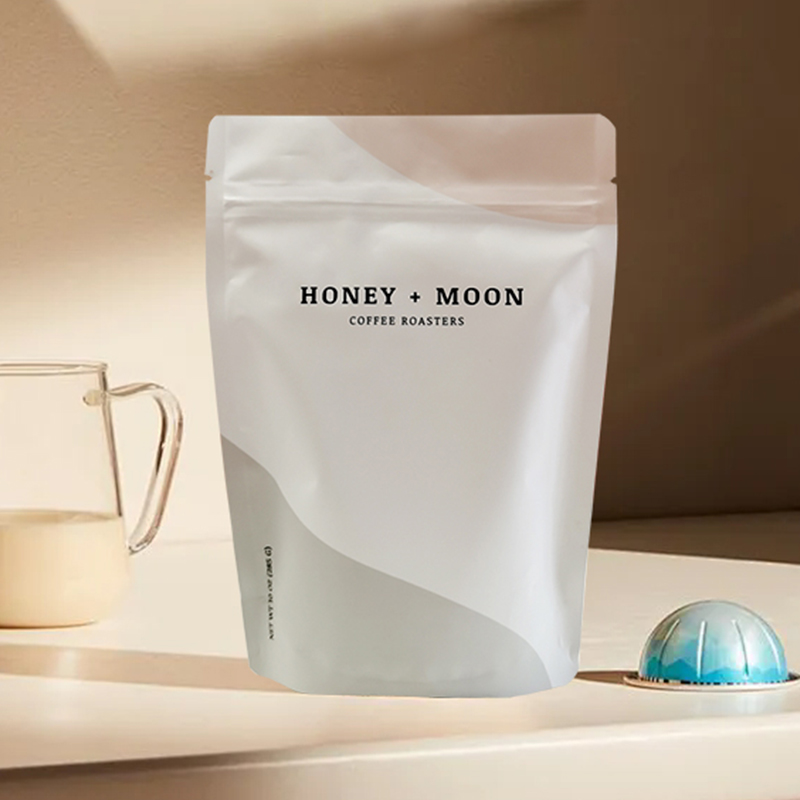
There is no universal bag size for 250g, 12oz, 1lb, or 2lb of coffee. The same labeled fill weight can need a different pouch when the coffee is whole bean rather than ground, when the format changes, or when the brand wants a valve, zipper, or a particular shelf presentation. Use a published pouch size as a starting point, not as a guarantee that it will fit your coffee.
For a new coffee line, begin with the actual product and the pouch format. Then sample a size before treating a width-and-height number as final. This matters as much for a small retail bag as it does for a larger wholesale pouch.
This guide covers the questions behind common coffee bag sizes and gives buyers a practical way to choose a pouch brief before asking for custom packaging.
Why Coffee Bag Size Is More Than the Fill Weight
“12oz coffee bag” describes the amount of coffee the buyer intends to sell. It does not, by itself, define the pouch. A flat-bottom pouch, stand-up pouch, and side-gusset pouch use their panels and base differently. Two bags with the same broad width and height can also have different gussets, top margins, valve positions, and usable fill areas.
Coffee itself changes the discussion. Whole beans and ground coffee do not occupy space in exactly the same way. Roast profile, grind, and how the coffee is filled can also affect the way a finished bag looks and handles. A pouch should therefore be evaluated with the actual coffee product rather than selected only from a generic size chart.
Start With the Pouch Format
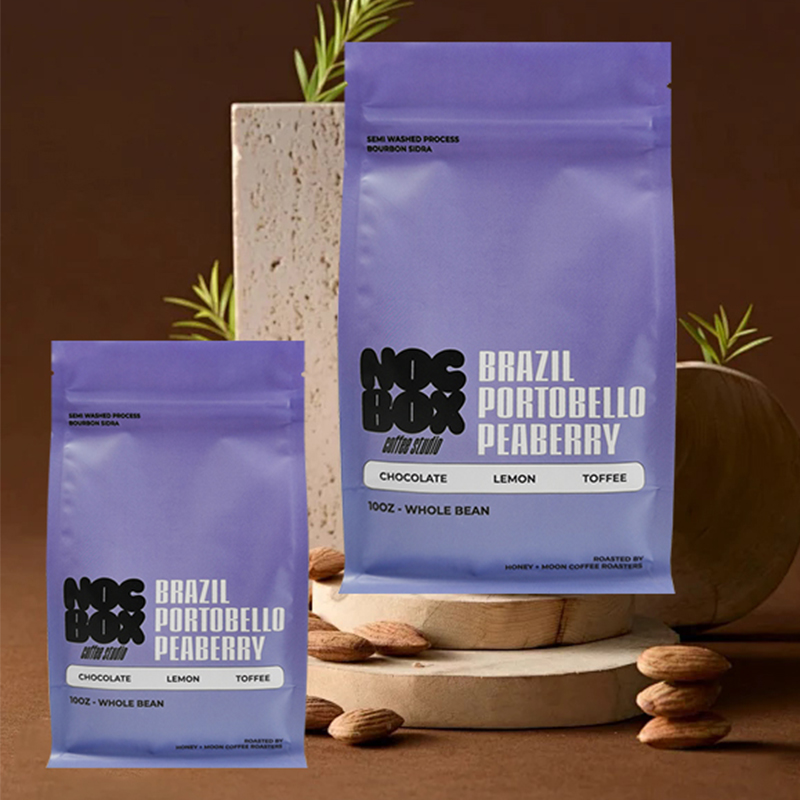
The format is usually the first size decision because it determines how the pouch stands, where artwork can go, and how the product sits inside it.
Do not pick a format simply because another roaster uses it for the same weight. It may be a useful reference, but the final choice still needs to fit your product, artwork, filling process, and retail plan.
Common Coffee Bag Sizes: Use Them as Reference Points
The table below is a starting checklist, not a universal conversion table. It tells you what to settle for each common fill size before approving a pouch sample.
If you are comparing a supplier’s reference size with your project, ask whether the listed dimensions describe the finished pouch and which gusset measurement is included. A number without the pouch format and gusset information is not enough to reproduce a bag.
Whole Bean, Ground Coffee, and the Same Weight Label
The fill weight on a coffee label is important, but it does not settle the required pouch volume. Whole beans leave spaces between the beans; ground coffee can sit differently inside the pouch. The resulting pack appearance can also change with roast, grind, and how the product is filled.
That is why a buyer should not assume that a bag used for 12oz whole beans is automatically the right pouch for 12oz ground coffee. It may be a sensible starting reference, but it needs to be checked with the intended product. The same caution applies to a product change within one brand: a whole-bean SKU and a ground-coffee SKU may need separate sample reviews even when the label weight is the same.
Use the product sample to answer practical questions: Does the pouch stand as intended? Is the front panel still readable after filling? Is there enough working area for the final seal? Does the selected valve or reclose feature sit where the project expects it? These are product-and-pouch questions, not conclusions that can be drawn from a weight label.
Examples From Published Coffee-Pouch Records
Published cases are useful because they show how a size belongs to a complete pouch record. They are not a rule for every bag at the same fill weight.
One published Mylarbag 250g flat-bottom coffee-pouch project lists a 14 × 18.5 + 7.5 cm format, MATOPP/VMPET/PE, gravure printing, a valve, and a pocket zipper. That is a documented configuration for that project, not proof that every 250g coffee product will fit the same dimensions. See the 250g flat-bottom coffee pouch project.
A published 12oz flat-bottom pouch records a 15 × 26 + 6 cm format, MATOPP/VMPET/PE, digital printing, a side zipper, and a degassing valve. It shows why a “12oz bag” must be discussed with the pouch format and feature list, not by weight alone. See the published 12oz flat-bottom project.
A separate published 500g side-gusset project lists a 10 × 34 + 6 cm configuration with MATOPP/VMPET/PE, digital printing, and a degassing valve in its title. It is a useful comparison point because the tall side-gusset format changes the way dimensions are read. See the 500g side-gusset project.
The practical value of the references is comparison. A buyer can see why the target fill, pouch format, dimensions, printing direction, and features need to travel together in the same brief.
Measure the Pouch, Not Only the Product
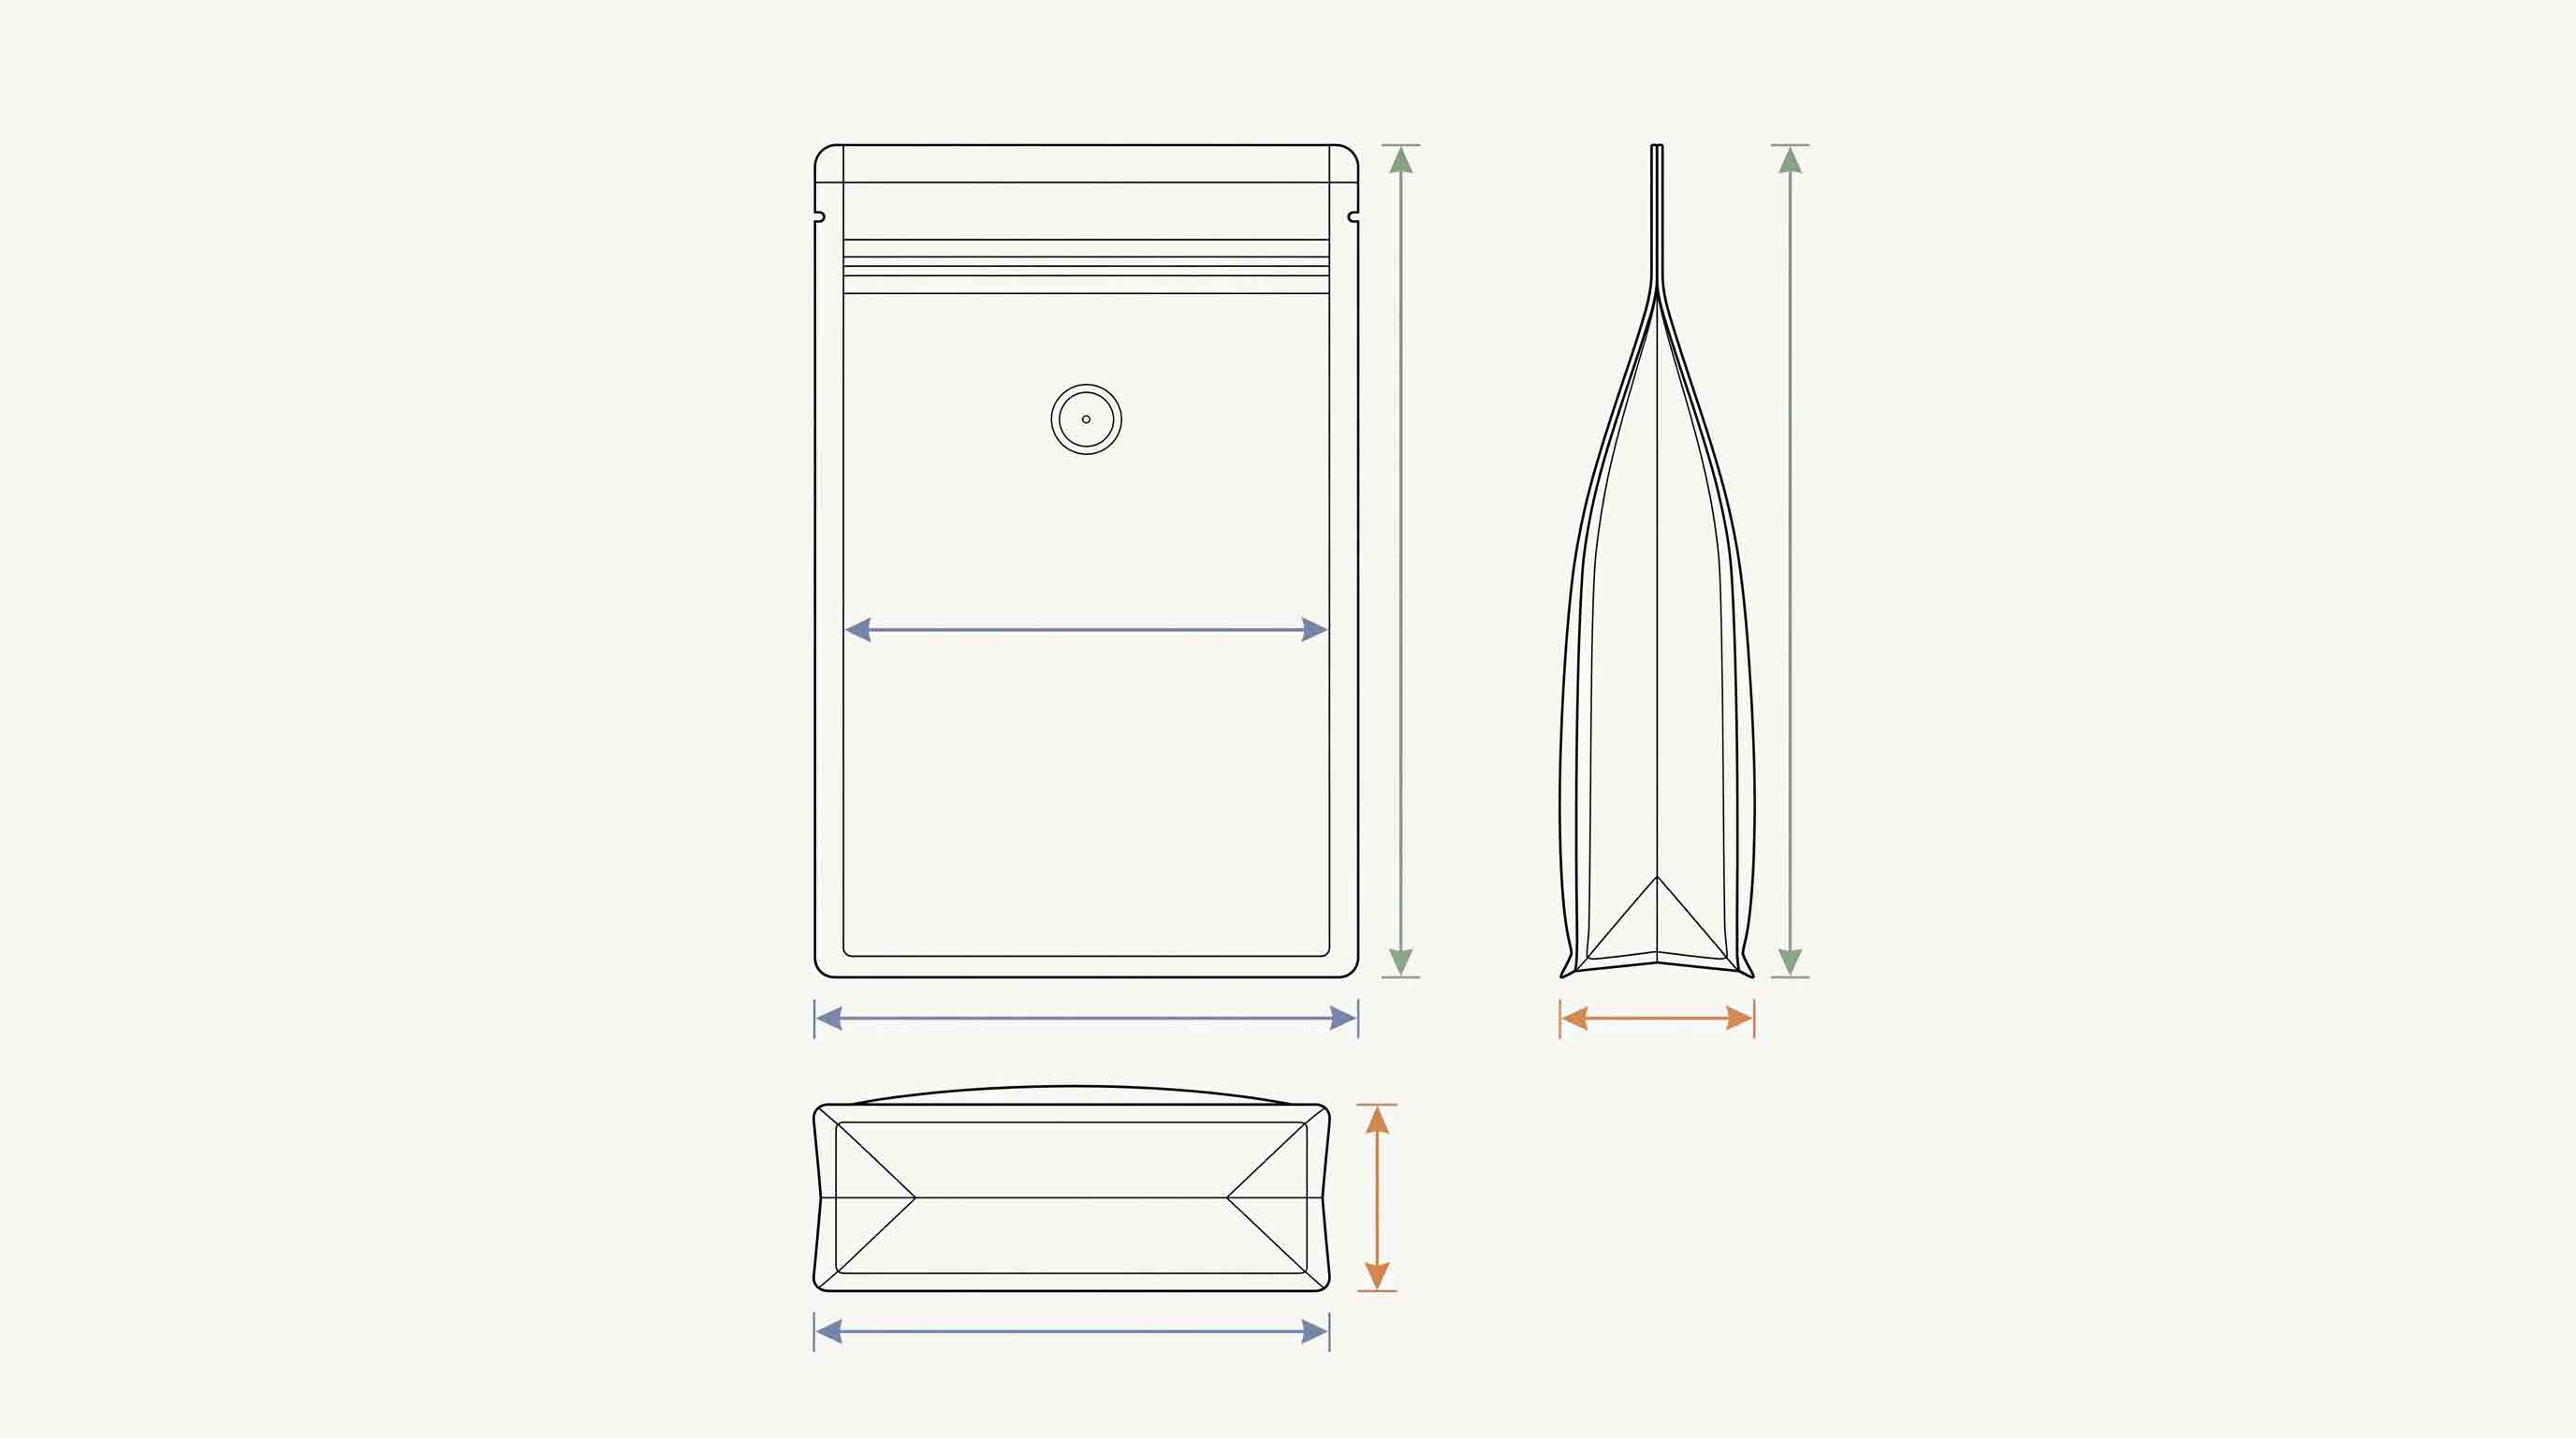
When a supplier sends a pouch size, confirm what each number represents. In a format written as width × height + gusset, the final figure may refer to the bottom or side-gusset measurement. That figure is part of the pouch geometry, not extra empty space that can be ignored.
Ask where the final seal will sit, how much top margin is available above a zipper or valve, and whether the artwork needs to avoid sealing or feature areas. A bag can look large enough on a flat drawing but become awkward after the product is filled and the top area is used for sealing.
Why a Sample Matters Before You Order
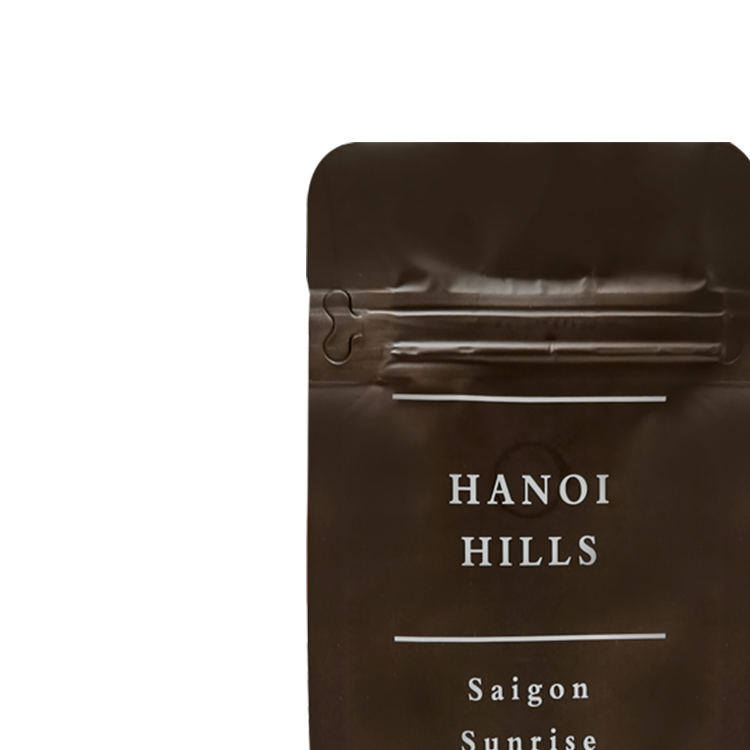
The most reliable way to assess a proposed size is to evaluate a sample with the intended coffee and packing process. A sample can show the overall format, the apparent fill, the panel layout, the top working area, and the location of a valve or reclose feature.
It does not establish every claim a buyer may want to make. Do not treat a sample as a universal shelf-life result, barrier test, market approval, or proof that a material claim applies to a different configuration. Use it for the questions it can answer, and keep other requirements in the project brief for separate confirmation.
A practical sample-review checklist
Review the sample with the product and process that matter to the project. A size review is more useful when the buyer records what was actually evaluated instead of relying on a memory of how the pouch looked empty.
If the sample leads to a change in format, dimension, feature placement, or artwork, update the written pouch brief before moving forward. That small recordkeeping step helps keep a revised sample, the current artwork, and the next quotation tied to the same item.
The same brief should identify the destination market and any requirements that still need a project-specific answer. A bag-size review cannot settle those questions on its own, but recording them early prevents the team from treating a physical sample as proof of something it was never designed to show.
For a multi-SKU line, repeat the review for each fill and product type. A dimension that works for one coffee should not be copied to every SKU without checking the filled pouch, layout, and chosen features again.
Add Features Before Finalizing the Dimensions
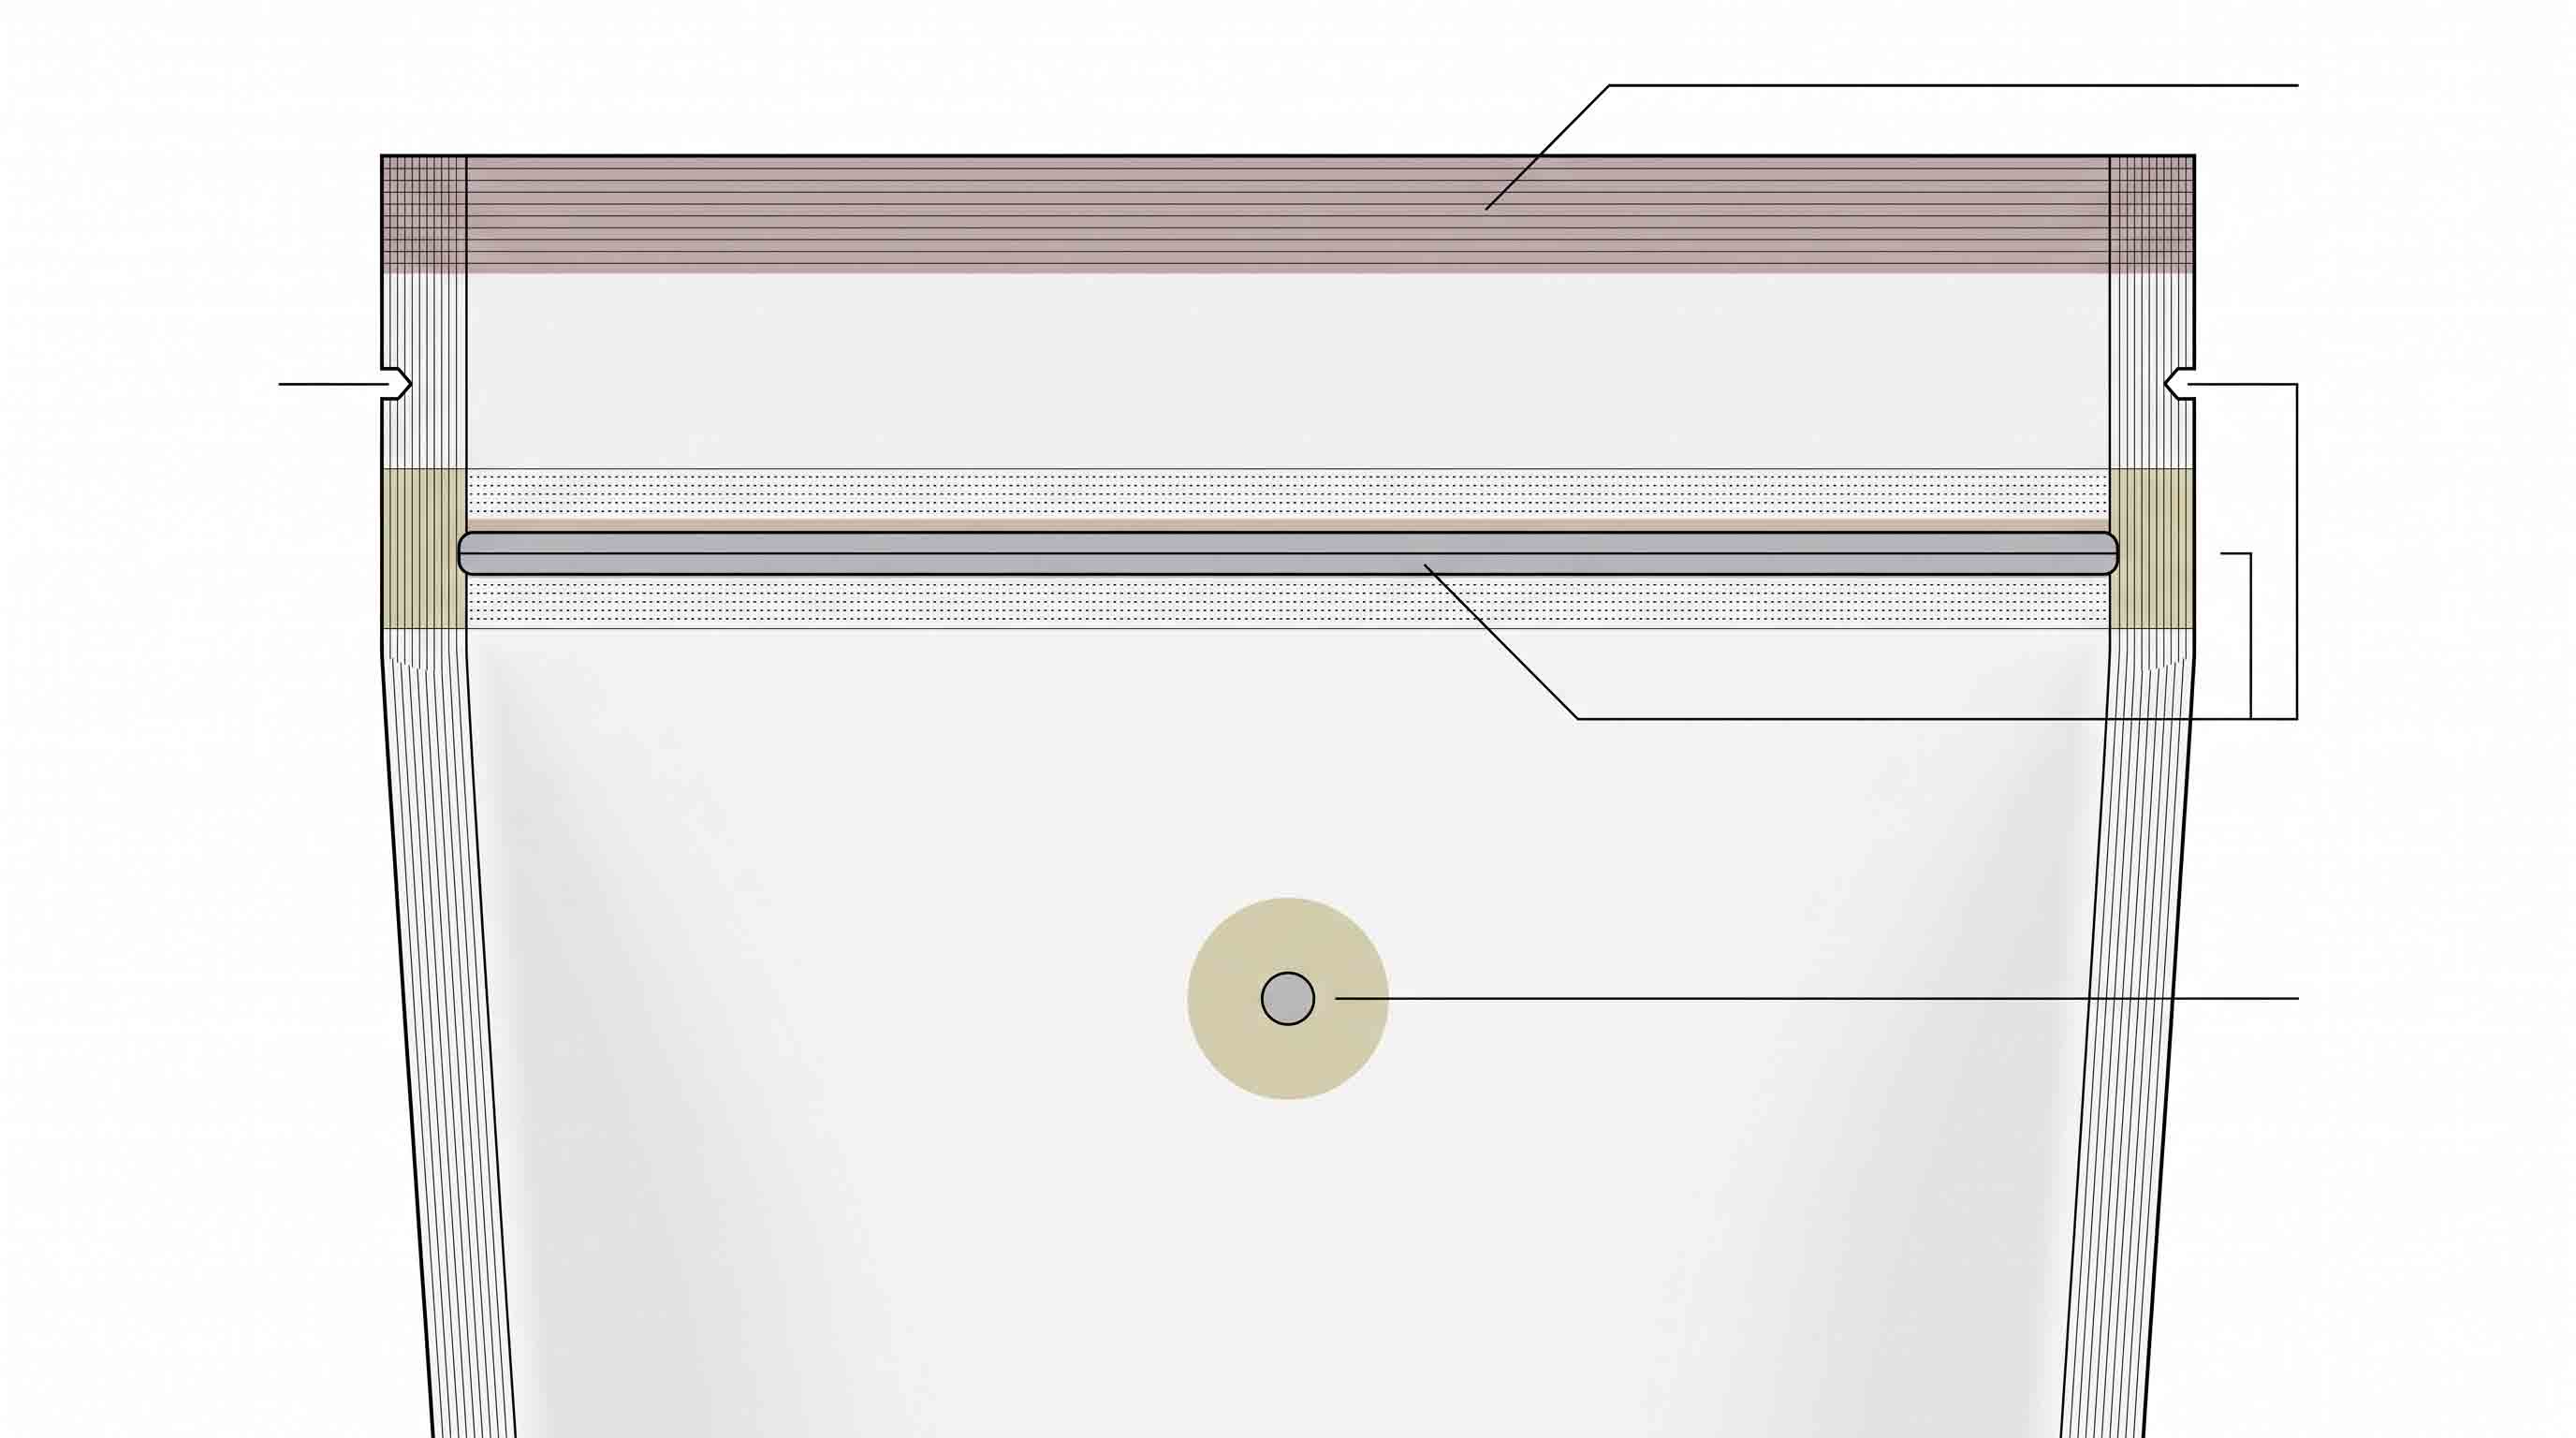
A valve, zipper, tin tie, tear notch, or handle is not an afterthought. Each feature occupies part of the pouch and may affect its upper panel, seal area, or use after opening. Discuss the intended feature before the dimensions are treated as final.
For example, a zipper can be below a top seal, while a valve may sit in a different panel area. A flat-bottom pouch with a side zipper does not use its upper space in the same way as a simple side-gusset pouch with a fold-and-tin-tie closure. The right layout depends on the exact pouch, not on a generic “coffee bag size.”
Check the Size Against the Artwork Layout
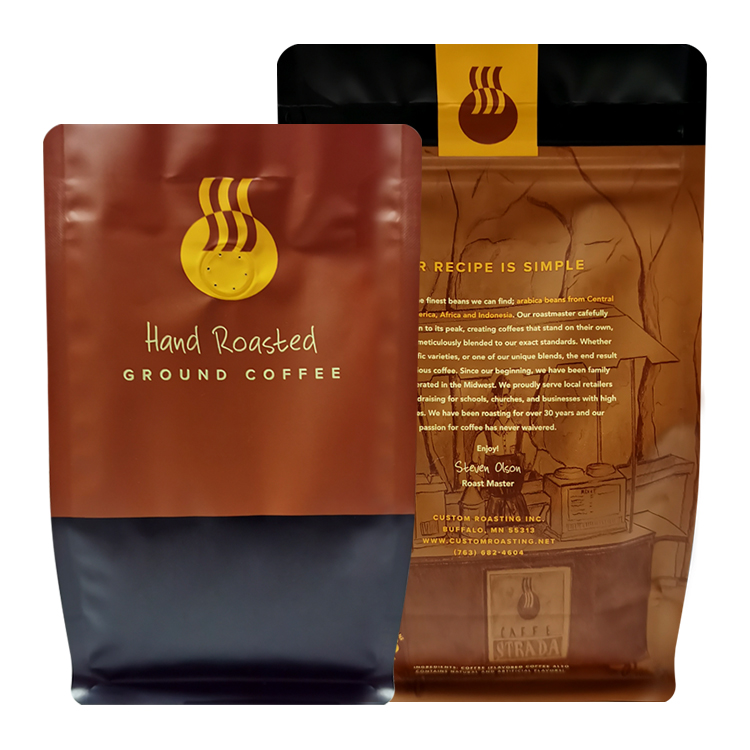
Artwork is part of the size decision. A bag has panels, seals, gussets, and feature areas; not every part of the surface should be treated as an interchangeable print area. Before a layout is finalized, ask which panels will be visible in the intended retail position and which areas must remain clear for a seal, valve, zipper, or other feature.
This is particularly important when a brand wants a large front graphic, a detailed back panel, or several SKU variants. A pouch that appears to have enough space in a flat mock-up can become crowded when the usable top area and gussets are taken into account. Keep the artwork version attached to the pouch-size brief so a later size change does not leave the print layout behind.
Recommended Packaging Configuration: Evaluate the Complete Pouch
For a new coffee line, do not request a universal 250g, 12oz, 1lb, or 2lb bag. Start with a pouch format and target fill for evaluation. A buyer may request a flat-bottom, stand-up, or side-gusset direction; state whether the coffee is whole bean or ground; then identify the proposed valve, zipper, or other features that affect the layout.
Use custom coffee bags to begin that project discussion. Provide the coffee type, intended fill weight, format under consideration, reference pouch or size range, artwork status, target market, and packing process. If you are ready to send a project brief, use Contact. The purpose is to evaluate an identifiable pouch for your project, not to assume that an example bag will fit every coffee product.
A Coffee Bag Size Brief for Your Supplier
Send enough information for the supplier to understand the pouch you are actually considering. A concise brief can include:
- coffee type and whether it is whole bean or ground;
- intended fill weight;
- pouch format or formats under comparison;
- a current sample or reference dimensions;
- valve, zipper, tin tie, or other feature needs;
- artwork status and any panel-layout constraints;
- destination market and questions that need project-specific review; and
- how the pouch will be filled, sealed, stored, and shipped.
This is a better starting point than asking only for “a 12oz coffee bag.” It lets the supplier identify open questions before a size is treated as final.
Frequently Asked Questions
What size bag do I need for 12oz of coffee?
There is no single answer. Start with the coffee type, pouch format, and feature list, then sample a pouch with the actual product before approving dimensions.
Can I use the same bag size for whole beans and ground coffee?
Do not assume so. Whole beans and ground coffee can occupy space differently. Evaluate the intended product in the proposed pouch.
What does the “+ gusset” number mean on a coffee bag size?
It identifies part of the pouch geometry, such as a bottom or side gusset. Confirm the format and how the dimensions are written before comparing two bags.
Is a 250g coffee bag always smaller than a 12oz bag?
The fill weights are close, but the final pouch can still differ because of format, product, features, and layout. Compare complete pouch records rather than the weight label alone.
Should I choose the zipper and valve after selecting the bag size?
Discuss them before approving the dimensions. They use pouch space and affect the top layout, sealing area, and customer opening experience.
Where can I start a custom coffee-bag size discussion?
Start with the custom coffee bags page and send your coffee type, fill weight, format, reference size, artwork status, and feature questions.
Choose a Size With the Complete Pouch in Mind
The best coffee bag size is one that is checked with the actual coffee, the exact pouch format, feature layout, and filling process. For a new project, use custom coffee bags to begin with a clear brief rather than a weight label alone.