
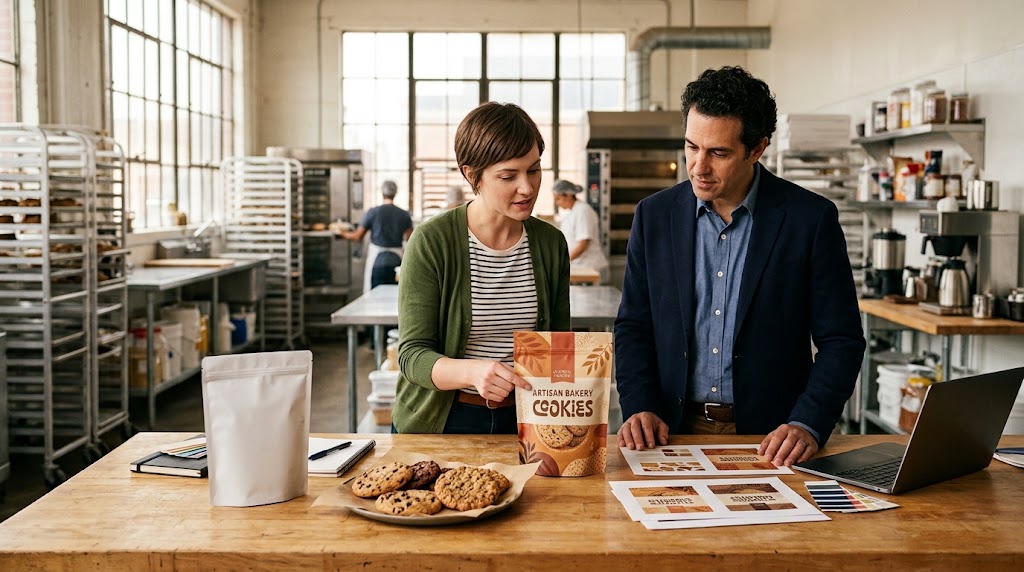
A cookie bag can look perfect on a laptop and fail as soon as it is filled. A window sits behind the bottom fold. The barcode lands on a wrinkle. The top seal covers the opening instruction. An elegant serif flavor name is unreadable at the real printed size. None of these is fixed by moving a logo around on a flat rectangle.
The short answer: design the bag and the cookie as one project. Confirm the product, portion, pouch construction, filling method and selling market. Obtain the converter's current dieline for the exact format. Keep required content and machine-critical areas clear. Use a screen mockup to explore the idea, a physical sample to test fit, and an approved print proof to control production. Record who approved which revision. A “free cookie packaging design template” can help start an idea, but it cannot certify the fit, seal areas or legal panel of a specific commercial bag.
This guide covers flexible bags for cookies people eat: single-cookie wraps and multipack pouches. It is for bakery brands, designers, food teams, printers and co-packers working together. The food business, not the graphics file or bag supplier alone, approves its formula-specific label, food-safety plan, claims and quality period.
Begin With a One-Page Product and Pack Brief
The design brief should describe the object being designed, not only the desired look. A 3-inch decorated cookie, a loose 3.5 oz bite-size multipack and a stack of thin wafers place different demands on the pouch. Dimensions taken from an unfilled stock sample are a starting reference. The actual filled product determines usable width, height, gusset expansion, headspace and how the bag stands or lies in a carton.
| Brief field | What to record | Design consequence |
|---|---|---|
| Finished cookie | Maximum diameter or piece envelope, thickness, count, weight, fragility, toppings and crumbs | Determines opening clearance, window location, support and pouch size trial. |
| Quality target | Intended texture, aroma and proposed unopened period pending validation | Informs material, window and seal questions; it is not an artwork promise. |
| Sales unit | Single wrap, multipack, retail display or inner bag inside a box | Sets front-panel hierarchy and available information space. |
| Packing process | Manual insertion, existing machine, orientation, filling speed, top-seal method, date coding | Defines no-print and no-obstruction zones. |
| Shopper view | Hang display, upright shelf, lying tray, online thumbnail | Changes which panel and fold a shopper actually sees. |
| Target markets | Languages, mandatory label content, barcode type and claim review owner | Reserves space before the brand fills it with decoration. |
| Order pattern | Number of flavors, likely artwork changes, trial quantities and forecast | Helps compare digital and gravure printing after the design is stable. |
Ask the food team for a representative range, not a single ideal cookie. Include the thickest icing, the most fragile edge and the normal fill-weight variation. A physical pouch that barely fits one hand-selected sample is not yet approved for production. Where a clear window is requested, position it around the actual fill line and the range of cookie orientations. If a transparent opening would expose crumbs, empty headspace or a damaged face, the window can weaken the retail story even when it is perfectly printed.
Keep the design intent measurable
“Premium” and “artisan” are creative directions; they are not press instructions. Translate them into a hierarchy: what must be recognized at two meters, what must remain legible at arm's length, and what must be scannable at checkout. Choose a small number of priorities. A shelf-facing front panel could lead with brand, cookie variety and a believable product view, then reserve the back for the market-approved information. The precise placement of required statements is controlled by the brand's applicable rules, not by a generic template.
Do not add an unsupported “stays fresh for 180 days,” “fully recyclable” or “allergen-free” badge during ideation simply because it fills space. Leave a reserved claim zone and attach every final claim to an owner and evidence file. The FTC's Green Guides summary is one U.S. example of why broad environmental wording needs specific support. This article handles design approval; detailed sustainability evidence belongs in a separate material-and-disposal review.
Use a Real Cookie-Pouch Case Carefully
Mylarbag's published 3.5 oz organic-cookie bakery-bites pouch lists digital printing, a stand-up format, a zipper, PET/VMPET/PE and nominal 12 × 18.5 + 3 cm dimensions. It is a concrete design reference: a small retail pouch still needs a clear front, a back-panel content plan, a top closure, a bottom shape and a print method. The public page does not provide the approved dieline, panel coordinates, actual printed color tolerance, barcode grade or a project-specific shelf-life trial. Its nominal dimensions should not be reused as a guaranteed fit for another recipe.

Imagine a new bakery using this case to begin a three-flavor line. The reusable lesson is one controlled pouch architecture with deliberate SKU differences, not copying another brand's art. The team could test whether a common bag size works for all three flavors, then keep the brand mark and mandatory zones consistent while changing the flavor color and product photograph. It would still need separate ingredient and allergen reviews for each recipe. A flavor-specific image or label should not be transferred automatically to another SKU.
There is a practical manufacturing reason to settle the architecture first. If one flavor needs a taller cookie stack or a larger window, it may no longer share the same bag or printing layout. Decide this with filled samples before pricing multiple print versions. A design system is useful only when its repeating parts describe the same physical pack.
Get the Correct Dieline Before Drawing the Final Artwork
A dieline is the version-controlled production drawing for the actual pouch and conversion process. It may show overall geometry, folds, seals, cut edges, zipper path, tear notches, holes, window openings, registration features and print-safe zones. The drawing is a coordination tool between brand, designer, printer and converter. Ask the supplier for its native artwork template and a readable PDF reference with revision number, units, orientation and legend. A traced photograph or internet download is not a production dieline.
The way a supplier writes nominal width, height and gusset dimensions can vary by format. Request a dimensioned drawing and a white sample; do not infer usable fill volume from a short size string. Verify whether dimensions refer to flat or formed bag, where height is measured, how the bottom opens, and how much clear opening remains below the proposed top seal. The fit check belongs with the actual cookies and the real filling motion.
| Dieline area | Ask the converter | What can go wrong when it is ignored |
|---|---|---|
| Top seal and zipper | What is the sealing lane, zipper position and opening clearance? | Logo, claims or tear instruction are cut off; crumbs enter the seal; the consumer cannot open cleanly. |
| Tear notch and hang feature | Where will it be cut, and what space is needed around it? | The cut hits text or weakens the wrong part of the bag. |
| Side and bottom seals | Which regions will be fused or hidden after forming? | Fine print disappears into the seal; a design element crosses an unstable edge. |
| Bottom gusset and folds | Which artwork is visible when the bag is filled and standing? | A key message folds underneath or breaks at a crease. |
| Front and back orientation | How does the film feed and where is the machine direction? | Artwork faces the wrong side or the lot code lands on the front. |
| Clear window | What is its exact construction, registration tolerance and safe distance from seals? | Window placement reduces barrier, clips the graphic or reveals empty space. |
| Print bleed and safe area | What are the supplier's actual bleed and registration limits for this structure and process? | White slivers or cropped type appear after slitting and pouch making. |
| Code and label zones | Where will date, batch, price or retailer labels be applied? | Variable printing covers required content or fails on a textured surface. |
There is no universal safe-margin number for all cookie bags. It depends on the bag style, substrate, print process, conversion line and agreed tolerance. The supplier should mark the boundaries, and the brand should approve the drawing revision. If the design changes from a flat pouch to a stand-up pouch, request a new dieline. If the zipper position changes, revise the artwork rather than stretching the old file.

Keep the top closure physically plausible
A resealable zipper is normally a convenience feature for after opening. If the project calls for an unopened heat-sealed retail bag, reserve a separate top-seal area above the zipper and specify the consumer opening path. Do not place a tear notch through the zipper track or assume the zipper itself provides the producer's validated initial closure. For a single-cookie wrapper without a zipper, the fold, heat seal or other closing process still needs its own artwork clearance.
The design team should review a sample at three states: empty, filled but not top-sealed, and filled with the intended finished closure. That makes invisible geometry visible. The usable printable panel is not equal to the full rectangular artwork canvas. A high-contrast brand block that looks balanced when flat may curve around a filled gusset; a barcode that is quiet on screen may crinkle over an actual cookie edge.
Build Front, Back and Variable Information as a System
The front panel has to explain the product quickly. For human-food cookies, buyers need to recognize the brand, product identity, flavor or variant and the amount of product where the market requires it. The back or another approved panel may carry ingredients, allergen information, nutrition, business details, preparation or storage instructions and traceability. The exact text, language, placement and minimum sizes depend on the destination market and product. Reserve the space early and have the food business review final copy.
U.S. FDA guidance is an example of why a generic design template cannot make a commercial label compliant. The FDA's Food Labeling Guide itself flags sections that are under revision; its more recent food-allergen labeling Q&A addresses current U.S. allergen questions. The brand should use current rules for the actual market, recipe and package. This guide does not supply a universal legally approved label.
Create a content register for every SKU:
- Fixed brand elements: logo version, brand colors, approved product family name and common panel architecture.
- SKU-specific elements: flavor name, cookie photograph, ingredient statement, allergen declaration and any relevant nutrition values.
- Variable production fields: lot/batch, date or other code required by the food producer and market; reserve a surface that accepts the chosen coding method.
- Controlled claims: origin, organic, free-from, environmental, quality-period or other statements with named approval owner and evidence.
- Machine-readable data: GTIN or other barcode data, QR destination if used, and proof that the printed code works on the chosen film.
- Supplier and file controls: dieline revision, material/finish version, artwork revision, approved language and sign-off date.
For a multi-flavor line, freeze a panel map before art production. A pale vanilla bag and a dark chocolate bag may share a layout, but the nutrition and allergen panels are not interchangeable. If an ingredient changes, ask whether the printed bag can still be used. The answer belongs to the food business's label control process, not a designer's assumption that the edit is “only one word.”
Give the barcode an actual print test
Place the code on a flat, consistently presented area away from seals, folds, heavy graphics and likely label overlays. Preserve the symbol's required quiet zones and useful contrast. GS1's quality checklist calls out quiet zones, contrast, symbol dimensions, position, print defects and packaging wrinkles. Verify the correct data for each SKU, then scan actual samples from the production-intended material and print process. A screenshot scanner app accepting a large mockup is not a substitute for a retail-oriented printed check.
Do not move the barcode to a glossy crease to create a prettier back panel. Nor should a decorative QR code reduce the space needed for mandatory information or the checkout code. A QR destination can change over time; assign an owner to keep it active and avoid putting a speculative URL on tens of thousands of bags.
Prepare a File That a Printer Can Actually Use
A production handoff should be editable, traceable and complete. Ask the converter which file format, color space, image resolution, font handling, transparency and layer naming it requires. Preserve vector artwork for type, lines and logos where possible; link or package the correct high-resolution product photography. Keep the approved PDF proof alongside native files. Do not flatten away dieline and white-underprint layers before the supplier has interpreted them.
An example handoff folder might include:
| File or record | Purpose | Approval owner |
|---|---|---|
| Supplier dieline, identified by revision | Defines geometry and no-print zones | Converter and brand packaging lead |
| Native artwork plus linked assets | Enables prepress correction and output | Designer and printer |
| Readable proof PDF at actual scale | Allows copy, hierarchy and position review | Brand and food-label owner |
| Copy and claim register | Matches every printed word to an approved source | Food, regulatory and marketing owners |
| Color references and physical samples | Defines target appearance and finish under stated viewing conditions | Brand and printer |
| Barcode data and verification record | Confirms correct SKU and scannable print | Brand operations and printer |
| Signed sample / first-article record | Identifies the agreed production version | Authorized signatories |
Ask the supplier to specify print sequence and the surface carrying each image. A design may look different when printed on clear film over white ink, on an opaque web, on a matte finish or against a metallized layer. A photograph over a transparent window needs a different treatment from one on an opaque face. Do not infer the layer stack from appearance or assume a “gold” screen swatch will have the same effect after lamination.
Color approval is a physical comparison under agreed conditions. A named spot-color target, a digital render and a printed sample are three different things. The final finish, ink laydown, substrate, white backing and laminate can change the visible result. Request a proof that represents the production construction closely enough for the decision being made, and record the agreed tolerance or acceptance method with the printer. Avoid promising an exact match from a monitor image.
Digital Printing or Gravure: Choose After the Design Is Stable
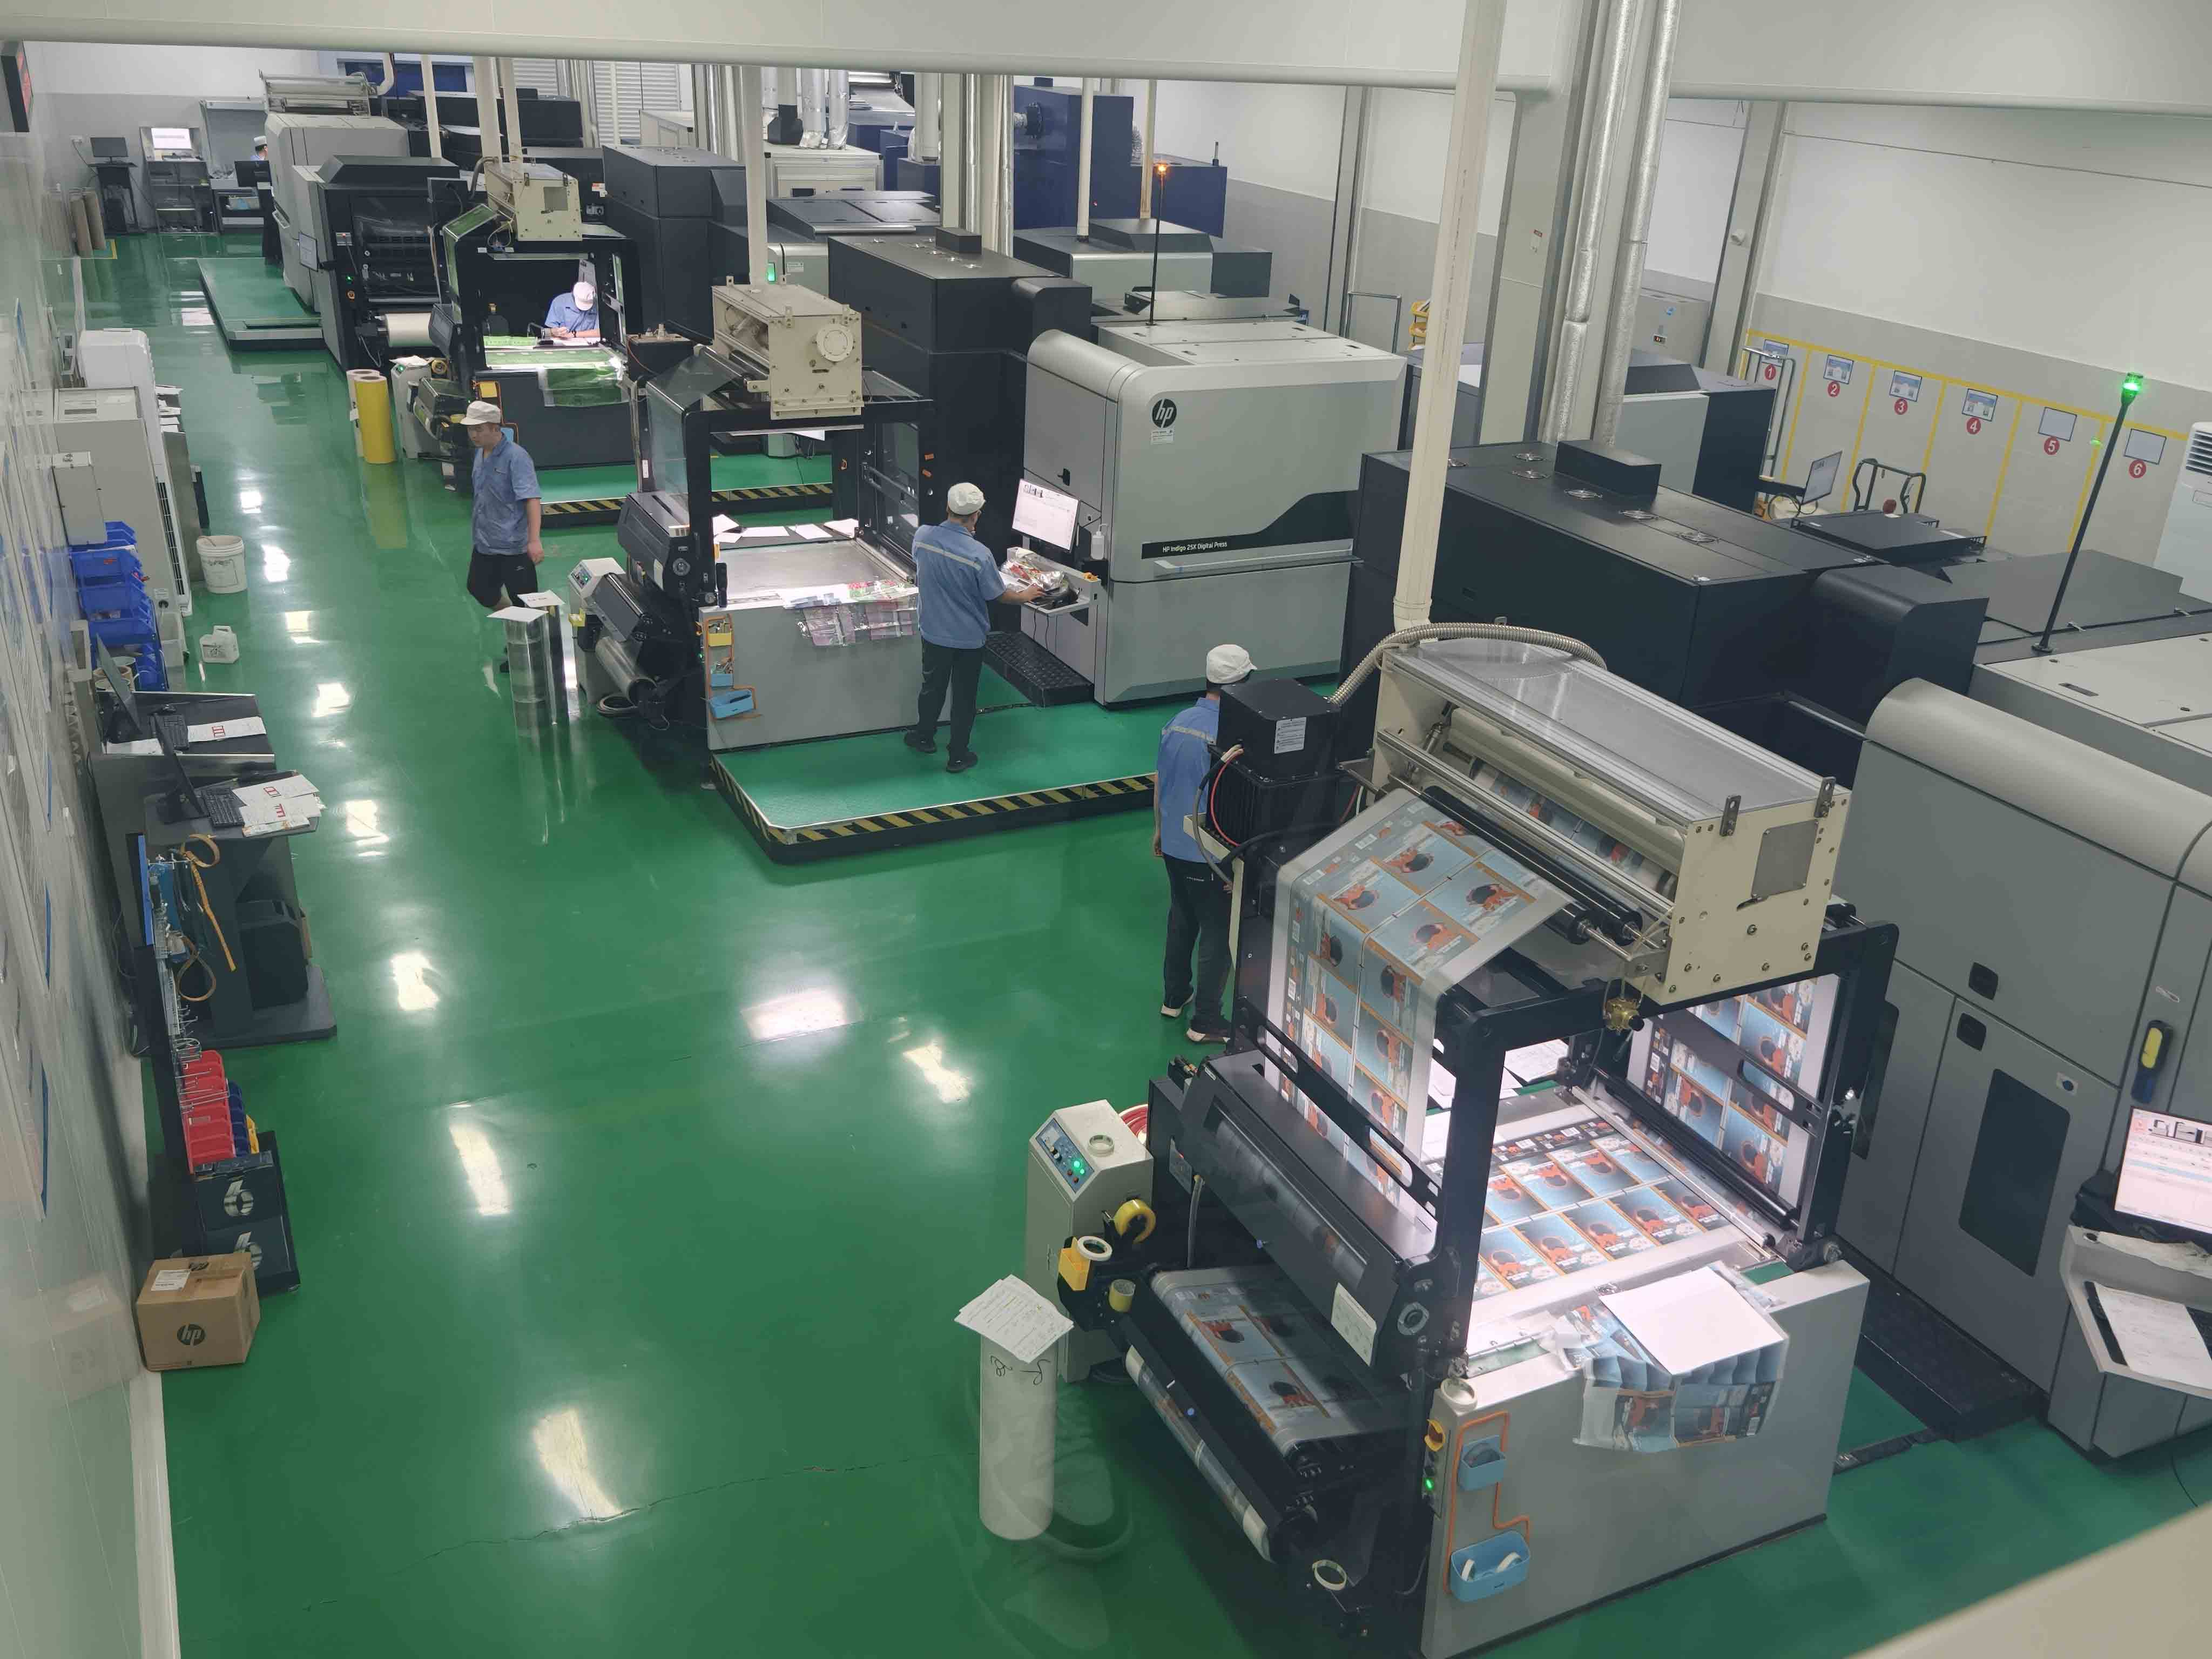
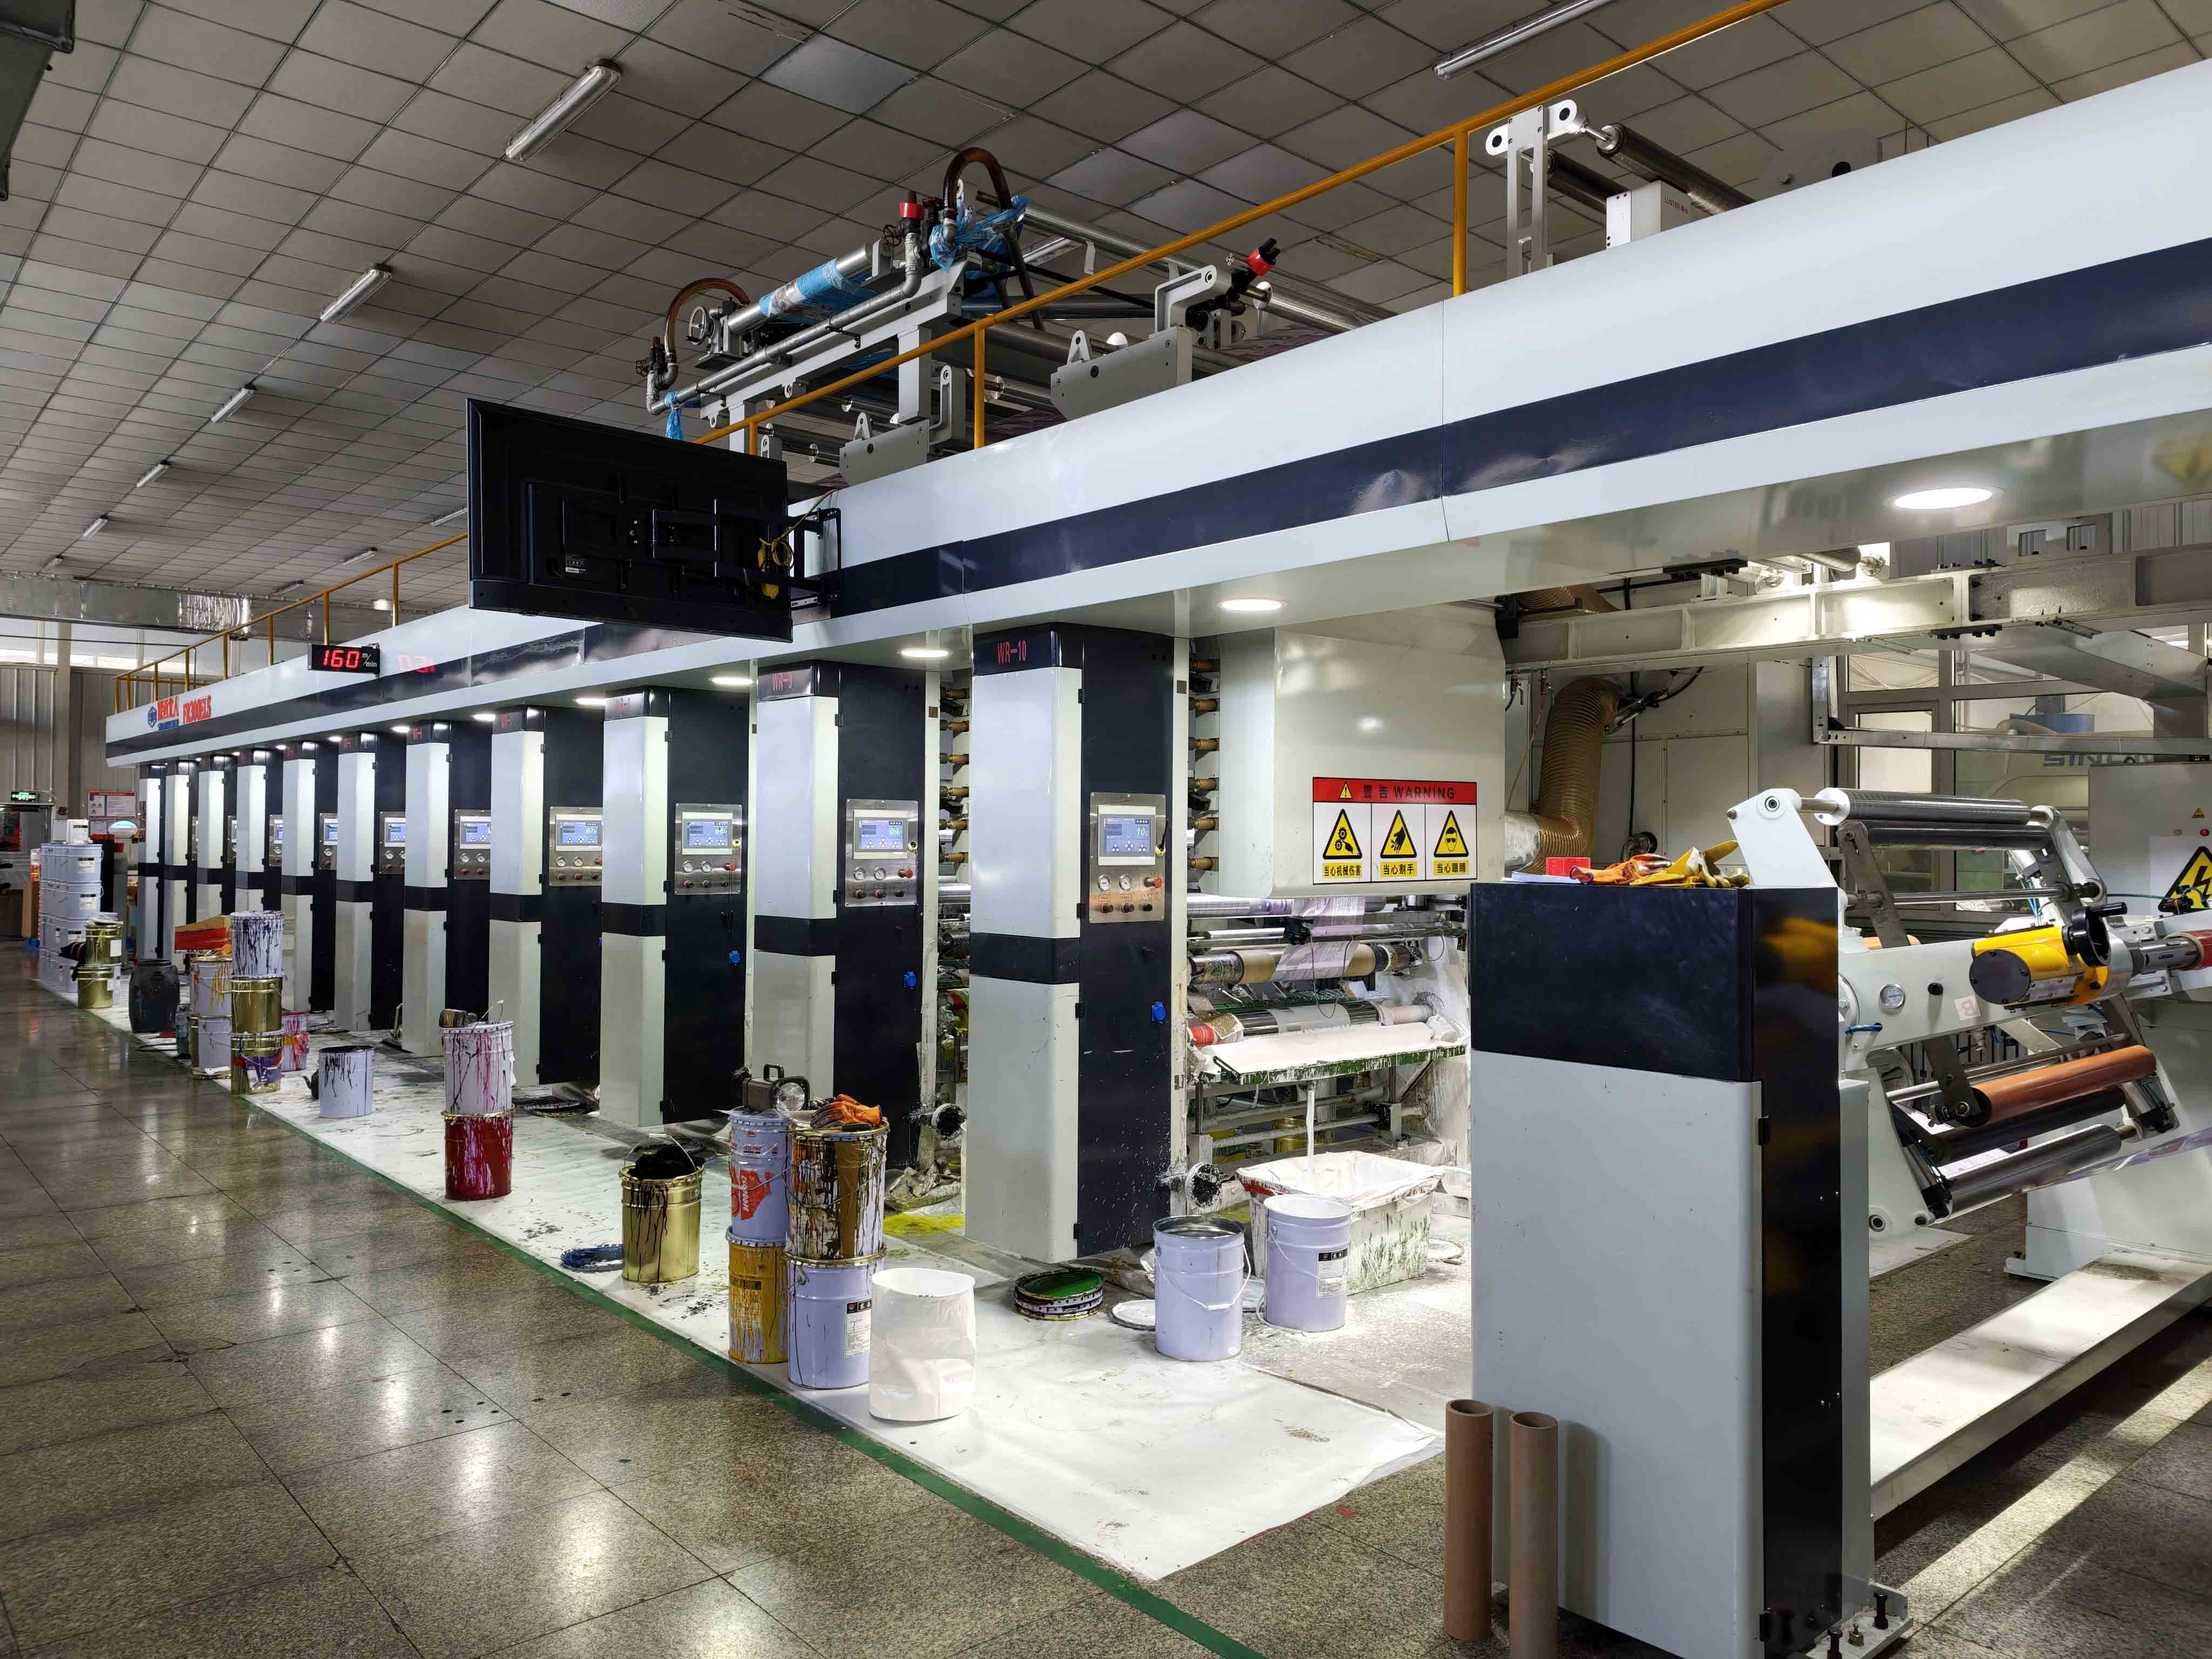
Digital printing generally removes the need to make a dedicated engraved cylinder for each artwork version. That can help when flavors change often or a launch needs a limited trial. Gravure printing uses prepared cylinders and may suit stable, repeated larger runs. The economic break point is a quote, not a universal bag count: art changes, number of SKUs, total volume, material, finish, cylinder charges, scrap and delivery schedule all matter.
| Decision factor | Digital route may suit | Gravure route may suit | Ask both suppliers |
|---|---|---|---|
| Artwork stability | New flavors, pilots, seasonal revisions | Stable brand art and repeat orders | What constitutes a chargeable revision? |
| Setup and tooling | No dedicated gravure cylinder for a version | Cylinder preparation and subsequent reuse | Which setup, proof and cylinder costs apply? |
| Unit economics | Smaller runs may avoid large unused stocks | Repeated larger volumes may spread tooling cost | Compare landed cost per accepted filled bag, not a bare web price. |
| Color and finishing | Proof on the intended digital construction | Proof and cylinder specifications for the intended laminate | What physical reference and tolerance govern approval? |
| Multi-SKU planning | Shorter separate runs or varying artwork can be discussed | Shared structure with stable volumes can be planned | Are material, shape and dimensions truly common across SKUs? |
| Lead time | Subject to art, material, converting and queue | Subject to cylinders, art, material, converting and queue | Obtain a project-specific schedule and change cutoff. |
The supplier pages describe available processes, not a guaranteed minimum order, lead time or price for this cookie project. Request a current quotation for the same bag structure and number of variants from both routes. A low price per printed pouch loses its appeal if the design will change before stock is used. Conversely, repeatedly reordering a stable design can make a different process worth comparing.
A design change can trigger more than a new file
Changing a flavor label may be a text and proof change. Moving a window, changing a sealant, shifting a zipper or resizing the pouch can trigger new art, a new dieline, new material evaluation and another filled-pack test. Make the change request name the affected drawing, print file, physical bag and food label. The cost of an approval error is not just a reprint: it may include scrapped packaging, product waste, a missed launch and a correction to consumer information.
Mockup, Free Template and Sample: Three Different Tools
A cookie packaging mockup is useful for comparing design routes, web thumbnails or an internal presentation. It may depict a bag standing perfectly upright, an ideal fold and a cookie always facing the window. That is a visualization, not proof of fit or manufacturability.
A free design template may contain a rough panel layout or blank rectangle. Before using it, identify its source, format, dimensions, revision and intended machine. If those are unknown, use it for concept exploration only. Replace it with the converter's current dieline before final art. The most useful “free template” is often the correct supplier-issued drawing supplied with a sample inquiry; it has a known relationship to the chosen pouch construction.
A physical sample answers questions neither a screen image nor an unfilled dieline can answer. Fill it with normal cookies, complete the top seal, put it in the intended carton, display it and open it. Observe where art stretches, where the bottom folds, how a clear window performs, and whether the zipper/tear opening is intuitive. Then move to a printed proof and production-intended first article.
| Review object | Useful for | Cannot approve by itself |
|---|---|---|
| Screen mockup | Brand direction, rough hierarchy and stakeholder discussion | Scale, color, folding, opening, barrier, legal copy or barcode scan. |
| Generic template | Early placement experiments | Final machine geometry and supplier tolerances. |
| Supplier dieline PDF | Artwork coordinates and stated technical zones | Filled fit, final seal or print color without a physical sample. |
| White/blank bag sample | Size, fill fit, handling and opening | Printed legibility and actual color. |
| Printed sample | Appearance, reading and scanning on the intended construction | Consistent mass-production quality without controlled approval and inspection. |
| Filled, sealed pilot pack | Product and package interaction under the trial protocol | A different production lot or a longer shelf life not covered by the protocol. |
Keep a small set of photographs from each review: flat front and back, standing bag, top closure, bottom fold, barcode panel, opened pack and any problem area. Label each photo with the sample revision. A pile of unlabeled images from different rounds can cause the team to approve the wrong art.
Run a Gate-Based Print Approval
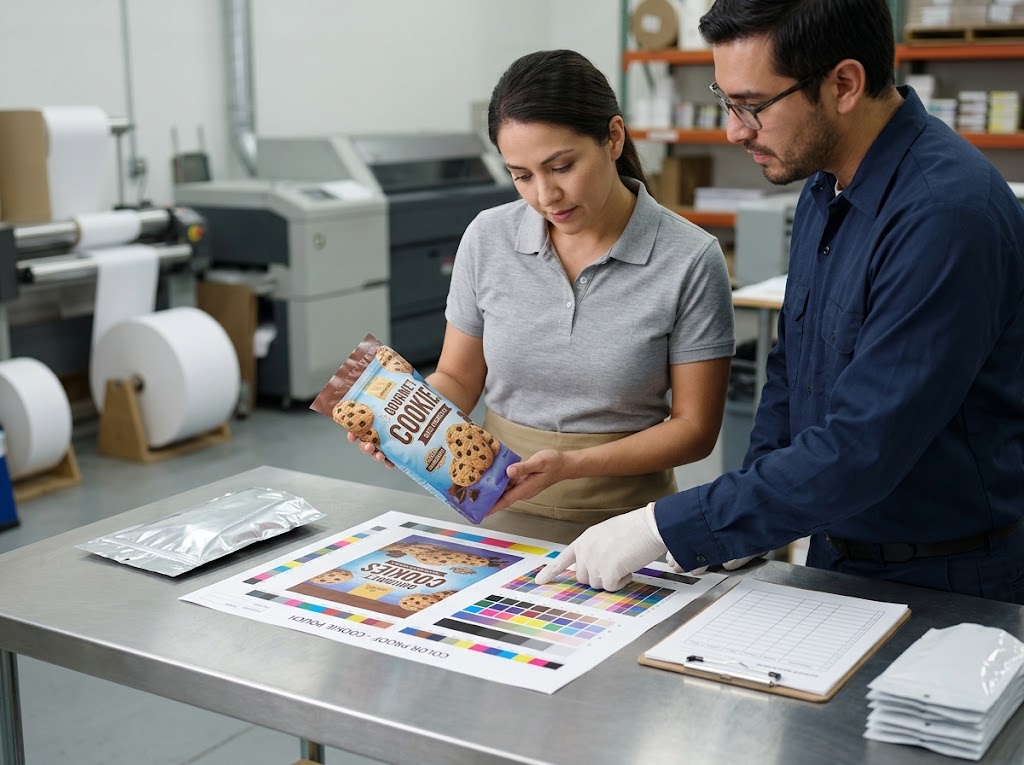
A single email that says “looks good” is too ambiguous for a commercial cookie bag. Separate design appearance, food-label content, package function and production output. Have a named owner for each. Once the last gate is signed, store the exact files and samples that were approved.
| Gate | Item to approve | Evidence to retain | Who should sign |
|---|---|---|---|
| 1. Product and format | Cookie range, count, pouch style, opening and target conditions | Brief and representative product dimensions | Brand product and packaging owners |
| 2. Dieline | Revision, folds, seals, window, zipper, coding and safe areas | Supplier-issued drawing and blank sample | Converter and packaging lead |
| 3. Copy and data | Ingredients, allergens, nutrition, languages, claims, GTIN and contact details for each SKU | Copy register and reviewed proofs | Food/regulatory owner and brand |
| 4. Artwork and print | Asset resolution, fonts, color reference, image positions and visible panels | Native file, output PDF and physical color reference | Designer, printer and brand |
| 5. Filled-pack trial | Fit, sealing, appearance, handling, code scan and quality study | Recorded samples and acceptance observations | Food/operations and packaging |
| 6. First production article | Matches the approved revision and agreed visual/physical checks | Retained sample, print lot, version and approval log | Authorized release team |
An approval record should name the SKU, version, date, supplier, material, pouch dimensions, printing method, sample number and final files. Record any approved deviation. If the brand approves a proof in one colorway and the supplier prints four flavors, state whether each flavor requires its own proof and barcode verification. If the co-packer applies a date stamp, specify the exact code location and confirm it survives the final finish.
For seal checks, ASTM F88/F88M-23 describes a method for measuring sampled flexible-packaging seal strength. It does not certify every bag as leak-free or replace a product-specific closure study. Align the sampling and acceptance rule with the food business's process. An attractive printed sample with a crumb-contaminated top seal is not an approved production pack.
A practical prepress rejection list
Stop approval and resolve the issue when: the artwork uses an obsolete dieline; an ingredient or allergen statement is unapproved; the barcode data belongs to another flavor; type crosses a seam; the top-seal or tear path is blocked; a window overlaps the structural seal; color approval relies solely on a screen; the physical bag does not fit normal cookies; or one version's copy has been pasted into another. These are specific, reviewable problems. Assign them to an owner and issue a new revision rather than burying a correction in a chat thread.
What to Send When Requesting Custom Printed Cookie Bags
A supplier can answer a clear manufacturing brief much better than “please make a premium bag.” The custom cookie bags page is the natural product starting point. Send the cookie format, sample photos, fill count and weight, current bag if any, desired style, rough size, target markets, packing line, closure, window, expected quality period pending validation, number of flavors and artwork status. Ask for the supplier's current dieline, white samples, print capabilities and a project-specific quote.
If artwork is complete, identify exactly which stage it represents. “Approved design direction” is not “approved legal copy,” and “approved PDF” is not necessarily an accepted filled printed pouch. Ask what proof stages and change charges are included. Request the component-level food-contact documentation appropriate for the chosen market and use; neither a glossy mockup nor a printer capability page covers that review.
Estimate total project cost from the approved configuration: sample tooling, art preparation, print setup, price per bag, minimum/order quantity quoted for each variant, production scrap, testing, delivery, inventory held, and cost of future changes. Keep this about design and print decisions; broader stock-versus-custom budgeting belongs in a separate small-business article.
Frequently Asked Questions
How do I start a cookie packaging design?
Write the cookie and packing brief first: finished size range, portion, desired opening, selling route, market, required information and target display. Choose a provisional pouch style, obtain its supplier-issued dieline, and test a blank bag filled with normal cookies before finalizing art.
Can I use a free cookie packaging design template for production?
Only if the actual converter confirms it is the current production dieline for the chosen bag, construction and revision. A downloadable general template can support a concept. It cannot establish seal widths, folds, window tolerance or legal content zones for an unknown production line.
What is the difference between a dieline and a mockup?
The dieline records where the bag is cut, folded, sealed and safely printed. A mockup shows how a design might look in a presentation. Both are useful, but neither replaces a filled physical sample and production-intended print proof.
How much bleed should I add to a cookie pouch?
Use the converter's documented requirement for the exact print and pouch construction. There is no safe universal number across processes and substrates. The supplier should provide bleed, trim, registration and text-safe zones on its current drawing.
Where should the barcode go?
On an area that remains reasonably flat, accessible and high contrast after filling and sealing, away from folds and print interference. Preserve the applicable quiet zones and test the printed code for each SKU on real samples using the intended production conditions.
Can the barcode and QR code share a panel?
Often they can if both meet size, contrast, quiet-zone and layout needs, and neither blocks required information. Their data and purpose differ. Verify the GTIN for each flavor and keep the QR destination maintained. Let the actual printed sample and scanner check decide.
Should every cookie flavor use the same bag size?
Only if normal product dimensions, piece count and filled-pack handling pass for each SKU. Shared geometry can simplify design and ordering, but a thicker decoration or different stack may force a different bag, window or pack count. Test the extremes, not an average cookie.
What is a realistic mockup approval?
Approval of visual direction: brand hierarchy, approximate color relationships, product image and broad panel composition. It is not approval of food labeling, exact printed color, seal integrity, cookie fit or shelf life. Record that scope in the review.
Is digital printing always cheaper than gravure?
No. Digital can avoid dedicated gravure cylinders and suit changing designs or smaller trials; gravure may suit stable repeat work. Compare project-specific setup, unit price, number of SKUs, expected reorders, proof stages and unused stock. Do not apply a universal order threshold.
Can I print across a zipper, seal or bottom gusset?
Only within the exact supplier-approved print zones. Type and barcodes should not be placed where sealing, folding or zipper components will make them unreadable or interfere with function. Evaluate the formed, filled bag rather than a flat graphic.
Do I need a printed sample if the PDF proof looks correct?
Yes for a meaningful production approval. A physical printed sample reveals effects of substrate, white underprint, lamination, matte or gloss finish, folding, filling and scanning that a screen proof cannot settle. Agree how closely the sample represents the final run and retain it with the approved files.
Who approves ingredients and allergen copy?
The food business and its responsible label or regulatory team. The graphic designer and printer can protect space and verify that supplied copy prints legibly; they should not invent, interpret or silently alter recipe-specific declarations.
Where can I get custom cookie bags with a logo?
Send a packaging manufacturer or converter your product brief and approved design direction, then request the current dieline, matching white samples, a print route, proof stages and a quote. Treat a product page as a way to start that specification, not as proof that a pictured size or material automatically fits your cookies.
The File to Release
Before production, one approved package record should connect one cookie SKU, one dieline revision, one construction, one artwork version, one print method and one filled-pack acceptance plan. Keep a physical printed reference and a signed copy review alongside it. That is how an attractive cookie packaging design becomes a reproducible, readable and usable bag.