
To make custom printed nut bags, settle the pouch and product specifications before approving artwork. Ask the supplier for the exact production dieline, reserve space for the zipper, seals, window, required label information and barcode, and approve a printed, converted pouch filled with your nuts. A screen proof checks content and layout; it cannot show how the finished bag stands, folds or reads on a shelf.
This guide is for brands preparing printed retail pouches for dry peanuts, tree nuts and dry nut snacks. It answers what to send, what to review and what to sign off when moving from design to production. It does not determine a package's shelf life, food-contact compliance, allergen statement or local market labeling by looking at a photograph. Those decisions depend on the actual recipe, destination, construction and evidence held by the food brand and its suppliers.
There is also a useful distinction between custom printing and custom packaging. Putting a logo on a stock-size pouch changes its appearance. Choosing a different gusset, clear window, reclosure or film can change its structure and the space available for print. A brand should lock those choices together before asking a designer to finish an expensive set of flavors. The nuts packaging collection shows available format directions; this article walks through the approval work behind a printed order.
Start with the product and a production-size bag
Before drawing a front panel, write down what will actually go inside. Whole walnuts, sliced almonds, roasted peanuts and sticky candied nuts can fill and settle differently. The same net weight does not guarantee the same occupied volume or the same view through a window. Decide the intended fill, whether the bag needs to stand up, how the top will be sealed after filling and how a consumer will reopen it. Use physical fill trials for final dimensions rather than copying a competitor's external measurements.
The point is practical: when the product pushes a window bulge into a headline, the designer cannot fix it merely by moving pixels on a flat PDF. A different pouch height, window location or fill headroom may be needed. Likewise, a zipper above the working fill line is part of the bag specification, not decoration on the artwork. A printed pouch cannot be approved independently of the material and conversion route chosen to make it.
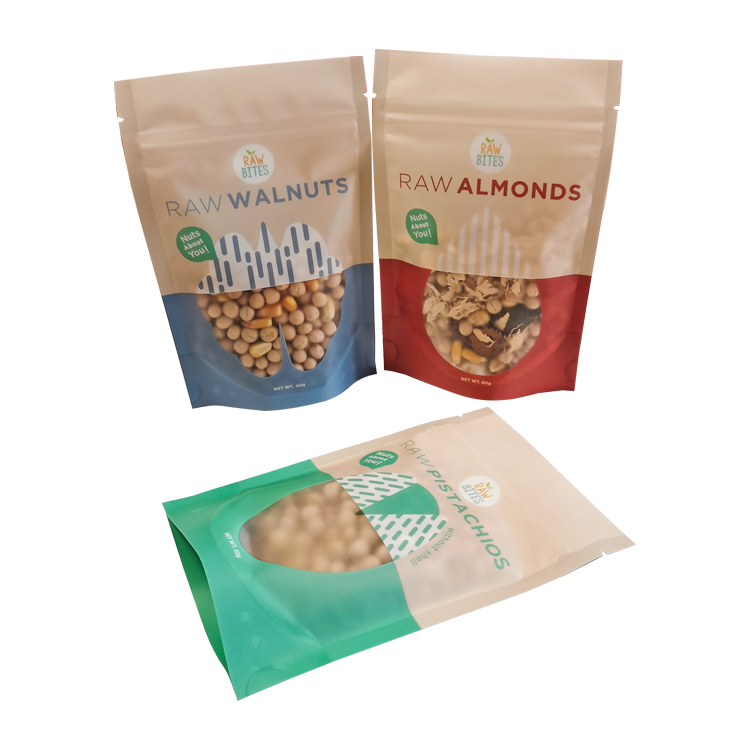
The published Philippines raw-nut pouch project provides a useful design example. Its page lists digital printing and a 10 × 15 + 3 cm format, while photographs show differently colored pouches for several nut SKUs and shaped viewing areas. These are project facts and visible design choices, not evidence that a new flavor fits those dimensions or that all the pictured bags share a measured shelf life. The project's abbreviated material string is not enough to reconstruct every window layer or calculate whole-pouch barrier performance.
One published view puts a walnut pouch next to an almond pouch. The logo, product name, graphic shape and window have to work as a family, yet the difference between SKUs must be legible when the bags are filled and mixed in a carton. If a brand is launching both peanuts and tree nuts, it also needs separately approved ingredient and allergen copy. Color alone must never be the only check used to keep the correct artwork with the correct food.
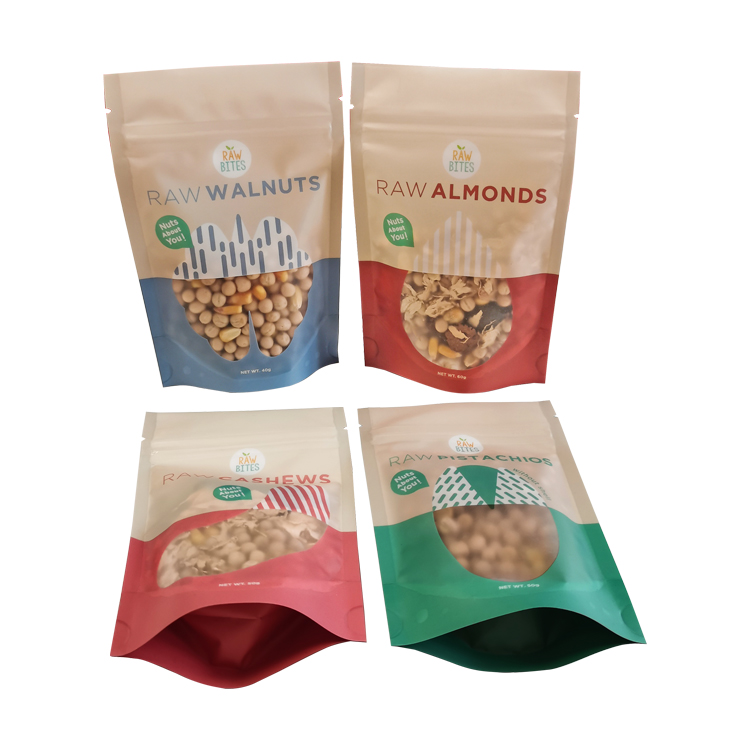
For a new brief, send product samples and a simple SKU table to the packaging supplier before releasing final print files. Mark which elements stay identical across all flavors and which must change: product name, photograph or illustration, color field, ingredients, allergens, net quantity, barcode and any market-specific statements. That list prevents a designer from treating a small back-panel text change as the only revision when the product itself is different.
Choose a print route for the actual artwork program
For custom peanut bags and other nut pouches, the useful comparison is not “which printing technology is best?” in isolation. Ask how many distinct artworks must be produced, how often they may change, what substrate and finish have been chosen, and what the supplier can quote for the proposed quantities. A short seasonal set of several flavors creates a different production problem from one mature design repeated in a large volume. Digital and gravure are two available routes shown on Mylarbag's printing options; either still requires correct files, proofs and finished-pouch checks.
Digital printing can avoid the cylinder preparation associated with gravure and can make frequent artwork changes easier to manage. Gravure can be suitable for repeat designs and larger runs when its setup is justified by the actual order. That is a procurement tradeoff, not a universal per-bag cost rule. Request the supplier's written quote for your own sizes, artwork count, materials, color requirements and delivery schedule; do not import someone else's advertised order threshold or turnaround into your business case.
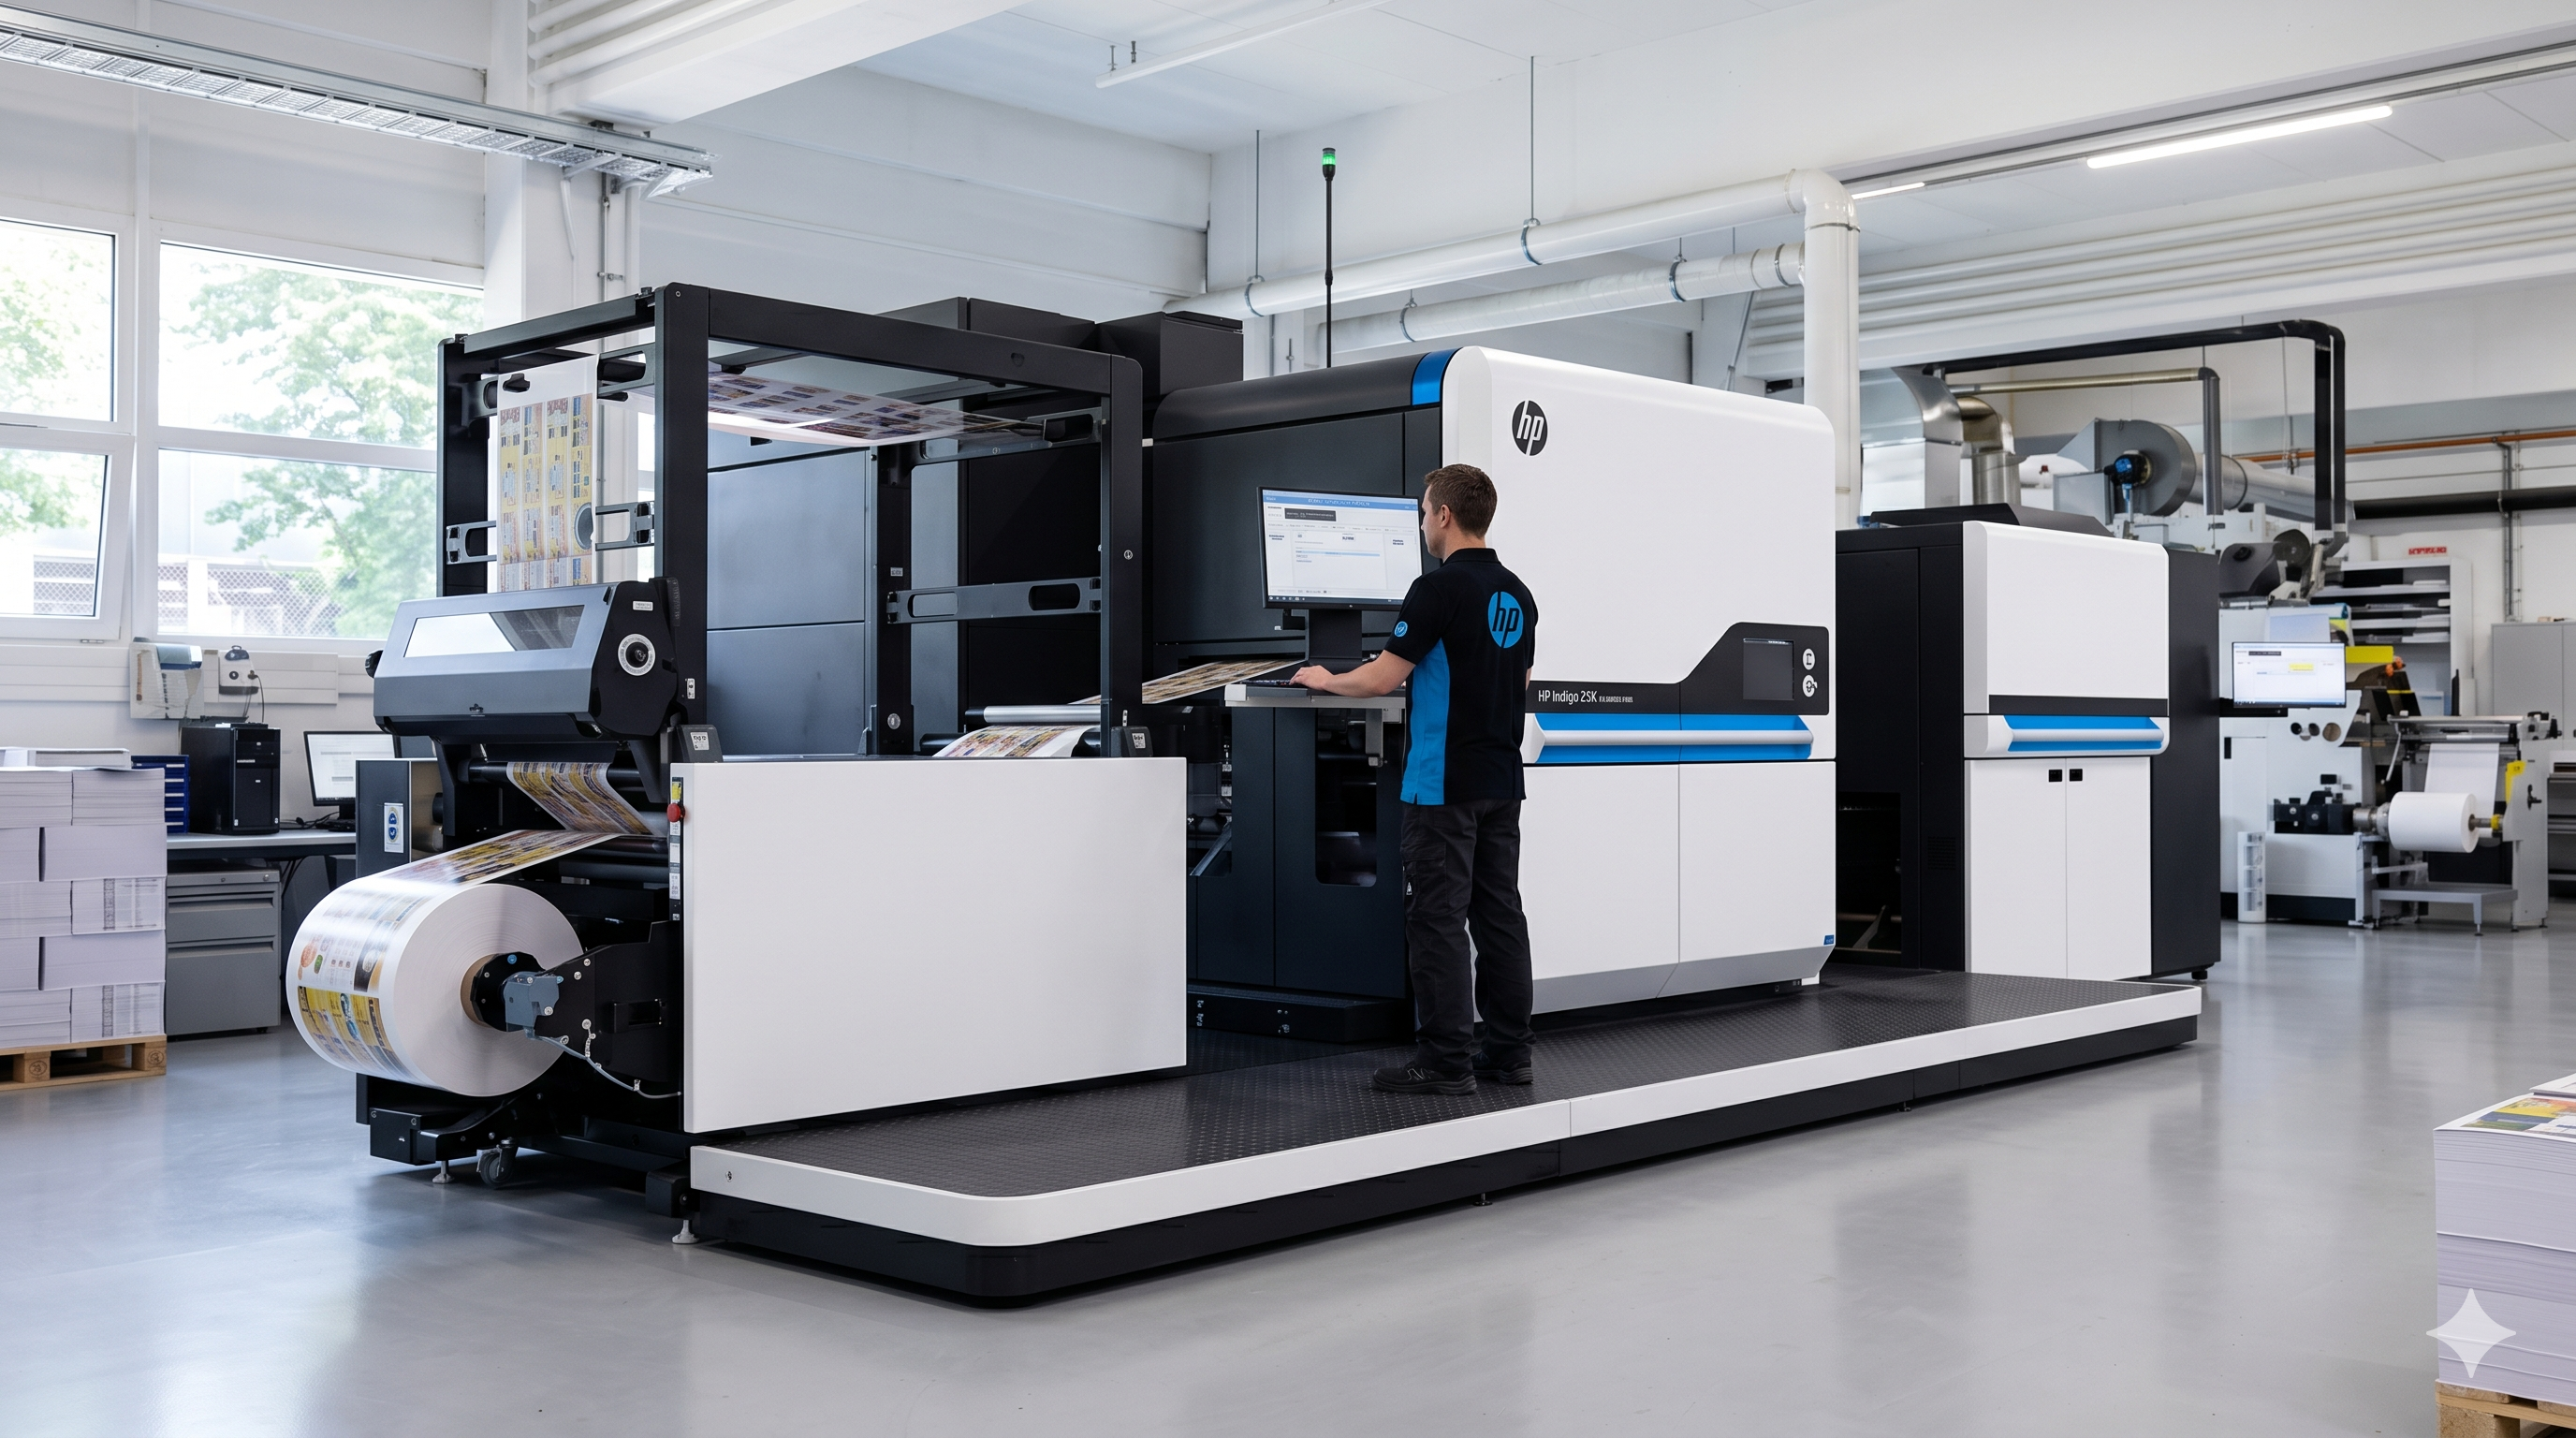
The real equipment image below appears on Mylarbag's About page as an HP Indigo digital press. It documents a printing route presented by the supplier; it does not show this particular nut order running, promise exact color on another substrate, or replace a press proof. The appropriate approval target is a production-representative print and converted pouch, not the machinery photograph.
Do not let printing choice silently settle bag construction. A printed film may later be laminated and converted into a pouch; the finished shape, window, zipper, top-seal and gusset still need to work with the actual nut product. If the buyer wants a paper-look face or a metallic-looking interior, ask for the complete proposed structure and a sample. A separate material-selection discussion can examine film families; this production article keeps the focus on graphics and proofing.
Use the supplier's dieline, not a decorative mockup
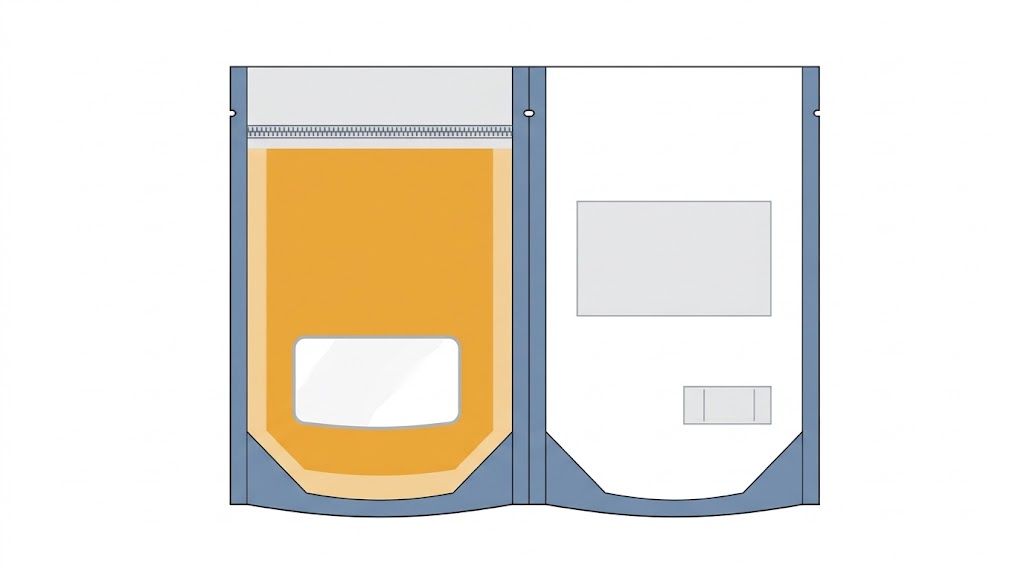
A pouch dieline is the supplier's working map of panels, seals, folds, cut edges and features for the specific bag being made. An attractive 3D render may help stakeholders imagine the shelf result, but it is a weak technical master. It can hide a side seal, stretch a back panel, omit the bottom gusset or make tiny nutrition text look readable at an impossible scale. Request the current production dieline after the format and dimensions are settled, and keep its revision identifier with the artwork file.
Place critical text inside the supplier-defined safe area. Treat the top heat seal, side seals, tear notches, zipper area, gusset folds and any hang-hole or window boundary as physical zones, not merely lines to decorate around. The supplier should give project-specific bleed and clearance values; this article does not assign a standard millimeter margin to all pouches. A seam that looks flat on a PDF may rotate away from the shopper after the bag is filled, and the top seal may be made later on the brand's filling line rather than at the pouch factory.
When specifying a U.S. retail pack, separate creative layout from regulated label review. The FDA Food Labeling Guide explains principal display panel and information-panel concepts and gives placement rules for the statement of identity and net quantity. Current obligations depend on the actual food, package and market; the brand's label reviewer should approve the final words, panel allocation and type treatment. The FDA's current food-allergen guidance identifies peanuts and tree nuts among the major allergens and discusses food-source declarations. An artwork file for almonds must not be approved simply because a peanut version used the same overall design.
Barcodes have their own print zone. GS1 US advises against truncating symbol height and calls for clear quiet zones on both sides. Reserve a relatively flat, usable area away from folds and the window, verify the final GTIN data for the SKU, and test a production-representative print with a scanner or verifier appropriate to the retailer. A barcode image in a PDF that looks sharp at 400% zoom is not the same as a scannable symbol on a curved, filled pouch.
The artwork handoff should include editable source files in the format the supplier accepts, the linked images and fonts or outlined type as agreed, a color reference, and a PDF showing every panel at final scale. State which file controls: a revision number, date and approver make a “FINAL_v7_new” filename less dangerous. Ask the printer to identify any small type, hairlines, overprints, transparent regions or white-ink assumptions that its process cannot reproduce as drawn. Where a window is part of the design, mark it on the same revision as the printed graphics; an older window mask paired with a newer print file can turn a clean design into a missing ingredient panel.
Treat a clear window as a package feature
A window can show real almonds, walnuts or peanuts, but it takes physical and graphic space. Ask whether the transparent area is a clear portion of a printed film, a deliberate region in a laminate, or a separate construction offered by the supplier. Do not infer a die-cut hole or a particular layer order from a photograph. Check how the chosen window affects the actual bag's barrier, opacity, light exposure and appearance under the intended storage conditions. The answer comes from the approved structure and finished-package evaluation, not from the word “kraft” or “foil” in a sales description.
The published U.S. nuts-and-seeds pouch lists kraft paper/PET/PE, digital printing, a stand-up format and a 14 × 20 + 4 cm size, and the photographs show a broad horizontal window. Its printed face places the name above that window and additional copy beneath it. That is a real layout example. The page does not supply a finished-window oxygen or water-vapor transmission result, a storage-life study, or approval for another brand's 6 oz recipe. Its public sales claims should not be promoted to engineering data for a new project.
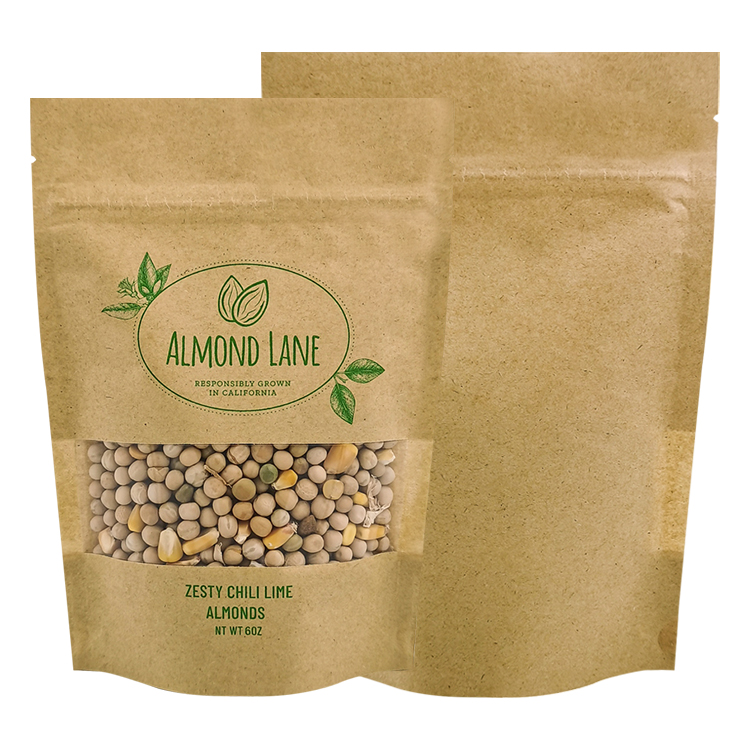
At the proof table, look through the window after the bag is filled with the actual product. Are nuts visible where the artwork expects them to be, or does the fill settle below a decorative shape? Does a pale nut against a pale background make the window appear empty? Is the consumer-facing panel still readable when a full pouch stands and bows? Can the barcode and ingredient panel be read when the bag is handled normally? For a family of flavors, repeat the check with the most visually different contents rather than assuming one mockup covers every SKU.
Window size is a tradeoff, not a simple “more is better” setting. A larger transparent area may help product visibility while reducing space for graphics and changing the light and barrier path. A smaller one may protect more design space but show little product after transport settling. Ask the supplier to quote sample constructions, then decide through filled trials and product testing. Do not call an image of an attractive window a measured protection result.
Control the artwork for every peanut or tree-nut SKU
The common failure in a multi-flavor launch is a neat design system with an unreliable version system. A color field may change for each flavor while a tiny ingredient panel, allergen declaration or barcode is copied forward unchanged. That is a problem even if the ink and bag are beautifully produced. Give each SKU its own approved source of truth and a cross-check between artwork, recipe, printed film, converted bag and filled carton. Marketing can own the visual language, but the food business has to approve the product-specific label content.
Create an artwork matrix before proofing. Keep a row per SKU and columns for the brand-approved product name, net quantity, ingredient list, allergen text, nutrition data, claims, barcode/GTIN, destination language, printer file version, pouch size and window treatment. This is a working control sheet, not material to print verbatim on the bag. If a peanut recipe is changed to include sesame or a tree-nut blend adds a new ingredient, flag the packaging version for review before a repeat order. The current FDA food-allergen resource should inform the U.S. review, but the brand must assess its exact product and current obligations.
Do not copy a barcode from one flavor merely because the bag size stays the same. Do not let the designer decide ingredient content from a product name. Conversely, do not make the printer responsible for verifying a new recipe it has never seen. A clear responsibility split speeds approval: the supplier confirms print feasibility and pouch geometry; the brand confirms the food identity, legal content and final version; the filler confirms code placement and line handling. Record the people and revision they actually approved.
For a small brand asking “how to make custom peanut bags,” the sequence need not be bureaucratic. One shared sheet, a production dieline, a named PDF and a physical filled sample can be enough to keep two SKUs from being confused. For a portfolio of many flavors and seasonal promotions, the same controls scale into formal change requests and retained samples. The point is to make a later reprint traceable to the correct approved bag, not to force every brand into a particular software system.
Approve the proof in stages
Treat “proof approved” as a series of increasingly physical decisions. First, a flat electronic proof checks spelling, numbers, panel order and alignment to the correct dieline. Second, a print on the proposed material or comparable production proof checks colors, fine detail, opacity and transparent regions under agreed lighting. Third, a converted pouch checks side seams, folds, zipper position and usable top seal. Fourth, a pouch filled on the intended line shows whether the artwork, window and printed code survive the real package shape.
A flat proof is still essential. It is far cheaper to find a misplaced period in the allergen panel there than after finished pouches exist. But approving only that file creates false confidence: the flexible bag is made and used in three dimensions. Ask to see the first converted units before a large run proceeds when a new structure, window or artwork revision makes the geometry uncertain. Agree in advance which changes require a new physical sample rather than a quick email approval.
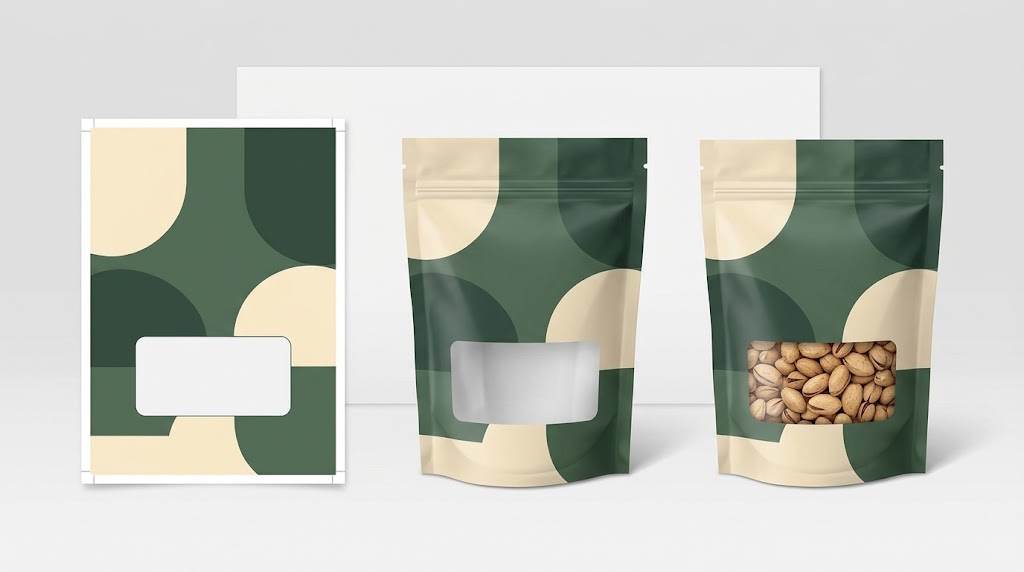
When reviewing color, state which reference and which substrate are being compared. A brand color displayed by a monitor and a printed color on a matte paper-look pouch need not look identical under every light. Ask the supplier which process and proof are representative of the proposed production job and document the acceptable appearance. Avoid “perfect match” language unless a measurable tolerance, method and reference have actually been agreed. If the pouch has a clear window, review the edge between ink, any white treatment and transparency on the real sample; a tiny error there may be more obvious than a small change in a solid background.
Similarly, a barcode should be approved from the finished print rather than from the designer's source file alone. The GS1 US guidance explains why symbol height and clear quiet zones matter. Scan a sample in the conditions that resemble the retail reader's handling. If it fails, first inspect the art size, contrast, location and deformation on the filled pouch instead of assuming the scanner is wrong. Keep the actual decoded value in the approval record.
Release the first run against a filled master sample
Before mass release, compare early production pouches with a master sample representing the same SKU and revision. Verify front and back orientation, legible label panels, correct ink/color treatment, finished dimensions, window position, zipper/tear feature, top-seal space, code area and carton identification. Then fill, seal and code a sample with the actual nuts. A line that seals nicely with an empty pouch may behave differently when nut dust, oil or a high fill approaches the top. Seal-process testing belongs with the filling operation and is discussed in the separate seal guide; here it is an approval checkpoint for a printed bag.
The published Puerto Rico candied-nut project lists digital printing, a stand-up format and kraft paper/PET/CPP. A real photograph shows printed faces and the clear lower window in standing and flat orientations. That makes it a useful reminder to inspect the converted shape from more than one angle. The public page does not provide its first-run approval form, manufacturing tolerances, barcode scan results or shelf-life study; none is inferred here. The printed weight visible in a picture is that customer's artwork, not a sizing or conversion rule for another nut product.
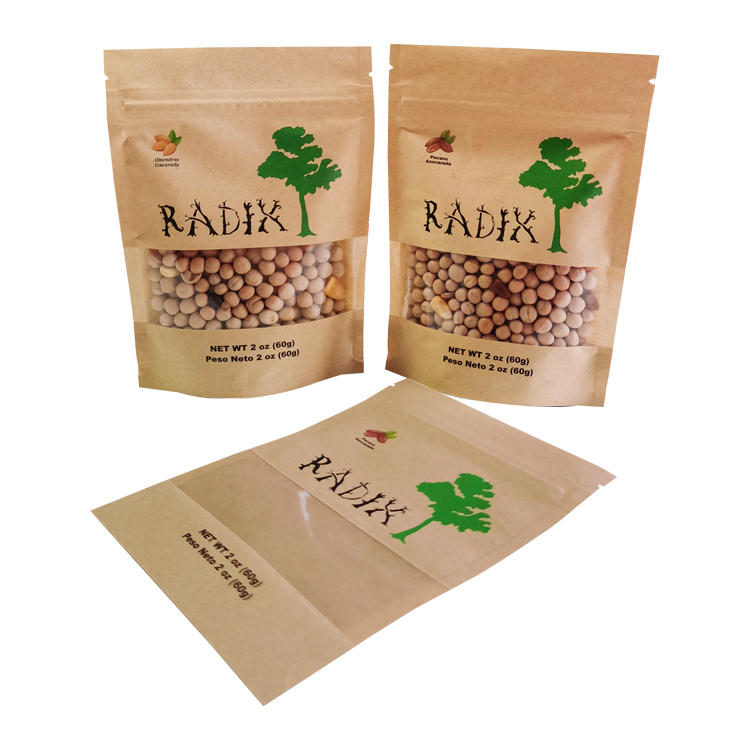
If a discrepancy is found, identify its scope before altering artwork. A correct file printed with a wrong window mask is not fixed by changing the product name. A correct print on a wrong pouch size is a structural error. A mis-coded carton is a traceability error even if every front panel looks attractive. Hold affected units, document the actual observation and approve the corrected sample before continuing. Keep both the prior and new version records so a later repeat order does not quietly revive the rejected file.
Recommended Packaging Configuration
For a dry-nut brand launching several printed retail SKUs, a stand-up pouch with a project-specific material structure and optional clear window is a candidate to sample, not a pre-approved shelf-life solution. Start with the actual fill and one production-size dieline. If the artwork family changes often, compare a digital route; if it is stable at higher volume, obtain a gravure quote as well. Reserve a clean first-seal band above any consumer reclosure and confirm the window, barcode and label area on filled samples. The three public projects above show real printed stand-up examples with different artwork and window shapes, but their specifications are not interchangeable.
Browse custom nuts packaging for format options, then contact Mylarbag with the nut product, target net weight, sample fill, number of SKUs, destination market, preferred window/closure, design files and expected order pattern. Ask for the correct dieline, a material/print proposal and the proof stages available for your project. Request the underlying specification and testing plan for any barrier, shelf-life or food-contact claim you intend to place on the bag. The brand approves the food label and the intended use; a supplier can prepare samples and quote a pouch for evaluation.
Frequently asked questions
1. Can I print custom nut bags without a finished design?
Yes, you can begin the project brief before all the graphics are finished. Give the supplier the product, fill, pouch style, target market, window and closure preferences so it can identify a suitable size and production dieline. The artwork then needs to be completed and approved on that dieline. A logo alone does not supply ingredients, allergens, net quantity, barcode or the panel content needed for a retail product. Keep responsibility for regulatory copy with the brand's qualified reviewer.
2. What files should I send for a custom peanut bag?
Ask the chosen printer which editable artwork format, color references and image resolution it accepts. In general, supply the current dieline revision, editable art and linked assets, a final-scale PDF for review, the exact brand-approved text and a SKU matrix. Identify clear windows, opaque white treatment if relevant, and where a date/lot code will be applied. Do not send a screenshot or a 3D mockup as the sole manufacturing file; neither defines every seal, fold or back-panel detail.
3. Is digital printing always cheaper than gravure for nut pouches?
No. Digital can avoid gravure cylinder preparation and can suit changing designs, while gravure may be worth evaluating for stable, repeated larger runs. The outcome depends on the quoted size, material, color work, number of SKUs, quantity and repeat schedule. Compare complete job quotations and proof requirements rather than a generic price-per-bag claim. A printing choice does not automatically establish the pouch's barrier, food-contact suitability or finished shelf life.
4. Can a clear window be added anywhere on a printed nut bag?
No. Its geometry must be agreed with the pouch maker's actual structure, seals, graphics and filling behavior. A window near a fold or behind a low product fill may look different once the bag stands. It also changes the region available for information and may change the package's protective properties. Review the construction and a filled sample, then test the finished bag for the intended product and storage conditions. Do not infer performance from a product photograph.
5. Is approving a PDF enough to start production?
The PDF is necessary to check the words, version and flat layout, but it is not enough when important physical features have not been verified. Examine a representative print, converted empty pouch and filled, sealed, coded sample as appropriate to the project. A filled bag reveals distorted artwork, hidden text, shifted product in the window, poor shelf stance or a barcode that fails in use. Agree in writing which sample is the final master before releasing a large run.
6. How do I keep several nut flavors from receiving the wrong label?
Assign each flavor a distinct SKU and approved artwork revision, and link it to the recipe, allergen text, barcode, bag and carton. Compare the actual filled product with the printed front and back at first run and during changes. Retain approved samples and record who released each version. Do not use pouch color alone as the release check; a visually similar design can carry the wrong ingredient or allergen panel even while printing quality looks excellent.
The approval that matters
A custom nut bag is ready when the specified product and pouch agree with the approved print, window, label, code and filled first-run sample. A good designer can make a compelling flat file, and a supplier can print it neatly; only a controlled approval sequence catches the errors that appear when the film becomes a filled package. Bring the actual nuts and the right decision makers into that sequence before repeating the artwork at scale.