
To package candy for sale, choose a food-contact package suited to the recipe, fill it by weight, keep the sealing area clean, and check the finished pack under its intended storage and delivery conditions. Confirm the label before printing. A practical starting point is a small trial using your actual candy, proposed bag, and production sealer.
The difficult decisions usually come before the artwork. A quarter-pound portion may fit comfortably in one pouch and crowd another. A clear window can show the product without telling you how well the package controls moisture. A resealable opening can be convenient for the customer while still needing a separate initial seal.
This guide focuses on those decisions for retail candy bags. It also distinguishes the bag customers buy from the outer packaging used to deliver it. The labeling references concern the United States; the destination market belongs in the packaging brief from the beginning.
Start with the candy, the portion, and the selling conditions
Describe the product as it will reach the packing table. Record whether the pieces are loose or individually wrapped, their approximate size range, and any surface coating. Include irregular pieces in the description. A pouch filled with neat display samples may behave differently when the normal production mix contains small fragments and larger pieces.
Then describe the sale. A single portion eaten shortly after purchase has different opening and display needs from a sharing bag intended for several uses. A pack sold from a countertop must work in that position. A pack hung on a retail hook needs a suitable hanging arrangement with room for the opening features and artwork.
Storage and delivery are part of the same brief. Write down where the candy will wait after packing, how it will travel, and the conditions the customer is expected to follow. Treat an unconfirmed storage period as a target to investigate. Printing a date on a pouch does not establish that the candy will remain acceptable until that date.
Use this table to organize questions, rather than assign a film solely from the candy category. Two products sold under the same broad name can have different recipes, coatings, and packing conditions. Give the supplier enough detail to evaluate the actual product.
Choose a bag format that works at the packing table and in the shop
A stand-up pouch is worth sampling when the bag needs to remain upright on a shelf or counter. Check it when filled to the intended amount. A pouch that stands neatly when empty may lean, buckle, or look overfilled once the candy settles. Photograph the filled sample from the front and side so the packaging supplier can see the problem.
A flat pouch may suit a small portion, a pack displayed in a tray, or a hanging presentation. Its suitability still depends on the filled shape. If the candy bulges heavily in the middle, examine whether the front label remains readable and whether the finished pack fits the display space.
A zipper is useful when customers will take several portions from the same bag. Test the opening with real candy inside. Large pieces should pass through without forcing the customer to stretch the mouth or tip the whole bag sharply. Check that the zipper can be closed after pouring, particularly if sugar or small fragments collect near it.
A window needs a similar practical check. Place the proposed artwork over a filled sample and look at it after the contents have settled. The window should show something useful at the normal fill level. A large window positioned too high can draw attention to empty space instead of the candy.
Mylarbag's custom candy bags page provides a starting point for discussing pouch formats, printing, and opening features. Select the combination after a filling trial, then build the artwork around the approved structure.
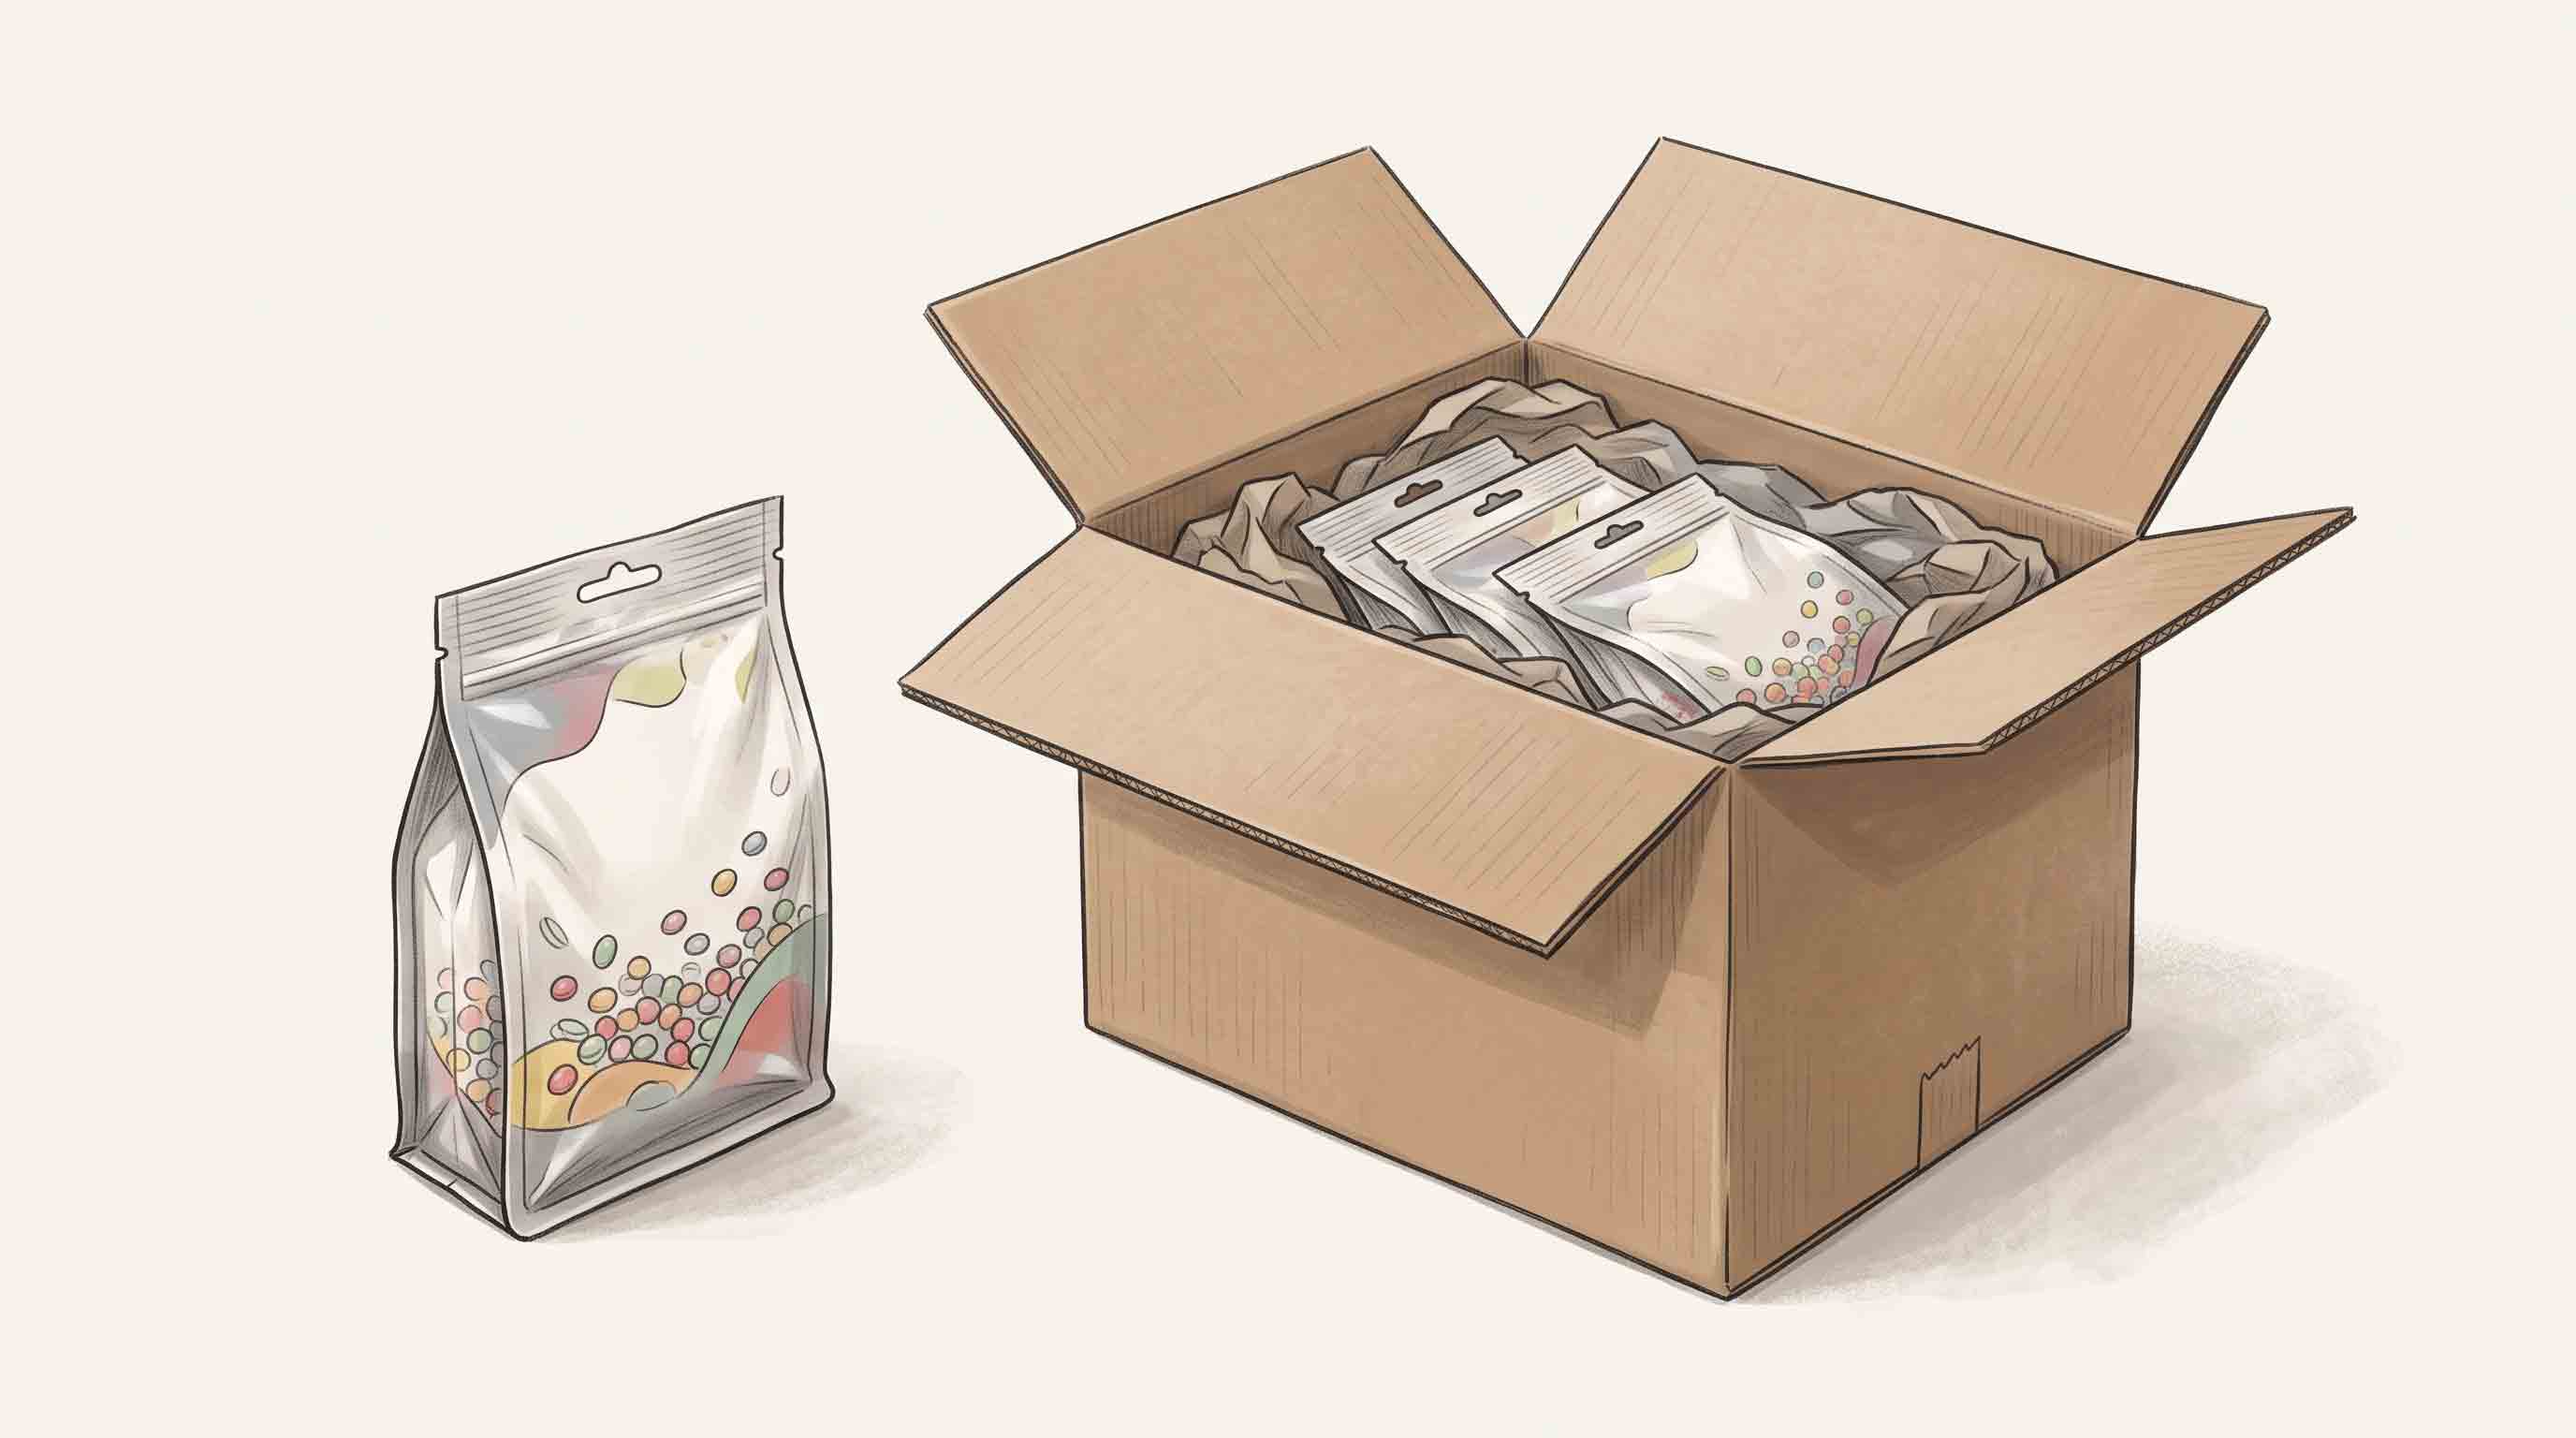
For delivery, give the retail bag and the shipping carton separate jobs. The bag contains the candy and carries the product information. The outer pack needs to limit unwanted movement and protect the filled bags during handling. Test the intended number of retail packs inside the actual carton; a loose bag on a desk cannot show how the shipment will behave.
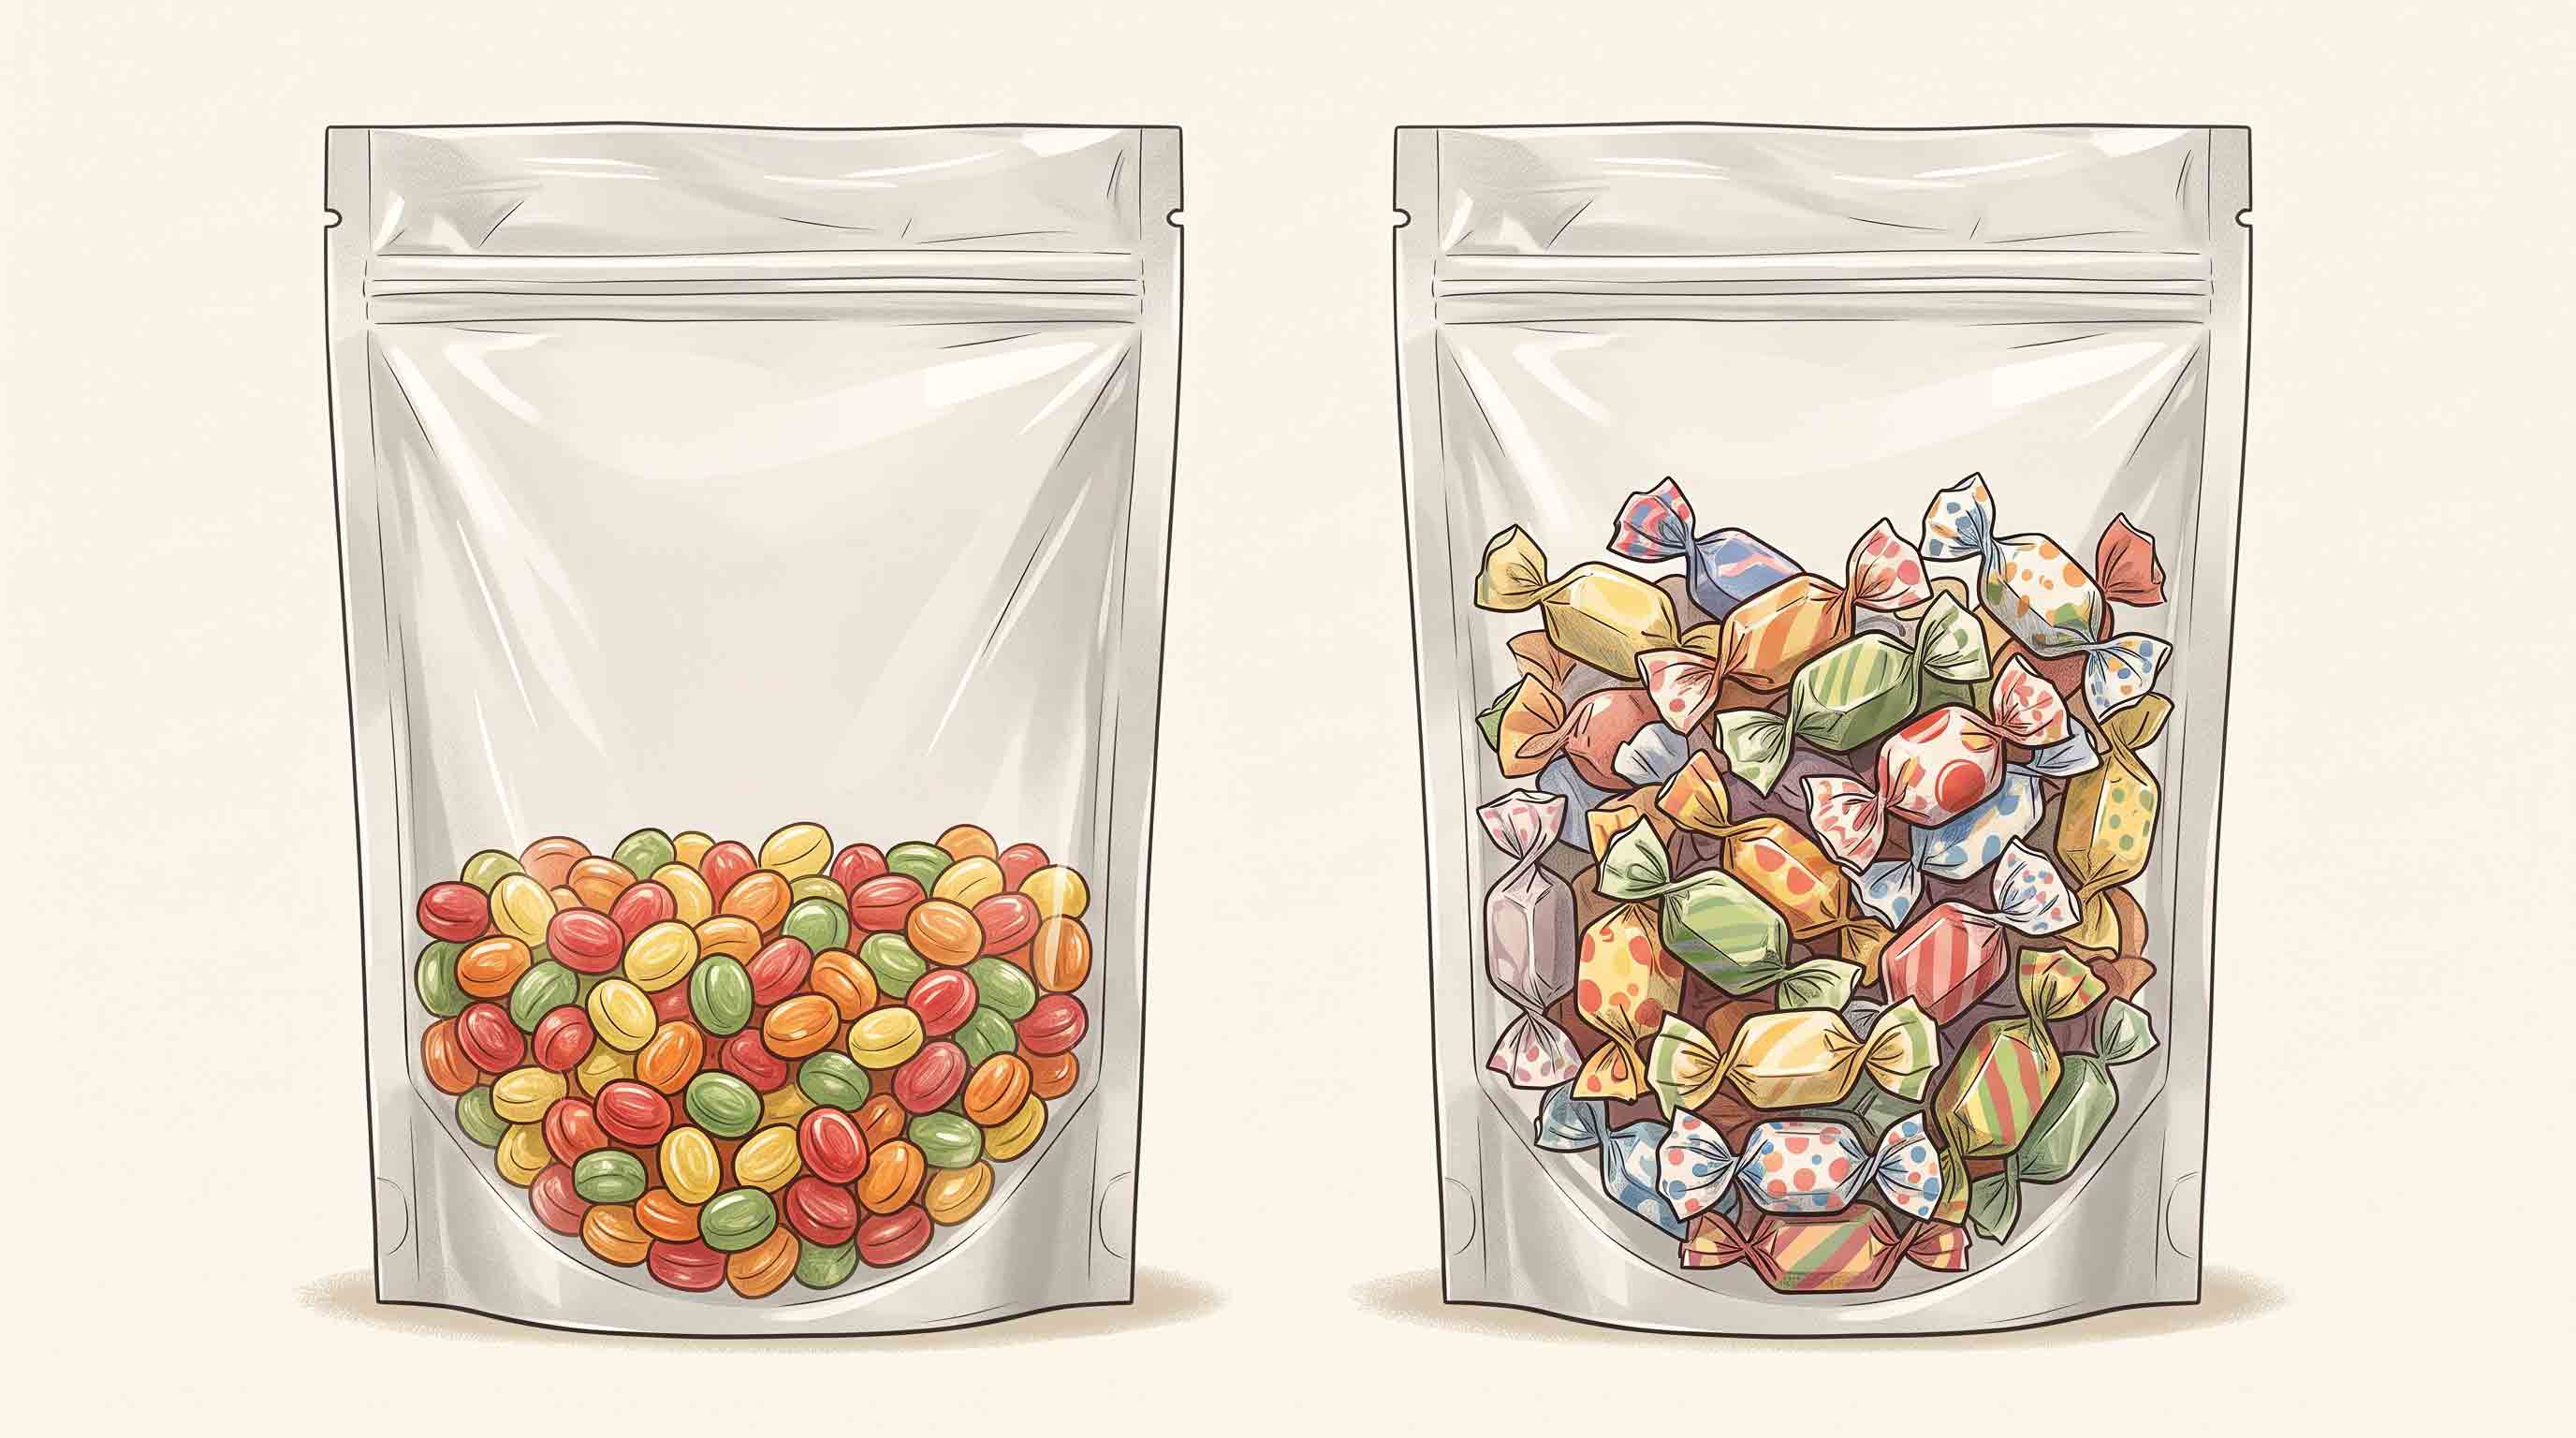
What size candy bag do you need for 1/4 lb?
A quarter pound is 4 ounces, or approximately 113.4 grams. That is a weight, not a bag dimension. The pouch size depends on the volume occupied by the candy, the shape of the pieces, any individual wrappers, and the space needed for filling and closing.
These conversions are for sample preparation. They are not finished net-quantity label templates or permission to round a declared quantity without checking the applicable labeling rules.
Start by weighing the candy outside the bag. Include the mix of sizes that customers will receive, rather than choosing pieces that happen to stack neatly. Ask for several nearby pouch sizes, with drawings that identify the outside dimensions, usable opening, gusset convention, zipper position, and sealing area.
Fill each sample with the same candy weight. Allow the pieces to settle in the way they would during normal packing. Avoid crushing or tightly compressing the product just to make the smaller pouch work. Record the settled fill height and photograph how much space remains below the closure.
Next, try the actual filling motion. A pouch can hold the portion yet still have an opening that slows the operator down. Check whether pieces catch at the mouth, whether a scoop or funnel fits, and whether product falls into the sealing area. If you use filling equipment, have the operator or equipment supplier review the sample before ordering printed bags.
Close the pouch using the intended process. Look for candy pressing against the zipper, folds crossing the heat-seal band, or a bulge that prevents the pouch from standing as intended. Open another filled sample and pour out a portion. This checks a different requirement: whether the customer can use the pack comfortably after the original seal is removed.
Record the result against the supplier's sample code. Keep the drawing with that record. A size written as width, height, and gusset can be interpreted differently between suppliers, particularly when a gusset measurement describes a fold rather than its full opened depth. Confirm the convention instead of matching numbers alone.
Finally, repeat the trial with the normal range of product shapes. If the first portion fits but another equally weighted portion crowds the closure, investigate the size or the product variation before approving it. A successful quarter-pound pack must be repeatable under the conditions in which you will fill it.
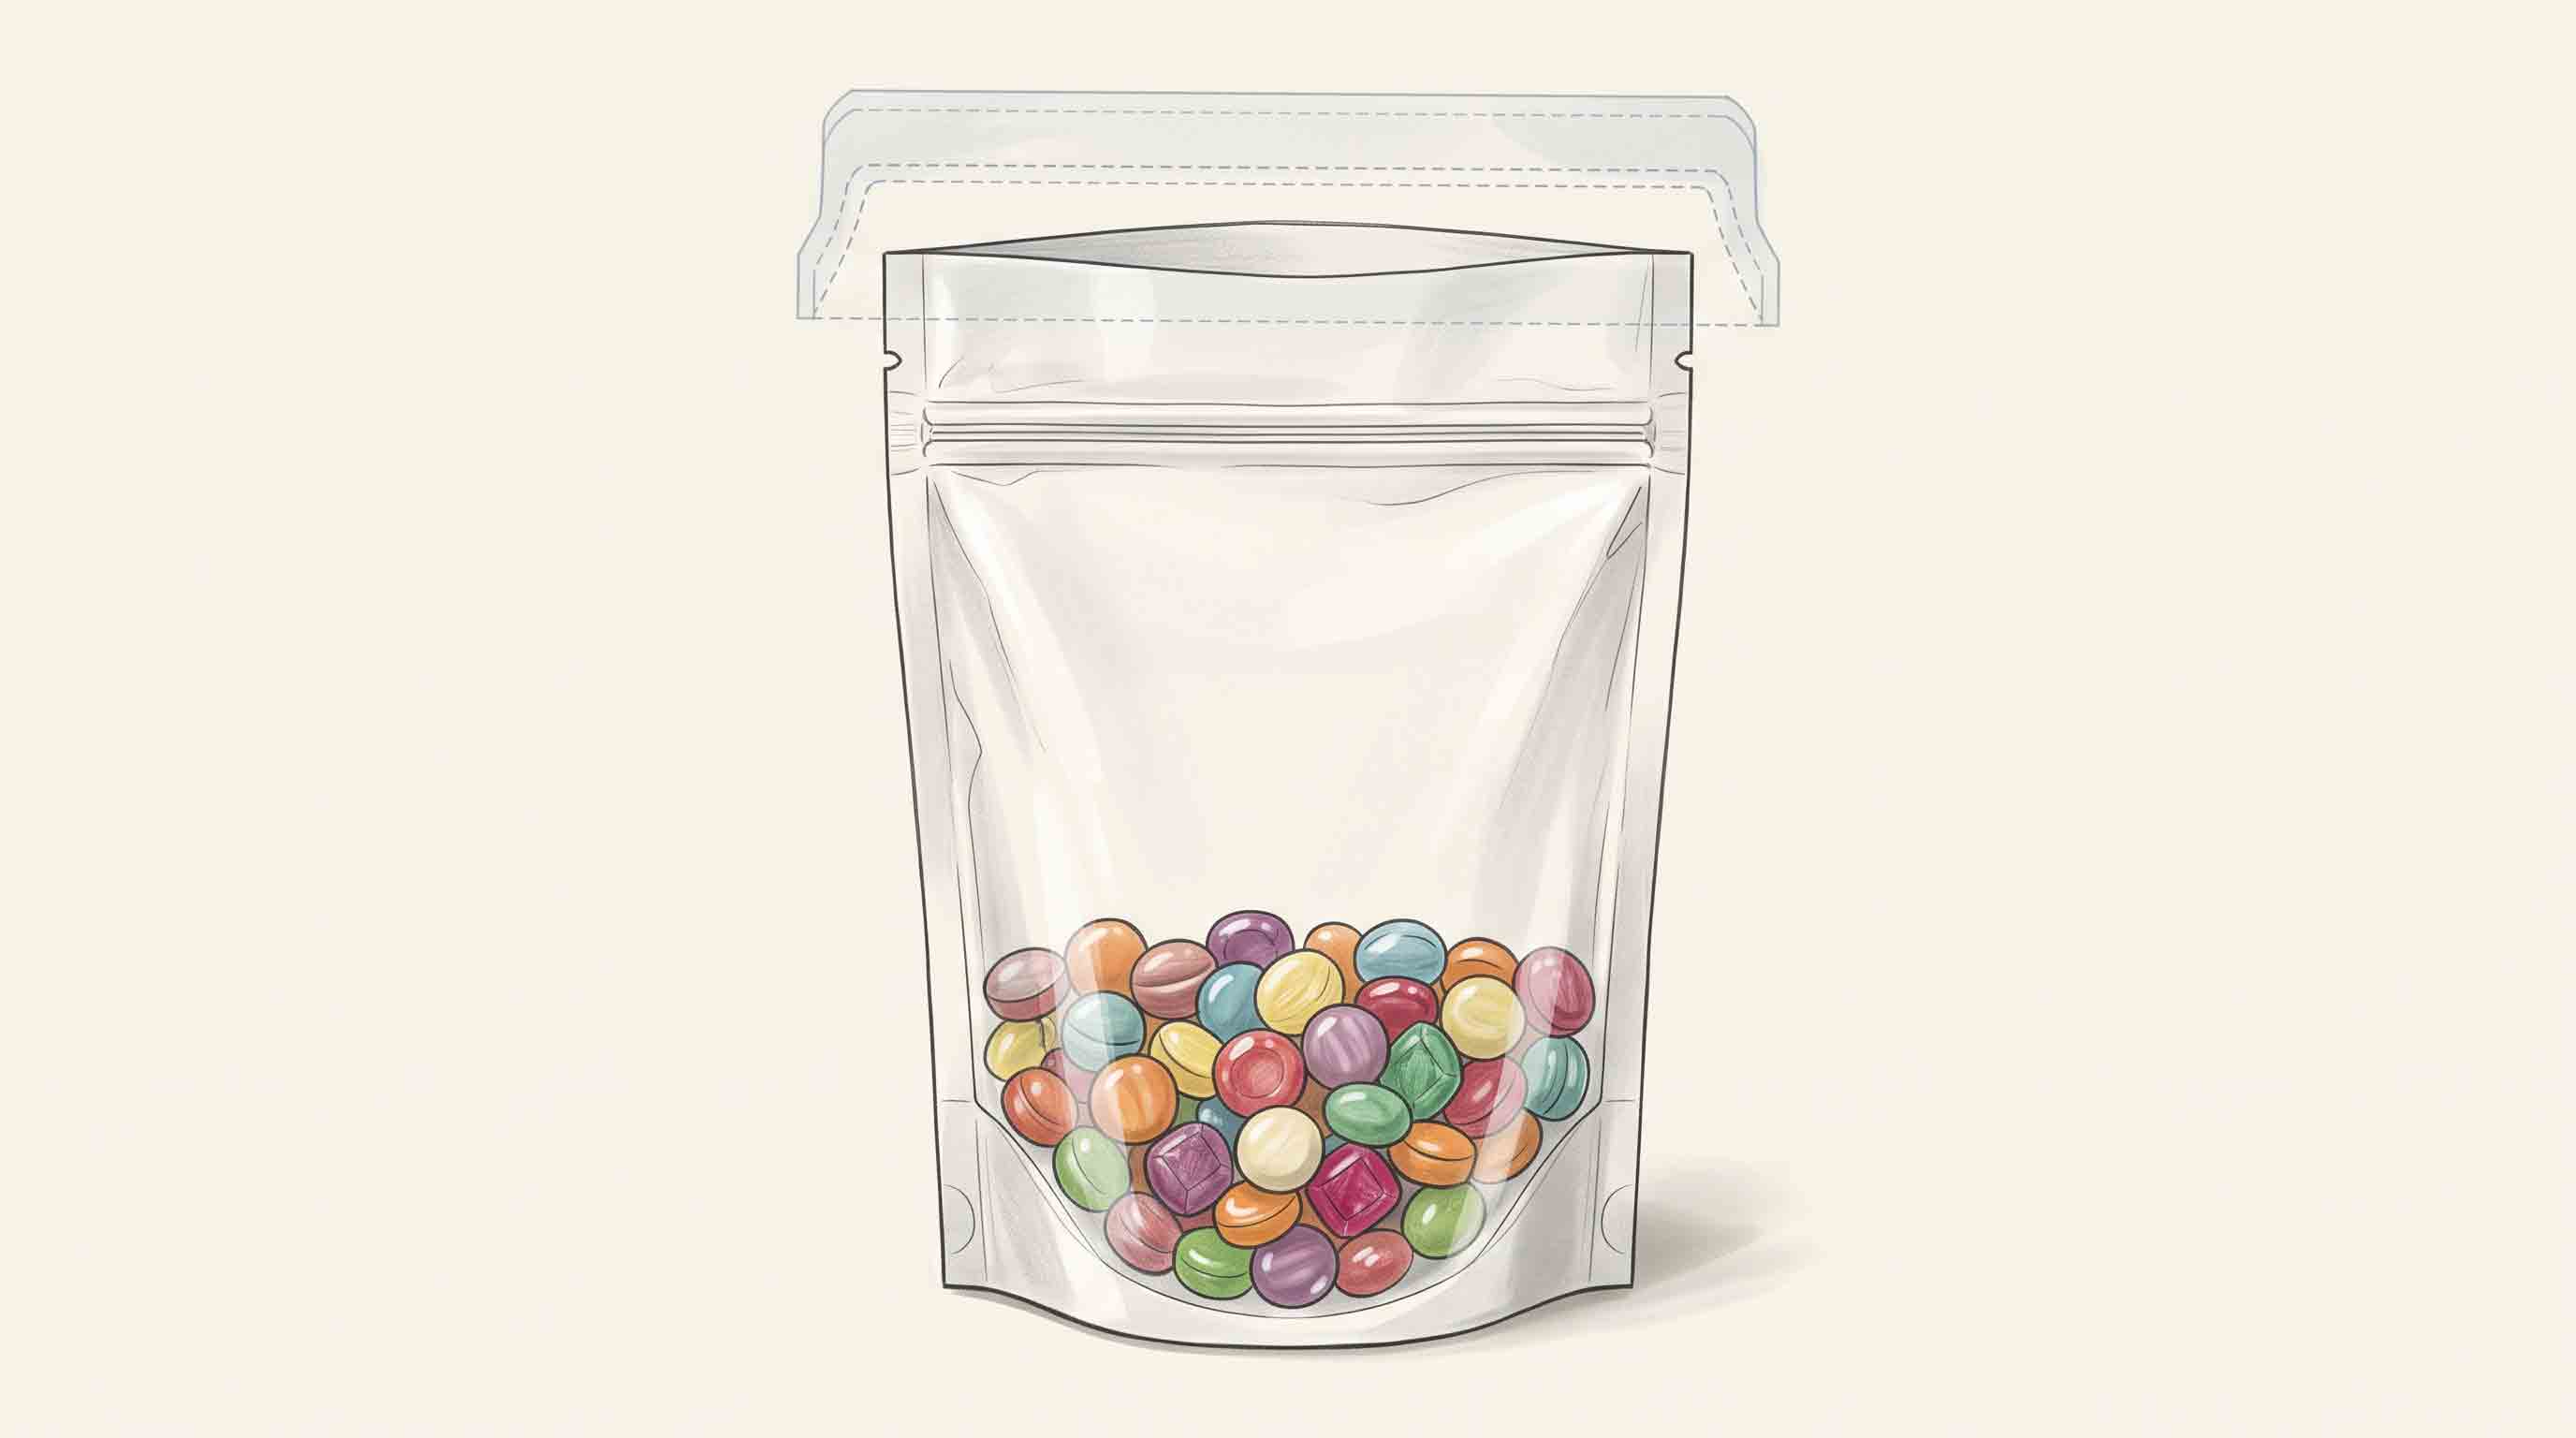
Check the material against the product and its intended use
Ask for the proposed film structure and the information supporting its suitability for the intended food contact. Include the recipe characteristics relevant to packaging, the filling temperature, and the planned storage conditions. A description such as “food grade” is too broad to serve as the entire purchasing record.
FDA explains that the regulatory status of a food-contact material depends on its components and applicable authorizations, including their limitations. Its guidance also distinguishes food types and conditions of use. Documentation therefore needs to match the proposed material and use, rather than refer vaguely to food packaging in general. See FDA's guidance on food-contact material components and food types and conditions of use.
Separate that documentation question from the performance question. A package may be suitable for its intended food contact while still failing to preserve the texture or appearance you want for the planned selling period. Explain the quality changes you need to prevent, then ask the supplier what information is available for the proposed construction.
When comparing water-vapor or oxygen transmission figures, request the units, test method, temperature, and humidity conditions supplied with the results. Keep those details beside the numbers. A comparison stripped of its test conditions can make two specifications appear more directly comparable than they are. Ask the supplier to explain any differences before choosing between them.
For a pouch with a window, ask which information applies to the window area and which applies to the rest of the structure. An attractive opaque panel does not establish the performance of a different transparent section. Review the complete bag, including its seams and closure, during the product trial.
Thickness, stiffness, and surface finish also need to work together. Ask to handle samples made from the proposed construction. Check whether the bag opens easily for filling, whether the surface suits the intended label or printing, and whether the filled pouch behaves as expected. Appearance alone is an incomplete specification.
Set up a filling and sealing routine you can repeat
Prepare the packing area before opening a stack of bags. Keep the candy, empty packaging, finished packs, and any rejected packs in clearly assigned places. Have the current product label and packaging sample available so an operator can compare the materials in use with the approved version.
Set up the scale according to its instructions and tare the empty container or bag used for weighing. Keep packaging weight separate from product weight. Decide how filled weights will be checked and recorded during the run, rather than leaving the operator to judge portions by how full the bag looks.
For hard candy, pay particular attention to fragments and surface sugar during the trial. Watch how the pieces enter the pouch and settle near its edges. Inspect the inside of the sealing area before closing. If fragments repeatedly reach that area, change the filling method or pouch size and test again.
Use a closing process that matches the pouch specification. For a heat-sealable retail pouch, confirm the intended seal location with the supplier and test it on your sealer. The zipper, if present, serves the customer's repeated opening and closing; the initial heat seal is a separate part of the packing operation.
Sealing temperature, pressure, and contact time must work with the material and equipment. Obtain a starting recommendation, then establish suitable settings through trials. A setting copied from another bag is not a substitute for checking the new structure. Record the settings and any relevant equipment adjustments with the trial samples.
Inspect the seal for wrinkles, trapped product, incomplete contact, and other visible defects. Visual inspection helps identify problems but does not establish seal strength or leak tightness. Agree with the supplier or testing provider which additional checks suit the package and how the results will be interpreted.
Run enough consecutive packs to observe the normal filling process, including interruptions and restarts. A single carefully prepared sample can miss a problem that appears when an operator works at the intended pace. Record rejects and their causes as well as acceptable packs; repeated errors often show where the process or package needs changing.
If production moves to a co-packer, send the approved sample and specification before printing the next order. Ask the co-packer to confirm the bag format, filling access, and sealing requirements against the equipment they will use.
Finish the label review before approving printed bags
Treat the label copy as a controlled document. Work from the current recipe and product specification, and identify the person responsible for approving the information. A flavor name changed in an artwork file should trigger a check of the ingredients and other affected details, rather than pass through as a purely visual edit.
For U.S. sales, FDA places responsibility for compliant, truthful food labeling on the manufacturer. Its food business guidance addresses labeling, nutrition information, and major food allergens. Use the current labeling and nutrition guidance when reviewing the product name, net quantity, ingredients, allergen information, business details, and nutrition presentation. This is a review list, not a complete legal specification for every product.
Do not omit a Nutrition Facts panel simply because the business or print order is small. Check whether the product and business qualify under the applicable conditions, and whether a claim changes that position. FDA explains those conditions in its small business nutrition labeling exemption guidance.
After the copy review, check it on a full-size proof using the approved pouch drawing. Look at the pack while it stands, hangs, and lies in the shipping carton. Keep important text clear of seams, folds, and opening features. Leave an appropriate area for any variable information your operation needs to apply, such as a lot code.
Check the barcode in its final position and with the proposed print conditions. Review the flavor name and product image together so the bag cannot easily be confused with another version. Save the approved file with a revision identifier, and make sure the printer and packing team are using that same version.
How long does candy last in clear bags?
There is no dependable storage period that can be assigned from transparency alone. A clear bag describes an appearance. It does not identify the complete material structure, the condition of its seals, the candy recipe, or the environment around the finished pack.
Define what the storage study needs to establish. For hard candy, the quality questions might include changes in texture, surface condition, or whether pieces remain separate. For a chewy product, the questions may concern firmness, sticking, and shape. These observations help define acceptance criteria; they do not replace a food-safety assessment.
Water activity can be relevant to understanding a product's behavior. It describes the availability of water in a food and is distinct from simply measuring how much water the recipe contains. FDA's technical guide to water activity explains the concept and its relationship with surrounding humidity. A water-activity measurement alone does not establish a finished product's shelf life.
Arrange the appropriate assessment with a qualified food laboratory or food scientist when establishing the selling period. Supply the actual recipe, production process, final packaging, and intended conditions. Ask what testing is needed for that product and how changes in storage or distribution would affect the conclusions.
Keep quality observations tied to specific samples. Record the packing date, product batch, package version, sealing conditions, and storage location. Take photographs consistently so a change in lighting is not mistaken for a change in the candy. Keep unopened samples separate from packs opened for inspection.
Consider the consumer's use separately. A storage statement established for an unopened pack does not automatically describe a bag repeatedly opened in a warm or humid room. A zipper can make reclosing convenient, but it cannot erase the conditions introduced during use.
If the recipe, film, window design, closure, or packing process changes, review whether the earlier evidence still applies. This is more useful than borrowing a shelf-life claim from another candy seller, even when the two bags look similar.
Run a pilot that answers specific questions
Give each trial a purpose. One may compare two bag sizes. Another may check a proposed material on the production sealer. A shipping trial may investigate how the approved retail packs move inside the outer carton. Keeping the question clear makes it easier to decide what to change after the trial.
Set acceptance criteria before looking at the results. Otherwise, a sample that is difficult to fill may be accepted because the printing looks good, or a convenient pouch may be approved without resolving an opening problem. Record unresolved questions explicitly instead of treating silence as approval.
For practical comparisons, hold the other relevant variables steady. If the purpose is to compare sizes, use the same product mix and weight. If the purpose is to examine a new material, identify changes in sealing settings rather than quietly using the previous settings and assuming they are suitable.
Keep an approved physical sample with the written specification. The sample shows appearance and handling; the specification identifies what must be reproduced. Neither can do the other's job completely. Include photographs of the filled pack if its presentation is an important acceptance point.
A short pilot can reveal filling, sealing, and handling problems. It does not by itself validate a long storage claim or every distribution route. Use the results to close the questions the trial actually addressed, then arrange any further work needed for the remaining decisions.
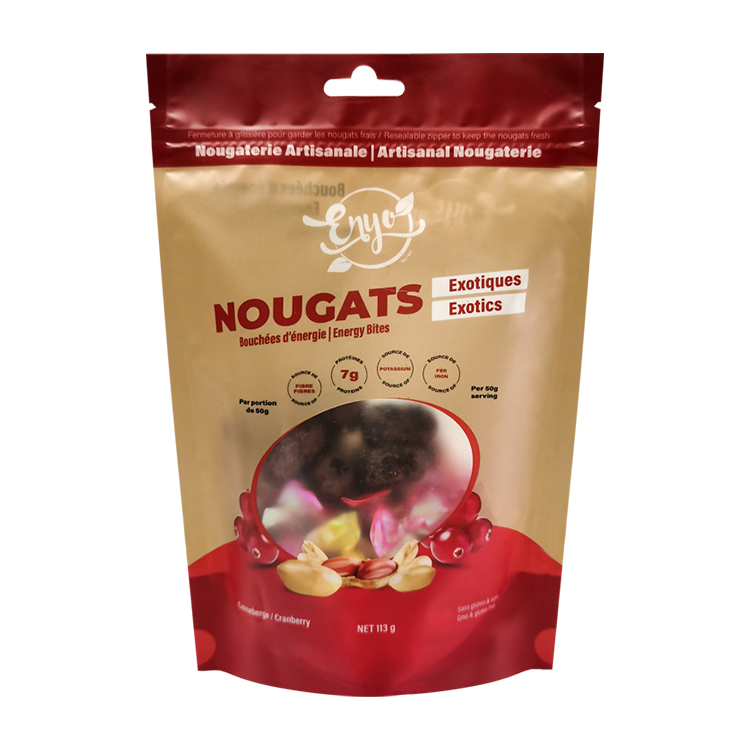
Related project: a matte pouch for nougats and energy bites
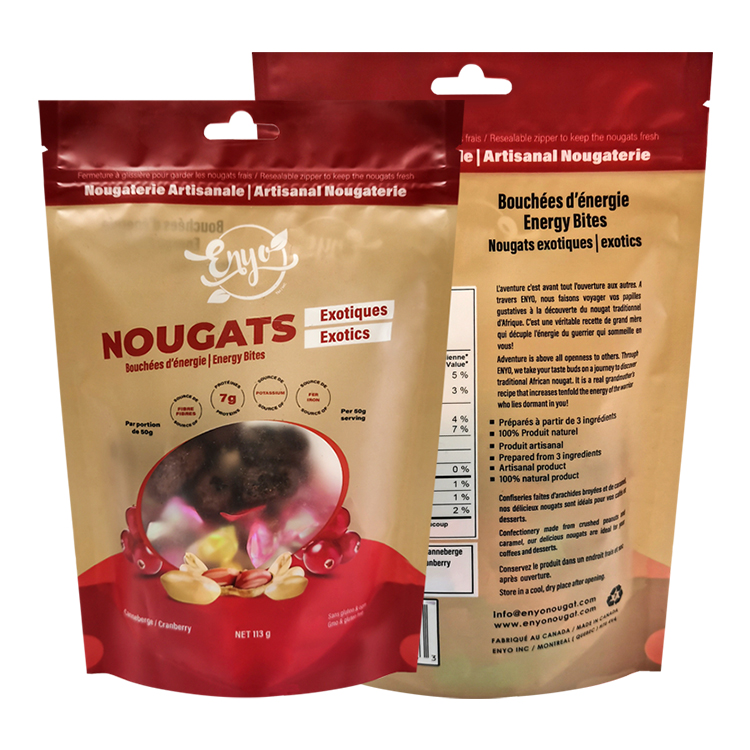
Mylarbag publishes a nougat and energy-bite pouch project with a matte stand-up format, shaped window, and hang hole. The listed project fields identify Canada, a MATOPP/PET/PE structure, digital printing, and dimensions written as 14*21+4cm.
The useful reference is the combination of features. A project can bring together a view of the product, space for printed information, and more than one display position. When reviewing a similar option, check where the candy sits relative to the window and whether the filled bag works on the intended shelf or hook.
The listed dimensions are not a recommended quarter-pound size for every candy. Confirm the dimension convention, request the applicable drawing, and run the fill trial with your own product. The published configuration also does not establish your product's storage period or supply evidence of a particular commercial result. Use it to make a sample request more specific.
Recommended packaging configuration for a first sample request
For a sharing bag intended to stand on a retail shelf, begin by requesting a stand-up pouch sample with an appropriate food-contact structure, an initial heat-sealing area, and a zipper if repeated opening is part of the intended use. Treat that as a candidate configuration to test with the recipe and portion.
Add a window when seeing the candy helps the customer assess the product. Locate it after the fill trial so it matches the settled product level. Request a hang hole only when the retail display needs one, and review its position alongside the tear features, sealing band, and printed information.
For a small single portion, compare that option with a simpler flat pouch. Consider filling access, how it sits in the display, and how it opens. A feature that makes sense for a sharing bag may add little to a portion intended to be finished at one sitting.
Discuss the print method after clarifying order quantity, the number of designs, and how often the artwork is likely to change. Ask for the quotation assumptions and proofing process. Avoid selecting a process solely from a generic promise about speed or price; the details of the order determine the comparison.
Use the available candy packaging options to prepare a sample brief. State the proposed format and the reasons for it, then list the decisions still open: exact size, material performance, window arrangement, sealing conditions, or artwork layout. This gives the supplier a concrete starting point without treating an untested configuration as final.
Frequently asked questions
How should I package homemade candy for sale?
Begin with the same product, portion, material, and sealing checks used for other retail candy. Also confirm that the production location, product, and sales channel meet the requirements that apply to the business. Home production does not determine those rules by itself. FDA's food business guidance directs prospective operators to consider federal, state, and local requirements. Resolve those questions before committing to printed packaging.
Can I order a standard quarter-pound candy bag?
You can ask suppliers for samples described for that portion, but the description does not establish a fit for your candy. Weigh approximately 113.4 grams for the trial, use the normal mix of pieces, and check the usable opening and closure space. Keep the approved sample code and drawing. If you later change the candy shape or introduce individual wrappers, check the fit again.
Is closing the zipper enough for the first sale?
Follow the intended package specification. On a heat-sealable pouch designed with a zipper and a separate initial seal, closing the zipper does not complete the specified sealing process. Confirm the correct seal location and establish settings with the proposed film on your equipment. Check finished packs against agreed acceptance criteria. Do not assume that a pouch is ready for sale simply because its zipper feels closed.
Will a clear bag keep hard candy fresh for several months?
That cannot be established from the bag's appearance. Evaluate the recipe, complete packaging structure, seal quality, and expected conditions using an appropriate storage assessment. Give the testing provider the finished pack, not just a description of a clear film. Keep the evidence linked to the package version, and review it when materials or production conditions change. Avoid transferring another seller's stated shelf life to your product.
Do I need to wrap each piece before putting it in a pouch?
The answer depends on the product and how it will be handled. Compare wrapped and unwrapped samples if individual wrapping is under consideration. Look at separation between pieces, the customer's serving experience, packing work, and the space occupied inside the outer pouch. Assess the proposed wrapper for its intended food contact as well. An inner wrapper changes the packaging system and should be included in the trial.
How do candy manufacturers package candy at larger volumes?
The operation follows the requirements of the product and the chosen equipment: portioning, filling or wrapping, closing, and checking the finished pack. Some lines use premade pouches, while others form packs from roll film. A growing business should confirm the format with its equipment supplier or co-packer before buying packaging. Share the candy dimensions, portion, proposed material, and sample packs so compatibility can be reviewed before the production order.
Send a sample brief before requesting the final quotation
Prepare the candy description, representative product photos, target fill weight, intended selling market, and display method. Add the planned packing process, storage target, order quantity, and number of artwork versions. If a current pack has a problem, include a photograph and describe when it happens.
Use those details to request a packaging discussion with Mylarbag. Ask for suitable sample options and the information needed to compare them. Once the filled sample, material specification, sealing process, and artwork are agreed, the quotation can describe a package you have examined under the conditions that matter to your product.