
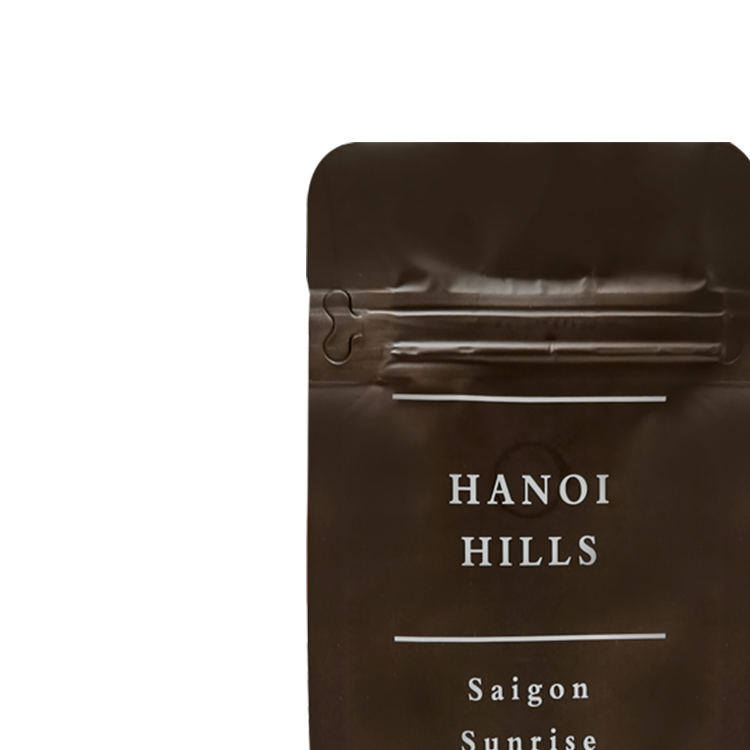
To package coffee beans for sale, begin with the finished coffee product and work outward: target fill, pouch format, opening and reclose route, artwork, label information, filling process, and the market where the product will be sold. A bag is not a separate last step. It is part of the retail product and should be planned before the coffee is packed.
For a first coffee line, do not try to solve every packaging question by copying another brand’s bag. Use a real product sample, choose one or two pouch directions to evaluate, and keep the coffee, pouch, artwork, and packing plan in the same brief.
This guide is for roasters and coffee brands planning packaged whole-bean or ground coffee. It explains the packaging decisions that should be made before an order is approved, without making shelf-life, legal, material-performance, or shipping promises.
Start With the Coffee You Are Actually Selling
The packaging brief starts with the coffee, not the bag photograph. State whether the product is whole bean, ground coffee, instant coffee, or another coffee product. Add the intended fill weight, the planned product range, and any packaging steps that happen after roasting.
The same pouch is not automatically right for every SKU. A whole-bean and ground-coffee product can sit differently in a bag. A 250g retail pouch, a 12oz bag, and a larger wholesale configuration each need their own size and format discussion. If the brand expects to sell several product types, record them separately instead of treating “coffee” as one generic fill.
Choose the Pouch Format Before Choosing the Finish
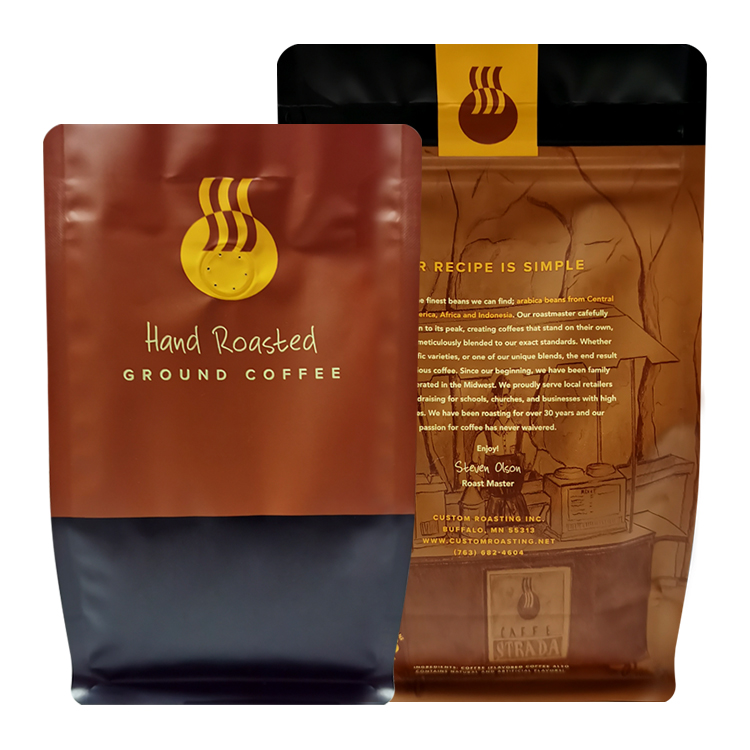
Start with the pouch format because it determines the basic package shape, panels, base, and top area. Common directions include flat-bottom pouches, stand-up pouches, side-gusset bags, and flat pouches. Each gives the artwork and packing process a different physical starting point.
This is not a list of facts to complete before you contact a supplier. It is a way to make the open questions visible. A supplier can then respond to the same pouch brief instead of assuming a format from a weight label or a logo file.
Plan the First Seal and the Later Reclose Separately
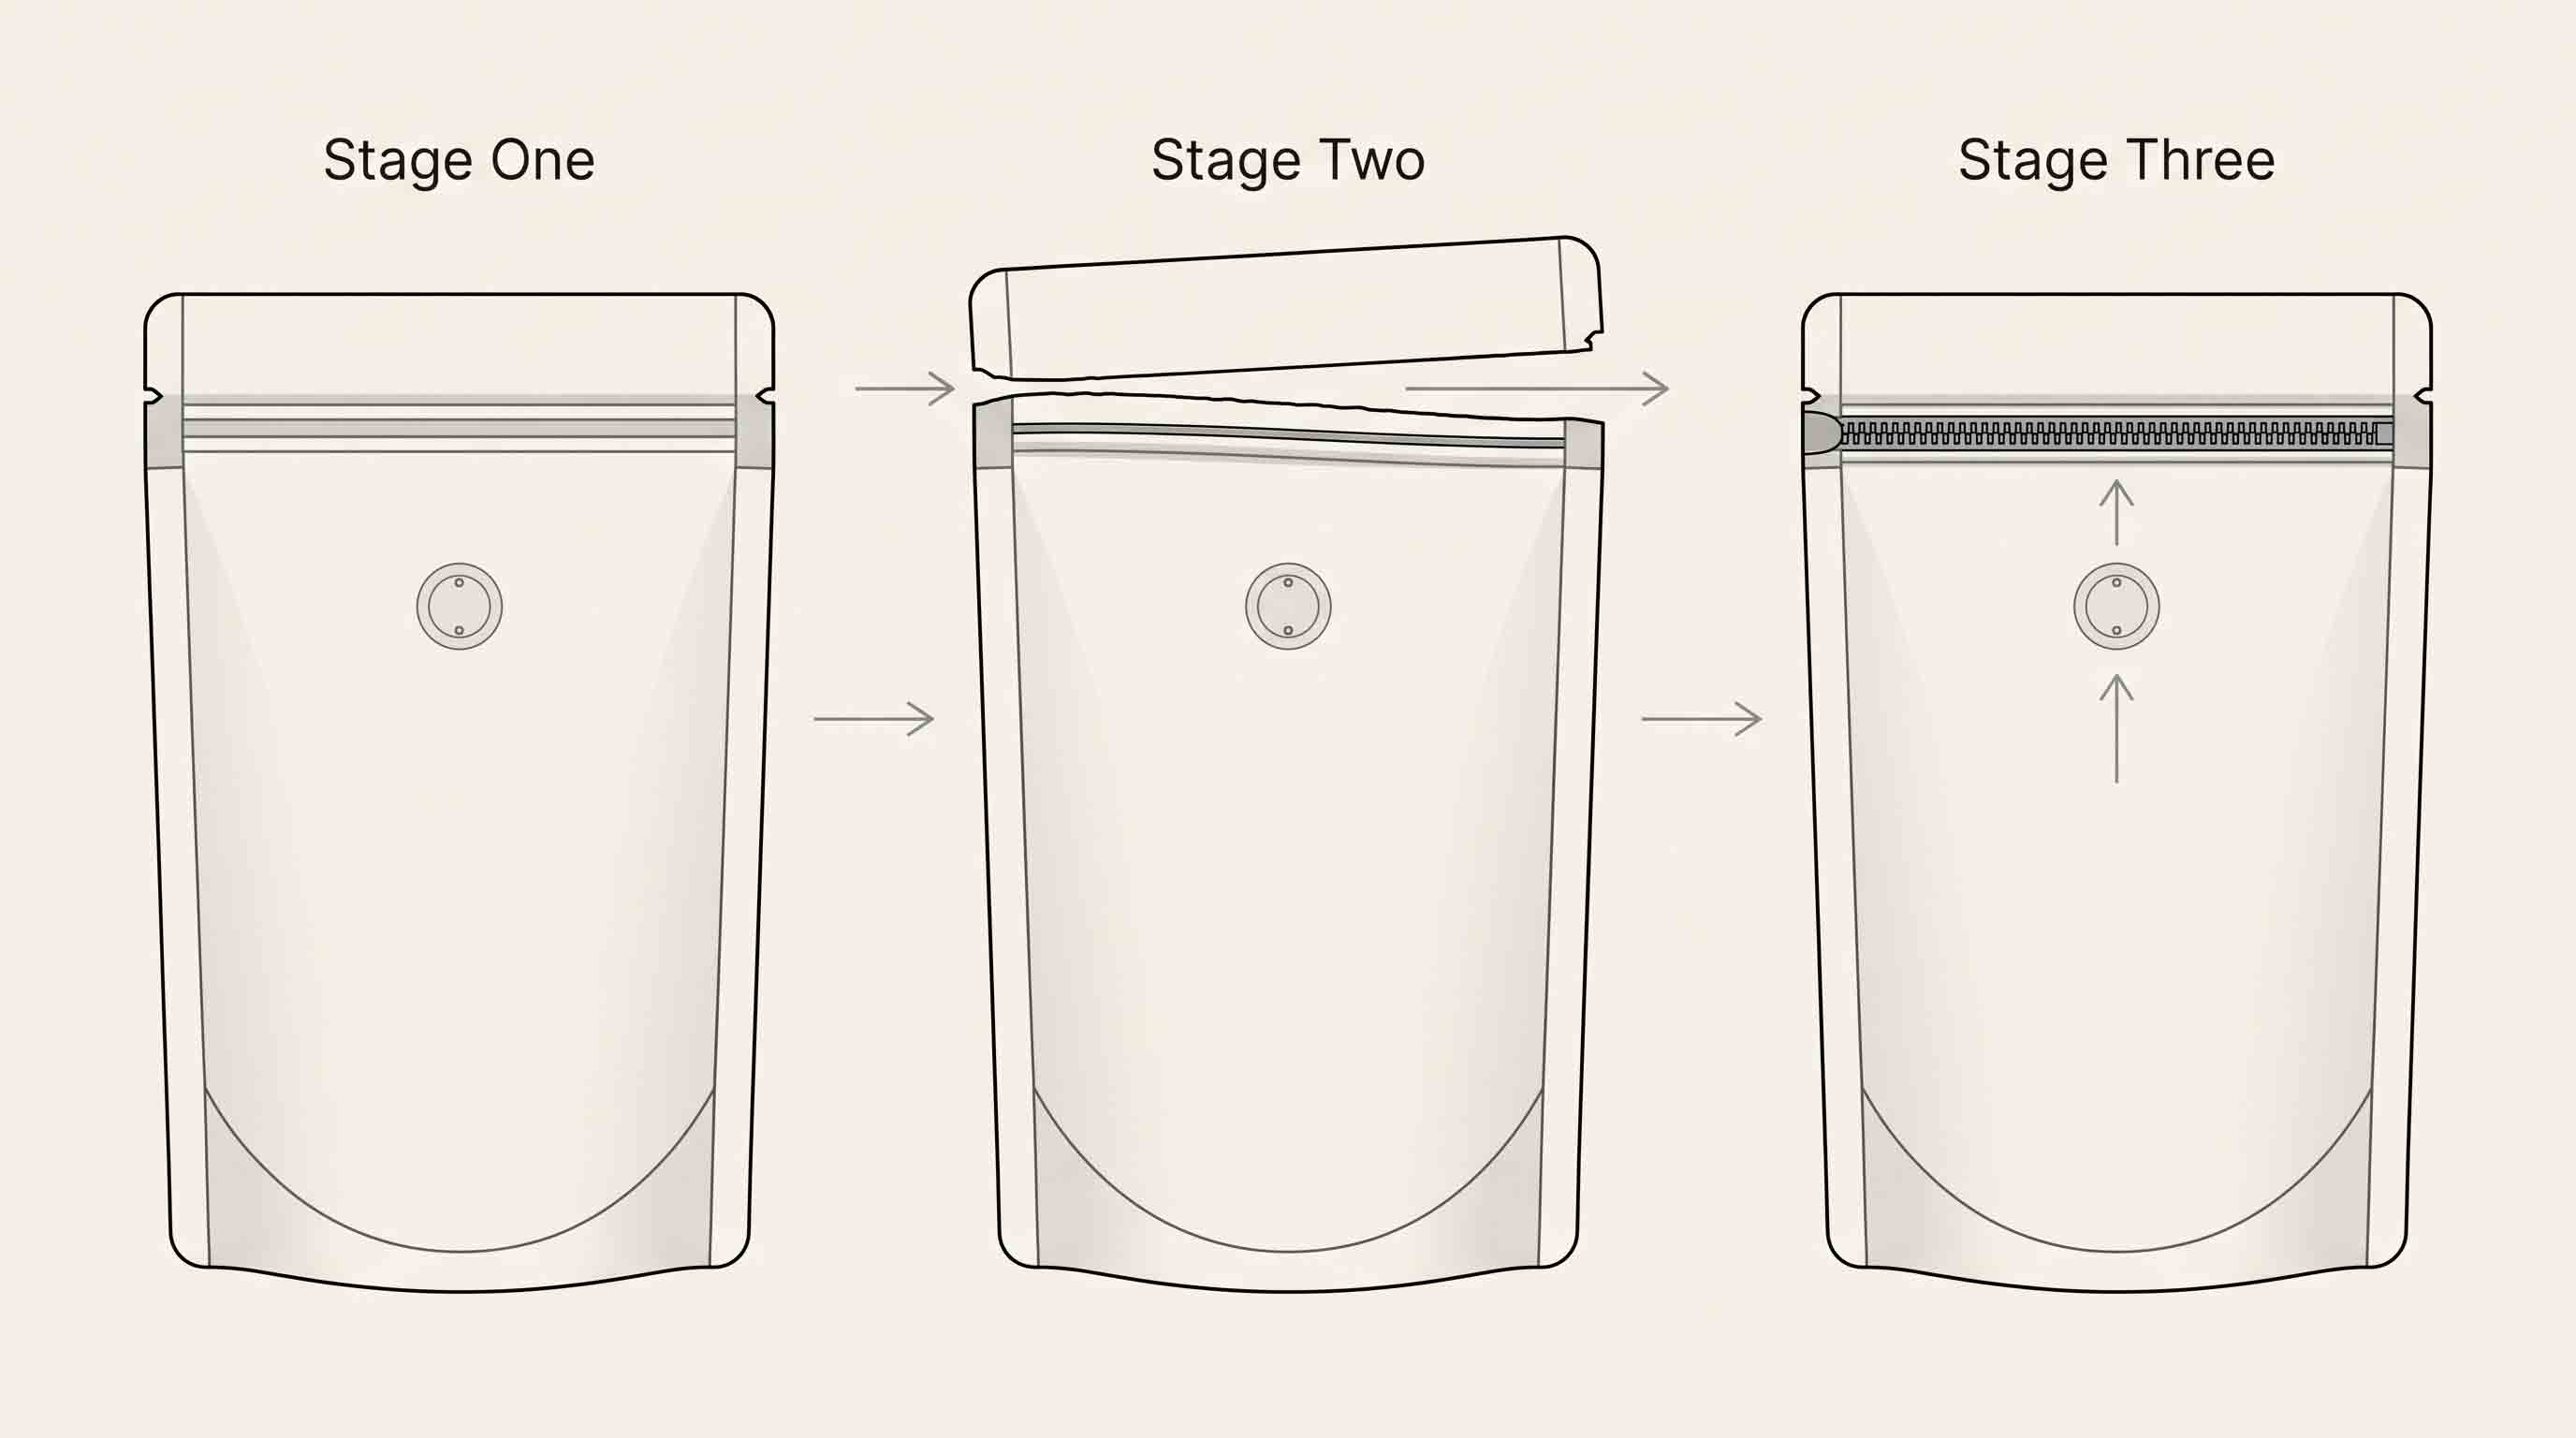
The first closure and the customer’s later reclose feature are different parts of the package. A top heat seal can be part of the initial closing process. A zipper, pocket zipper, or tin tie may be relevant after opening. The layout must leave room for both when the pouch includes them.
Do not assume that a zipper replaces a final seal, or that a valve explains the entire opening and closing design. Ask where each feature sits, how the pouch will first be opened, and what the customer is intended to use after opening. These are design and packing questions that should be resolved on the proposed format.
Use Artwork as Part of the Packaging Specification
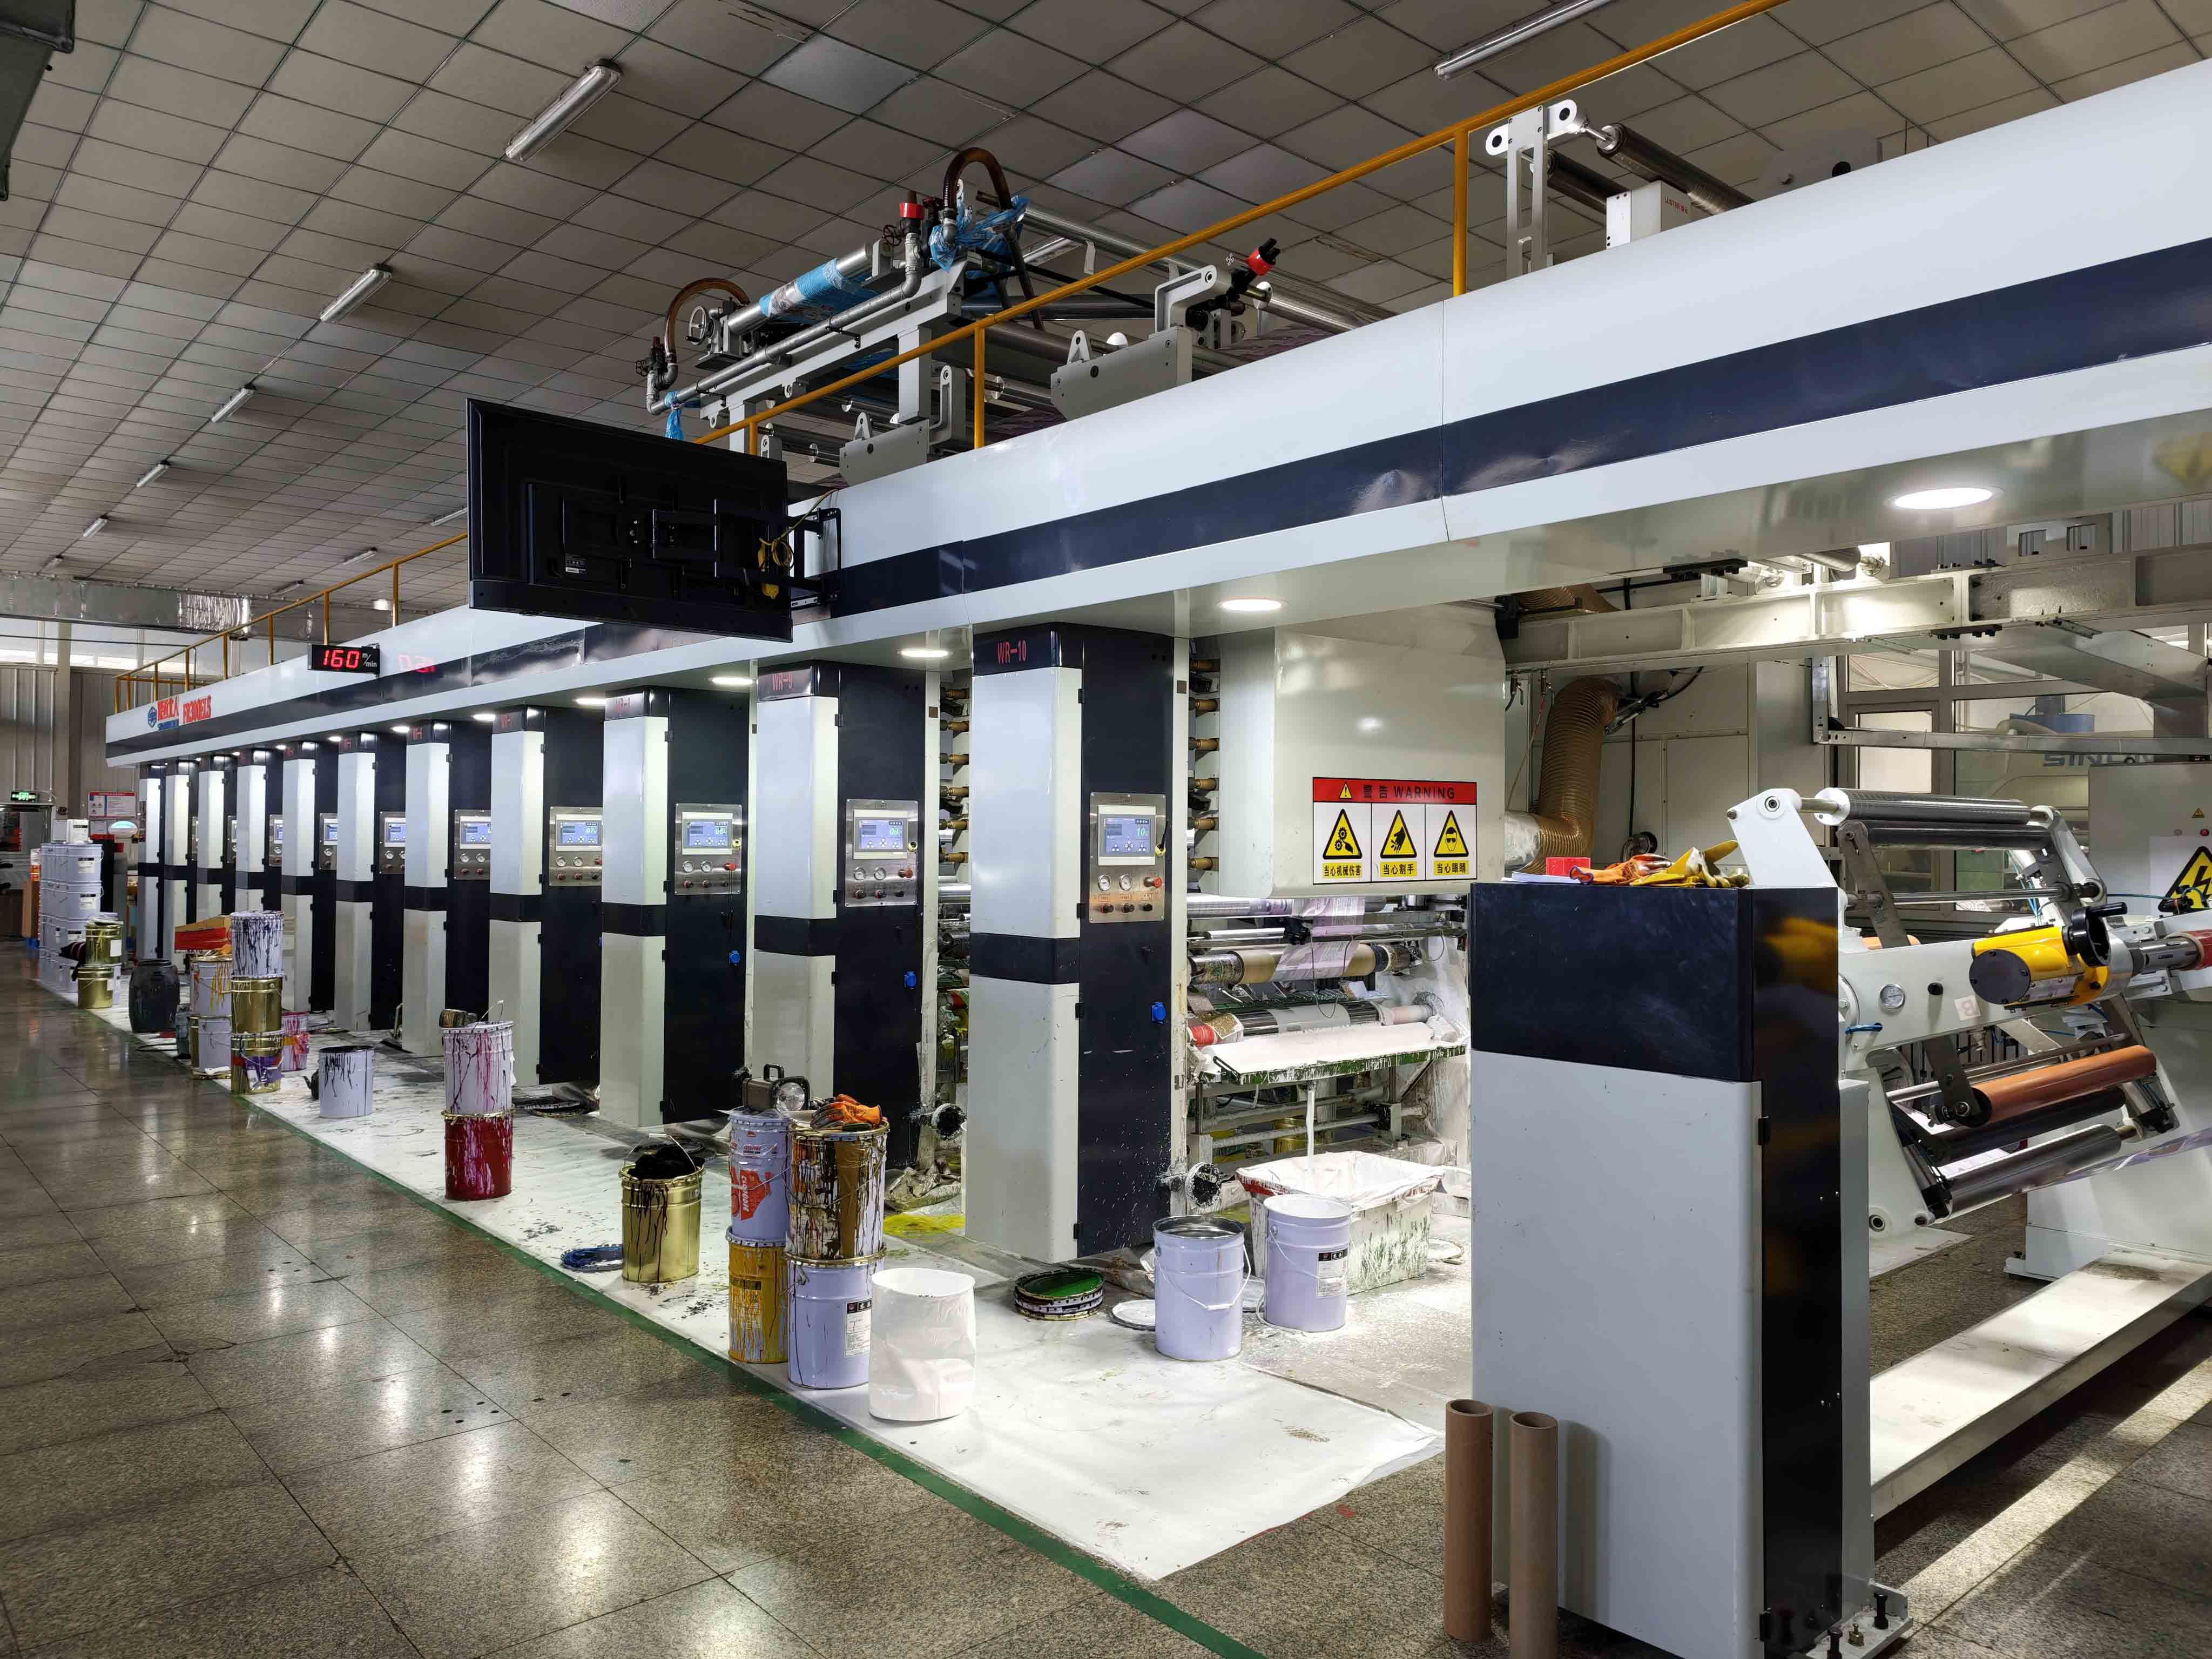
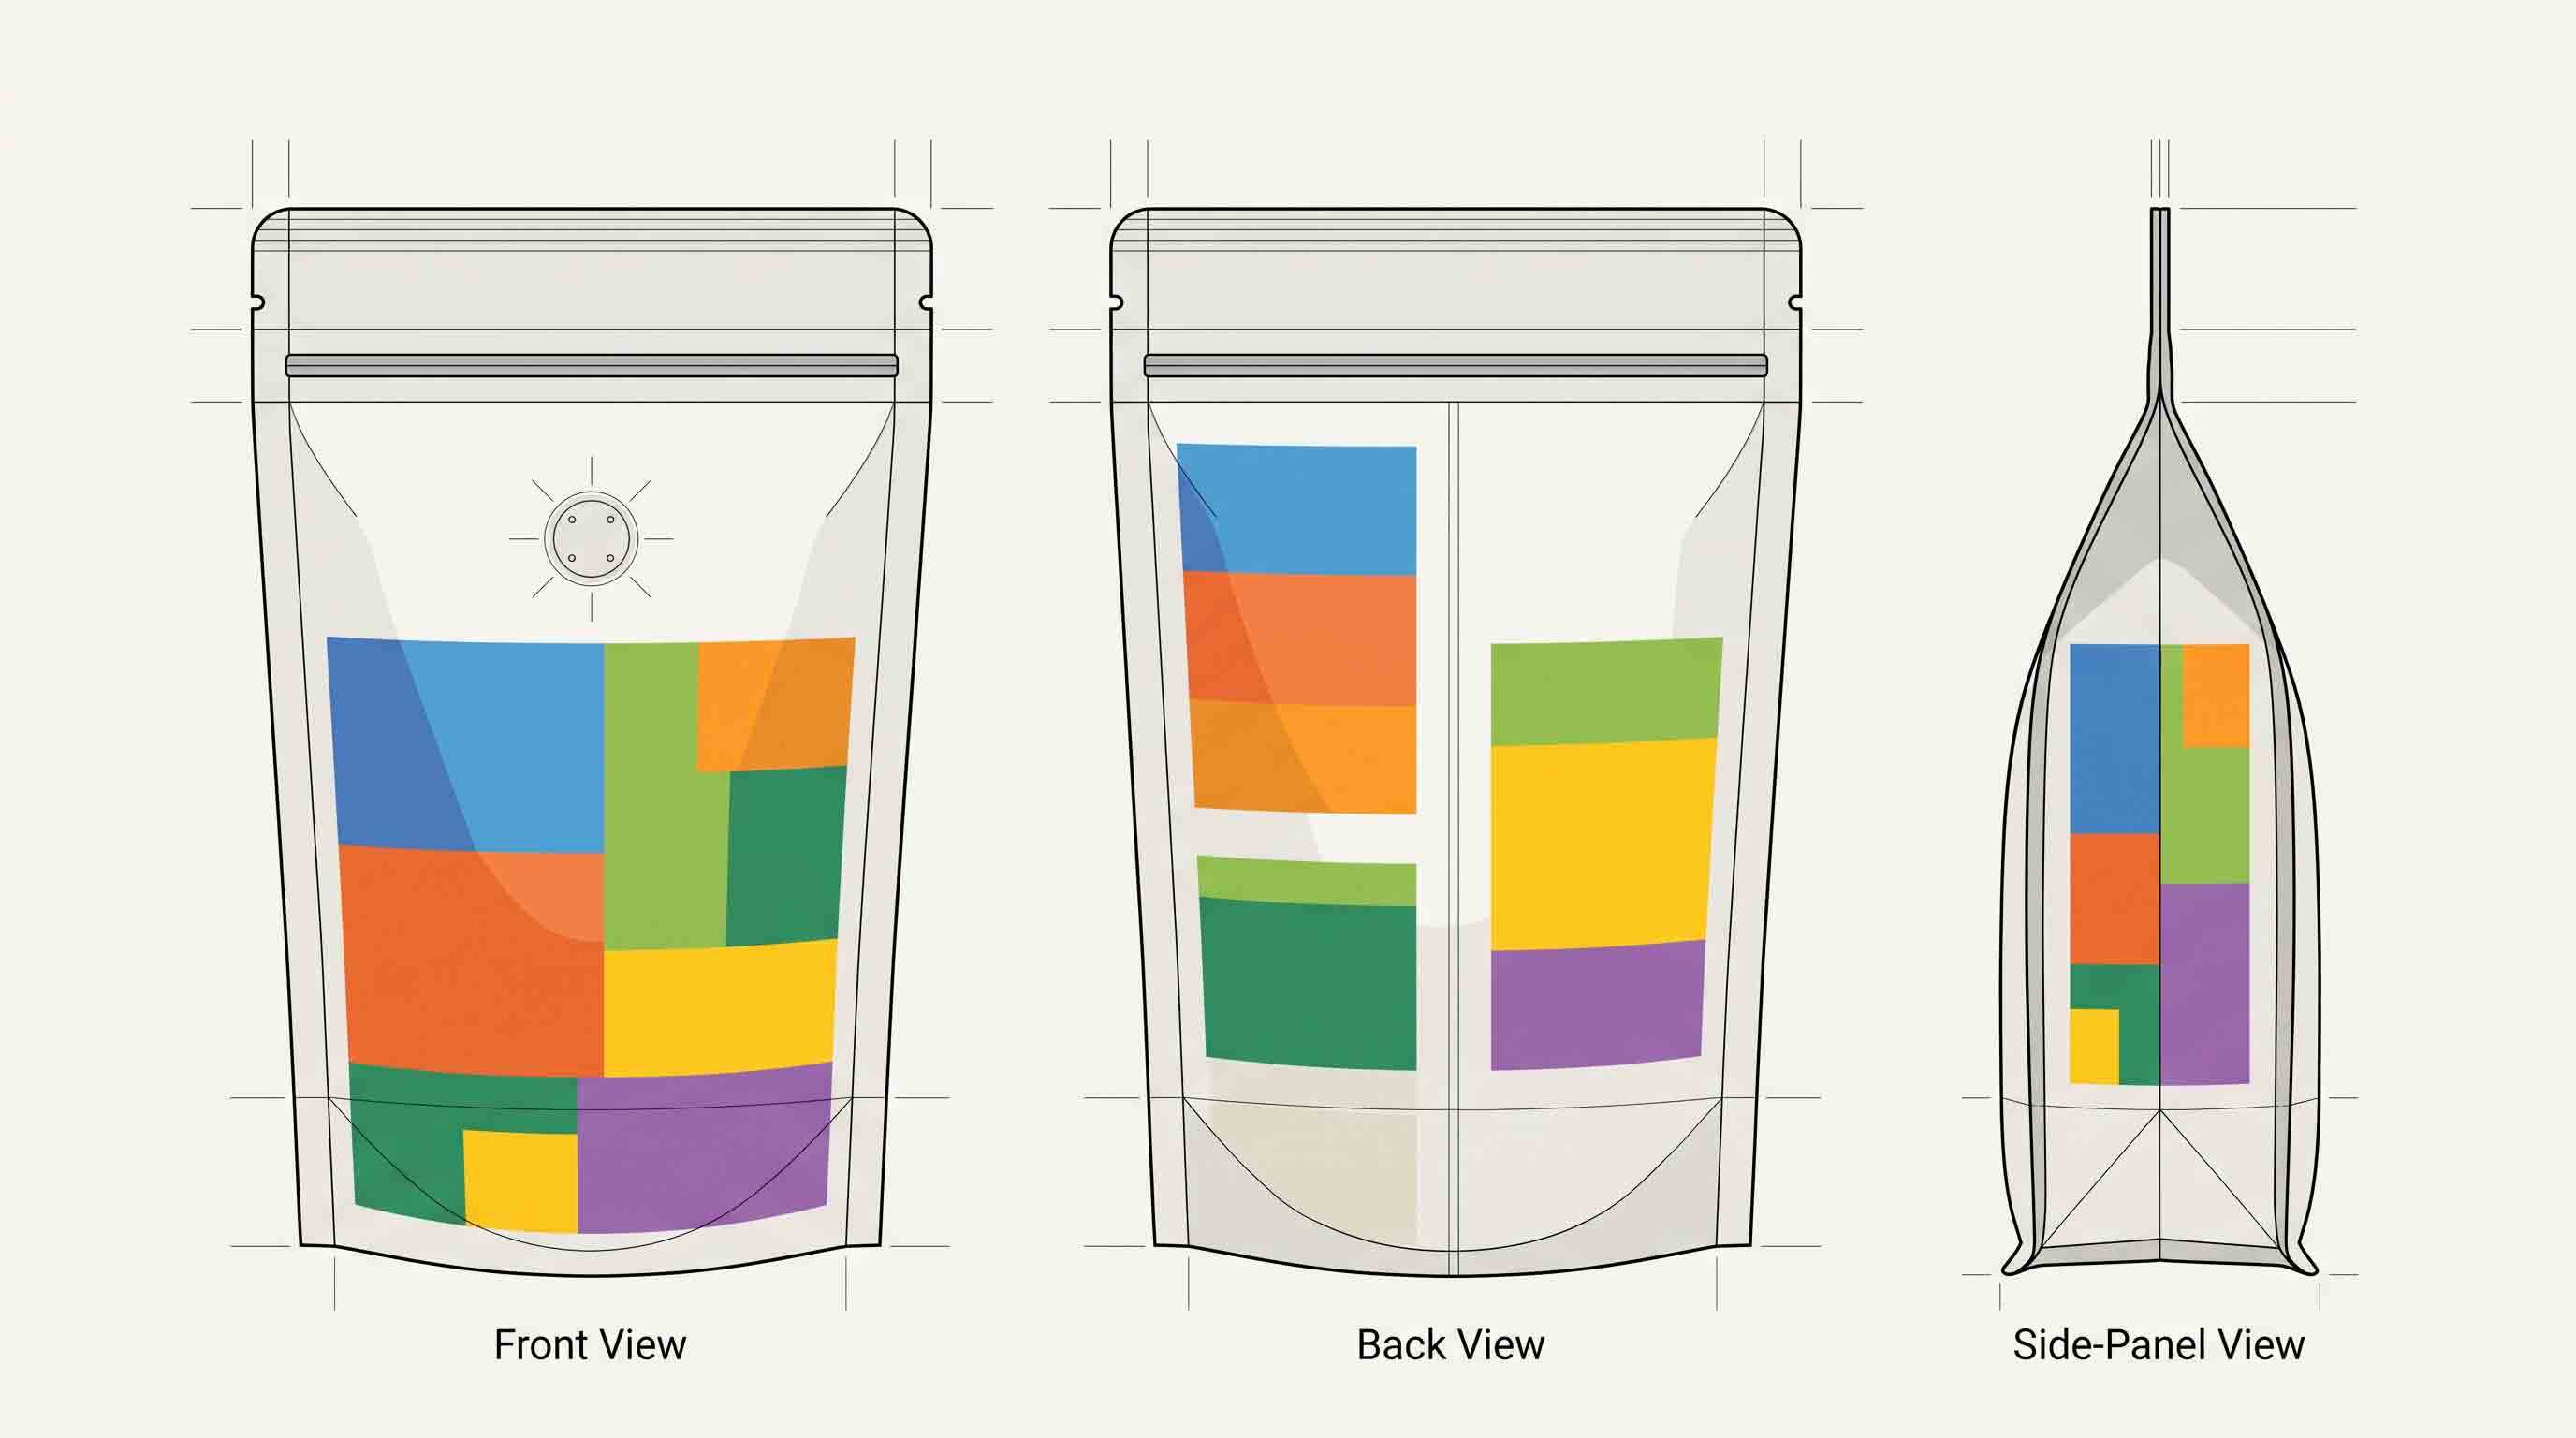
Artwork is not only decoration. It needs to fit the actual pouch panels, gussets, seals, valve area, and any closure feature. Keep the artwork file version together with the pouch brief. If the format or dimensions change, review the artwork again rather than assuming it can be transferred unchanged.
Start by listing what cannot move: the primary front panel, required product information, a barcode if one is part of the project, and any feature position. Then identify which parts of the pouch will be visible in the intended retail position. A flat-bottom pouch, side-gusset bag, and stand-up pouch do not use their surfaces in the same way.
For a multi-SKU line, a consistent design system can still need separate panel reviews. A change in fill weight, pouch format, or zipper position may change where the artwork can safely sit.
Use Published Coffee-Pouch Projects as References, Not Templates
Published project records can help a roaster ask precise questions. They show a real combination of pouch format, dimensions, material notation, printing direction, and named features. They do not establish that another coffee product will use the same configuration or achieve the same result.
For example, one published Mylarbag 12oz flat-bottom project lists MATOPP/VMPET/PE, digital printing, a 15 × 26 + 6 cm format, a side zipper, and a degassing valve. It is useful for seeing how a complete project is recorded. See the published 12oz flat-bottom coffee-pouch project.
Another published 250g flat-bottom project lists MATOPP/VMPET/PE, gravure printing, a 14 × 18.5 + 7.5 cm format, a valve, and a pocket zipper. It shows a different recorded configuration and feature arrangement. See the published 250g flat-bottom coffee-pouch project.
Use those records to ask about your project. Do not infer a customer’s business result, product performance, shelf life, market acceptance, order terms, or reason for choosing the bag.
Sample the Filled Pouch Before You Approve It
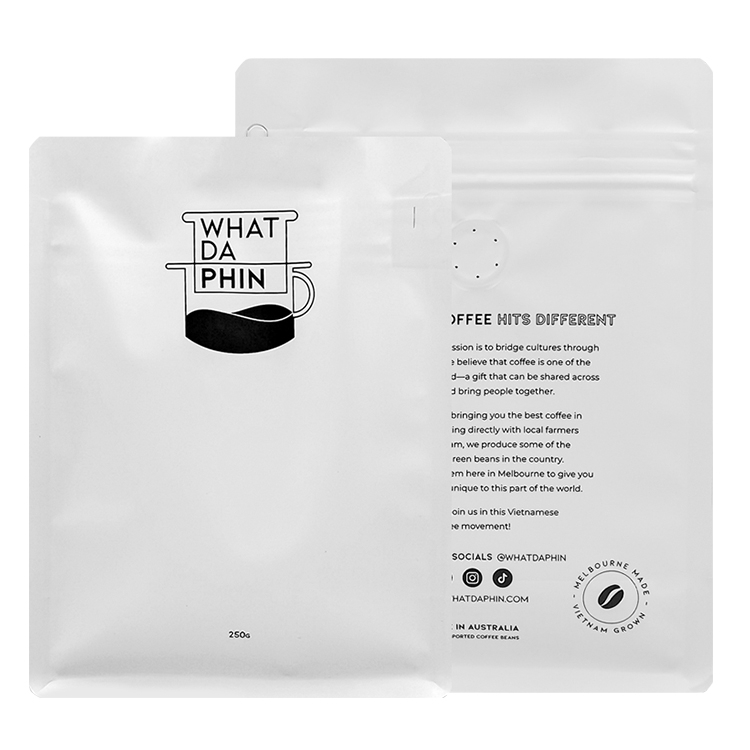
A sample is the point where a packaging idea becomes a physical item that can be reviewed with the actual coffee. Fill it with the intended product and look at the finished pouch, not only the empty bag. Check the overall profile, front panel, top working area, feature placement, and whether the chosen format fits the filling and sealing routine.
A sample can answer physical and layout questions. It cannot prove a universal barrier result, shelf-life result, food-contact status, recyclability, compostability, or legal conclusion. Keep such requirements in the project brief and request the relevant current information separately.
Prepare Label and Market Information Early
Coffee packaging usually needs information beyond a logo. The exact content and rules depend on the destination market and product. Rather than copying text from another country’s bag, identify the market early and keep any required review questions in the project file.
Separate the product-information question from the pouch-format question. A supplier can help identify panels and layout constraints for the proposed bag, but the brand remains responsible for the product information and market review that apply to its sale. This distinction prevents a label copy from being treated as a complete packaging specification.
Build a Packaging Brief Before Requesting a Quote
When you request a quote, ask suppliers to quote the same identifiable pouch. A useful coffee packaging brief can be short, but it should include:
- product type and target fill;
- pouch format or formats being considered;
- reference size, sample, or target dimensions;
- valve, zipper, tin tie, tear feature, or other feature needs;
- material direction or questions that need review;
- artwork version and finish direction;
- destination market and any project-specific documentation questions; and
- filling, sealing, storage, and shipping details that affect the packaging discussion.
If something is unknown, write “to be evaluated” rather than filling the gap with a guess. This makes supplier responses easier to compare and helps prevent a quotation for one pouch from being treated as a quotation for another.
Decide Whether a Stock Bag or Custom Pouch Fits the Project
A stock bag and a custom printed coffee pouch solve different packaging jobs. A stock pouch can be appropriate when an existing format, colour, surface, and closure fit the project and the brand plans to add its own label. A custom pouch conversation is more relevant when the artwork, format, dimensions, material direction, features, and panels need to be considered together.
Neither route is automatically better. The useful distinction is whether the buyer needs an available pouch or a specific finished package. A stock pouch does not become a fully specified custom coffee bag simply because a label is added. Likewise, a custom project should not be started with an assumption that every detail must already be known. The buyer can identify what is fixed and what needs review.
The distinction makes quotation and sample review more honest. It prevents a buyer from comparing a stock-bag price with a custom pouch quotation as though the two offers describe the same item.
Keep Three Reviews Separate: Pouch, Product Information, and Process
A coffee packaging project often contains three different reviews. The pouch review concerns the format, dimensions, panels, material direction, and named features. The product-information review concerns the text and information the brand plans to put on the pack for its target market. The process review concerns filling, initial closure, handling, storage, and receiving. They influence one another, but they are not the same approval.
Keeping them separate makes a supplier conversation clearer. A pouch supplier can review whether the proposed artwork needs to account for a seal area, a gusset, a valve position, or a closure feature. That does not make the supplier responsible for the brand's product information or for a market-specific legal conclusion. In the same way, a filled-pouch sample can expose a layout or handling question without proving a packaging performance result.
Write the open questions under the correct heading in the brief. For example, “confirm top working area after fill” belongs to the pouch and process review. “Confirm product-information requirements for the destination market” belongs to the brand's market review. “Confirm current artwork file” belongs to the artwork review. This small separation helps prevent an approval of one part of the project from being misread as approval of everything else.
Keep the Product, Pouch, and Artwork Version Together
Coffee packaging projects often change during development. The coffee fill may change, a zipper may move, an artwork panel may be revised, or a different pouch format may be chosen after a sample review. None of those changes is unusual. The risk comes from carrying an old artwork file or old pouch description into the next approval step.
Use one simple record for the current project. It can list the coffee product, target fill, pouch format, dimensions or sample reference, features, artwork version, target market, and the questions that remain open. When something changes, update the record and identify the new version before asking for another quote or sample.
This does not create a compliance document by itself. It is a practical way to make sure the buyer, designer, and packaging supplier are talking about the same pouch. It is especially useful when a brand has multiple coffee origins, roast profiles, or grind options that look related but use different packaging directions.
A Pre-Approval Check Before a Packaging Order
Before a pouch is treated as approved, pause and compare the information in front of the team. The following check is not a test protocol or a market-approval process. It is a way to catch mismatched project details.
If one field refers to a different pouch than the others, return to the brief before approving the order. A clear open question is safer than a confident-looking assumption.
It is also worth recording what the sample did not evaluate. For example, a physical pouch review may be useful for format, filled shape, and artwork position, while a separate project question may concern a document, a market requirement, or a logistics arrangement. Keeping those categories separate helps the team ask the right question of the right party.
The same approach keeps the project useful when more than one person is involved. The roaster, designer, packaging supplier, and receiving team may each own a different part of the decision, but they should be able to identify the same current pouch record.
That reduces avoidable rework before the packaging direction is treated as final internally.
Recommended Packaging Configuration: Begin With a Pouch Direction
For a coffee brand preparing its first retail pouch, start with a pouch direction for evaluation. A flat-bottom pouch may be evaluated where a multi-panel format is relevant. A stand-up or side-gusset format may be evaluated where its base or profile better fits the product and display plan. The final size, materials, features, and artwork should follow the project brief and sample review.
Use custom coffee bags to begin the format, size, artwork, and feature discussion. For an inquiry, use Contact and include your coffee product, fill, target market, format question, reference pouch, artwork stage, and packing workflow. This creates a useful starting point without promising that one public pouch configuration is right for every coffee line.
Frequently Asked Questions
What is the best packaging for coffee beans?
There is no universal best package. Start with the coffee, fill, pouch format, feature needs, artwork, packing process, and target market. Then evaluate a specific pouch sample.
Do coffee bags need a valve?
Whether a valve is part of the project should be discussed with the pouch format and overall feature layout. Do not treat a valve as a substitute for the complete package specification.
Can I use a stock bag and add a label?
That can be a practical route for some projects. It is different from a custom printed pouch, where the format, artwork, features, and other details are discussed as one finished item.
Should I select the bag before designing the artwork?
Choose the pouch format and dimensions early enough that the artwork can be reviewed against the actual panels, seals, and features. If the pouch changes, review the artwork again.
What should I test with a coffee-pouch sample?
Use the intended coffee to review the filled shape, panel layout, top working area, feature placement, and fit with the filling and sealing process. Keep other requirements for separate project-specific review.
Where can I start a custom coffee packaging project?
Start with custom coffee bags and provide your coffee type, target fill, format question, artwork status, feature needs, target market, and packaging process.
Package the Coffee and the Project Information Together
The strongest starting point is not a generic bag type or a copied retail design. It is a clear product-and-pouch brief that follows the coffee from sample review through artwork and packing. Visit custom coffee bags to start that conversation.