

To print on chocolate packaging, start with the package that will actually be filled: its format, dimensions, material, seal areas and opening features. Ask the converter for the current dieline, place the artwork on its real panels, and keep critical copy, barcode and graphics out of folds and working edges. Agree on the printing route and color reference, check a proof on the proposed material, inspect a converted sample with the actual chocolate, then approve a first-off production sample against the same file revision. The brand and converter should both know which version was approved.
Here “print on chocolate packaging” means printing the wrapper, flexible pouch or other packaging component, not applying edible ink directly to chocolate. This article concentrates on custom flexible pouches and printed film because those are the published Mylarbag chocolate projects. A paper sleeve, folding carton, direct-contact foil wrapper and edible transfer sheet each need their own supplier, construction and production checks. Printing a beautiful outer bag does not validate its contact surface, seal, shelf life or protection from shipping heat.
The shortest practical route is a physical pack brief, a controlled artwork file, a proof that answers the right questions and a documented first-run release. If one part changes—a bar size, pouch style, ingredient statement, ink or finish, or print method—identify what needs another review. A screenshot of a pouch is useful for discussion. It is not an approval of the printed and filled sales unit.
Begin with the chocolate and the finished pack
A chocolate bar has a shape, an orientation and an existing wrapping status before it becomes a print job. A 12 g square in a small sachet, a larger bar with an inner wrap, and loose chocolate pieces in a reclosable pouch do not use the same printable geometry. Decide whether the printed component touches the chocolate or sits outside an already approved inner wrap. Record target fill, the exact product or an accurate physical dummy, the current package size, the proposed structure and where the packing team closes it.
Take an empty sample and insert the real product, or a dimensionally faithful stand-in when food handling is not appropriate for a design review. View the pack front, back and side in the way it will stand, hang or lie for sale. Mark the front that customers will actually see. A flat artwork file can make a side gusset look like part of a broad front panel; the filled pouch may fold it away. The seal and tear route also take space that a marketing mock-up rarely shows.
Mylarbag's published 3 oz artisan chocolate project identifies digital printing, a MATT OPP/white kraft/VMPET/PE construction and a 13 × 21 cm size. Its title describes stand-up pouches, while a format field describes three-side-seal flat pouches. That discrepancy is material to the dieline. Request the current drawing and physical sample before assigning front, back, gusset or any zipper-safe region; do not silently pick one description because a gallery picture seems persuasive.

The size printed in a project record is a description of that project, not a fit recommendation for every 3 oz bar. Thickness, inclusions, sleeve, internal clearance and how the item enters the opening all change the result. Do a fit test before an expensive image or spot finish is positioned against the wrong blank. If you are still comparing two pouch formats, maintain separate working layouts until one has a defined construction.
Get the converter's current dieline and mark the working zones
Use the converter's drawing for the selected pouch and revision. A dieline is a production map, not a generic rectangle found online. It should let the team identify trim or cut positions, the front and back panels, fold or gusset transitions, factory seams, the open filling edge, any zipper or tear feature, and where graphics can continue or must stay clear. Ask which side of the film is printed and how the flat web becomes the finished package.
Put the version of the dieline beside the version of the artwork. Mark a printable area, any supplier-specified bleed, and an internal clearance for text and codes. Those values depend on the actual construction and process; there is no sound universal millimeter figure for every chocolate pouch. A graphic may run across a permitted panel boundary when planned with the converter, while a small ingredient line or barcode must remain fully legible on the finished sales unit.
| Area on a chocolate pouch | Ask the converter | Check on a physical sample |
|---|---|---|
| Front and back panels | Which surface becomes the customer-facing front after conversion and filling? | The brand block and product name remain visible at the intended shelf orientation. |
| Side or bottom gusset | Where do folds change the visible shape and printed registration? | Important details are not hidden in a fold or stretched into a corner. |
| Factory side or bottom seals | Which portions are joined during pouch making? | Fine copy and intended effects do not land inside a crimp or distortion zone. |
| Open top and packer's final seal | How much clear working land and alignment are required? | The bar and artwork do not interfere with the filling and closing operation. |
| Zipper, notch or hang hole | Where are the features on the current version? | Opening instructions and design elements survive the intended first opening. |
| Barcode and variable-code area | Where will the symbol be flat, visible and scannable? | Codes are clear after filling, with appropriate quiet zones and no crease. |
The first printed proof should show the panel labels or a clear map of which face becomes which part of the pouch. Check the orientation of front and back together. On a machine-formed flow wrap, the repeat length and the relationship between the bar, longitudinal seam and end seals need a different film layout from a premade pouch. Do not adapt the pouch dieline for a bar wrapper simply by stretching the graphic.
An empty paper mock-up can catch a reversed panel or a title placed across a fold. It cannot prove how a laminated film will print, how a zipper will convert or how a filled bar will sit. Note what the mock-up answered and what remains for the physical sample. This distinction prevents a signed layout PDF from being mistaken for a validated production pack.
Hand off a file that prepress can actually review
Send the current editable master and a review PDF, with linked or embedded artwork and the fonts handled as agreed with the printer. A low-resolution screenshot may communicate an idea, but it does not preserve the separate objects, imagery and layers needed to inspect fine type, color, white ink, cutting guides or a selective finish. Keep the technical guide on a named, nonprinting layer and identify which elements are intended to appear on the package.
Check raster images at the intended printed size, not simply at 100% on a phone. Keep small logos and critical type as clean vector artwork where possible. Review tiny reversed text, thin rules and intricate cocoa-pod artwork against the selected process and material; ask the converter to flag anything it cannot hold reliably. It is better to enlarge a line before production than to rely on the press to rescue a faint screen preview.
Adobe's Illustrator guidance on printer's marks and bleed explains what those marks do and says the print provider should advise the bleed needed for the job. Follow the converter's actual file specification for color space, image resolution, PDF settings, spot-color naming and technical layers. Do not send one “universal print-ready” PDF to two unrelated suppliers and assume their constructions have the same requirements.
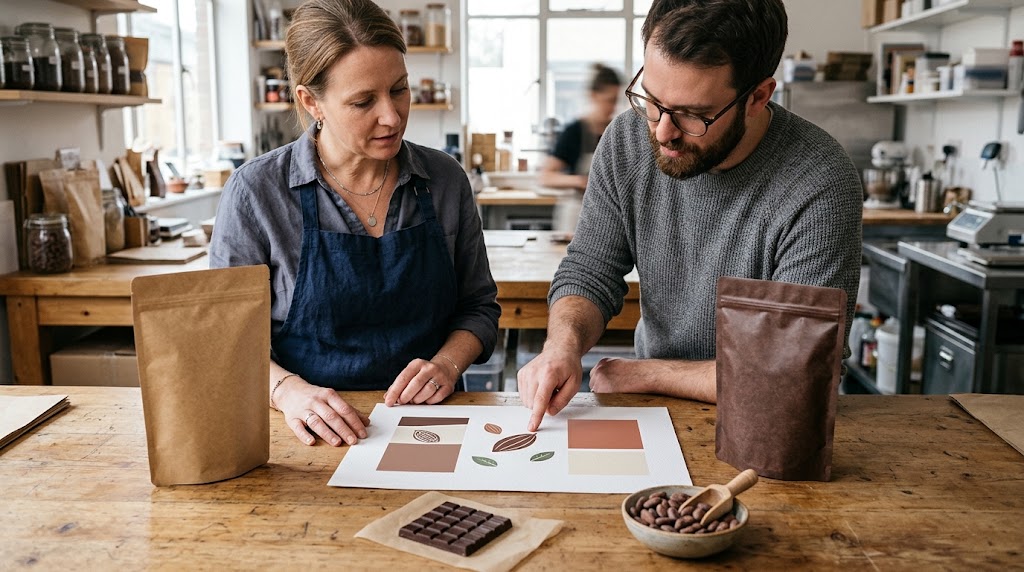
A useful handoff note names the SKU, artwork revision, pouch drawing revision, proposed structure, print method under discussion, front orientation, white-ink or spot-finish layers, barcode source, market, reviewer and unresolved questions. Put any revised nutrition or allergen copy into that controlled record. When a buyer sends “final-final-v3” by chat after the printer has approved a different file, the problem is version control before it is print quality.
Choose the printing route for this job, not a visual stereotype
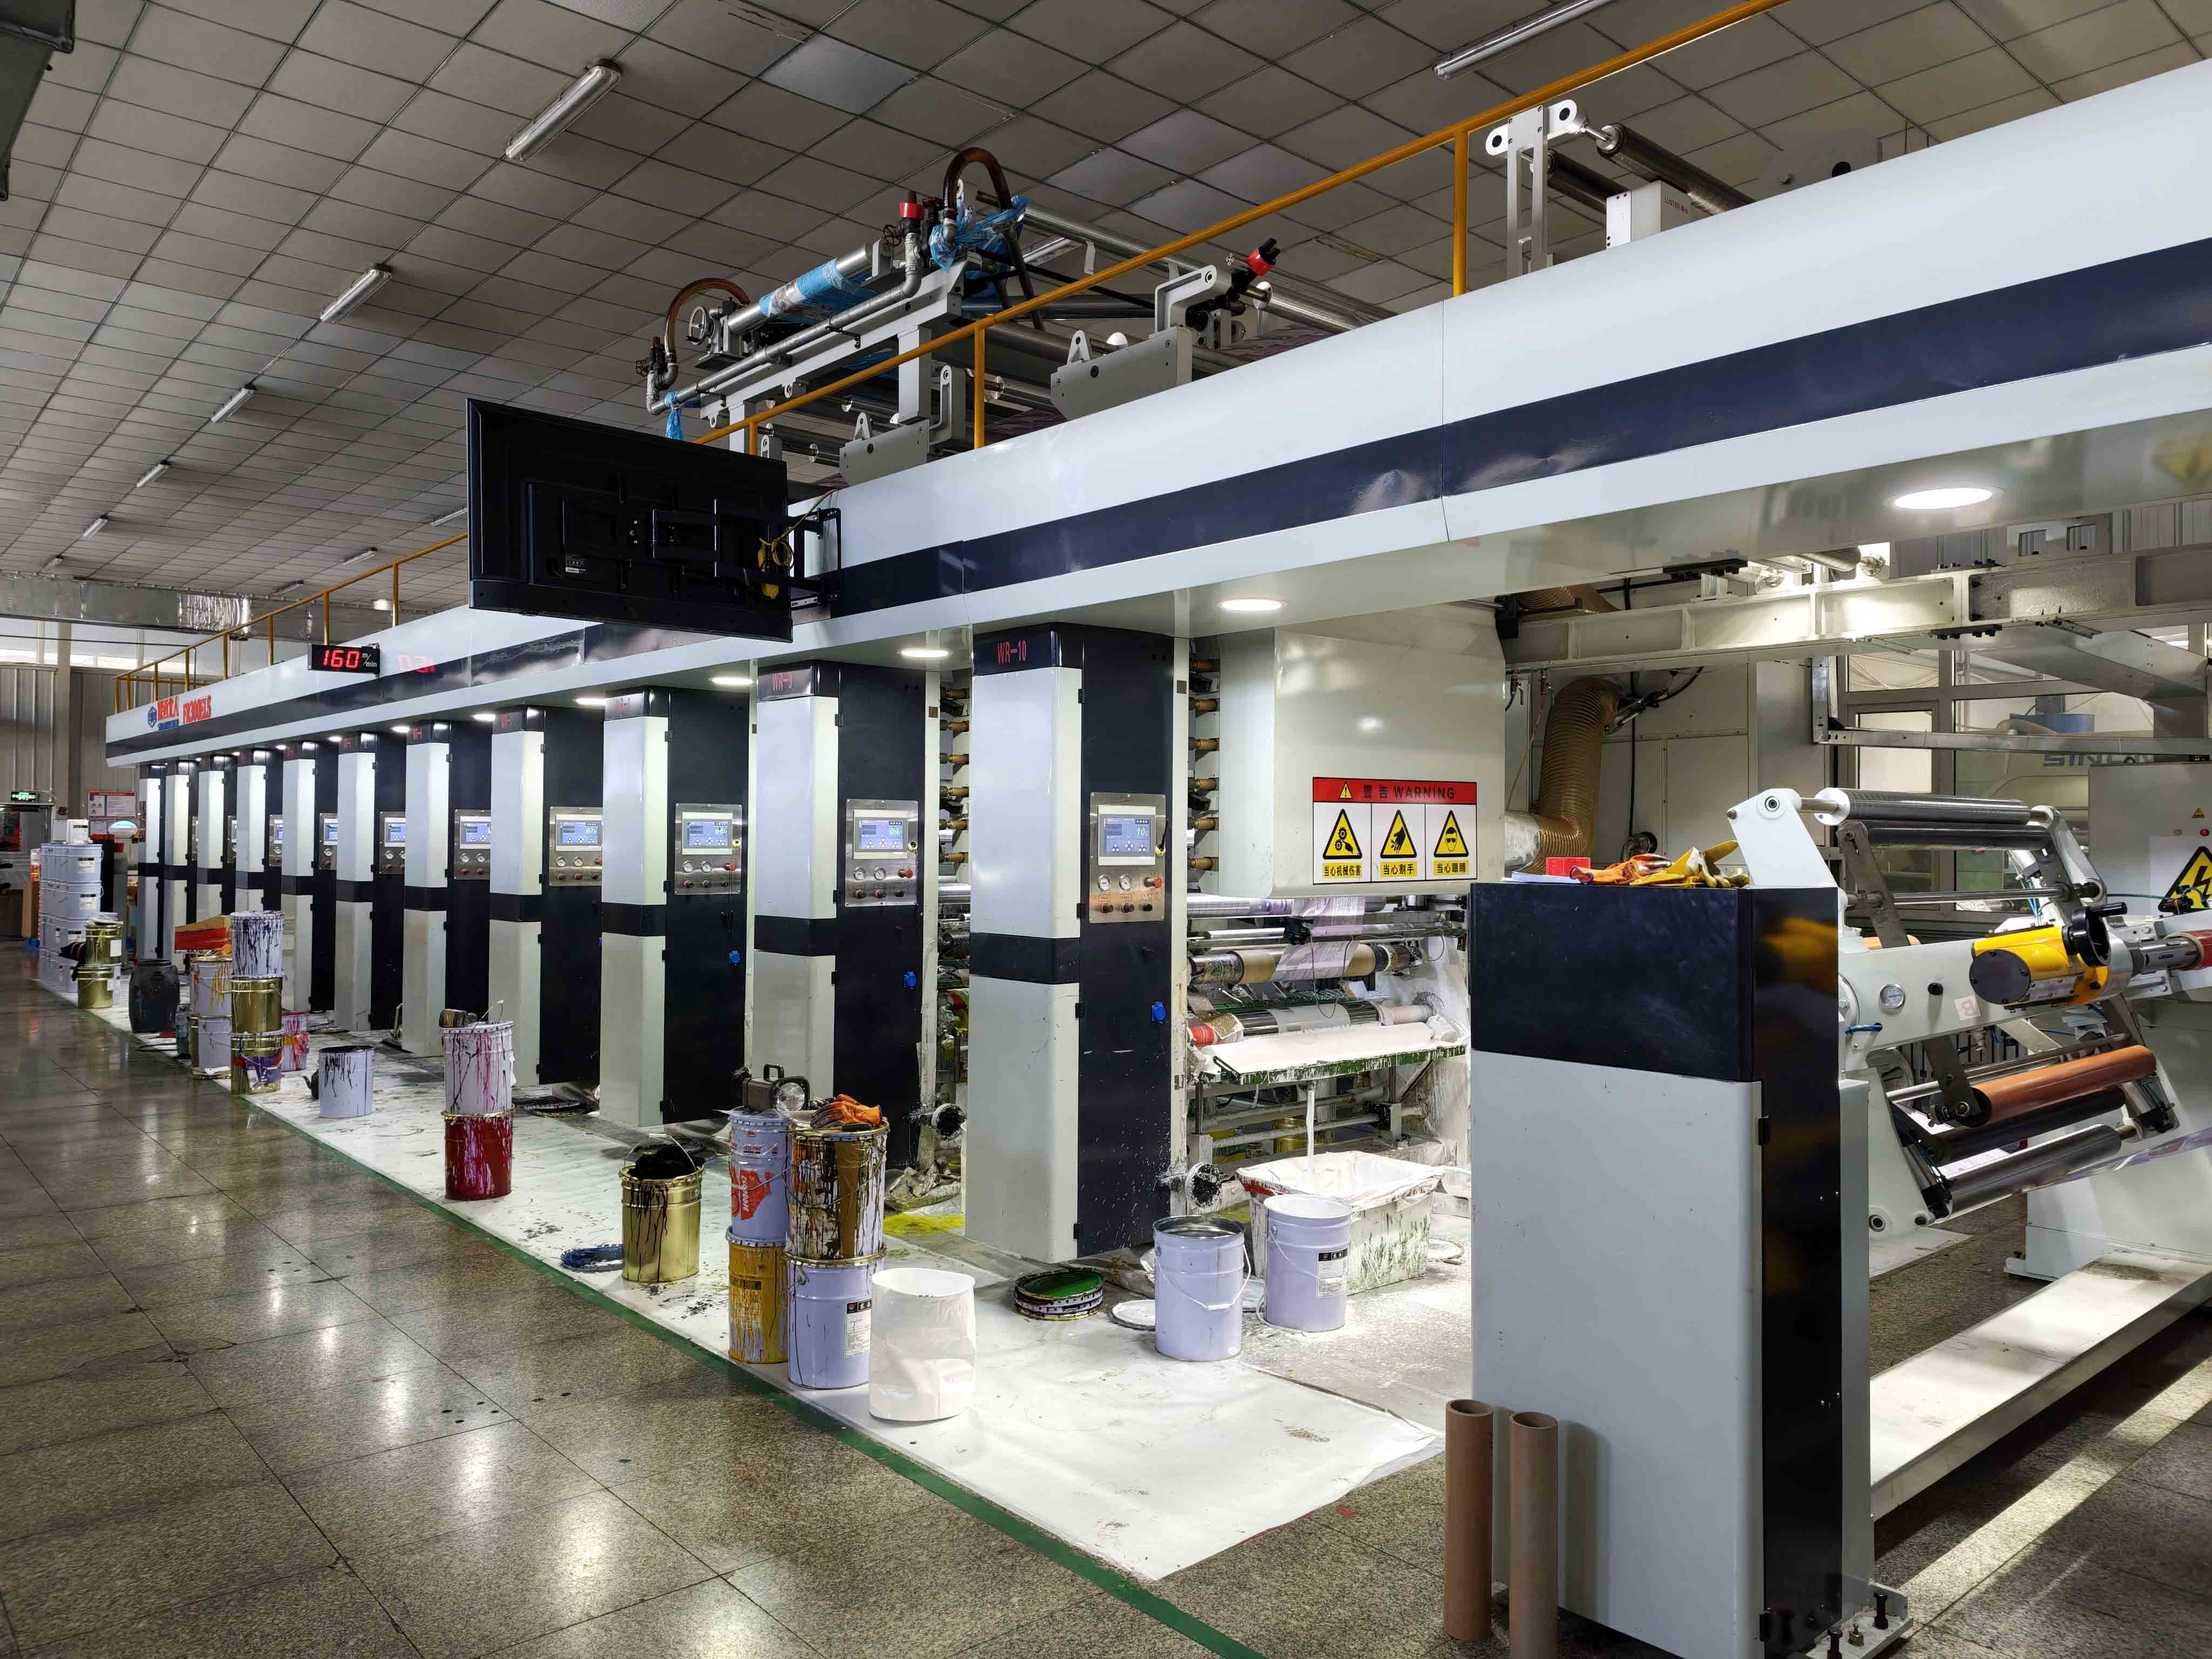
Digital and gravure are two documented routes in Mylarbag's flexible-packaging work. A digital press can be considered when a launch has shorter runs or many artwork versions; gravure can be considered for repeated higher-volume work where the cylinder setup is justified. The appropriate route depends on material, quantities by SKU, dimensions, color and finish requirements, available equipment and the actual quote. Neither process automatically gives perfect color, a lower total bill or an approved food-contact package.
The public 3 oz chocolate project is explicitly described as digitally printed. Mylarbag's published 12 g Madagascar dark-chocolate sachet lists gravure printing, MATOPP/VMPET/PE and an 8 × 8.5 cm three-side-seal format. The artisan bean-to-bar pouch project lists gravure, BOPP/PMP822/CPP, a 12.7 × 15.3 cm flat pouch and Spot UV. These are descriptions of different published configurations. None provides a price threshold or proof that a new artwork, structure or food-contact condition will perform the same way.
| Decision factor | Digital route to discuss | Gravure route to discuss |
|---|---|---|
| Number of designs | Several flavors or a changing short-run range may favor a lighter setup. | Stable art repeated at larger quantities may justify cylinders. |
| Up-front and repeat costs | Ask for the complete per-SKU quote and how revisions are charged. | Ask about cylinder costs, ownership, storage, changes and repeat-run economics. |
| Color and effects | Ask which spot colors, white underprint and finishes the selected press/structure supports. | Ask how cylinders, colors and any separate finish step will be specified and approved. |
| Proof comparison | Request a proof on the proposed material, noting any difference from the production setup. | Agree on a color target, setup method and first-off comparison for the real run. |
| Schedule | Include artwork revision, proof, converting and freight in the timeline. | Include cylinder preparation, approval, printing, converting and freight. |
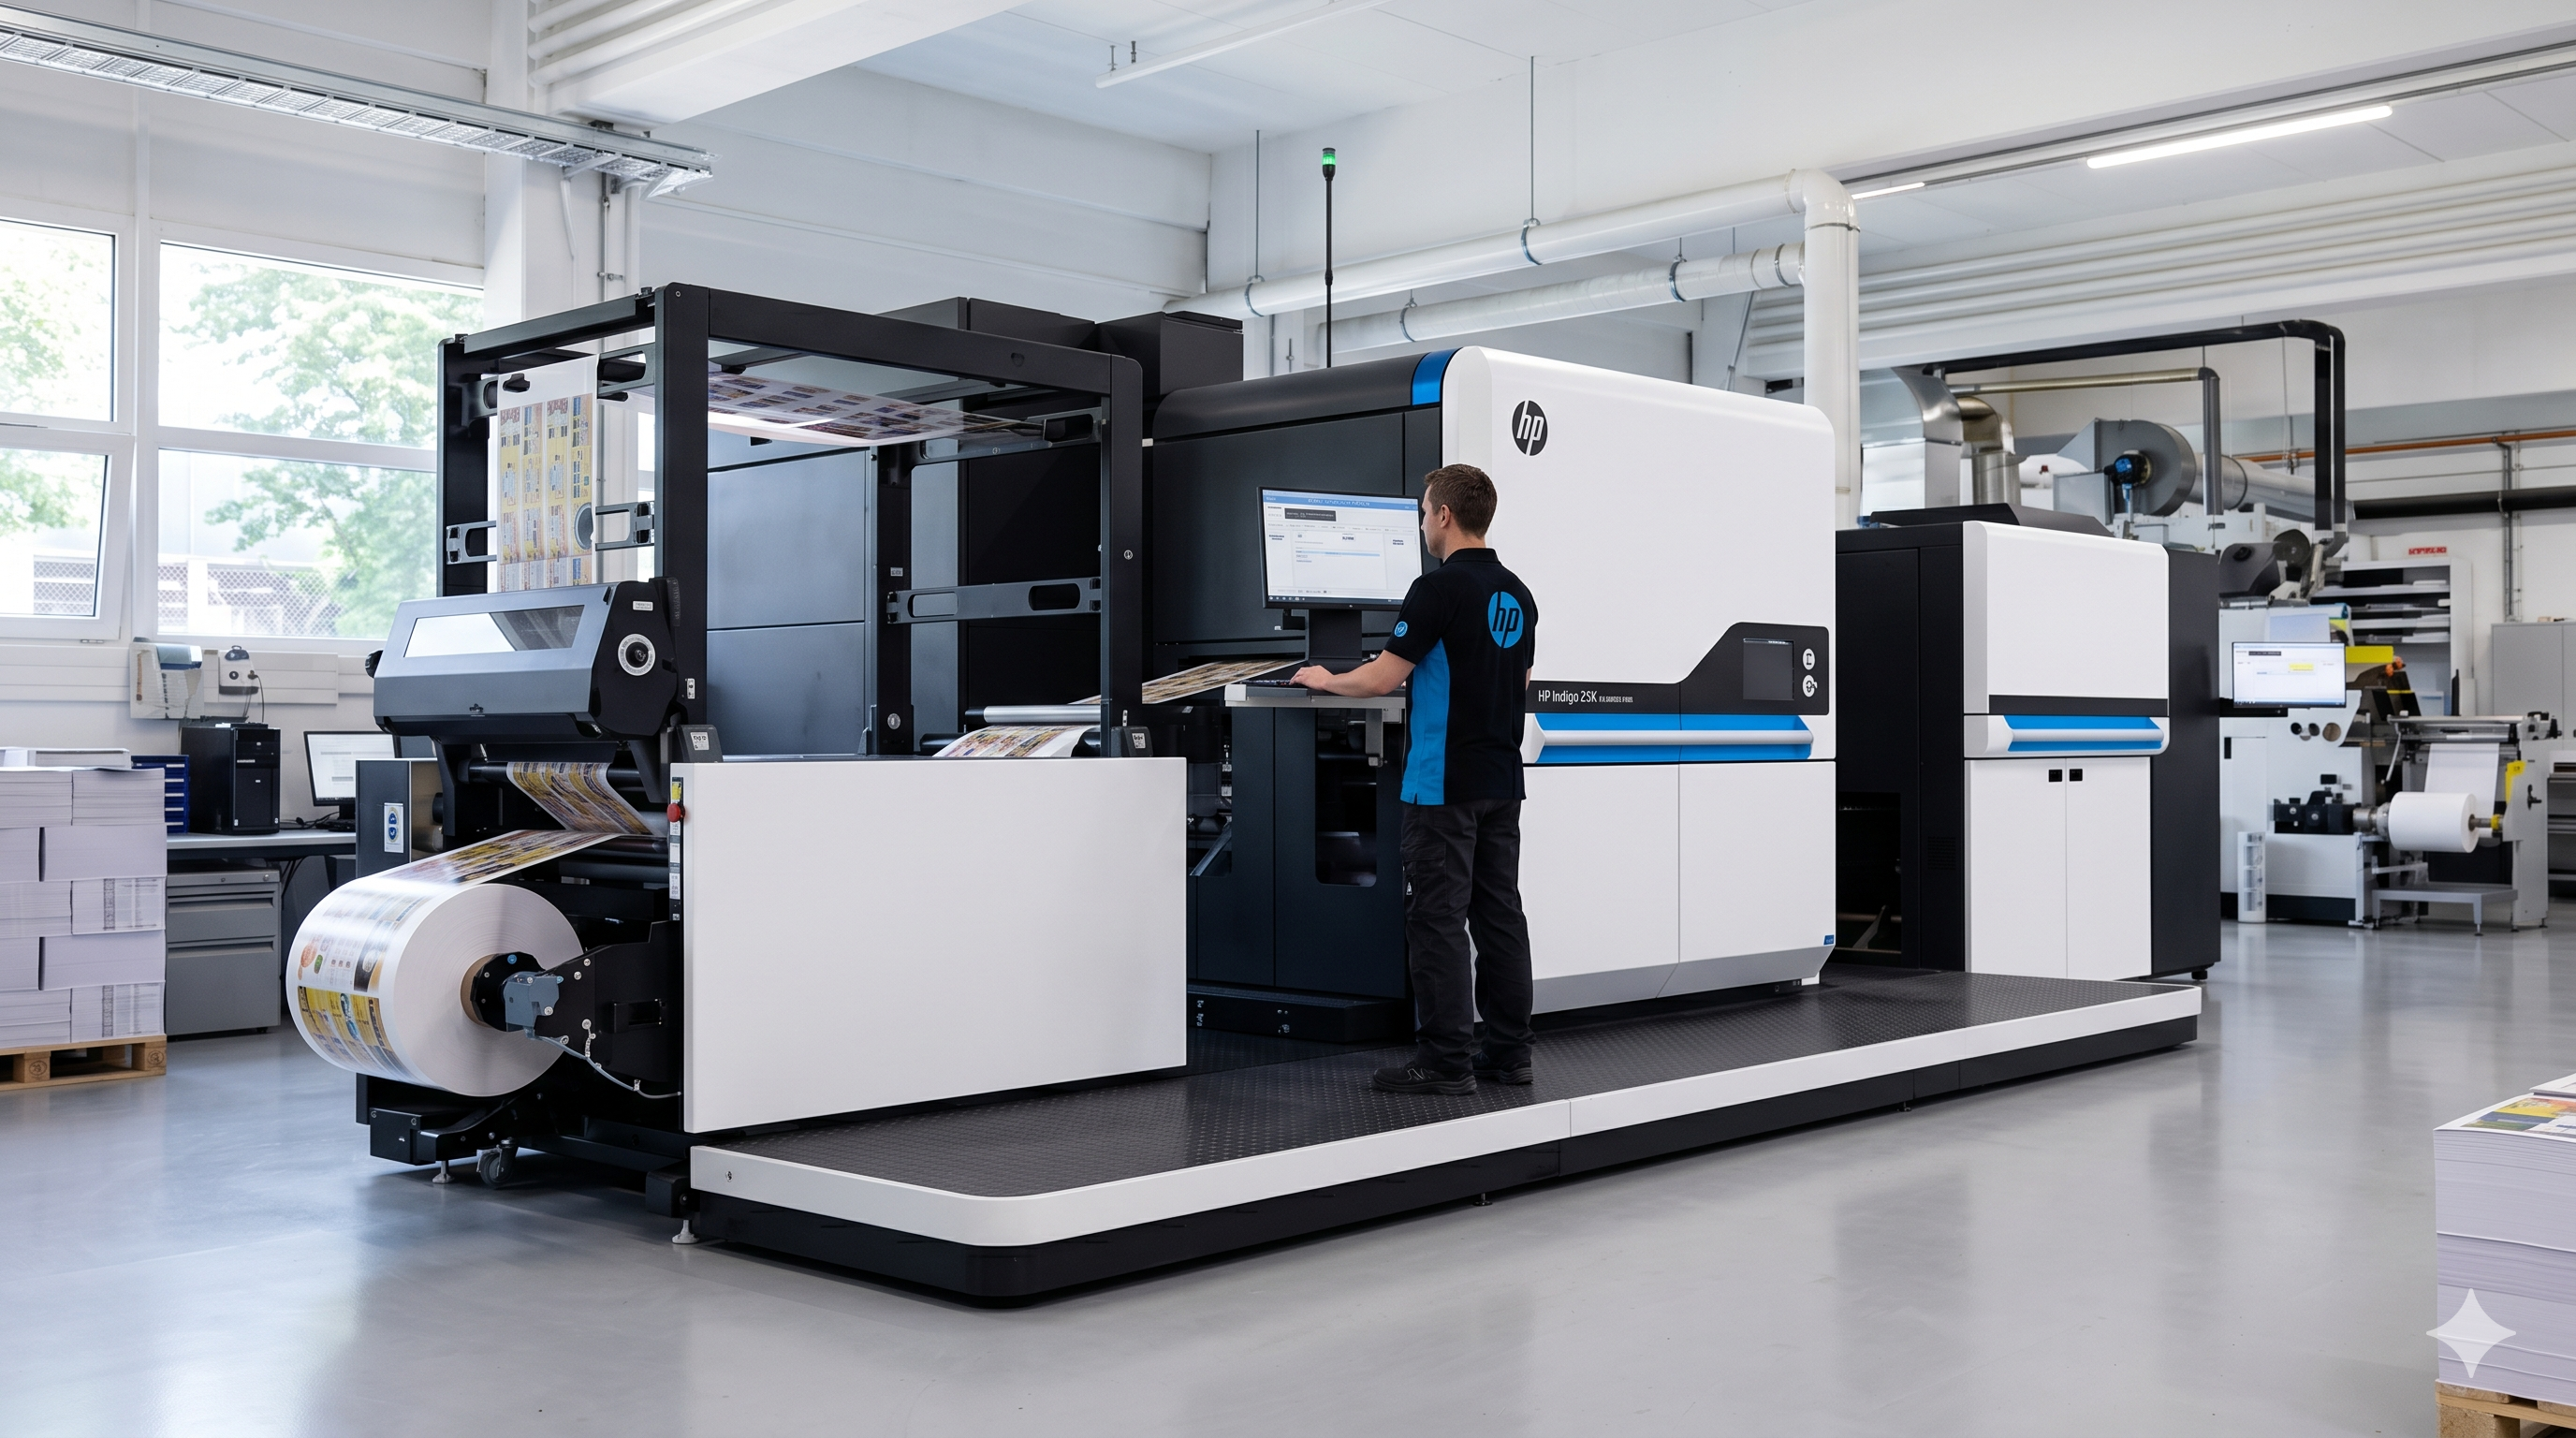
Request one comparison for the same pouch dimensions, structure, artwork versions, colors, finish and delivered quantity. A quote for plain digital pouches and a quote for a gravure pouch with a special coating are different products. If you expect reorders or seasonal SKU changes, ask how the economic picture changes when one flavor is revised but the others are not. Keep an approved reference sample and version so the next run is measured against the right job.
Check the material and ink path before approving color
Printing does not occur in isolation. The visible outside can be a matte film, a paper-led laminate, a clear film that needs white behind a design, or another specified surface. The interior may be the food-facing layer, or the chocolate may already have an approved inner wrap. Ask the converter for the outside-to-inside construction, the print position, any white ink, adhesive and coating, and the proposed use conditions. A silver-looking pouch is not necessarily aluminum foil, and a kraft look does not tell you what touches the chocolate.
Reverse printing, surface printing and adding a finish on an outer surface create different pathways for ink and handling. Do not instruct a local office printer to put ordinary ink on a surface that will directly touch unwrapped chocolate. The packaging supplier and brand need to evaluate the entire finished article for its intended product, contact, time, temperature and market. A phrase such as “food-grade ink” alone does not establish the status of a converted pack.
The FDA's food-contact component guidance describes assessing the regulatory status of the individual substances and their intended use. The European Printing Ink Association's food-contact-material principles emphasize communication between ink supplier and converter, risk assessment and good manufacturing practice. Ask for the documentation relevant to the target sales market and actual material stack. Do not transfer a statement for one ink or film to a different finished structure.
Color is also a material question. A warm brown over white kraft, a deep brown on matte film and the same nominal values over a reflective layer may look different. White ink can be part of the artwork plan rather than a silent press adjustment. Identify the desired printed reference on the intended substrate. A monitor, an office printer and a factory press do not display color the same way; approve the kind of proof that can answer your specific color question.
Build a color reference that survives the SKU range
For a family of bars, first decide which colors are meant to remain consistent and which are meant to distinguish flavors. A cocoa-brown background might be common, while a colored band, icon or flavor panel changes. Put that relationship in a controlled color list rather than trusting a designer's visual memory. If a brand has an established spot-color reference, share it and ask whether the chosen process and material can reproduce it as intended. Do not promise an exact match based only on a screen image.
Specify any matte finish, local gloss or Spot UV as its own layer and position, with a sample showing how it appears across seams and panel curves. The published bean-to-bar project lists Spot UV, but a photograph of the finished pouches does not show its coating registration or durability under your handling. A glossy detail might look attractive on the flat proof and disappear in a fold after a filled pack is squeezed on a shelf. Judge it on the physical geometry.

Include the uncoated or less decorative panels in the review. A quiet back panel may carry ingredients, allergen information, nutrition information and a code. Confirm type contrast and legibility on the final background, then view it after filling. The print process is not finished when the front looks appealing; the package must still convey the actual product information without hiding it under a seal or fold.
Lock the text, barcode and version for every flavor
Chocolate ranges can change faster than the pouch tooling. Milk, dark, nut, soy-containing and filled products can have different ingredients and allergen declarations. Treat each SKU as a distinct approved content set even when the visual system is shared. The brand's regulatory and quality reviewers must verify the exact statements for the product and market; a converter prints approved copy, but a mock-up or another customer's pouch is not a compliant label template.
For U.S. sales, the FDA food-labeling guide summarizes label topics, while warning that its allergen and Nutrition Facts sections are being updated; use the FDA's 2025 allergen guidance and current Nutrition Facts resources for the product-specific review. FDA does not preapprove ordinary food labels. Requirements outside the United States require their own market review. Artwork sign-off should record who approved both the content and the production layout.
GS1 US barcode placement and printing guidance calls for suitable symbol art, contrast, smooth placement and clear quiet zones, and warns against shrinking an existing symbol image casually. Reserve the correct location and scan the printed finished sample under the relevant trading partner's conditions. A barcode is an encoded product identifier, not decoration that can be squeezed into the last free corner of a pouch.
| Controlled item | Common revision trigger | Record before releasing art |
|---|---|---|
| Product and flavor name | New recipe, size or market-facing description | SKU identity and the exact master-copy source |
| Ingredients and allergens | Recipe or supplier ingredient change | Brand/QA approval of the final text for that sales market |
| Nutrition panel and net quantity | Serving, formulation or pack-size change | Current approved panel and panel placement |
| Barcode and other identifiers | New trade item or packaging level | Current symbol source, size, location and scan check |
| Color and selective finish | Flavor differentiation or brand update | Approved material-specific reference and finish separation |
| Pack and dieline | Resize, zipper, notch or seal revision | Current converter drawing and fit/print sample reference |
Do not assume a variable code and the preprinted design are the same operation. If the packer later applies a lot/date code, reserve a flat, accessible area compatible with that coding equipment and ink. A printed placeholder reading “best by” in a proof does not show that the actual line can apply and read the code. Define which information is fixed in the pouch art and which is added at filling.
Approve the right proof, then fill a physical sample
Different proofs answer different questions. A PDF can expose missing copy, orientation and version errors. A color-managed print on proposed material can help judge appearance but may not reproduce every feature of production. A converted sample shows panel alignment and how the artwork sits around a gusset, seal or zipper. A filled sample tests how the real chocolate and packaging geometry interact. An actual production first-off sample is the first chance to check this job on its intended line.
| Evidence stage | What it can help check | What it cannot establish alone |
|---|---|---|
| Screen or PDF proof | Copy, panel order, technical layers, barcode art and revision identity | Final substrate color, filled shape, food contact or seal performance |
| Material or press sample | Printed color direction, opacity and some finish appearance | Every production-run result or converted-pouch fit |
| Converted empty pouch | Seams, folds, features, graphic placement and opening | Clearance around the real chocolate or final filled closure |
| Filled sample | Pack appearance, product fit, front/back readability and filling access | A universal shelf life or all future production quality |
| Production first-off | Actual job setup, print and conversion against the signed reference | Automatic acceptance of the whole run without ongoing controls |
Ask in advance which stage the supplier can provide and what it represents. An unprinted pouch is excellent for fit. A digital mock-up is excellent for catching a misplaced word. Neither substitutes for comparing the intended colors on material. A sample made on a different film, machine or artwork revision is still useful as a reference, but label the differences. Do not call it the approved production sample.
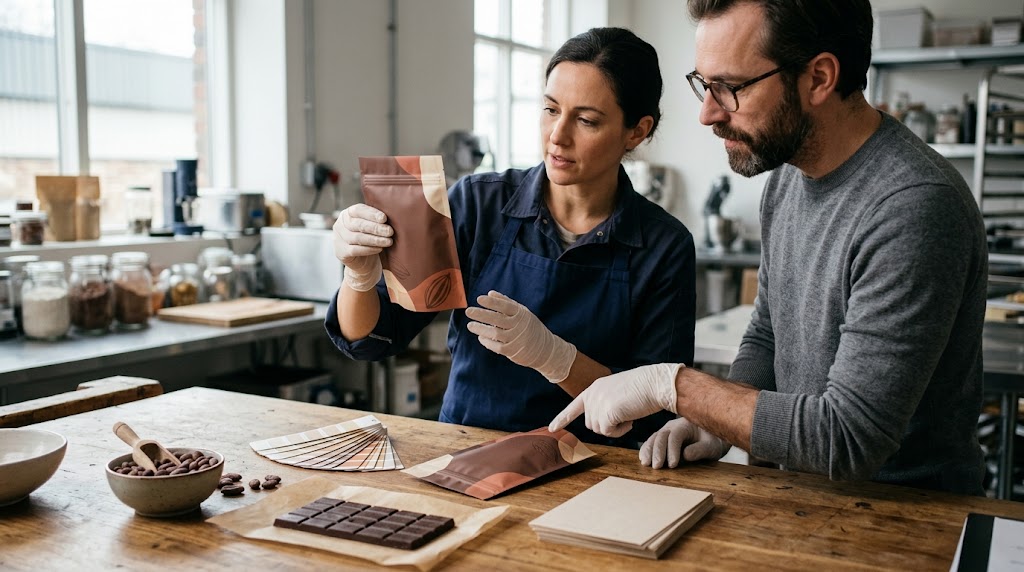
Fill at least a representative unit with the real bar or a properly dimensioned trial piece and examine it in ordinary retail orientation. The back panel may bow. A front motif may shift toward the side. A notch may remove the top of a product name. If the bar already has a separate inner wrap, check whether that remains visible or hidden as intended. Send a photo of the filled front and back with the sample version, not an unlabelled beauty shot.
Follow the printed web into pouch making and the packing line
The printer's task is only one part of the package route. The approved substrate may be printed, then combined with other layers, converted into a premade pouch or supplied as rollstock for wrapping. The particular sequence, curing, controls and responsibilities depend on the selected construction. Ask who owns the printed web, who checks its orientation and registration, and who verifies the final converting operation. Do not infer the inner sealant or food-contact status from a front-panel photograph.
Mylarbag publishes a gravure-printing capability page and a digital-printing capability page. Those describe supplier routes, not a machine recipe for any chocolate project. The public 12 g sachet and bean-to-bar records associate gravure with specific finished pouches. They do not reveal which press settings, cylinders, proof tolerances or inspection data were used for those orders.
At the pouch-making stage, look for registration against cut edges, incomplete color, damage to artwork near folds, and whether the seal land remains suitable for the packer's operation. On a flow-wrapped bar, the line must position the product correctly relative to the printed repeat and seals; an attractive unfilled web does not confirm that relationship. A change to zipper position or pouch dimensions can require an artwork change even if no one touched the logo.
Keep the first production job and any repeat order traceable to the same approved pack specification. A supplier's print lot and a brand's chocolate lot answer different questions; both may be relevant to the final sales unit. Do not invent a match between them from a photograph. Agree on how rejected printed stock, overruns and superseded labels are segregated so outdated allergen or flavor art cannot be used by mistake.
Inspect the first run as a finished chocolate package
Before a full release, compare the first-off pouches with the signed drawing, copy master, proof and physical reference. Check the exact SKU and orientation; front and back panel registration; key colors on the specified material; type and barcode readability; spot effects; cut, notch, zipper and side seams; and the printed area available for a later lot/date code. Then fill and close a representative pack on the planned equipment. A front-panel photograph cannot answer all of those checks.
Define who may approve the first-off and what happens if one property is out of range. The brand should own claims, product copy and market decisions; the converter should document technical print and conversion checks; the packer should confirm fill, closure and coding. The parties may organize responsibilities differently, but the release record should name them. “The samples look fine” is a weak instruction for the next shift or reorder.
| First-off observation | What to compare | Possible hold or next action |
|---|---|---|
| Wrong flavor copy or allergen line | Signed SKU copy and printed sample | Stop use of the affected version; investigate the file and stock identity. |
| Misplaced front artwork or clipped type | Current dieline, converted pouch and filled orientation | Check registration, cutting and whether the art used an older drawing. |
| Color or white layer differs | Agreed material-specific reference | Review approved range and actual substrate before changing press settings. |
| Barcode fails a relevant scan check | GS1 guidance, symbol file and filled surface | Correct art, contrast or location and recheck the printed pack. |
| Spot finish lands in a fold | Finish separation and physical pouch | Revise its placement or approved construction; review another sample. |
| Package prints well but fills badly | Actual chocolate, opening, top seal and coding area | Return to pack layout and filled trial, not just an artwork edit. |
Retain an identified approved sample and the file, drawing, material and production revisions that produced it. During the run, sample against the agreed controls and after meaningful changes. A visually acceptable first piece does not replace the packer's seal checks, food-label review or quality plan. If a supplier changes the film or finish, or the brand edits the recipe, assess whether a new proof or trial is needed rather than claiming the old approval covers every variation.
Send one useful brief to the chocolate-pouch supplier
For a custom printed flexible pouch enquiry, send the actual chocolate form and size, whether it has an inner wrap, target sales unit, pouch or rollstock direction, fill and final-seal method, preferred outer look, current artwork and dieline revisions, number of SKUs, quantity by SKU, target markets, barcode and coding plan, and the evidence you need before release. State which facts are confirmed and which remain open. Ask the supplier to propose a matching structure and print route rather than locking a material and method from a photograph.
The published 3 oz digital case can start a conversation about variant artwork and print on a paper-led laminate. The 12 g gravure sachet can start a small-format discussion. The bean-to-bar project gives a flat-pouch and Spot UV example. Use their published specifications as questions, not as default dimensions, an approved food-contact declaration, a color promise or a substitute for your own production proof.
For the flexible-pouch part of the project, review Mylarbag's chocolate packaging options and send the current brief for a project-specific proposal. If you need a paperboard box, a folded direct-contact foil wrap or a separate rigid insert, specify that component to its appropriate supplier and coordinate its artwork with the pouch. One coherent final sales unit matters more than forcing every component into one printing method.
Frequently asked questions
Can I print my own chocolate packaging at home?
You can print paper mock-ups or labels for an early layout discussion, provided they are clearly prototypes and the intended application is suitable. Do not assume ordinary desktop ink and paper are suitable for direct chocolate contact or that an office-printed sample predicts a production laminated pouch. For a retail run, use a supplier that can specify the material, print position, conversion and checks for your product and market.
What file should I send for custom printed chocolate pouches?
Ask the chosen converter for its current dieline and artwork specification. Common handoff elements include an editable master, a review PDF, correct linked imagery and fonts, separated technical and finish layers, color references and a version record. Confirm bleed, image resolution and white-ink setup with that supplier rather than copying a generic template's numbers.
Is digital or gravure printing better for chocolate packaging?
Neither is universally better. Compare both for the same pouch structure, artwork versions, quantity, finish, proof requirements, repeat plans and complete quote. Digital can be worth considering for many versions or shorter runs; gravure for stable repeated artwork at a scale that justifies cylinder setup. A method choice does not settle fit, food-contact or label accuracy.
Can I print directly on a chocolate bar's inner wrapper?
Only after the wrapper construction, print side, inks, process and intended contact conditions have been assessed for that food and market. Printing on an outer flexible pouch around an already wrapped bar is a different configuration. Do not use a consumer paper printer or assume an exterior ink statement approves direct-contact inner film.
How do I keep flavor SKUs and barcodes from getting mixed up?
Give each flavor a controlled copy and artwork revision, pair it with the right product and GTIN, and review a printed finished sample for the correct version, barcode scan and relevant ingredient/allergen text. Define who approves content and who controls obsolete printed stock. A shared background design does not make the information panels interchangeable.
Is approving a PDF enough before the first run?
A PDF is useful for copy and panel orientation, but it cannot alone show substrate color, converted folds, product fit, seal clearance or the actual production setup. Agree on a material proof or sample that answers the open questions, test the filled pack, and compare the first production units with the signed reference before releasing routine output.
Sources and published project references
- Mylarbag published cases: 3 oz digitally printed artisan chocolate packaging, 12 g gravure-printed dark chocolate sachet, and bean-to-bar flat pouch with listed Spot UV.
- Adobe Illustrator printer's marks and bleed; GS1 US barcode placement and print guidance.
- FDA Food Labeling Guide, 2025 FDA allergen-labeling guidance, and FDA food-contact component status.
- EuPIA food-contact-material ink principles; Mylarbag digital and gravure capability pages.