
Custom coffee pouches are normally printed as part of the pouch project, before the roaster fills them. A roaster begins with the finished pouch: its format, material structure, valve, zipper, panels, artwork, and market. From there, digital printing or gravure printing may be evaluated. Neither is automatically the right choice. The useful choice is the one that fits the confirmed pouch and the artwork plan you are ready to approve.
This is a B2B guide for roasters and coffee brands sourcing printed flexible packaging. It helps turn a visual direction into a pouch brief a supplier can review. A final choice still needs a project-specific quotation, sample review, and packaging approval.
What Does “Printing a Coffee Bag” Actually Involve?
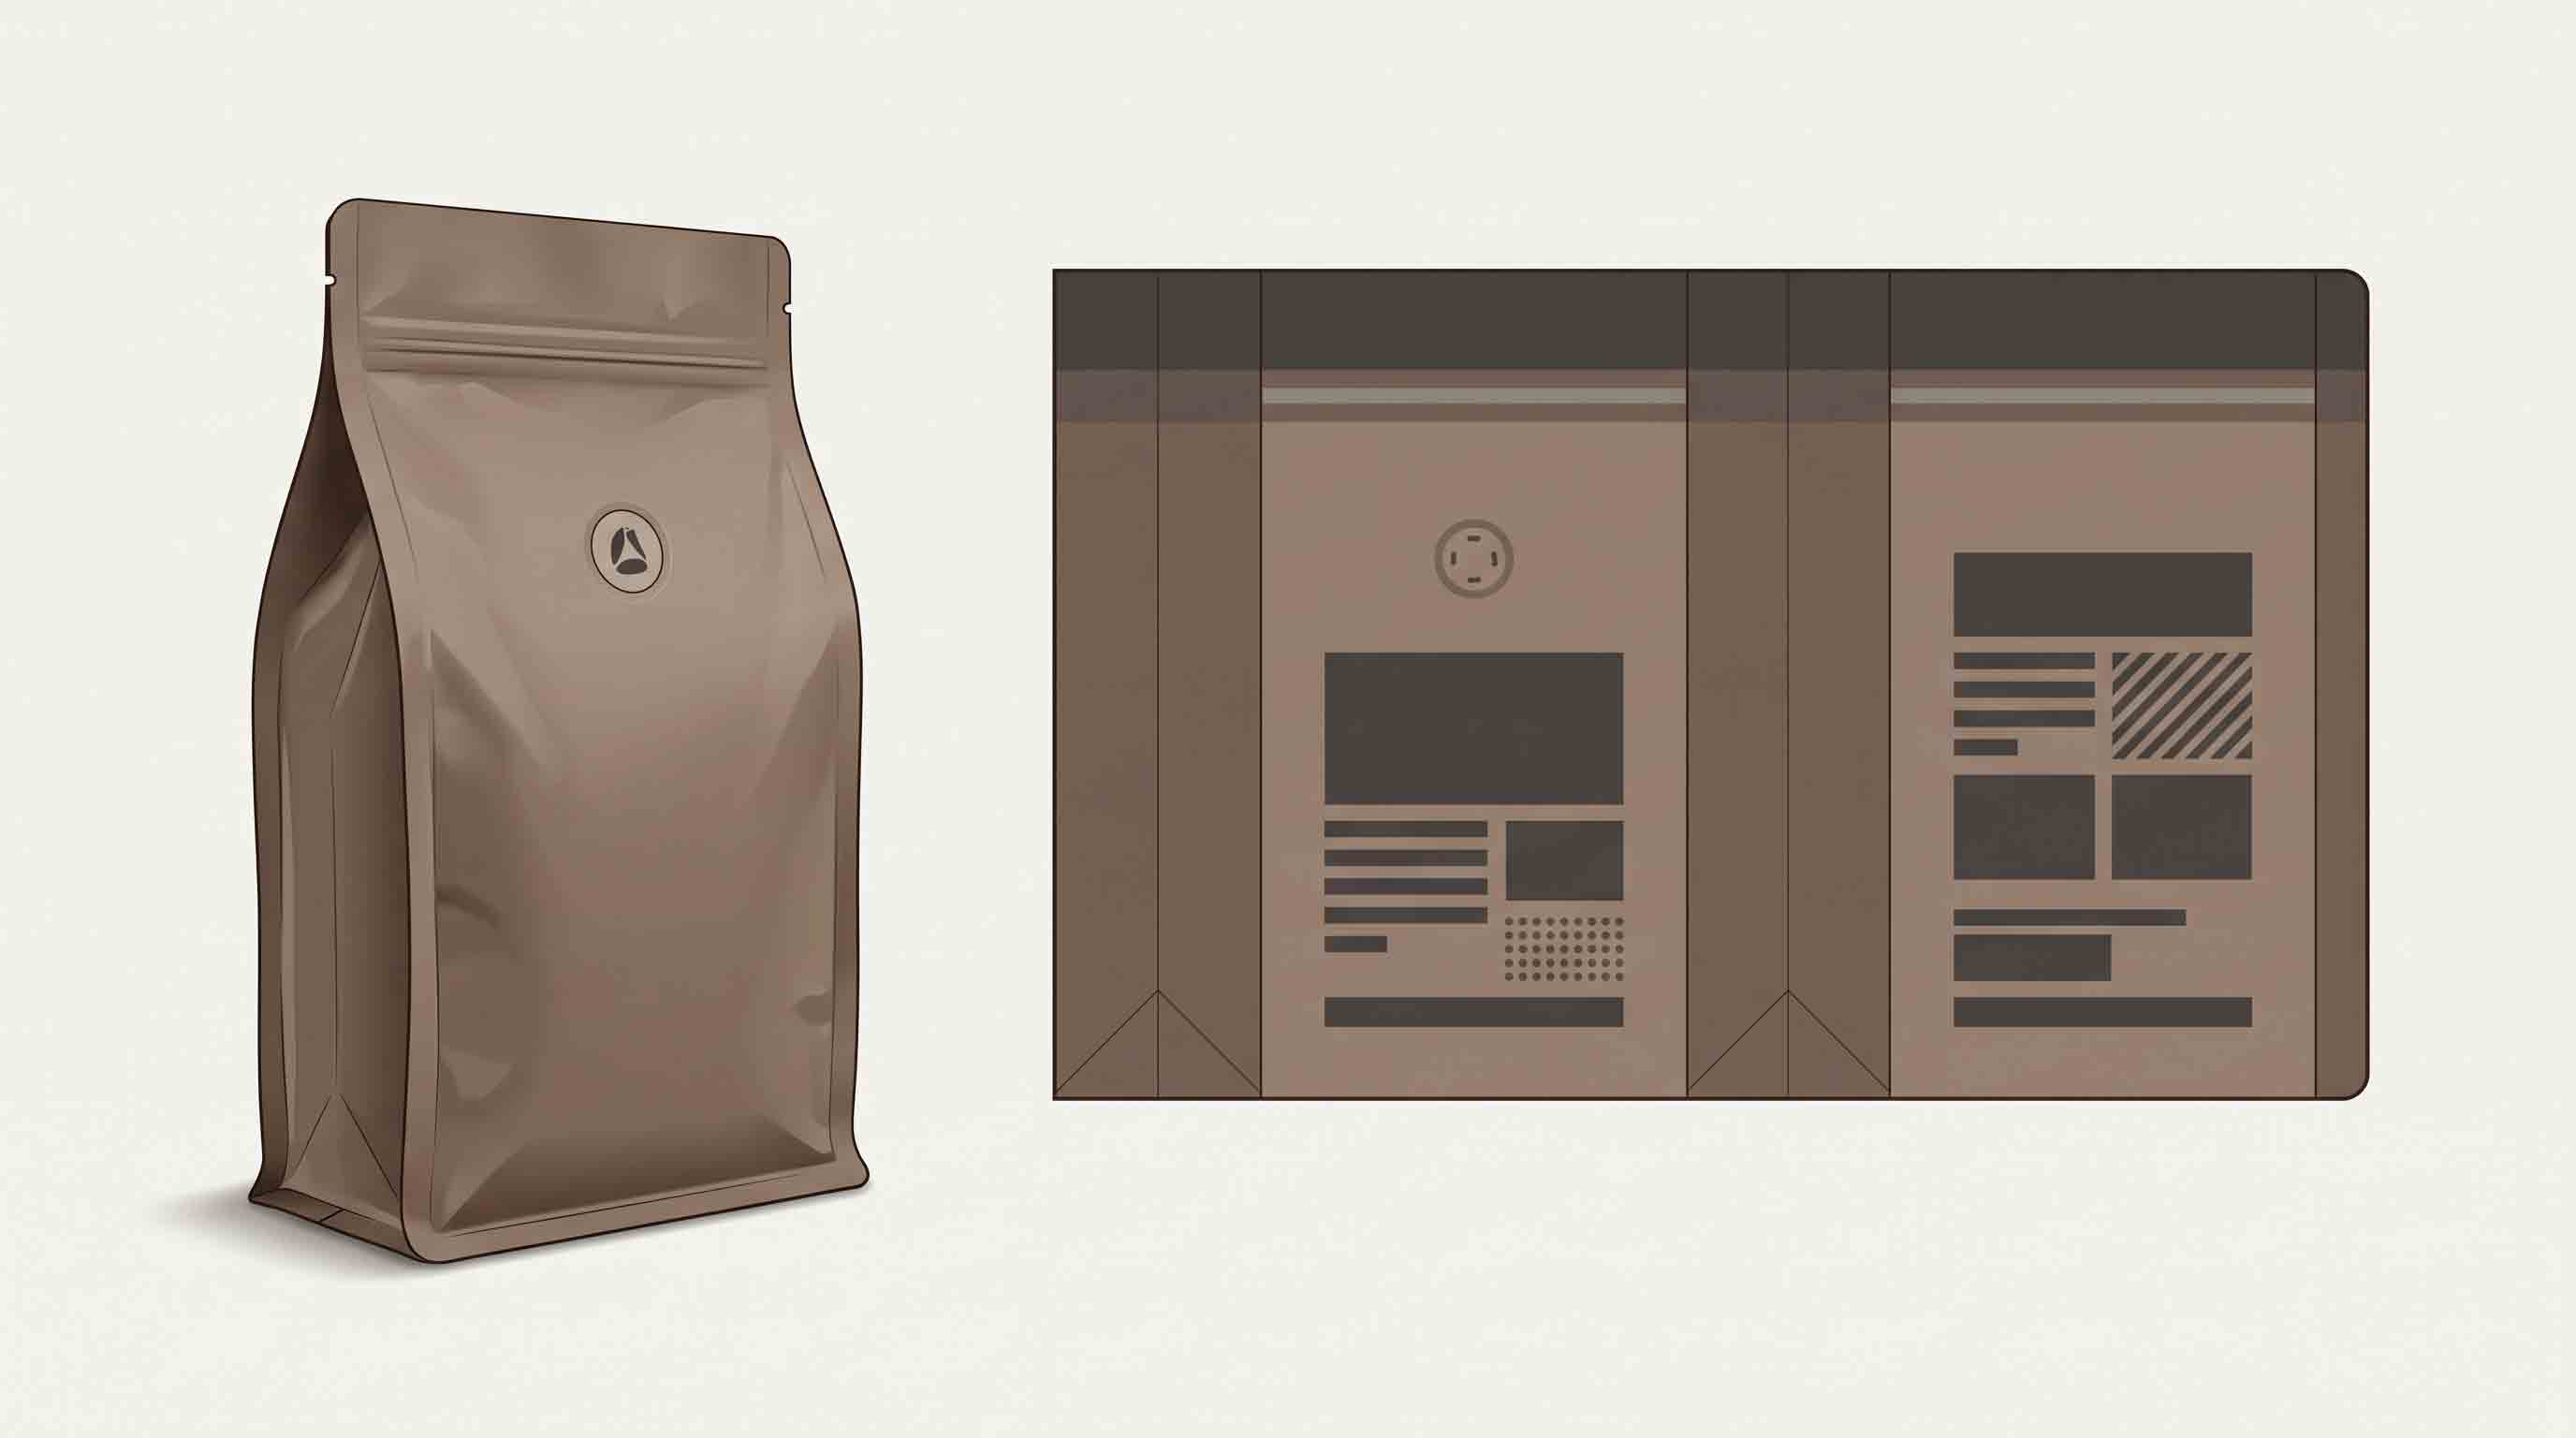
When a buyer asks how to print on coffee bags, the first answer is usually not a print setting. It is a specification question. A coffee pouch has a front panel, a back panel, seals, gussets or a flat base, and sometimes a valve, zipper, tear feature, or fold-over area. Artwork needs to be discussed with those physical areas in mind.
The artwork is therefore one part of the package, not a separate decoration added at the end. The same logo can need a different layout when it moves from a stand-up pouch to a flat-bottom pouch. A coffee name that sits comfortably on a broad front panel may need a new arrangement when a valve, side zipper, or fold line occupies part of that panel. A finish discussion also belongs in the same brief, because a matte, gloss, foil, or other visible treatment is part of the approved pouch direction.
For a roaster, it helps to separate three decisions that are often mixed together:
Starting with these three decisions prevents a familiar problem: an attractive front-panel mock-up is approved before anyone has confirmed where the zipper, valve, top seal, gussets, or information panels will sit. The result may still be printable, but the team must solve those questions later under more pressure.
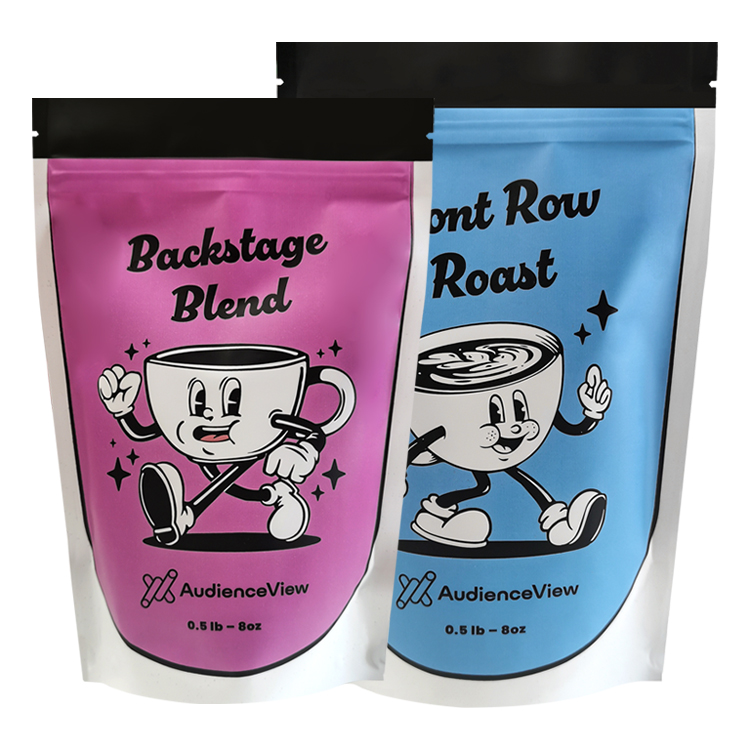
Published Mylarbag examples list the printing method alongside a real pouch configuration. One Canadian project, for example, lists digital printing on an 8oz stand-up pouch with MOPP/VMPET/PE, a degassing valve, and a 15 × 23 + 5 cm format. It is a useful reference point, not a rule for every 8oz coffee line. The printing method, pouch format, and features need to be read together.
Start With the Finished Pouch, Not a Flat Artwork File
A print-ready conversation is easier when the buyer can describe the finished item before discussing a particular method. “We need a black coffee bag” is an aesthetic direction. It does not yet tell a supplier whether the pouch is stand-up, side-gusset, or flat-bottom; whether it will contain beans, ground coffee, or another coffee product; whether a valve and zipper are required; or which information must remain clear after the pouch is formed.
Begin by making a short pouch brief. It does not need to be a finished technical specification, but it should distinguish what is already decided from what still needs review.
The point is not to force an early decision. It is to give the supplier a stable starting point. If the material structure or pouch format is still open, say so. If the brand expects several roast names, seasonal versions, or a bilingual layout, include that too. The supplier can then explain what needs to be reviewed before a sample or final artwork approval.
Keep the artwork version with the pouch notes. A PDF or image file with no stated pouch format can easily be mistaken for a final direction when it is only an early design. A physical sample with no material or print note can create the same problem later. Put the material string, pouch format, key features, artwork version, and date in the same approval record.
This also keeps roles clear. A designer may be checking hierarchy and panel balance. A coffee team may be checking the required information and expected consumer opening path. The person buying the pouch may be comparing formats and printing directions. Each is looking at one package, rather than three disconnected documents.
How a Custom Coffee-Bag Print Project Moves Forward
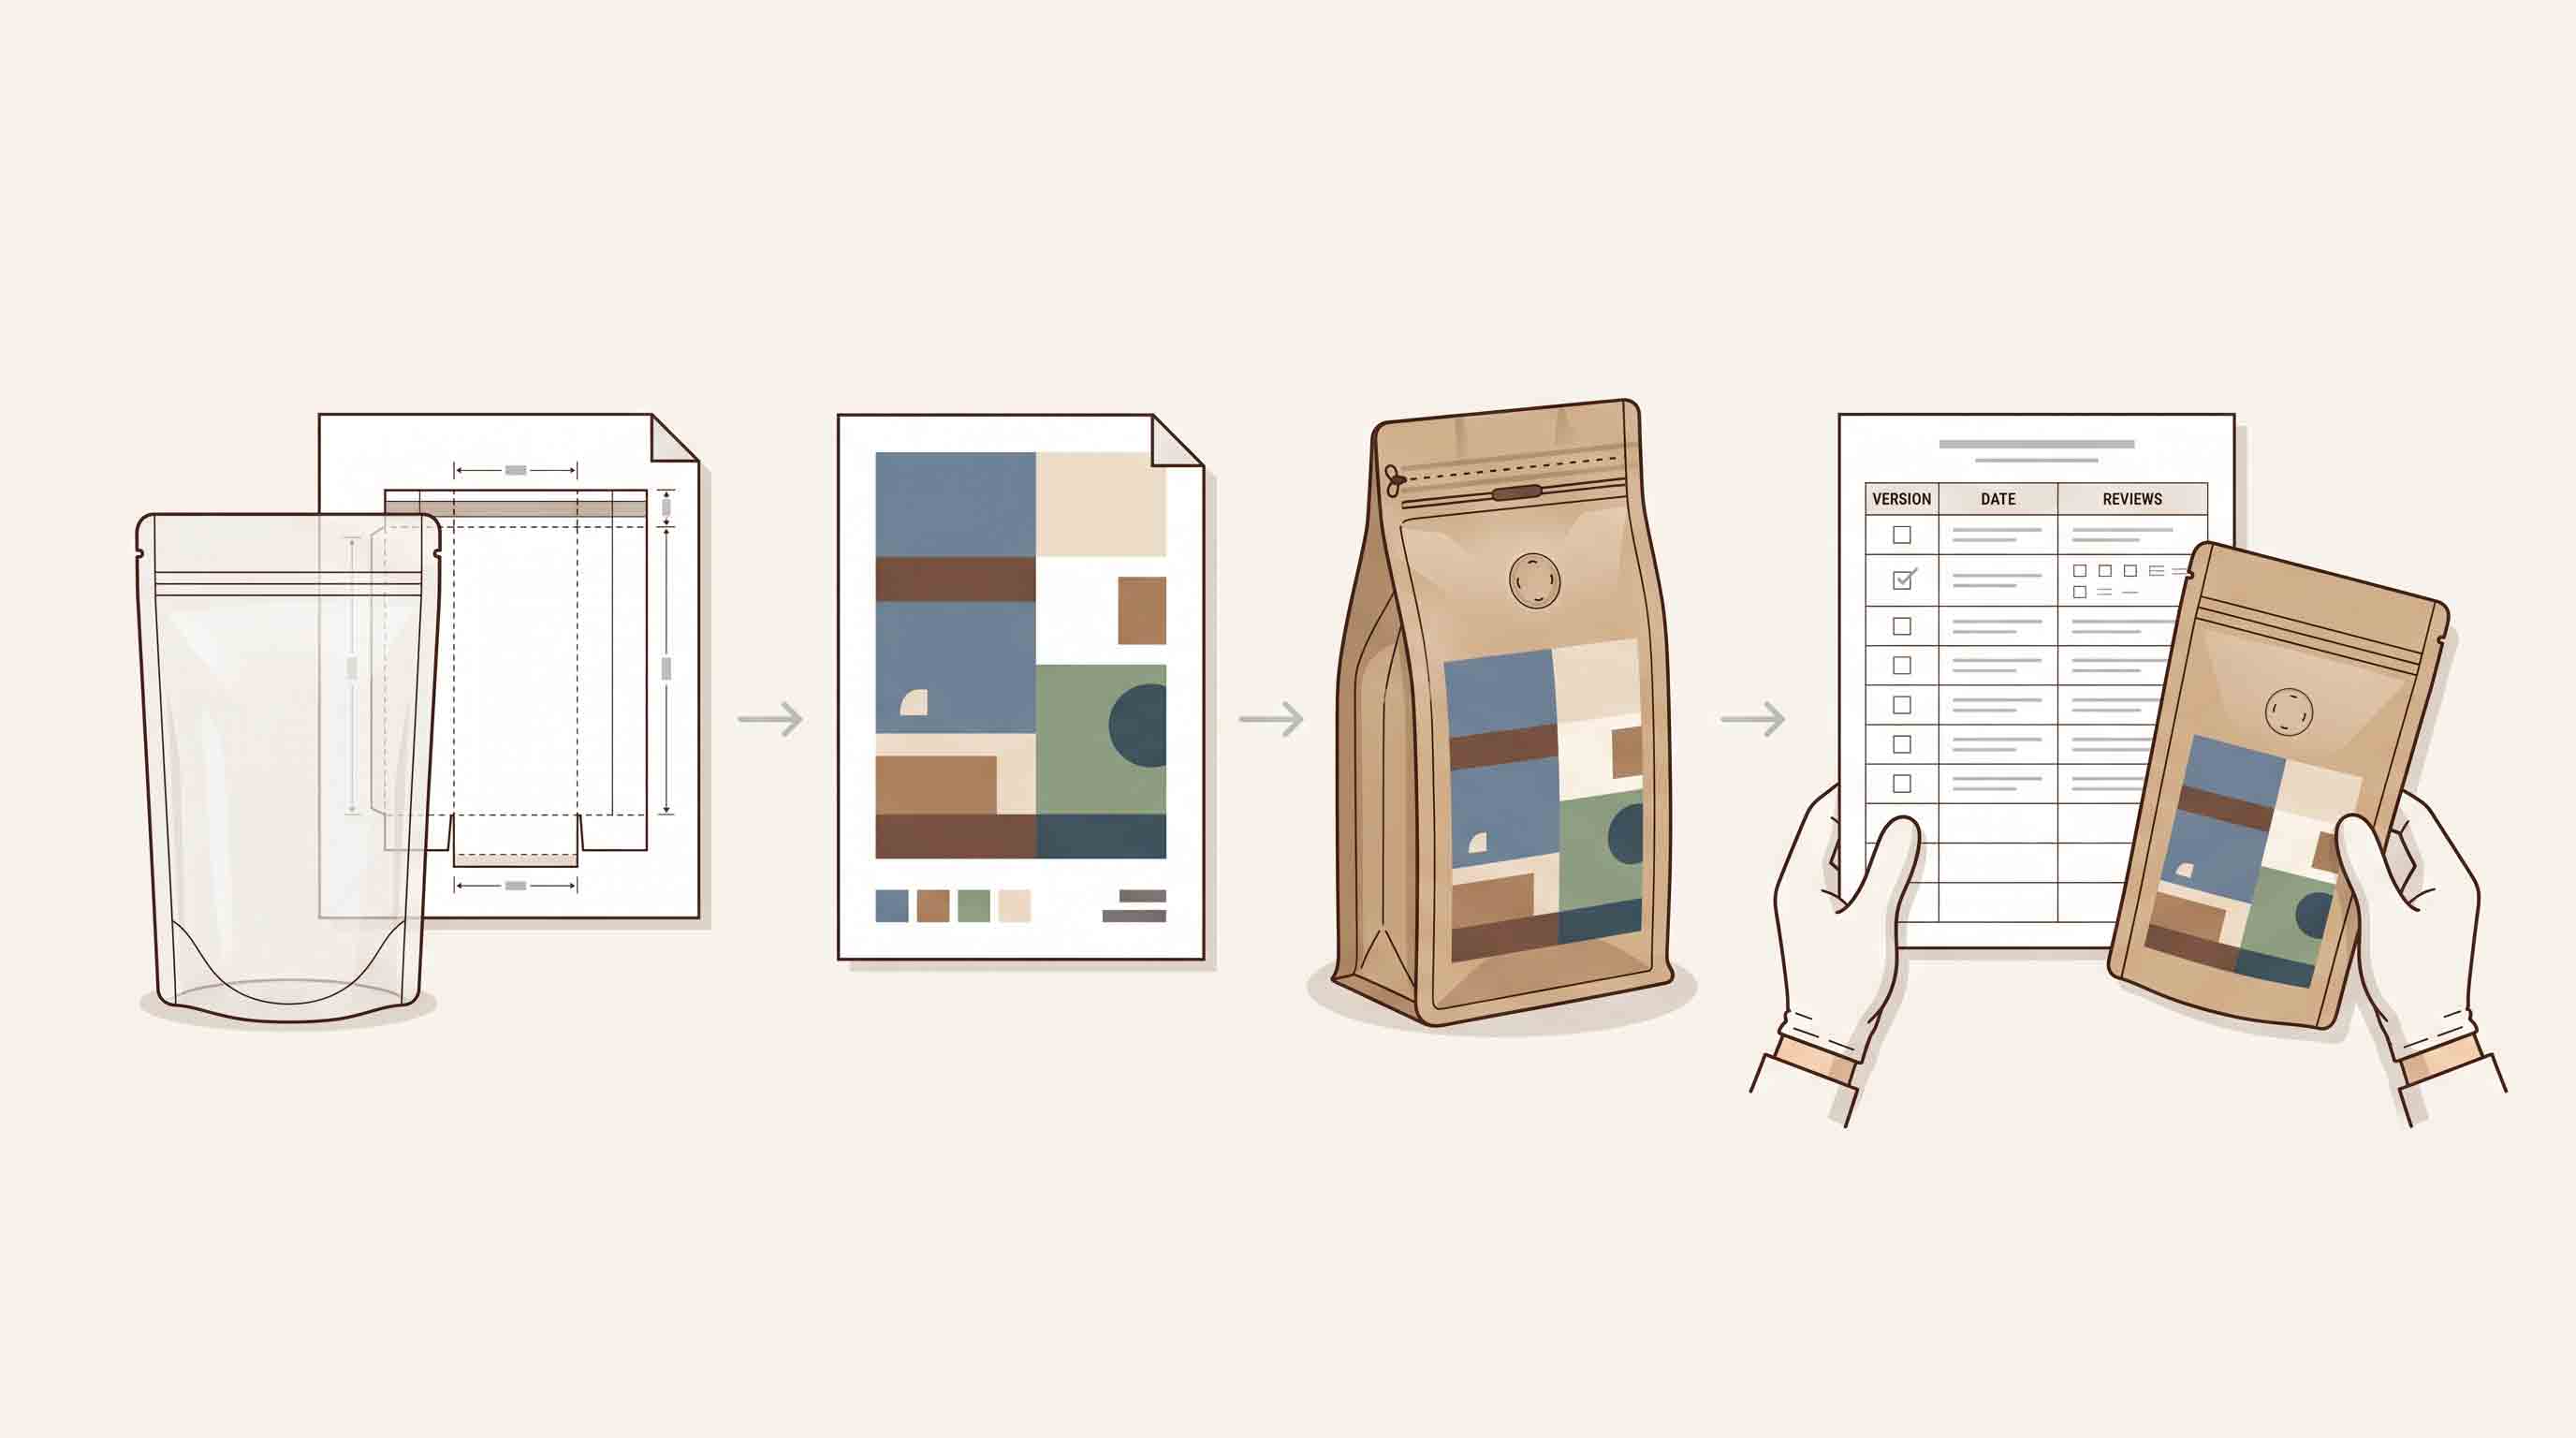
The exact production steps vary by pouch and supplier, but a buyer can use a simple sequence to keep the print discussion grounded. The sequence below is not a promise of a particular manufacturing process or timeline. It is a practical way to prepare the information that typically needs review.
- Define the coffee and pouch. State the coffee product, target fill, chosen or proposed pouch format, closure features, and market.
- Share the artwork direction. Provide the current design files or a clear visual brief. Flag all text, symbols, languages, finishes, and areas that cannot move without approval.
- Confirm the printable pouch layout. Review where the front, back, side panels, seals, zipper, valve, and first top seal sit in the proposed configuration.
- Discuss the print route. Ask whether digital printing or gravure printing should be evaluated for this exact artwork and pouch plan. Do not choose only because one method is associated with a generic bag photo.
- Review a sample or proof stage appropriate to the project. Keep the reviewed material, closure features, and artwork version together. If an element changes, update the record rather than relying on memory.
- Approve the complete pouch specification. Treat the material, format, print direction, artwork, and finish as one approval set. A pouch is not fully specified when only the front-panel artwork has been approved.
A complete pouch specification is more than its front panel. A coffee bag can look correct from the front while still having a different reverse-panel layout, closure position, or material structure from the item the team intended to order. A careful brief gives everyone a shared reference point before the conversation moves toward final production.
One useful question for any supplier is: “Which details in our artwork or pouch plan still need to be decided before this print route can be evaluated?” It invites a practical answer. It is more useful than asking for a universal verdict on digital or gravure before the package exists on paper.
Digital Printing for Coffee Bags
Digital printing is one documented direction for Mylarbag coffee pouches. Mylarbag uses an HP Indigo 25K Digital Press for digital-printing work. That tells a buyer what equipment is available; it does not identify the individual press used for a published pouch or make every digital-print project the same.
For a buyer, digital printing is worth discussing when the artwork plan itself needs attention. Perhaps the brand has several coffee origins, changing roast names, seasonal art directions, or a small group of pouches with related but different front panels. Perhaps the brand has not yet settled the final mix of versions. These are not automatic reasons to choose digital printing. They are reasons to put the number of versions and current artwork status into the supplier conversation.
A public United Kingdom coffee-pouch project records digital printing on a 250g flat-bottom pouch with PET/VMPET/PE, a valve, a side zipper, and a 9.5 × 22 + 7 cm format. Another public U.S. record lists digital printing on a matte flat-bottom coffee bag with a valve and pull-tab zipper. Together, they show two digital-print configurations with different pouch shapes and features. They are examples, not a rule for every flat-bottom bag, 250g coffee line, or artwork version.
Digital printing does not remove the need for a pouch brief. The buyer still needs to identify the material direction, pouch format, closure plan, artwork version, target market, and wording that needs review. Changing a digital file does not remove the need to review the pouch. A revision can still affect panel balance, valve placement, zipper clearance, visible copy, and the final approved configuration.
When you discuss a digital route, ask practical questions:
- Which pouch formats and material directions are currently being considered for this artwork?
- How many artwork versions need to be reviewed as a group?
- Which design elements are fixed, and which may change before approval?
- Does the pouch include a valve, zipper, side zipper, pull tab, or other feature that affects the layout?
- Which sample or artwork record will be used to identify the final version?
These questions do not assume a cost or timing outcome. They simply make it possible to evaluate digital printing against the package you actually intend to sell.
Gravure Printing for Coffee Bags
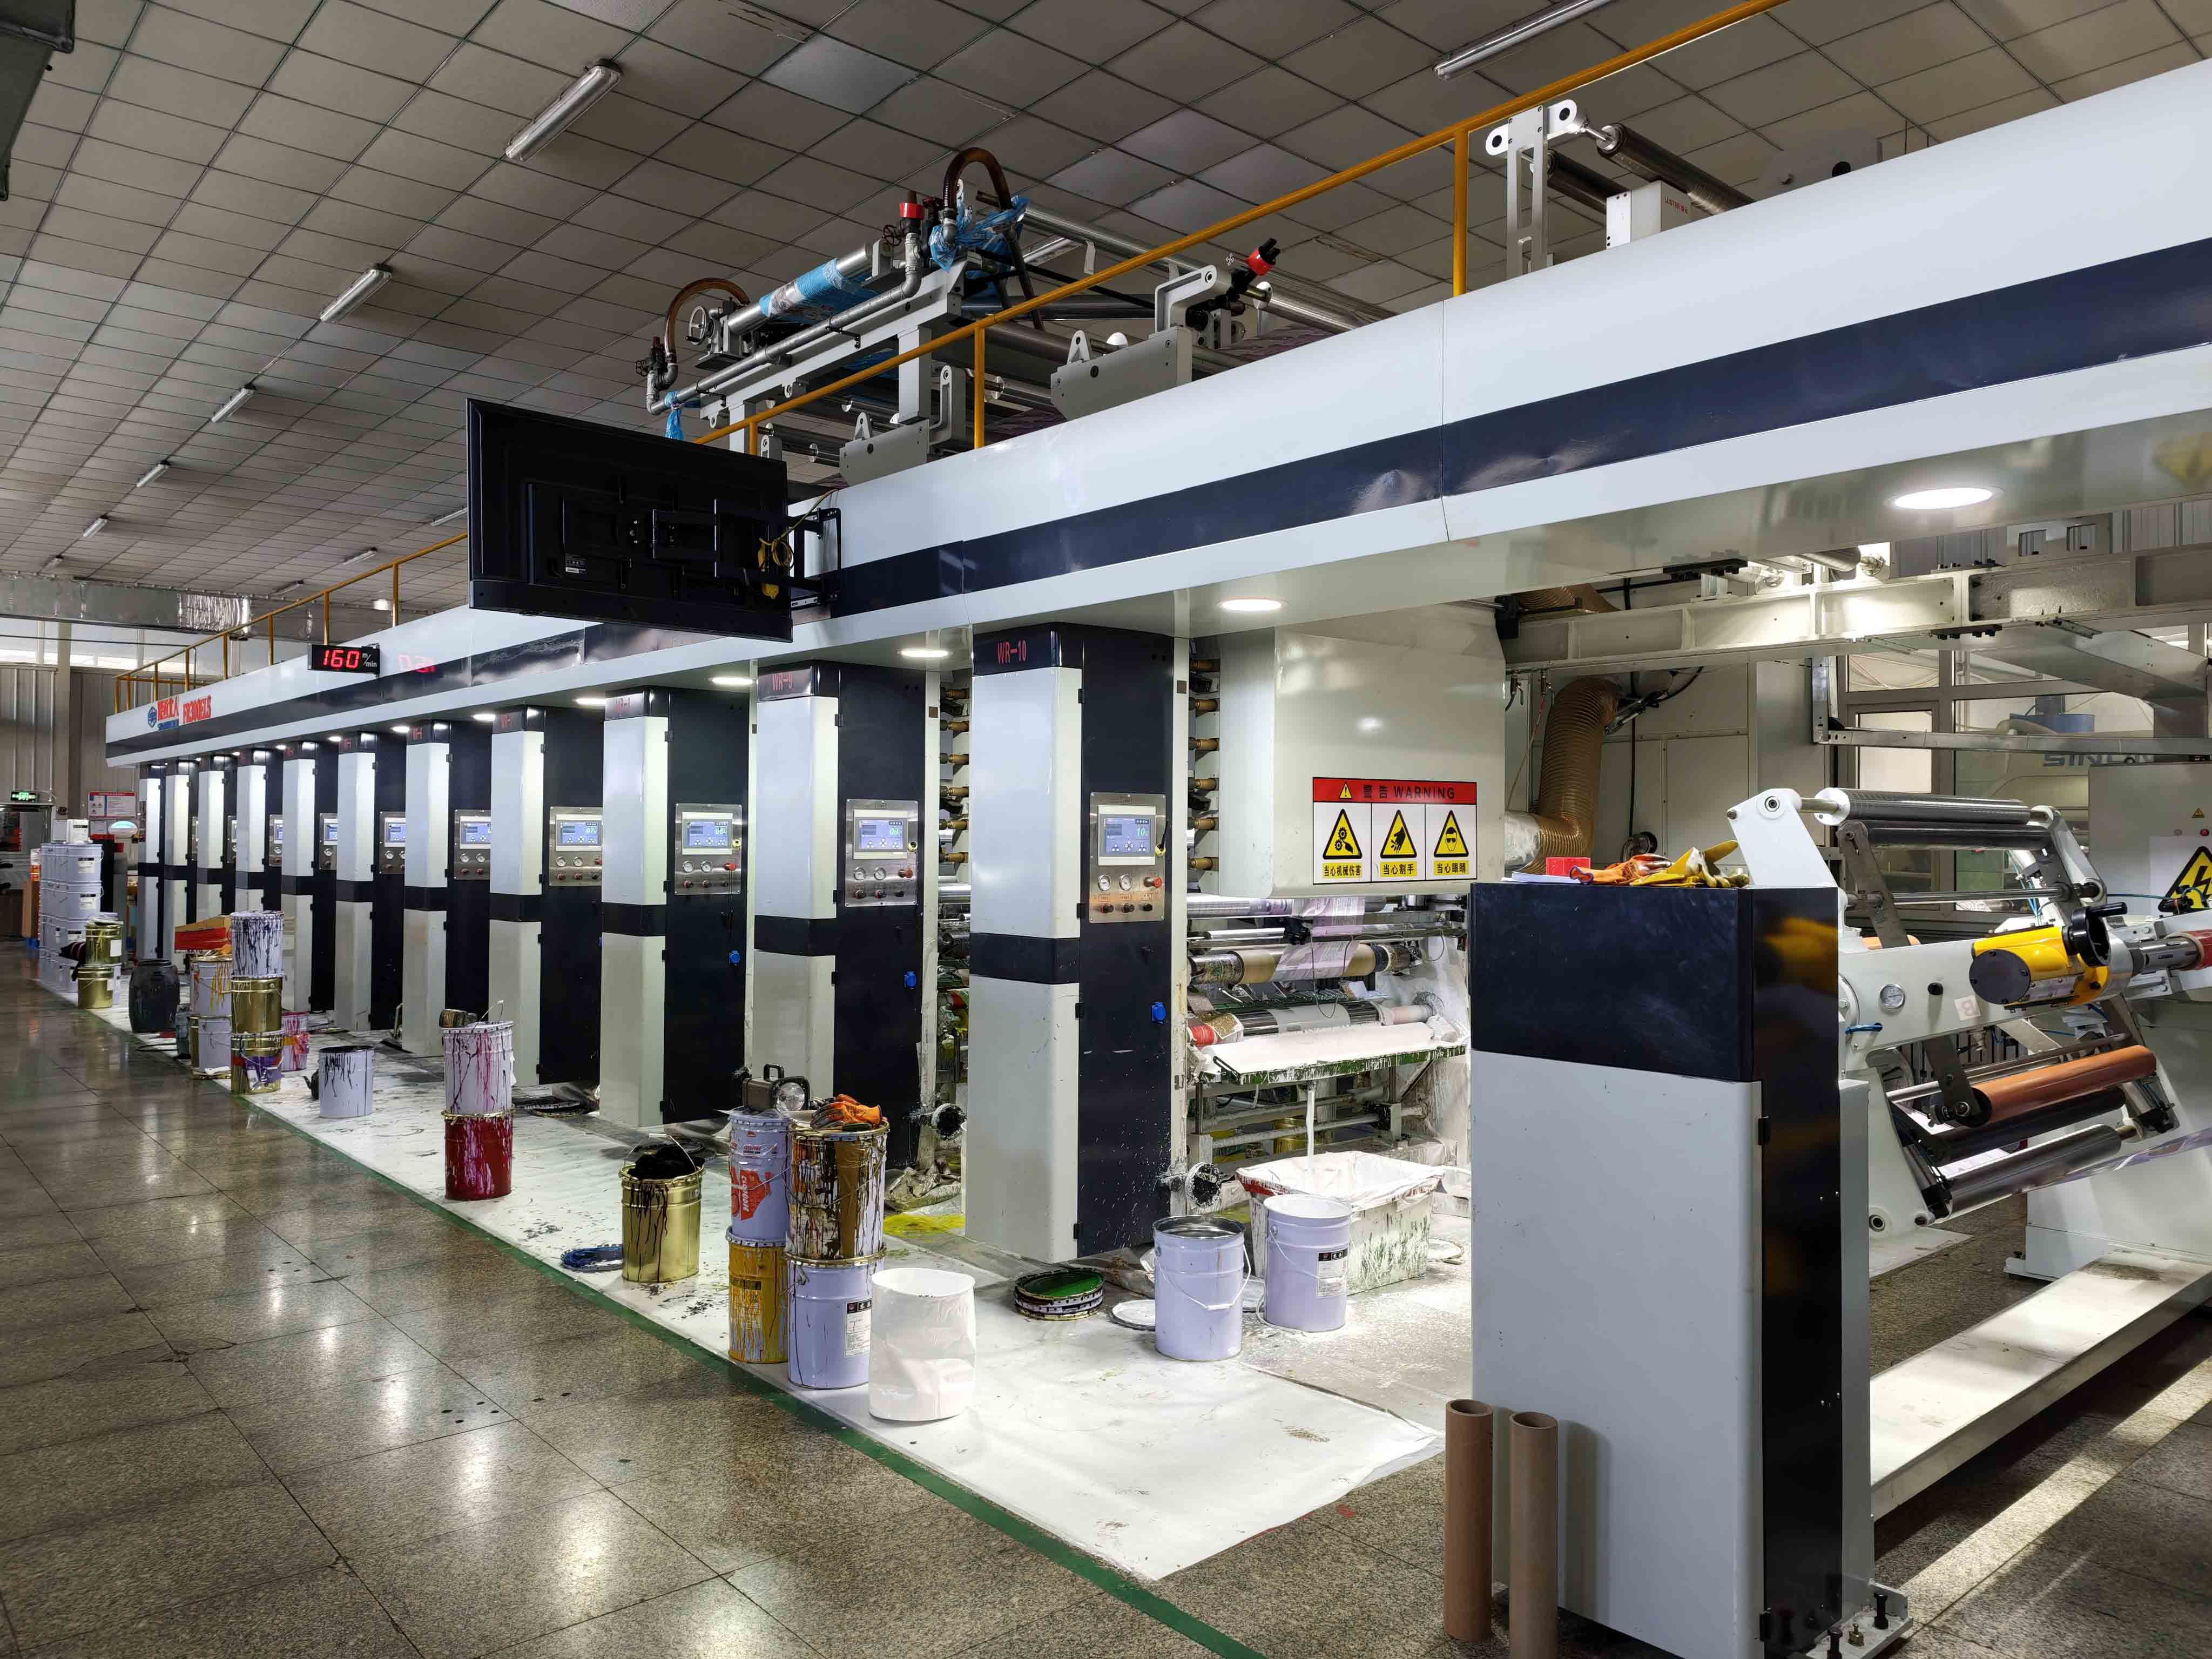
Gravure, also called rotogravure, is the other documented printing direction used in this article. Mylarbag uses 10-color gravure-printing equipment. A 10-color press does not mean that a particular pouch will use ten colours, reproduce a specified colour exactly, or suit a particular run.
For a buyer, gravure is most useful to discuss when the main package direction is becoming clear: the pouch format, material structure, visible panels, artwork, and finish are less likely to move. The important part is not whether a project appears “large” or “premium” from the outside. It is whether the completed pouch specification is stable enough to evaluate as one print plan.
One published Australian coffee-pouch record lists gravure printing, a PET/AL/PE structure, matte varnish, and a flat-bottom format measuring 14 × 18.5 + 7.5 cm. Another published 12oz flat-bottom coffee-pouch record lists gravure printing, MATOPP/VMPET/PE, a valve, a pocket zipper, and a 13 × 22 + 8 cm format. These examples show gravure alongside different coffee-pouch structures and feature sets. They do not predict a particular finish quality, sealing result, shelf life, or retail outcome for another pouch.
Before a buyer requests a gravure discussion, it is sensible to identify what must remain unchanged in the brief. That may include the pouch format, final material direction, principal artwork version, information panels, finish discussion, and the placement of features. If any of those changes, the supplier should review the revised plan rather than assuming the earlier print discussion still applies.
Questions for a gravure conversation include:
- Is the proposed pouch format and material structure now defined?
- Is the artwork a current approved candidate, or is it still one of several concepts?
- Which panels carry mandatory information, and which areas remain flexible?
- Are a matte varnish, foil stamping, or another visible treatment being considered?
- How will changes to the pouch format, valve, zipper, or artwork be recorded before approval?
The aim is not to make gravure sound more formal than digital printing. Both need an accurate pouch specification. Gravure simply makes the value of a stable, documented print plan especially visible.
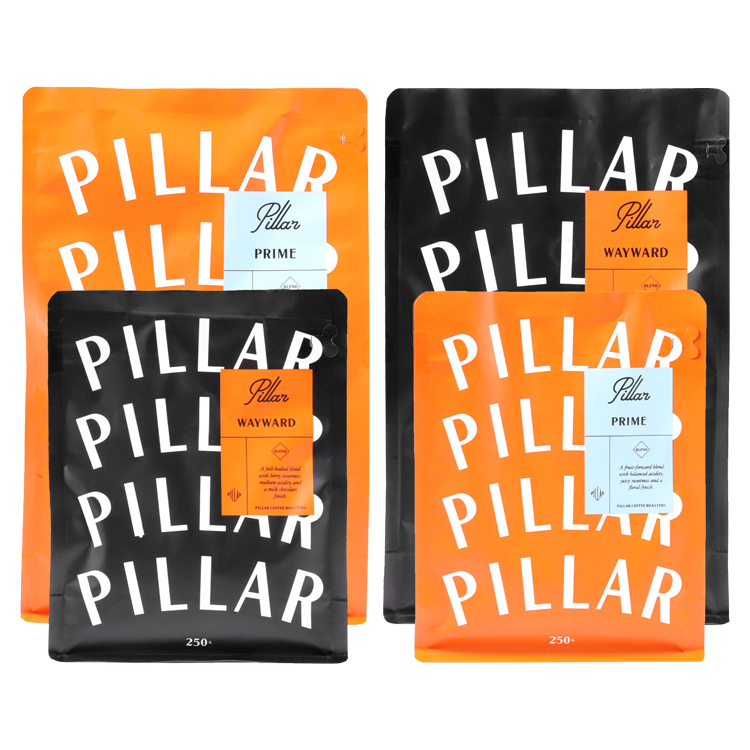
Compare Digital and Gravure Through the Brief, Not a Slogan
“Digital versus gravure” is often presented as a fixed comparison. In practice, it starts with a few questions. At the simplest level, a digital route works from a digital artwork file, while a gravure route uses cylinders prepared for the agreed print plan. A brand can bring the same coffee identity to either conversation, but the level of stability in the artwork and pouch specification affects which direction is practical to evaluate first.
The table will not select a printing method for you. It does stop the conversation from beginning with a method before the object to be printed has been defined. A supplier may need more information, a different material direction, or an adjusted pouch layout before either route can be evaluated. That is normal, and it is better to find it early than to hide it behind a generic comparison chart.
A Visual Direction Is Not a Finished Claim
Packaging work often picks up wording that has not been checked. A bag might look matte, metallic, recyclable, compostable, premium, or “retail ready.” Appearance alone does not prove a test result, regulatory status, environmental outcome, or customer result.
Keep the copy tied to the actual project. A public record can show that a pouch used digital or gravure printing, a named material structure, a pouch format, and certain visible features. It cannot make the same statement for a different material, market, future run, or consumer experience. That keeps packaging copy clear for both the buyer and the brand.
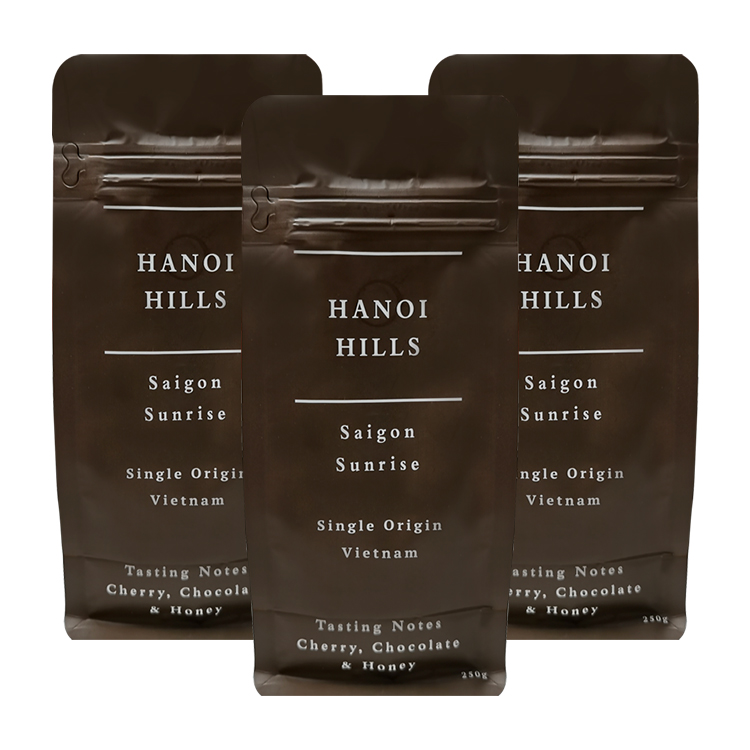
Three Published Coffee-Pouch Printing Records
These examples connect the printing direction to a real pouch configuration. They show the printed bag, materials, format, and features; they do not tell us why a customer chose it, what it sold, or how it performed.
Digital printing: 8oz Canadian stand-up pouch
A published Canadian coffee-pouch record lists digital printing, MOPP/VMPET/PE, a stand-up pouch, a degassing valve, and a 15 × 23 + 5 cm size for 8oz beans. It is a real reference for a digitally printed stand-up configuration. It does not mean every 8oz coffee pouch should use that structure or printing method. See the published 8oz digital-print coffee pouch.
Digital printing: 250g United Kingdom flat-bottom pouch
A separate published United Kingdom record lists digital printing on a 250g flat-bottom coffee pouch with PET/VMPET/PE, a valve, a side zipper, and a 9.5 × 22 + 7 cm format. The public record shows a second digital-print configuration with a different pouch shape and feature set. It does not provide a universal artwork, materials, or printing recommendation. See the published 250g digital-print flat-bottom pouch.
Gravure printing: Australian flat-bottom pouch
A published Australian coffee-pouch record lists gravure printing, PET/AL/PE, matte varnish, and a 14 × 18.5 + 7.5 cm flat-bottom format. It is a documented gravure-print pouch direction with a named visible treatment. It does not establish that another pouch will use the same materials, finish, or print result. See the published gravure-print flat-bottom coffee pouch.
Read the three examples as comparison points, not templates. They show that a print method can appear with different pouch shapes, material strings, and feature sets. Use them to ask sharper questions about a new project instead of copying a public case title onto a different coffee line.
Sticker Labels, Stock Bags, and Direct Pouch Printing Are Different Workflows
Some roasters begin with stock bags and self-applied labels. Others source a directly printed custom pouch. Both can exist within a coffee programme, but they should not be treated as the same packaging decision.
A label is an item applied to an already-made bag. Direct pouch printing is part of the pouch specification. It brings the printed design into the conversation with the material, bag format, closure features, and visible finish. If a brand is comparing both directions, it should make a list of what each finished package needs to communicate and then ask the supplier which details apply to the custom-pouch route.
Do not assume a label artwork file can simply be placed on every pouch panel. The pouch may have folds, seals, a valve, or a zipper that change the available layout. In the same way, a front-panel illustration does not settle the back panel, information copy, or the way the pouch will be formed.
For roasters planning custom printed coffee bag projects, the sensible starting point is a full brief rather than a choice based only on a flat design image. The brief gives the supplier the details needed to discuss the printed pouch as a complete item.
Recommended Packaging Configuration: Specify the Print With the Pouch
There is no one printing method or pouch configuration that suits every roaster. Start with an approved working brief that carries the pouch format, material direction, closure features, artwork version, visible finish, and target market together.
Send the supplier:
- the coffee type and target fill, or a representative sample;
- the pouch format and any presentation requirements under consideration;
- the valve, zipper, tear feature, or opening plan;
- the current artwork files and a numbered list of design versions;
- the visible information that cannot move without approval;
- material and finish directions being considered; and
- the target market and any wording that needs review.
That gives the supplier a basis to discuss which printing direction may be relevant, which elements need a sample, and what needs to be confirmed before final approval. It also keeps the printed pouch connected to its actual function rather than treating it as a flat poster.
Frequently Asked Questions
How are custom coffee bags printed?
Custom coffee bags can be discussed through digital printing or gravure printing as part of the pouch specification. The buyer should first define the coffee product, pouch format, material direction, closure features, artwork version, finish, and market. The printing direction can then be evaluated for that completed brief.
Is digital printing suitable for coffee bags?
Digital printing is a documented direction for several published Mylarbag coffee-pouch configurations. It may be worth discussing when a buyer has multiple artwork versions or an artwork plan that is still being organised. The pouch format, materials, features, and final artwork still need to be reviewed for the specific project.
What is gravure printing for coffee bags?
Gravure, also called rotogravure, is a printing direction used on published Mylarbag coffee-pouch projects. Mylarbag uses 10-color gravure-printing equipment. That does not predict the number of colours, printing result, price, or suitability of a particular future pouch.
Do I need final artwork before asking about custom coffee bag printing?
No. An early concept can start the discussion, provided it is clearly marked as provisional. Share what is known about the pouch format, coffee fill, material direction, features, target market, and number of artwork versions. Keep a record of what remains open before treating the artwork as final.
Can I use the same design on a stand-up pouch and a flat-bottom pouch?
You can discuss the same brand direction for both, but the layouts should be reviewed separately. The panels, folds, seals, base, and feature positions differ by pouch format. Do not assume that a flat artwork file will transfer without adjustment.
Are labels the same as direct coffee-bag printing?
No. A label is applied to a bag that already exists. Direct printing is part of the custom pouch itself and must be reviewed with the pouch layout, material, closure features, and finish. They may serve different packaging workflows.
Choose the Print Route After You Define the Pouch
The practical answer to “How do I print on coffee bags?” is to define the coffee and the finished pouch first, then evaluate digital or gravure printing with the artwork that belongs on that pouch. A clear brief gives the supplier something real to assess and reduces the risk of approving a design that does not match the finished configuration.
When you are ready to discuss custom coffee bag options, send the complete brief rather than an image alone. To review a specific pouch and printing direction, contact the Mylarbag team with your coffee format, target fill, pouch type, closure plan, artwork status, market, and questions that need confirmation.