
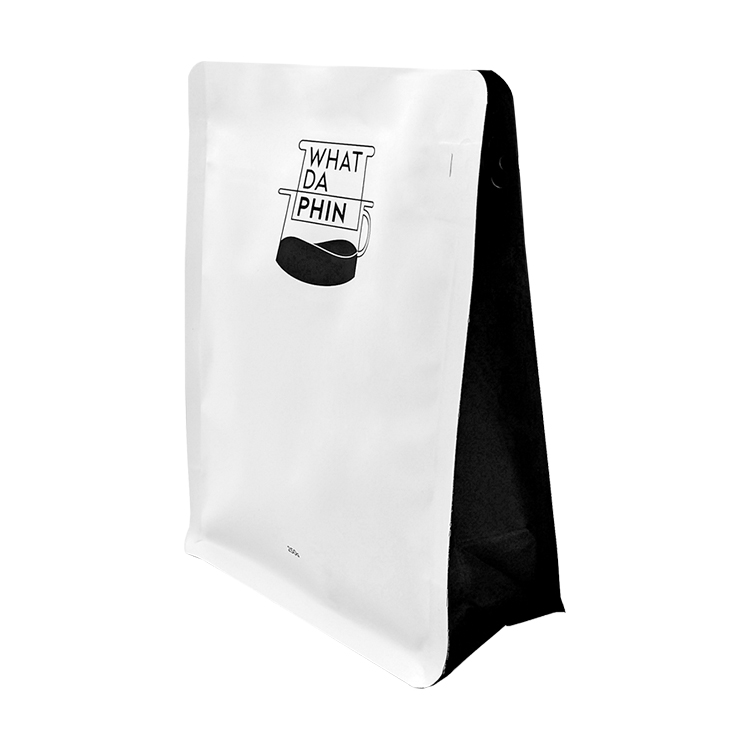
To seal a coffee bag for sale, start with a pouch designed for the sealing method you plan to use, keep the top sealing area clear during filling, and establish the process with samples of the actual pouch and coffee. A zipper, pocket zipper, or tin tie is usually part of the customer’s later opening and reclose experience. It is not a substitute for the first top seal made before the bag leaves the roastery.
There is no single heat setting that responsibly applies to every coffee pouch. The bag construction, top layout, equipment, coffee fill, and production setup all matter. This article helps roasters set up a sensible sample process before buying equipment or approving a custom pouch, rather than treating an internet setting as a promise for a different bag or line.
Start With the Pouch, Not a Generic Machine Setting
The first question is not “What temperature should I use?” It is “What is this pouch designed to do at the top after filling?” A coffee pouch may have a top area intended for heat sealing, an opening strip, a zipper beneath that strip, or a fold-over closure. Those features need to be read together.
ASTM F2029 is a standard test method for heat sealability of flexible barrier materials. Its scope notes that material construction and thickness affect sealing behavior, and that results from a laboratory sealer may differ from results on production equipment. That is a useful guardrail for coffee packaging: a setting copied from a video, a forum, or another supplier is only a starting point for questions—not a verified process for your bag. ASTM F2029 is also clear that its heat-seal curve work does not replace the production validation a specific application may require.
Before you set up a sealer, collect the information already available for the pouch and packaging process:
- the exact pouch format and the top area available after filling
- the confirmed material structure or product specification, where the supplier has published or provided it
- the type and position of any zipper, pocket zipper, valve, tear notch, or fold-over feature
- the intended fill weight or a representative coffee sample
- the equipment that will make the first seal
- any project-specific documentation or market requirements that must be evaluated separately
Do not fill in missing details by assuming that every matte pouch, flat-bottom pouch, or zipper pouch is built the same way. Two bags can look similar on a shelf yet have different top layouts or material specifications. If the construction is not confirmed, ask the supplier before treating a sample setting as a production instruction.
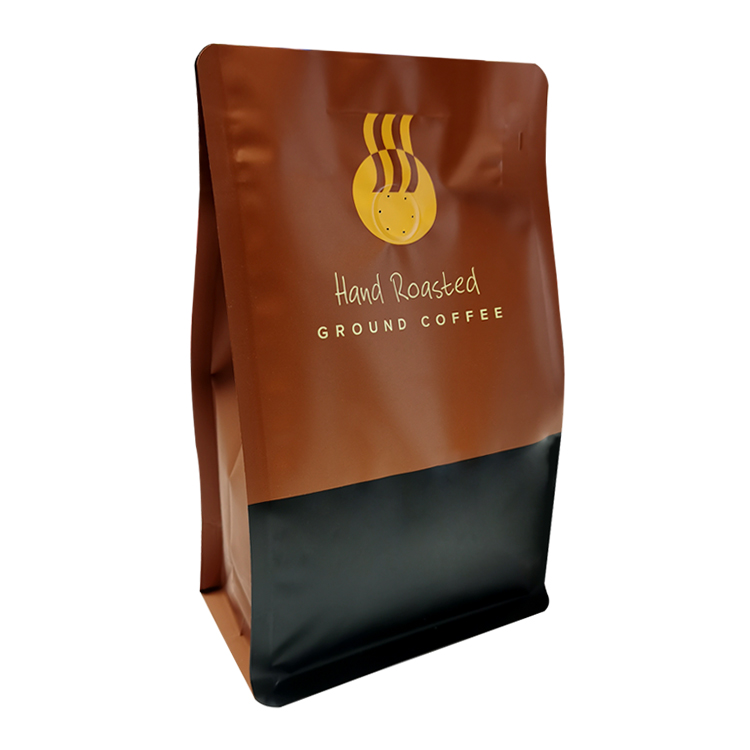
Heat Seal, Zipper, Pocket Zipper, and Tin Tie Do Different Jobs
Coffee packaging conversations often collapse several features into the word “seal.” That creates confusion at the point where a roaster is trying to choose a pouch and a packing process. The top closure made before sale is one decision. The feature a customer uses after first opening is another.
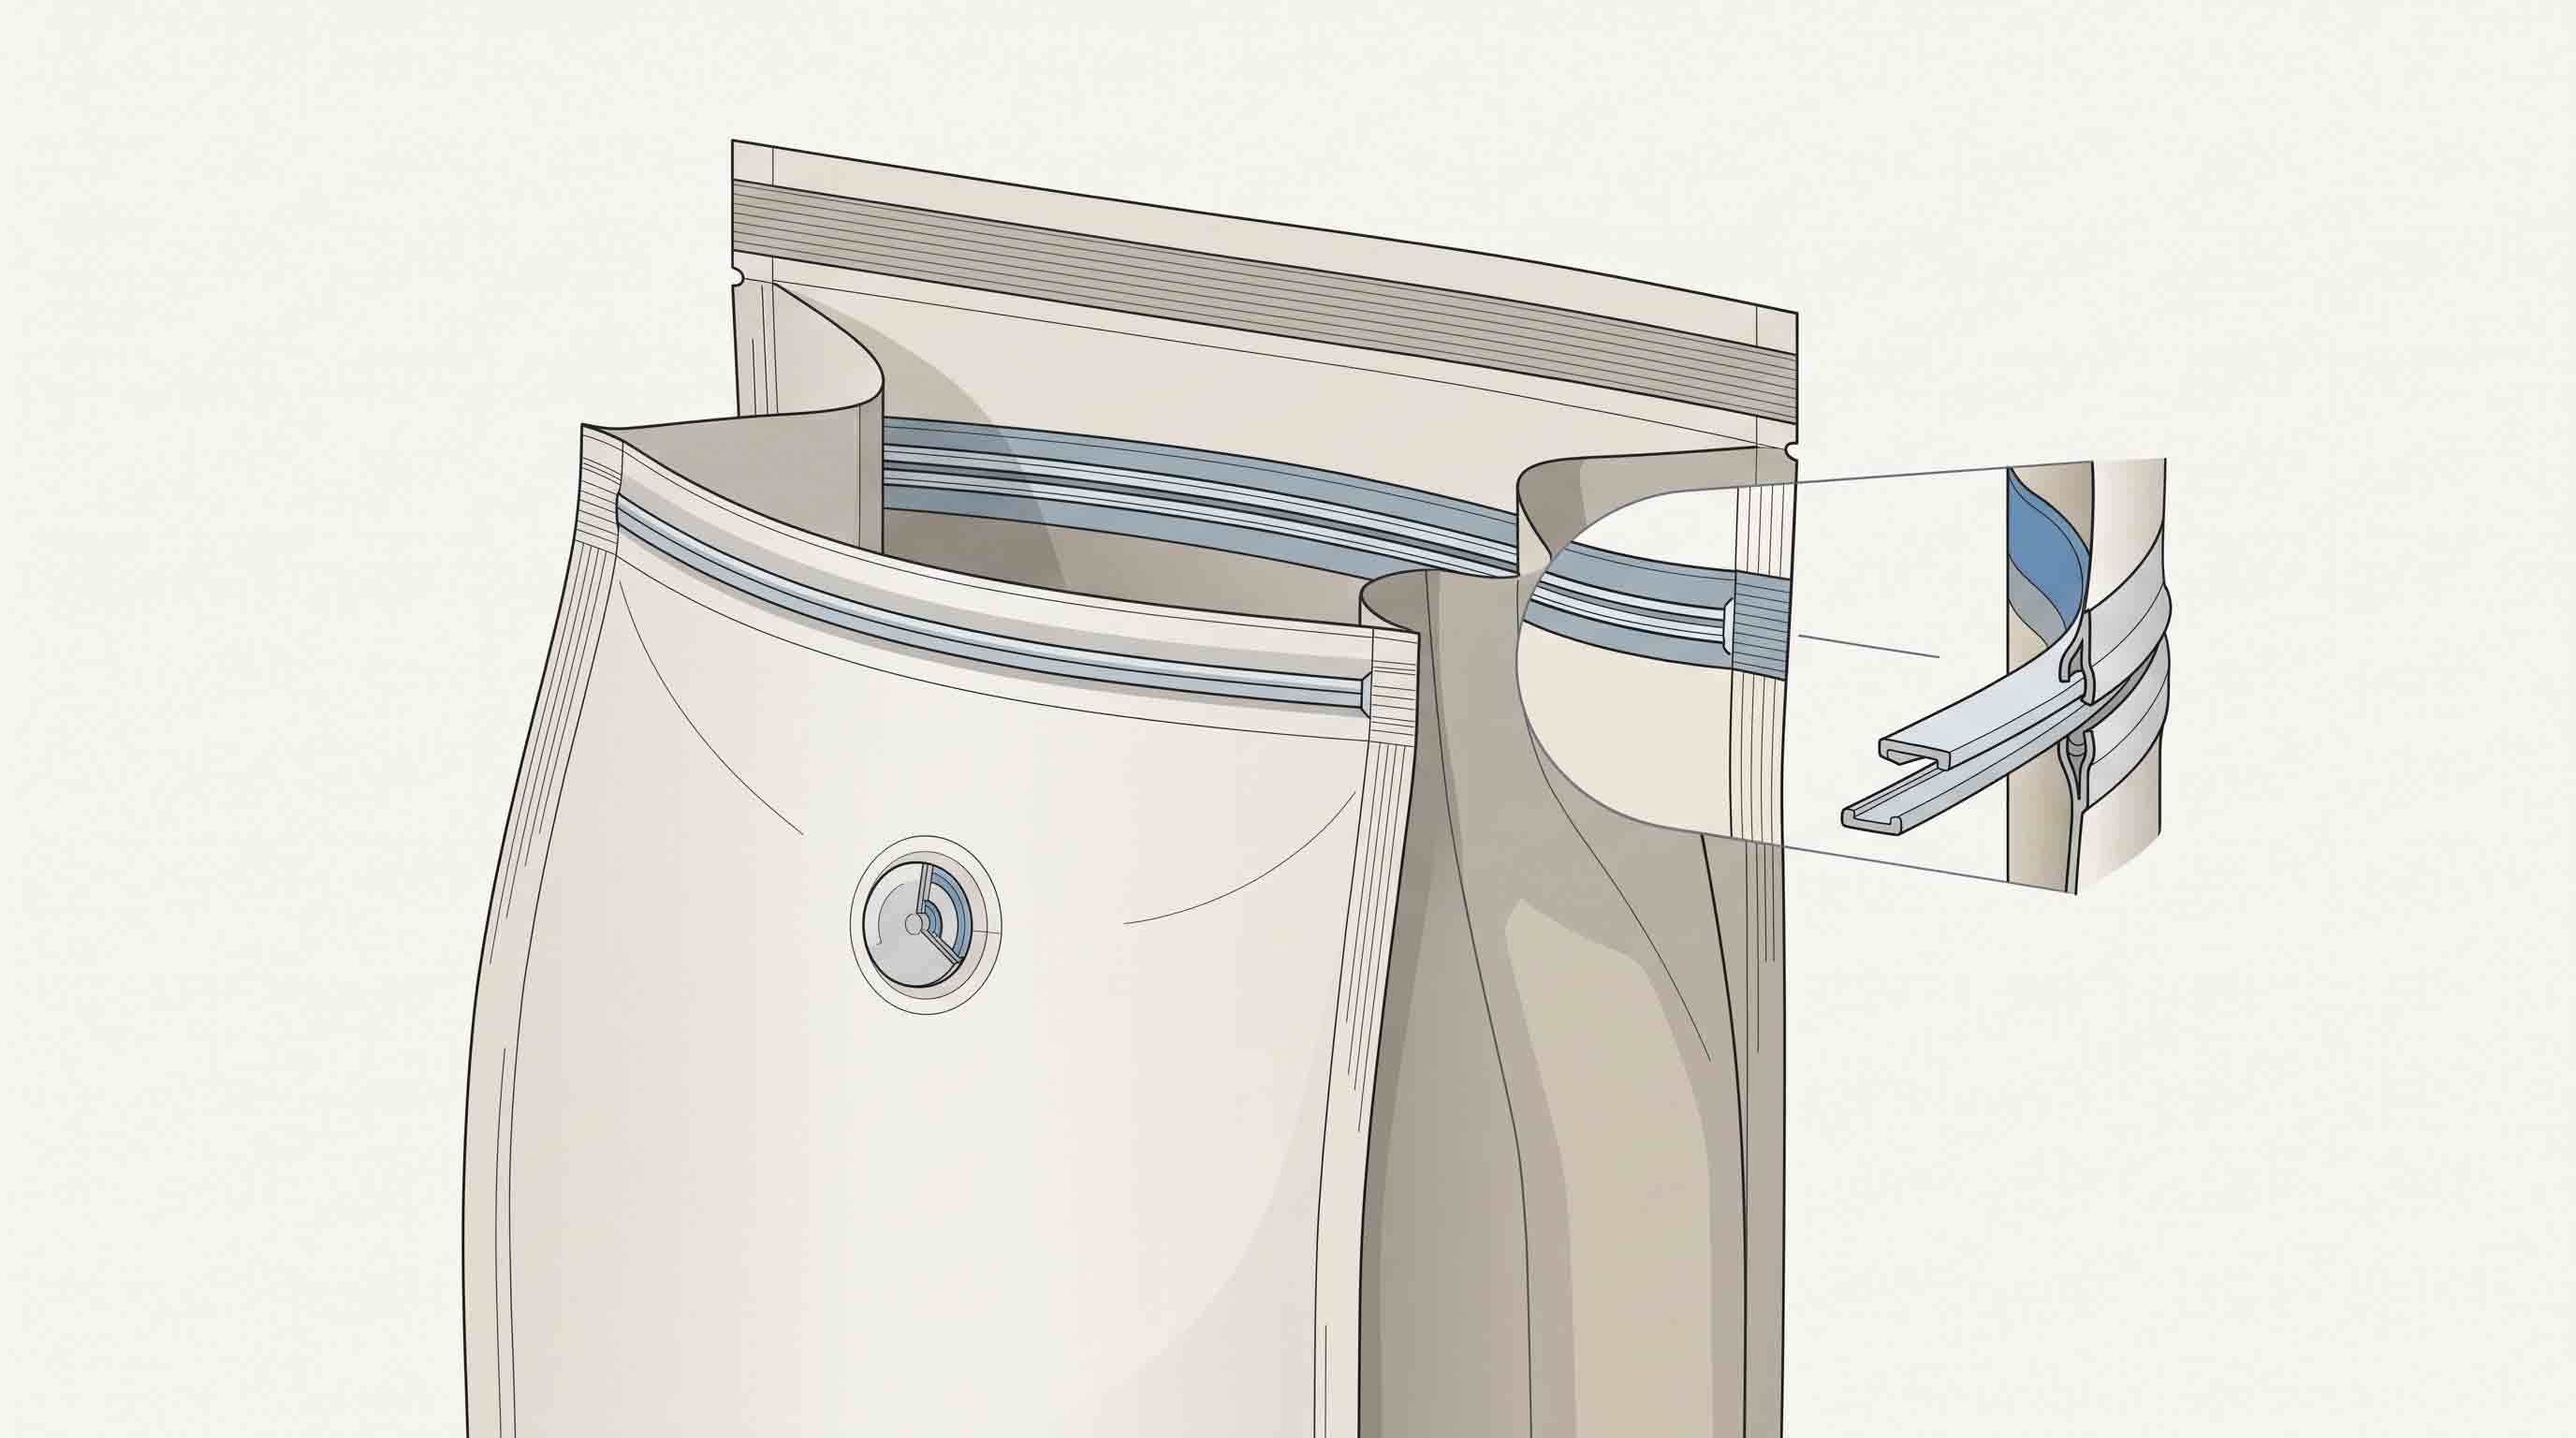
This distinction matters when you order custom packaging. A pouch can be specified with a zipper and still need a clear, usable area above that zipper for the first closure. A fold-top presentation may need a different layout discussion. The exact arrangement belongs in the pouch brief, along with the coffee type and filling workflow.
The same distinction also keeps this guide separate from consumer advice. A consumer opening a retail pouch needs to know where to tear and how to reclose it. A roaster needs to decide what happens before the pouch reaches the customer: how the top is filled, kept clear, aligned, sealed, checked, and recorded.
Read the upper pouch area as a working zone
Lay an empty sample flat and look only at its upper section. Identify the top edge, any zipper line, the location of a pull or notch if present, and the point where the pouch body starts to take shape. If you are working with a flat-bottom pouch, do not assume the front, back, and side panels create the same usable top margin as another format. If you are working with a side-gusset or stand-up pouch, confirm its own layout instead.
Treat this as a layout check, not a performance test. You are looking for the space your filling and sealing process will need, and for features that must remain accessible after first opening. A pouch drawing, a physical sample, and a conversation with the supplier are more useful here than a generic product photo.
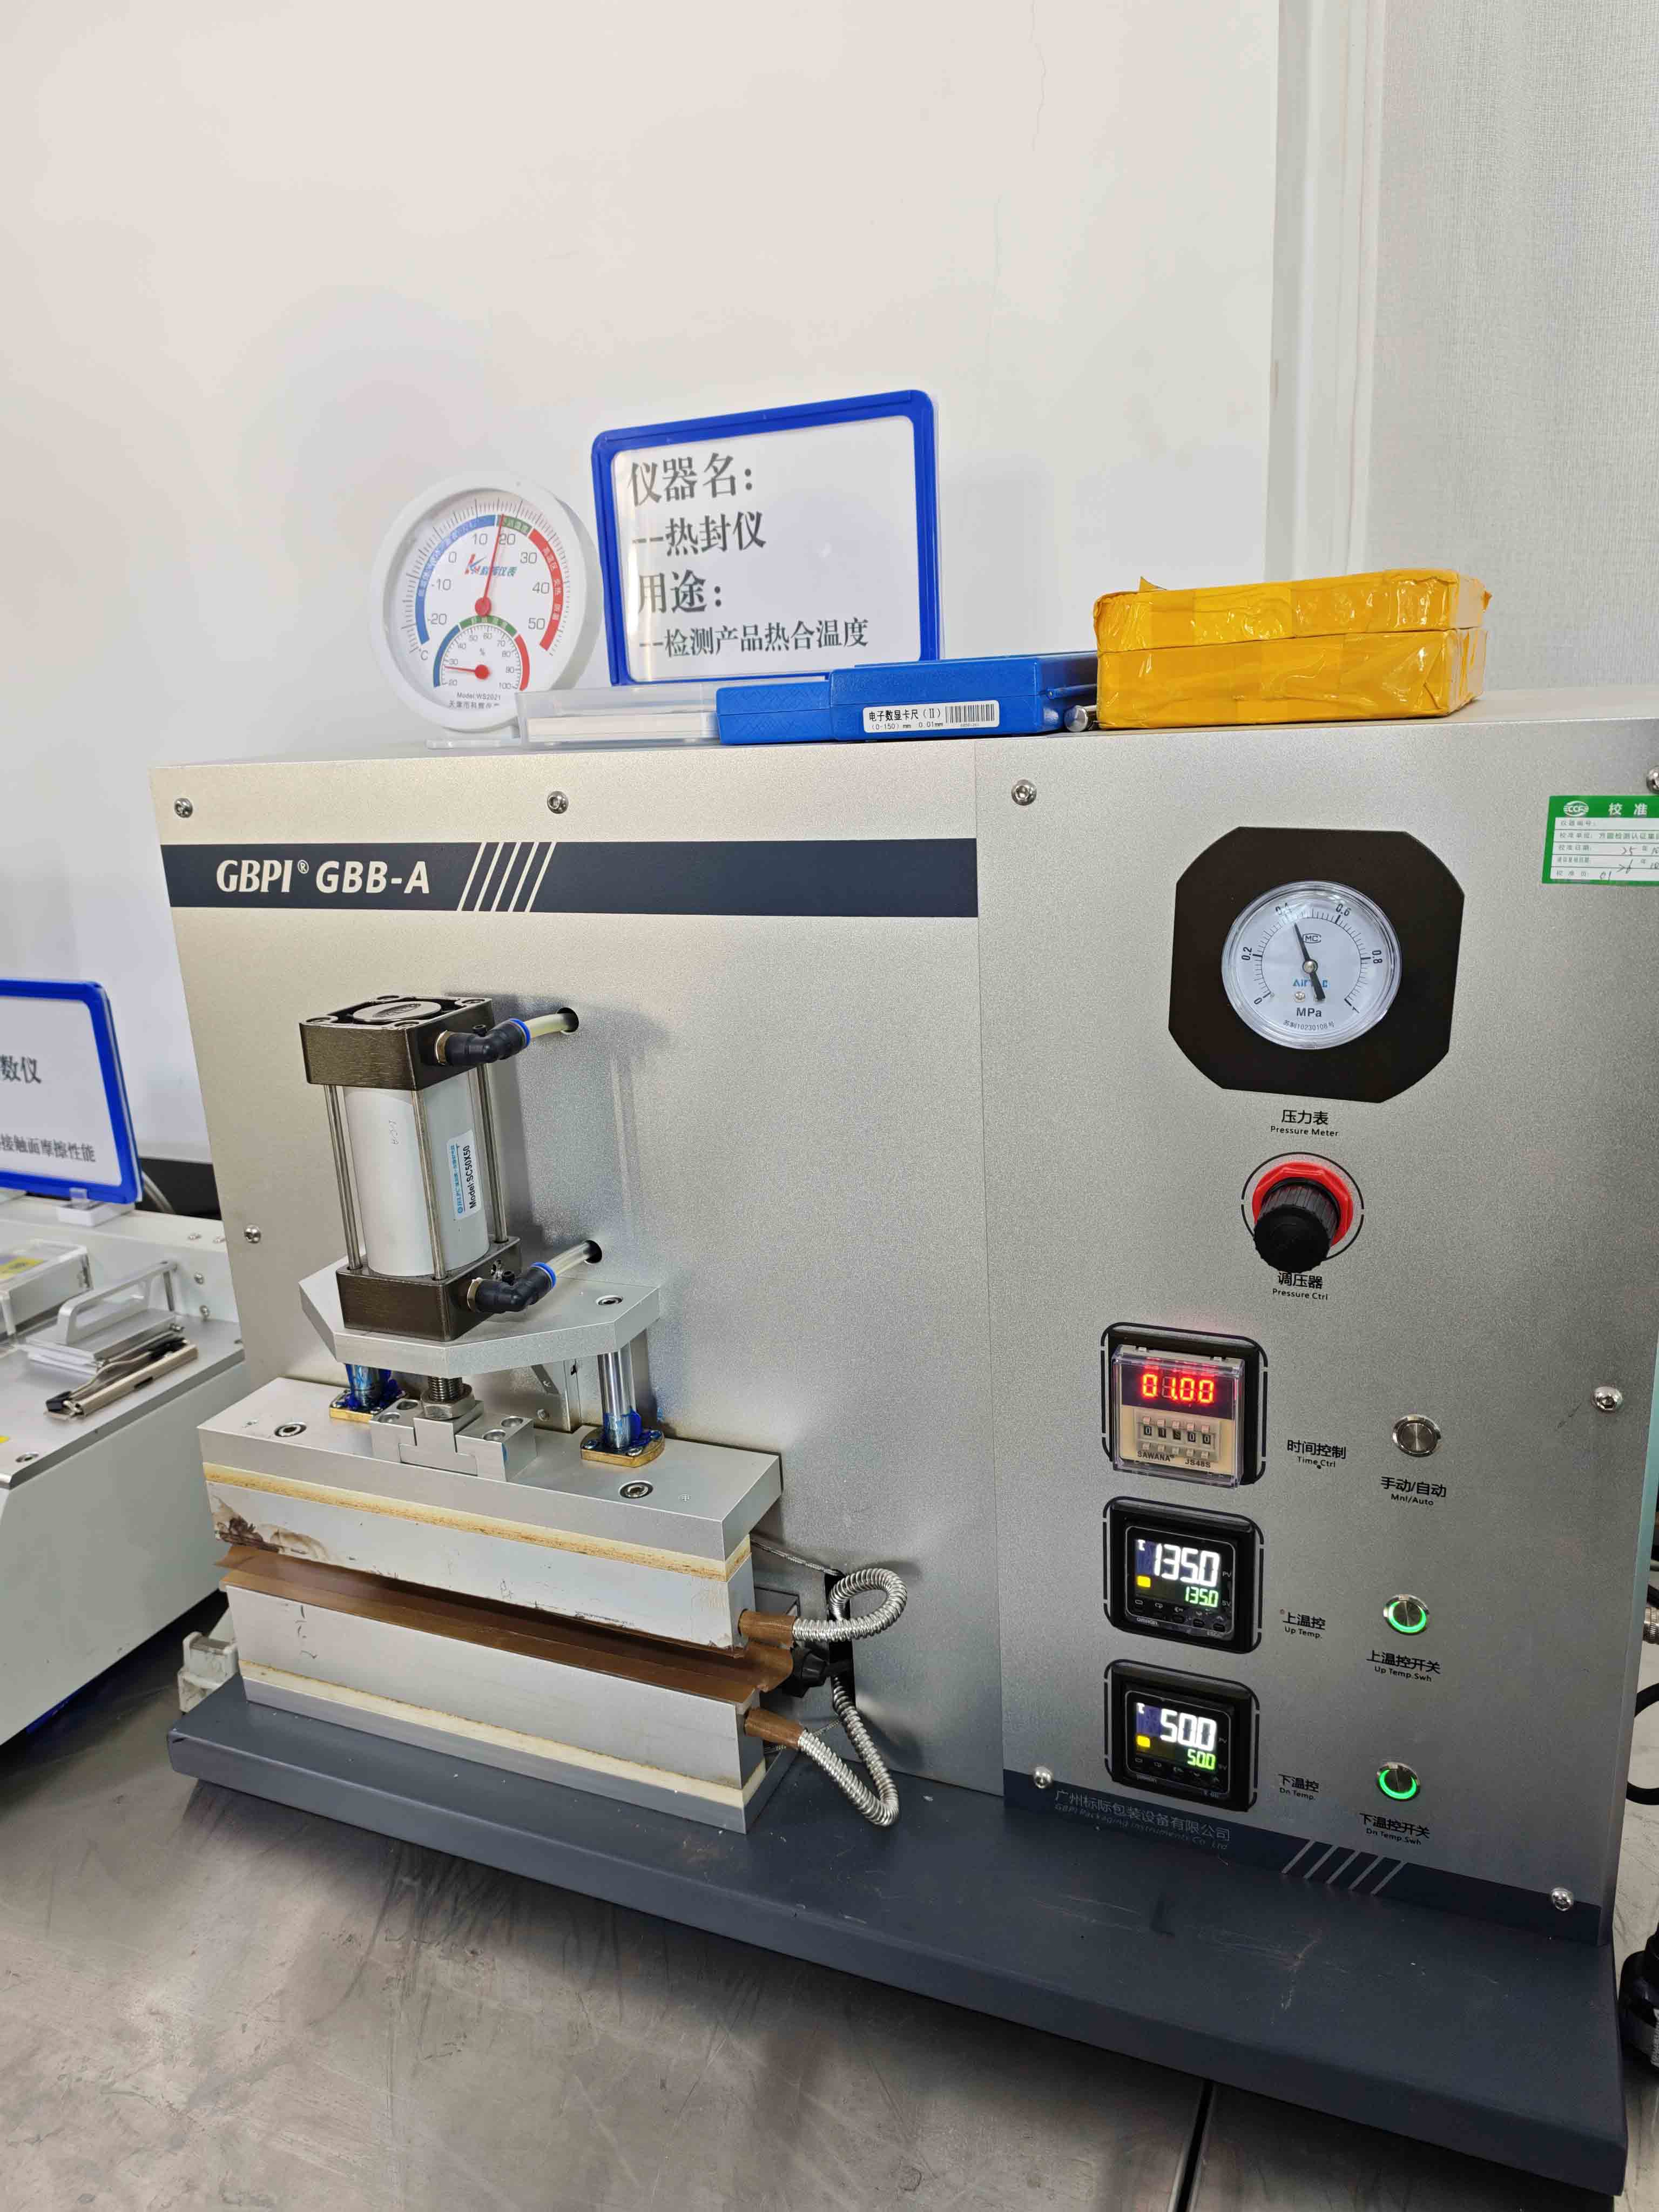
Choose a Coffee-Bag Sealer Around the Actual Filling Workflow
“Coffee bag heat sealer” can describe several kinds of equipment. The right question is not which machine is best in the abstract. It is which setup lets your team place the filled pouch consistently, keep the top working area clear, and repeat the approved process in the way you actually pack coffee.
Use the table to frame the equipment conversation. It does not rank machines or tell you that a particular pouch will run on a particular setup.
An equipment supplier may describe controls, throughput, jaw width, or compatible applications for a particular model. Those details can help narrow the conversation. They do not remove the need to run the actual pouch, fill, and workflow together. A coffee bag that is easy to place by hand can behave differently when a line operator is working through a regular packing session. A pouch that looks suitable on an empty trial may need a different handling approach once it is filled to its intended level.
For a new roastery or a new bag format, start with the simplest honest description of the work. How many bags are being filled at a time? Is the operator hand-filling? Is a zipper already present under the top margin? Does the pouch need to stay upright while being sealed? Will the same person fill, seal, and pack, or are those separate roles? Answers to those questions are more useful than choosing a sealer because another coffee brand appears to use one.
Ask for pouch-specific guidance in writing
When a supplier publishes a pouch material structure or sends a technical note, keep it with the sample record. Ask what information they can provide for the pouch you are considering, and make clear which sealer type you intend to evaluate. If the answer is conditional, retain the condition. “Suitable for evaluation on this equipment” and “proven for every production setup” are not the same statement.
This written record is especially useful when you change a pouch format, adjust a zipper position, switch from whole bean to ground coffee, or bring a different sealing machine into the process. It gives the next sample run a factual starting point instead of forcing the team to recreate past assumptions from memory.
Prepare the Sealing Area Before You Fill the Bag
Once the pouch and equipment are under discussion, the next decision is operational: how will the top of each bag arrive at the sealer in a usable condition? This deserves its own written step. It is easy to focus on the machine and leave the bag-handling sequence undefined.
Start by defining the upper pouch area that should remain available after filling. That area needs to be compatible with the pouch layout. If a zipper sits below the top edge, the operator needs a routine that does not crowd or cover the zipper. If a tear notch or a pocket-zipper access route is part of the design, it needs to remain where the customer can use it. The sample pouch is the place to confirm this, not the day a finished order is being packed.
Then look at the coffee itself. Whole beans and ground coffee do not present the same physical fill, and different products may settle differently in the pouch. Rather than guessing how much space will be left at the top, fill a representative sample to the intended level and observe the actual working area. If coffee or dust reaches the planned sealing path, stop and adjust the filling or handling routine before treating the run as a meaningful sealing sample.
Simple handling choices make a large difference to repeatability:
- Keep the pouch upright and support its base while it is filled.
- Use a consistent way to settle the product before the top is presented to the sealer.
- Brush or clear loose grounds from the upper working area when they appear.
- Flatten and align the top panels before the pouch enters the sealing step.
- Check that the pouch is not being pulled sideways by a zipper, gusset, valve, or an overfilled body.
These are process observations, not universal operating instructions. A supplier’s pouch sample may have a different opening layout from the bag you receive for a final order. An equipment manual may describe machine operation but not your exact product handling. Keep the trial anchored to the sample in front of you.
Do not turn an empty-bag trial into a production conclusion
An empty pouch can help you understand placement and machine access. It cannot stand in for a filled coffee bag. Use it for a preliminary look at the top layout, then repeat the exercise with representative coffee and the fill level you intend to pack. The purpose is not to predict a fixed result. It is to make sure the setup you record is the setup you actually plan to use.
Build a Sample-First Heat-Sealing Process
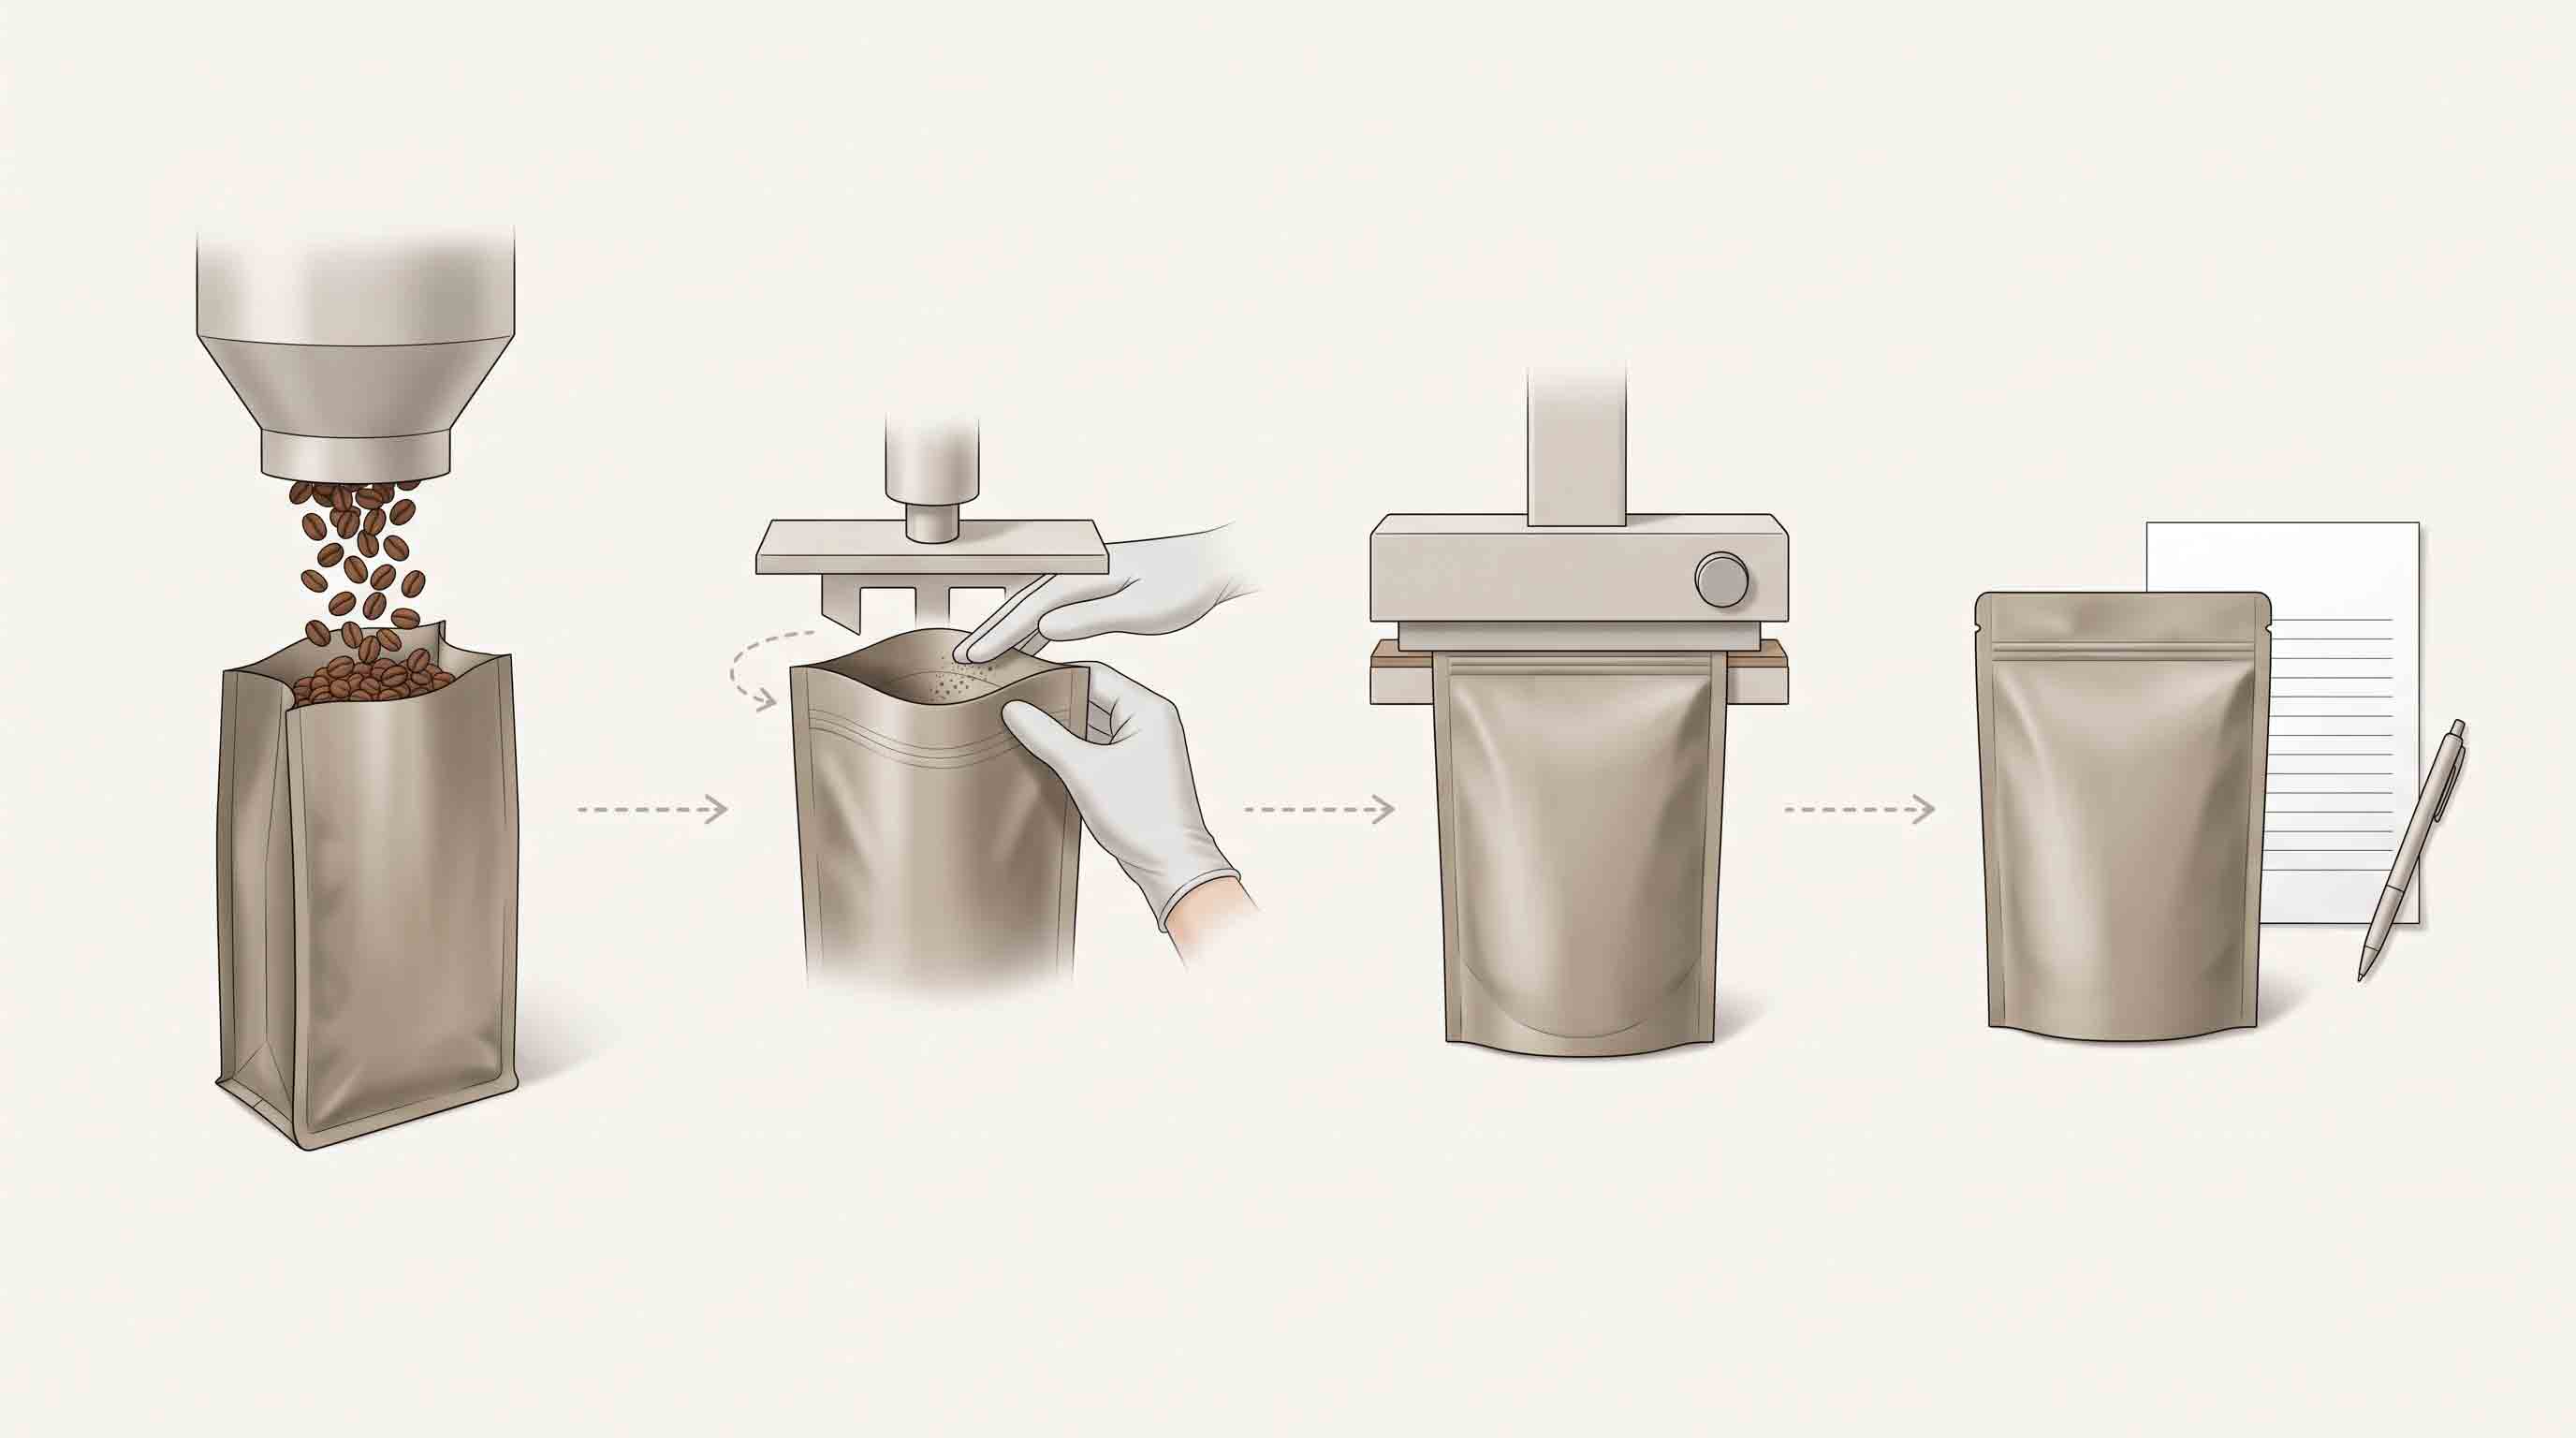
A coffee-bag trial should leave you with a clear sample record, not a number copied from a generic chart. Begin with the exact pouch and the actual coffee, then record what was used and what the team observed. If the bag, product, machine, operator routine, or upper pouch layout changes later, you will know that a new evaluation may be needed.
Work through the setup in a fixed order.
1. Name the sample precisely
Write down the pouch format, the supplier’s published or confirmed material description, the closure features, and the coffee being filled. Add the date, the machine model or sealer type, and the person running the sample. Avoid vague labels such as “black coffee bag” or “zipper pouch.” Those labels become nearly useless once several formats are on the shelf.
2. Fill the pouch as it will be filled in normal work
Use the intended coffee form and an intended fill level. Bring the bag to the sealing step in the same orientation the operator will use. This is where the choice of pouch format becomes concrete: the bag may stand, fold, or need support in a way that an empty sample did not reveal.
3. Follow the confirmed pouch and equipment guidance for the trial
Use the instructions available for the pouch and the equipment, and record the settings used during each trial. Do not write a generic setting into a work instruction merely because it produced a closed-looking sample once. ASTM F2029 treats heat-seal behavior as material-dependent, and it cautions against assuming laboratory and production results are identical. Your record should therefore say what was actually used, on which pouch, with which fill, and on which equipment.
4. Inspect the sample before you repeat it
Look at the top area in good light. Check whether the pouch was positioned as intended, whether the path was clear of coffee particles, whether the panels were aligned, and whether the zipper or opening feature remains accessible. If any of those points is unclear, note it and adjust the handling process before making the next sample. Do not hide a misaligned sample inside a stack of apparently similar bags.
5. Keep the approved sample and the record together
Once your project has its own documented process, retain the sample with the notes that describe it. This is not a substitute for any required testing or validation. It is a way to preserve the real conditions behind the process your team agreed to use. If you need a formal method for measuring seal strength in flexible barrier materials, ASTM F88/F88M covers that type of measurement; it does not provide a universal coffee-bag machine setting.
This record should stay factual. “Coffee grounds were visible in the upper pouch area on two samples” is useful. “The process is guaranteed to work for all future bags” is not. The first statement helps someone investigate a real condition. The second ignores the bag, fill, machine, and handling changes that can occur later.
Problems That Mean You Should Pause and Recheck the Setup
Not every issue calls for a new pouch or a new sealer. Some call for a pause, a clearer record, and another sample. Do not make an unexplained condition part of the normal run.
Coffee or dust in the planned sealing path
If loose coffee particles are visible where the top is meant to be closed, the sample is not representing a clean, controlled routine. Revisit the filling step and how the upper pouch area is handled. Do not solve this by simply pressing harder or by assuming every filled bag will look the same.
Wrinkles, folds, or a crooked top presentation
If the upper panels arrive unevenly at the sealer, look at how the pouch is being held and supported. A gusset, a full pouch body, or the operator’s hand position may be pulling the top out of alignment. Record the observation and repeat with a changed handling step rather than changing several machine variables at once.
A zipper or opening feature is too close to the working area
If the zipper or intended first-opening route is being caught in the process, return to the pouch layout. Confirm the top margin and closure position with the actual sample. This is a packaging-design question as well as a production question. A different top layout may need to be quoted and evaluated for the project.
Results that cannot be repeated
When one sample looks different from the next, first check what changed: pouch lot or format, coffee fill, machine position, operator sequence, or recorded trial condition. Do not label the variation as a material problem without evidence. The record exists so the team can compare real differences instead of guessing.
Recommended Packaging Configuration: Put the Sealing Plan in the Pouch Brief
When you request a custom coffee pouch, include the first-sale sealing process in the brief. This is not an extra technical detail to add after artwork. It affects how the upper pouch area is laid out, how a zipper or pocket zipper is positioned, and what the production team needs to sample.
For a project being evaluated through custom coffee bag options, send the following information with your inquiry:
- whether the coffee is whole bean, ground, or another format;
- the target fill weight or a product sample;
- the pouch format you are considering, such as flat-bottom, stand-up, or side-gusset;
- the first-opening and later reclose features you want customers to use;
- the type of heat-sealing equipment and packing workflow you plan to evaluate;
- the target market and any project-specific documentation you need to discuss; and
- artwork, shelf-display, or design constraints that affect the upper pouch area.
That information does not predetermine a bag structure or approve a process. It gives the pouch supplier and roaster a shared starting point for a project-specific conversation. A supplier can then discuss available formats and public configuration fields, and you can decide what needs to be sampled before committing to a final packing routine.
Avoid treating a published bag as a ready-made process instruction. A related project can show a real format, material description, size, printing method, valve, or zipper arrangement. It cannot prove that the same bag, on different equipment and with different coffee, will produce the same outcome for another roaster.
Related Project: A Published 12oz Flat-Bottom Coffee Pouch
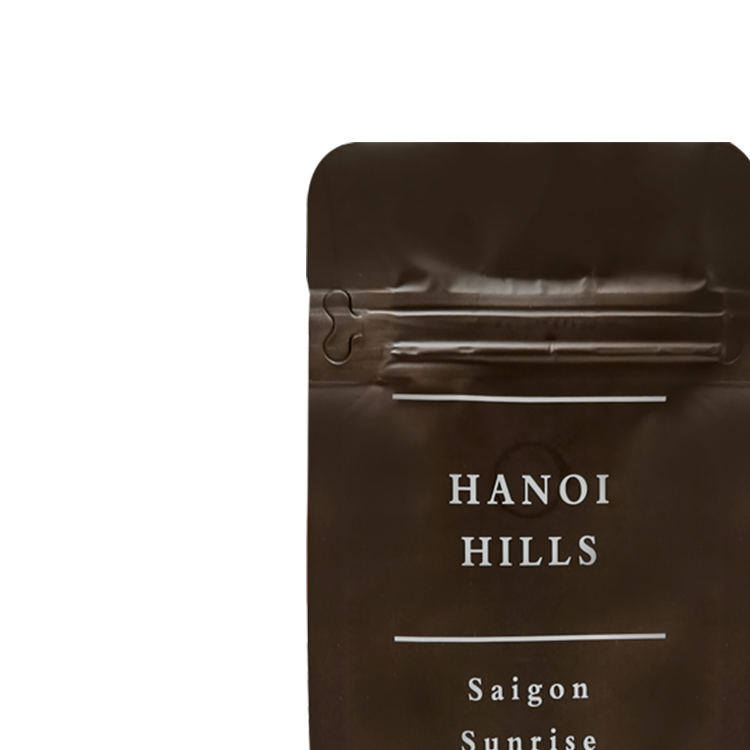
One published U.S. coffee-pouch project records a flat-bottom pouch for 12oz of ground coffee. The public listing identifies MATOPP/VMPET/PE, gravure printing, a 13 × 22 + 8 cm format, a valve, and a pocket zipper. It is useful as a documented example of a coffee-pouch configuration with a reclose feature, not as evidence of a particular heat-seal setting or packing result. See the published 12oz flat-bottom coffee pouch project.
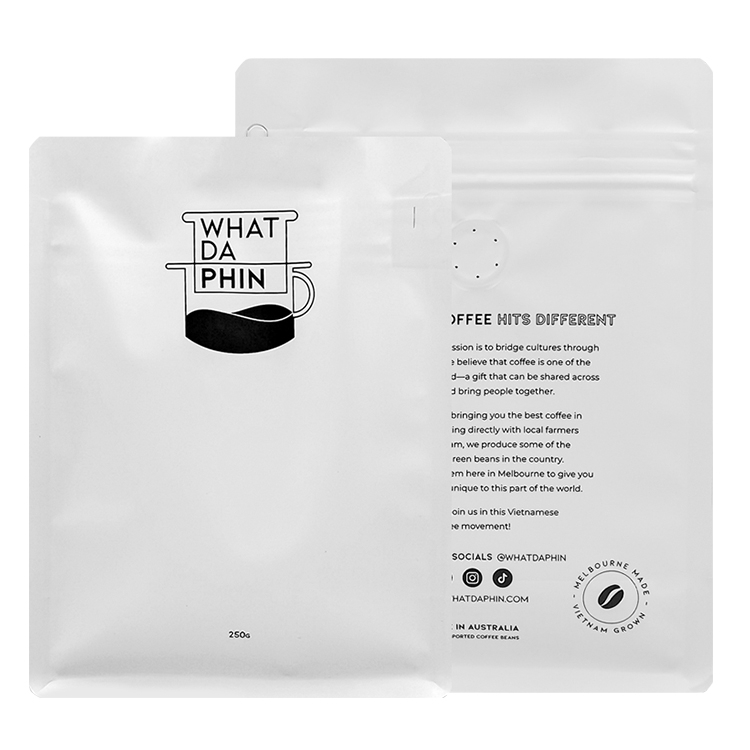
For comparison, a published Australian project lists a 250g flat-bottom pouch with MATOPP/VMPET/PE, gravure printing, a 14 × 18.5 + 7.5 cm format, a valve, and a pocket zipper. It shows another recorded pouch configuration, not a conclusion about the process required for every 250g coffee product. The project details are available on the 250g flat-bottom coffee pouch page.
When you review a case like this, ask: Which top layout will leave a practical working area after filling? Does the desired customer reclose feature match the first-opening route? What exact pouch sample should be evaluated on the equipment already in the roastery? Those questions move a sourcing conversation forward without pretending that another project answers them for you.
Frequently Asked Questions
Is a zipper the same thing as heat sealing a coffee bag?
No. A zipper is generally a customer reclose feature. The first top seal is the closure made after filling the pouch for sale. A bag can have both, so the upper pouch area must be planned around the zipper’s position and the intended first-opening route.
Can every coffee bag be heat sealed?
Do not assume so from the bag’s appearance. Confirm the pouch specification and the available top area with the supplier, then evaluate the actual pouch on the equipment you plan to use. A printed sample photo does not establish what a particular pouch or process can do.
What temperature should I use to heat seal coffee bags?
Use the pouch supplier’s available guidance and the equipment instructions as the starting point for a documented sample trial. Do not rely on a universal online number. Material construction, thickness, equipment, fill, and handling conditions vary, and ASTM F2029 specifically notes that heat-seal behavior is material-dependent and laboratory and production equipment can differ.
Should I heat seal above a zipper?
When a pouch is designed with a zipper below an upper sealing area, the process needs to preserve the zipper and its intended first-opening route. Confirm the exact layout on the pouch sample rather than assuming the same clearance applies to every format or closure style.
What should I check in a coffee-bag sealing sample?
Check the pouch identification, the coffee and fill used, the equipment and recorded trial conditions, the clear upper pouch area, panel alignment, and whether the zipper or opening feature remains accessible. Keep notes on what you observed and what you changed before the next sample.
What should I include in a custom coffee-bag inquiry?
Provide the coffee format, target fill or a sample, preferred pouch format, opening and reclose features, the sealer and packing workflow you plan to evaluate, your target market, and any documentation you need to discuss. That gives the packaging conversation a useful factual base without assuming a price, minimum order quantity, lead time, certification, or finished performance result.
Plan the Pouch and the Sealing Step Together
Treat the pouch, fill, equipment, and handling routine as one sample process. Start with the actual pouch, keep the upper working area clear, record what is used, and revisit the setup when a material, bag format, or workflow changes.
If you are comparing bag formats, zippers, and first-opening layouts for a new coffee line, review the available custom coffee bag configurations. To discuss a project, contact the Mylarbag team with the coffee type, target fill, preferred pouch format, closure plan, and the equipment you expect to use.
Sources and Project References
- ASTM F2029: Standard Test Method for Heat Sealability of Flexible Barrier Materials
- ASTM F88/F88M: Standard Test Method for Seal Strength of Flexible Barrier Materials
- Published 12oz flat-bottom coffee pouch with valve and pocket zipper
- Published 250g flat-bottom coffee pouch with pocket zipper and valve