
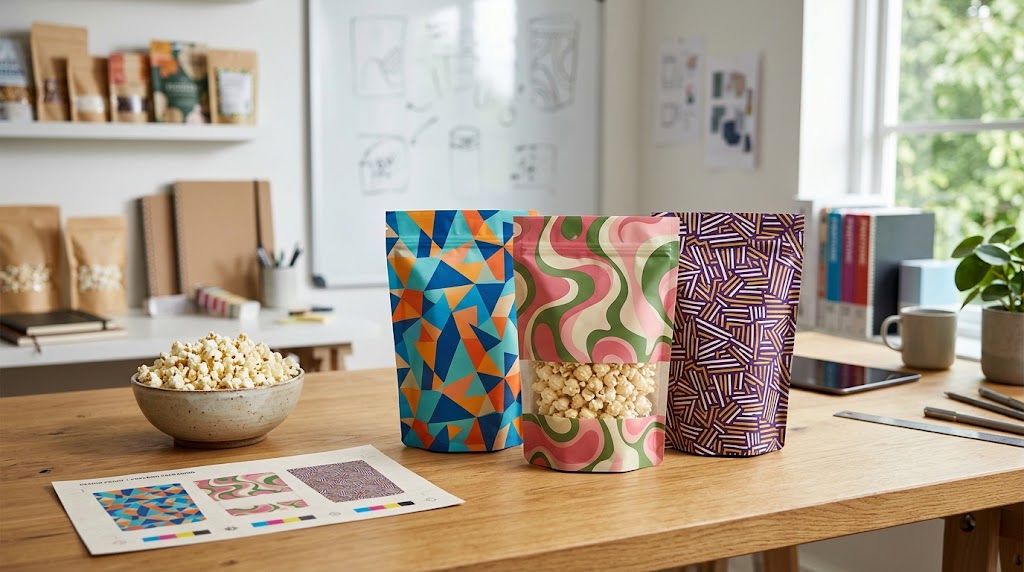
A bright design on a flat monitor can fail on a filled popcorn pouch. The bottom gusset folds the illustration, a zipper hides a line of text, or the barcode bends into a side seal. The problem is rarely solved by asking the printer to “make it more vibrant.” Start with the bag's approved structure and a physical fill, then place artwork in areas that will remain visible, readable and producible.
The short answer: for a commercial retail pouch, obtain the converter's exact dieline and print specifications before final artwork. Mark seals, folds, zipper, tear, window, date-code and barcode zones; choose a print route suited to the approved material and program; review a flat proof, a physical printed sample and a filled sample. Finally, verify the production revision against the approved proof. This is a packaging production workflow, not a tutorial for putting an empty food bag through a home printer.
This guide covers flexible bags for already-popped popcorn sold as human food. It does not cover microwave cooking bags or printing directly onto the food-contact face without a specific authorized construction. The product's size and material need their own approval before print can be signed off.
Lock the Pouch Specification Before Artwork
Designers need more than a target weight and a front-panel rectangle. Confirm bag format, outside dimensions, gusset, rounded corners, material layers, print surface, window, first seal, zipper, tear notch, hang hole and anticipated filled shape. A pouch that fits 4 oz of one popcorn may not fit 4 oz of another; a later size change can move every safe area. Approve a representative filled blank bag before treating its dieline as final.
List the sales channels and flavor SKUs. A one-time local trial with several flavors may need a different proof and print strategy from a stable program with many repeated runs. Ask the converter about the available digital printing and gravure printing routes for the exact construction, quantity, color and lead-time requirement. Both are production methods, not automatic indicators of quality or suitability. Get a current project-specific quote rather than lifting generalized minimums or timing from a marketing page.
| Input to freeze | Why the print team needs it | What can go wrong if changed late |
|---|---|---|
| Approved pouch dimensions and gusset | Establishes the physical die and visible panels | Artwork moves onto folds or shrinks |
| Material and print side | Determines print process, opacity and finish response | Color, scuff or food-contact assumptions change |
| Window location and construction | Reserves a transparent product-viewing area | Ink blocks the window or code space disappears |
| First seal, zipper, tear and hang hole | Defines unusable and opening zones | Instructions or logo are cut, sealed or hidden |
| SKU and label copy | Prevents mismatched flavors and outdated claims | Finished packaging carries wrong product information |
| Filled-pack orientation | Sets true retail front and scan surface | Barcode or key message falls around a corner |
The site’s popcorn packaging bag page shows several available pouch families. Use it to begin a discussion, then ask for a dimensioned drawing of the exact bag you will fill. A generic stock dieline is not a substitute for the final tool, seal margin and print registration plan.
Read the Dieline as a Manufacturing Map
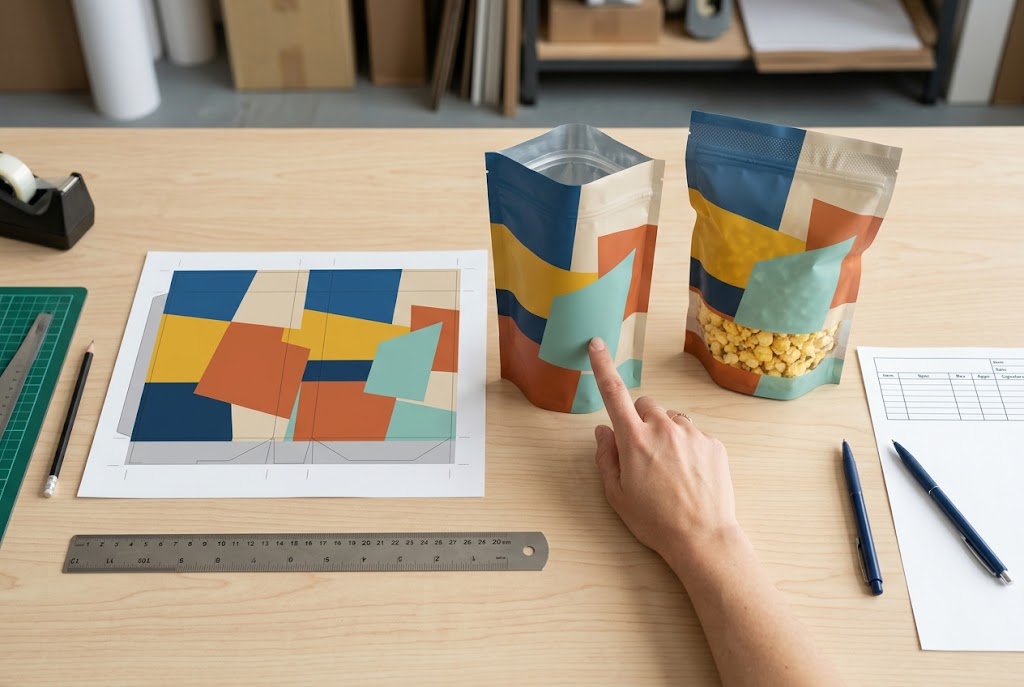
The dieline should distinguish trim, seal, fold, registration, zipper, tear, hang hole, window and safe artwork regions. Ask the converter for a legend and version number. Do not rely on colors alone if the design file will be shared among agencies and suppliers. Review how a flat film web becomes front, back, bottom or side gusset after forming. A front panel measured to the edge of a flat sheet may not remain visible once the pouch is filled.
Place essential content well inside a converter-approved safe area: brand name, flavor, net quantity, required label text, instructions and barcode. “Safe” is project-specific because seal widths, crop tolerance and registration vary. Reserve a date or lot-code panel that works on the actual packed shape and in the expected inkjet or thermal-transfer process. Do not print a decorative pattern where a variable code must later be read.
| Dieline zone | Typical design implication | Physical proof check |
|---|---|---|
| Side and bottom seals | Keep important copy clear; account for possible distortion | Inspect filled seams and corner text |
| Bottom/side gusset folds | Graphics wrap or disappear as the bag opens | View all retail angles on a filled sample |
| Top first-seal region | Avoid text and ink treatments that interfere with closure | Inspect a normally filled and sealed production-like sample |
| Zipper and tear feature | Reclosure must remain usable after opening | Open and reclose with actual popcorn inside |
| Window | Position relative to product fill and print white backing | Check visibility at actual fill and after settling |
| Barcode and date code | Preserve a flat, scannable, readable region | Scan printed filled samples and inspect variable codes |
The GS1 barcode placement and printing guide discusses quiet zones, contrast and avoiding truncated symbols. The GS1 international steps also advise consulting packaging engineers so folds or other layers do not obscure a symbol. A screen image that looks clear at 300% zoom is not proof that a retail scanner can read it from a rounded, filled pouch. Verify the correct barcode type, dimensions and print quality against the retailer's requirements.
Put food-label review before the press run
The packaging converter can help reserve space and print the approved text, but the food business owns ingredient, allergen, nutrition, net quantity, claims and destination-market review. In the United States, 21 CFR 101.7 addresses the net-quantity statement. The printed panel must be reviewed as it will appear on the filled pouch, not as isolated vector text. Other label requirements also apply and should be checked by the brand's qualified team.
Do not let a casual design revision alter “Net wt. 4 oz” or a flavor-specific ingredient panel without version control. A shared artistic base can serve multiple SKUs, but each final print file needs a unique identifier, approved copy and sign-off. The fact that two flavors use the same physical bag does not make their labels interchangeable.
Choose a Print Route Against the Program, Not a Slogan
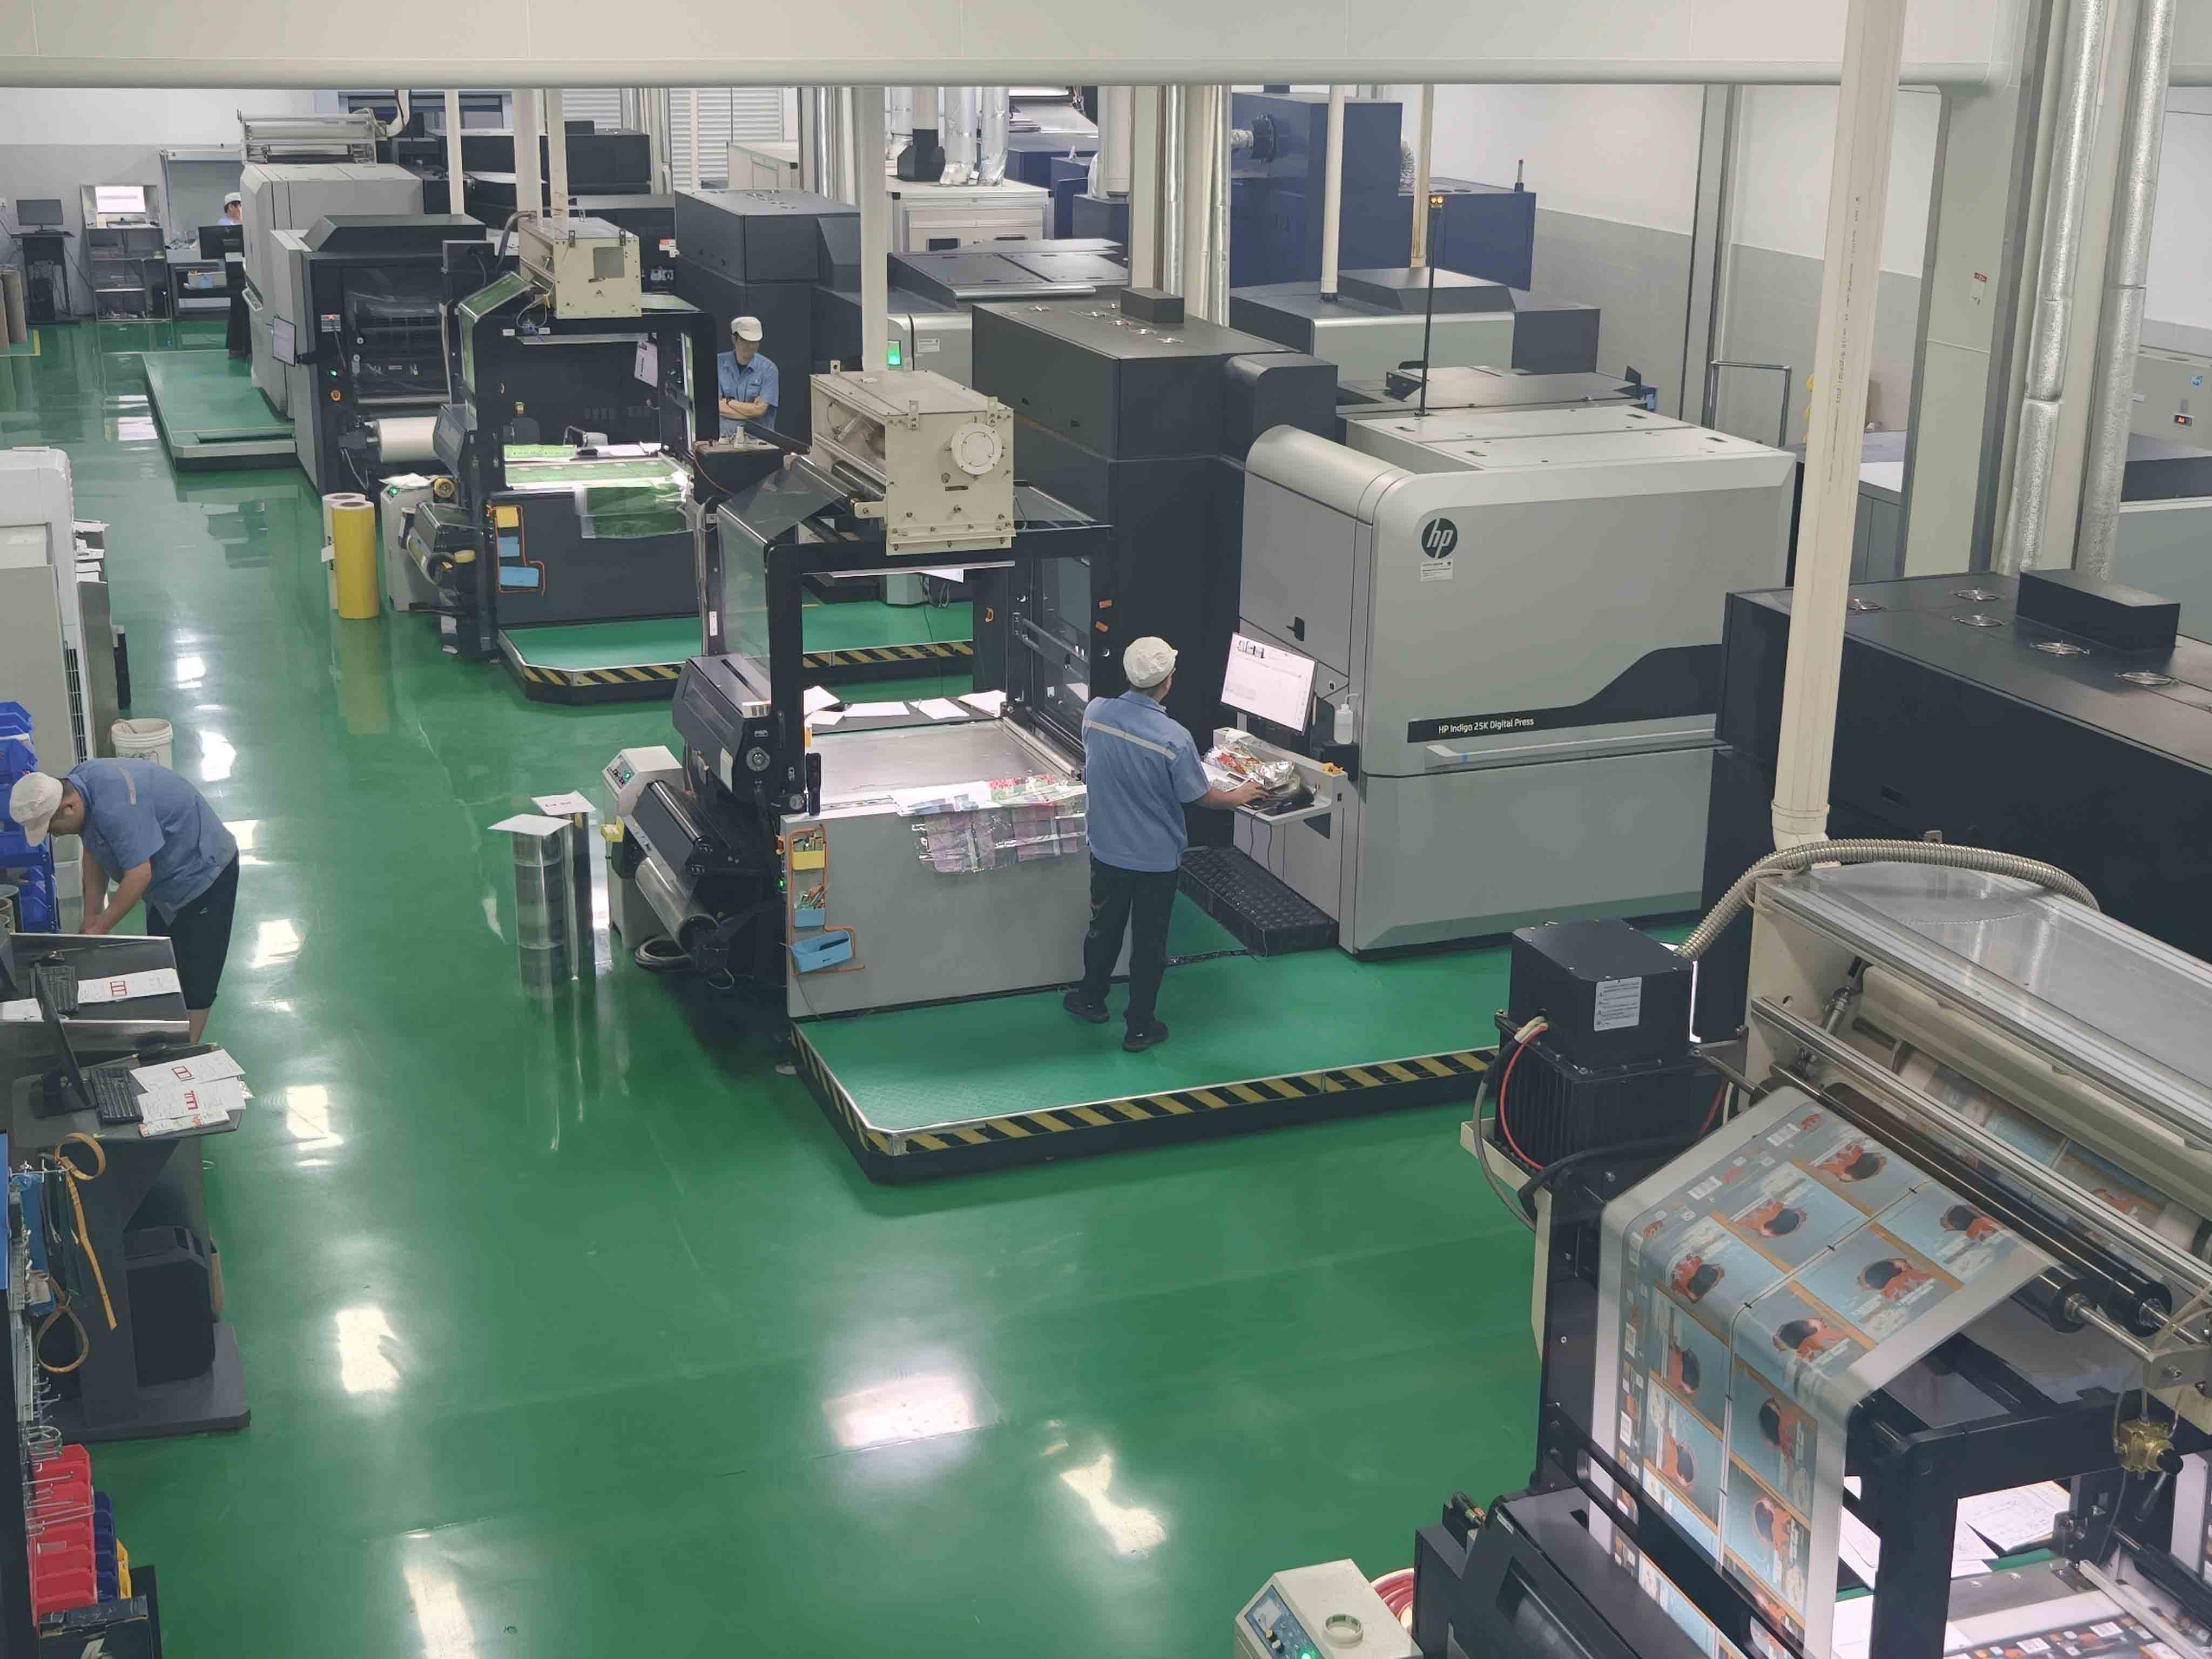
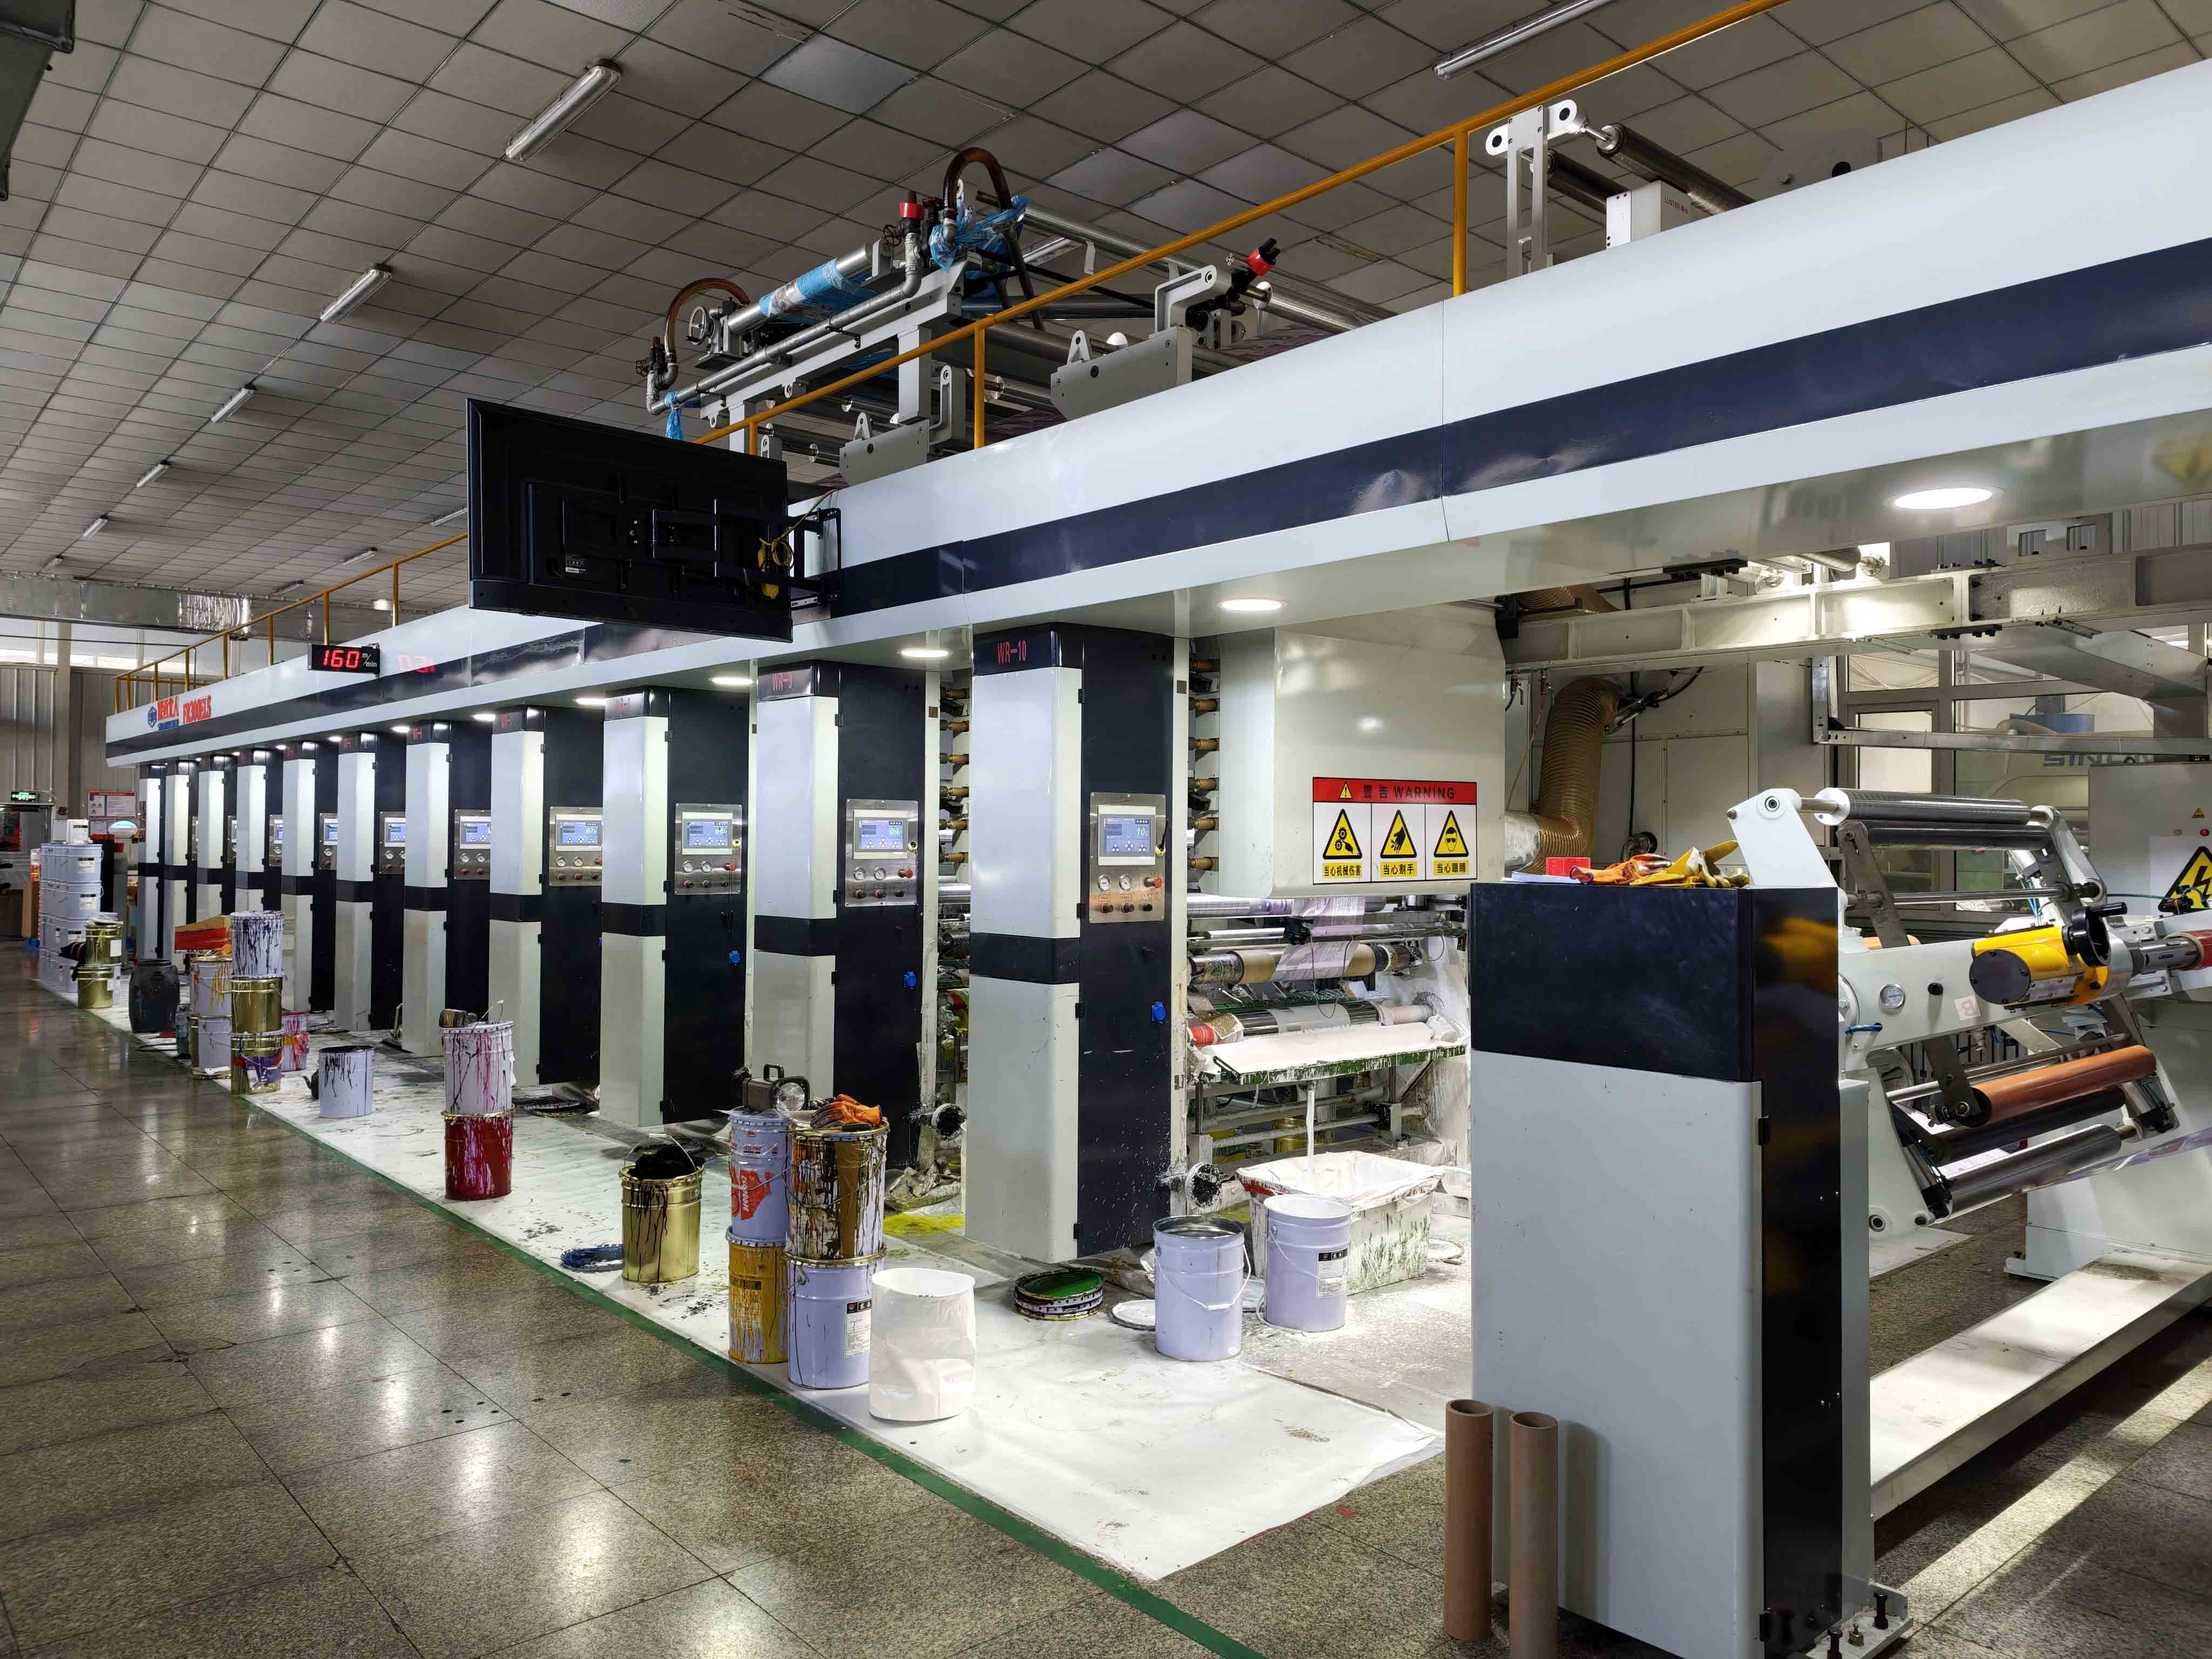
Digital printing may be attractive when designs change or several SKUs need smaller runs; gravure uses engraved cylinders and may suit stable high-volume repeat work. Neither statement sets a universal minimum order, exact price or deadline. Ask how each route handles your selected laminate, white backing, window, matte finish, color targets, variable SKU count and repeatability. Check whether the proposed proof is a print-process sample or only a monitor rendering.
Compare total usable packs, not just ink cost. A proof cycle that catches a barcode or text problem can be valuable. A cylinder investment may be sensible when artwork and volumes are stable. Late changes to the structure or dieline can force new artwork on either route. Ask what happens when a supplier changes film, ink set, finishing method or press; define when a revised proof is required.
Color, white ink and finish need physical approval
A clear window, brown paper-like surface, white film and metallized face can render the same artwork differently. Ask the printer which areas require white backing or deliberate transparency, how spot colors and process colors will be specified, and what physical tolerance or visual standard will be used. Review under representative retail light and on the curved, filled bag. A color proof on plain white paper is useful for layout but cannot demonstrate final color on a matte or metallized laminate.
Matte and gloss contrast, spot treatments or soft-touch finishes may alter perceived color and scuff behavior. Define the approved reference sample and viewing conditions. Keep delicate text away from heavily folded gussets. A translucent ink on a window may be almost invisible until the pouch is filled with light-colored popcorn; a dense white backing may obscure the product the window was meant to show. Resolve these questions on physical samples before a commercial run.
Keep Print and Food Contact in the Same Review
Printing is usually specified on a surface that is separated from food by the approved construction, but do not assume any arbitrary ink or print placement is acceptable. A film may be reverse printed and laminated; another route may have a surface print or coating. Ask for the actual print side, lamination structure, ink and adhesive documents, and any relevant set-off or migration assessment for the intended use. The FDA's food-contact component explanation emphasizes the status of components under their intended conditions. It is not a blanket approval of every printed pouch.
Keep printed rolls and converted pouches traceable by material and artwork revision. If the approved proof is produced on one film but production shifts to another, review whether color, adhesion, barrier, food-contact evidence or sealing changes. Print approval and packaging performance cannot be divorced: a window or a new coating can affect what the customer sees and what the product contacts. The brand's food-contact and label specialists should sign off the final assembly.
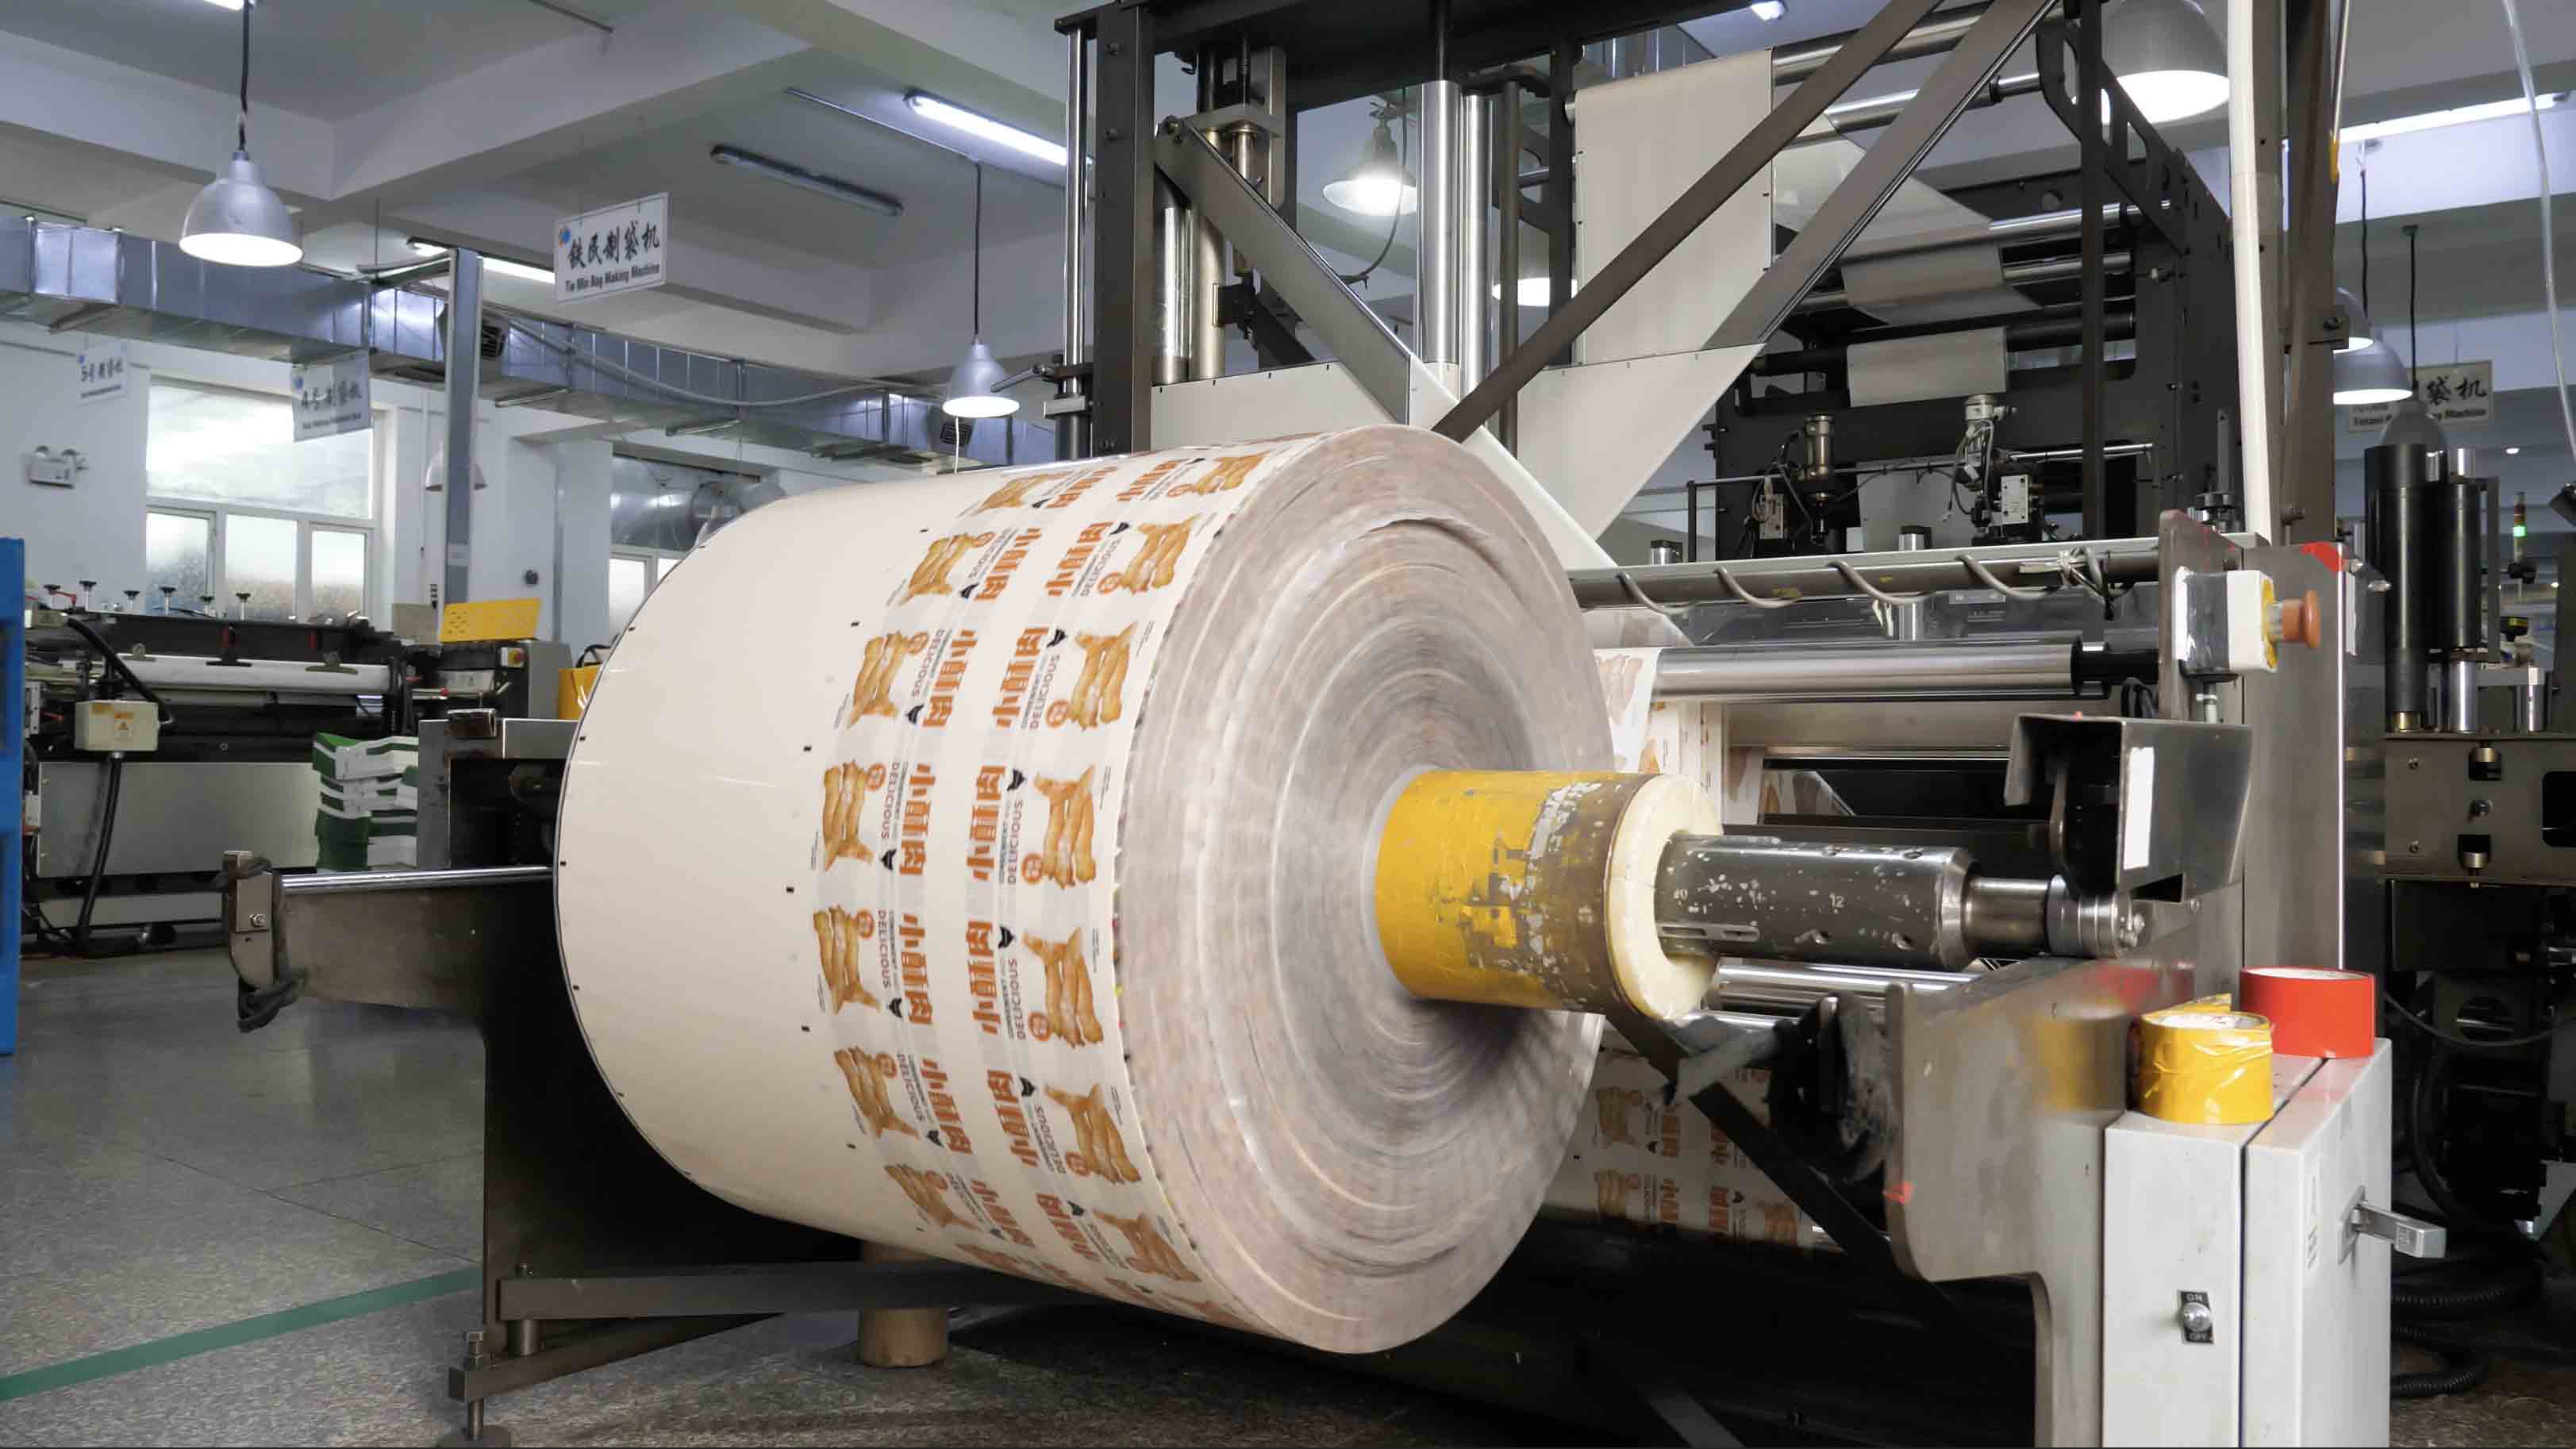
Use a Published Popcorn Project to Ask Better Print Questions
Mylarbag's published matte-black kraft-look pouch for gourmet popcorn identifies a U.S. project, stand-up format, clear window, gravure printing, MATOPP/kraft paper/PE material field and 15 × 22 + 4 cm. It is a useful example of print, material and format appearing together in one case. The public page does not provide the dieline file, barcode test, client artwork approval, exact press settings or finished fill trial.
If a brand wants a similar look, ask where the window lands on the actual filled pack, how white and colored areas appear over the kraft-like face, how the gusset folds the artwork, and whether the lot code remains readable. Those are questions to take into proofing, not facts proven by a product gallery. The case's gravure label does not mean a new brand with a different SKU mix must also choose gravure.

Approve a sequence of increasingly real proofs
Begin with a flat digital file review for copy, dimensions and layer names. Next examine a physical print on the intended substrate to check color, opacity, legibility and finish. Then form it into the actual pouch so folds, seals and windows can be judged. Finally fill and first-seal representative units with normal popcorn to inspect front presentation, code placement, barcode scanning and handling. A print that passes when empty may curve or disappear when full.
Keep a signed reference sample for production. Note the revision of the film, artwork, dieline, color reference, pouch dimensions and intended printing method. The approval form should show who signed copy and regulatory content, technical print, barcode, food-contact construction and the filled pack. A single “looks good” email is not enough when several teams own different decisions.
| Proof stage | Approval question | Record to retain |
|---|---|---|
| Flat artwork | Is every SKU's content correct and inside safe zones? | Versioned PDF/native file, dieline, copy sign-off |
| Substrate print | Do color, white backing, legibility and finish meet target? | Signed physical reference and lighting conditions |
| Converted empty pouch | Are seams, folds, window, zipper and tear aligned? | Bag revision, photos and dimensional checks |
| Filled and sealed sample | Does the design survive real volume, curve, settling and closure? | Product lot, line trial, scan and code records |
| Production startup and repeat | Does the commercial run match the approved sample? | Roll/lot, inspection frequency, deviations and retained samples |
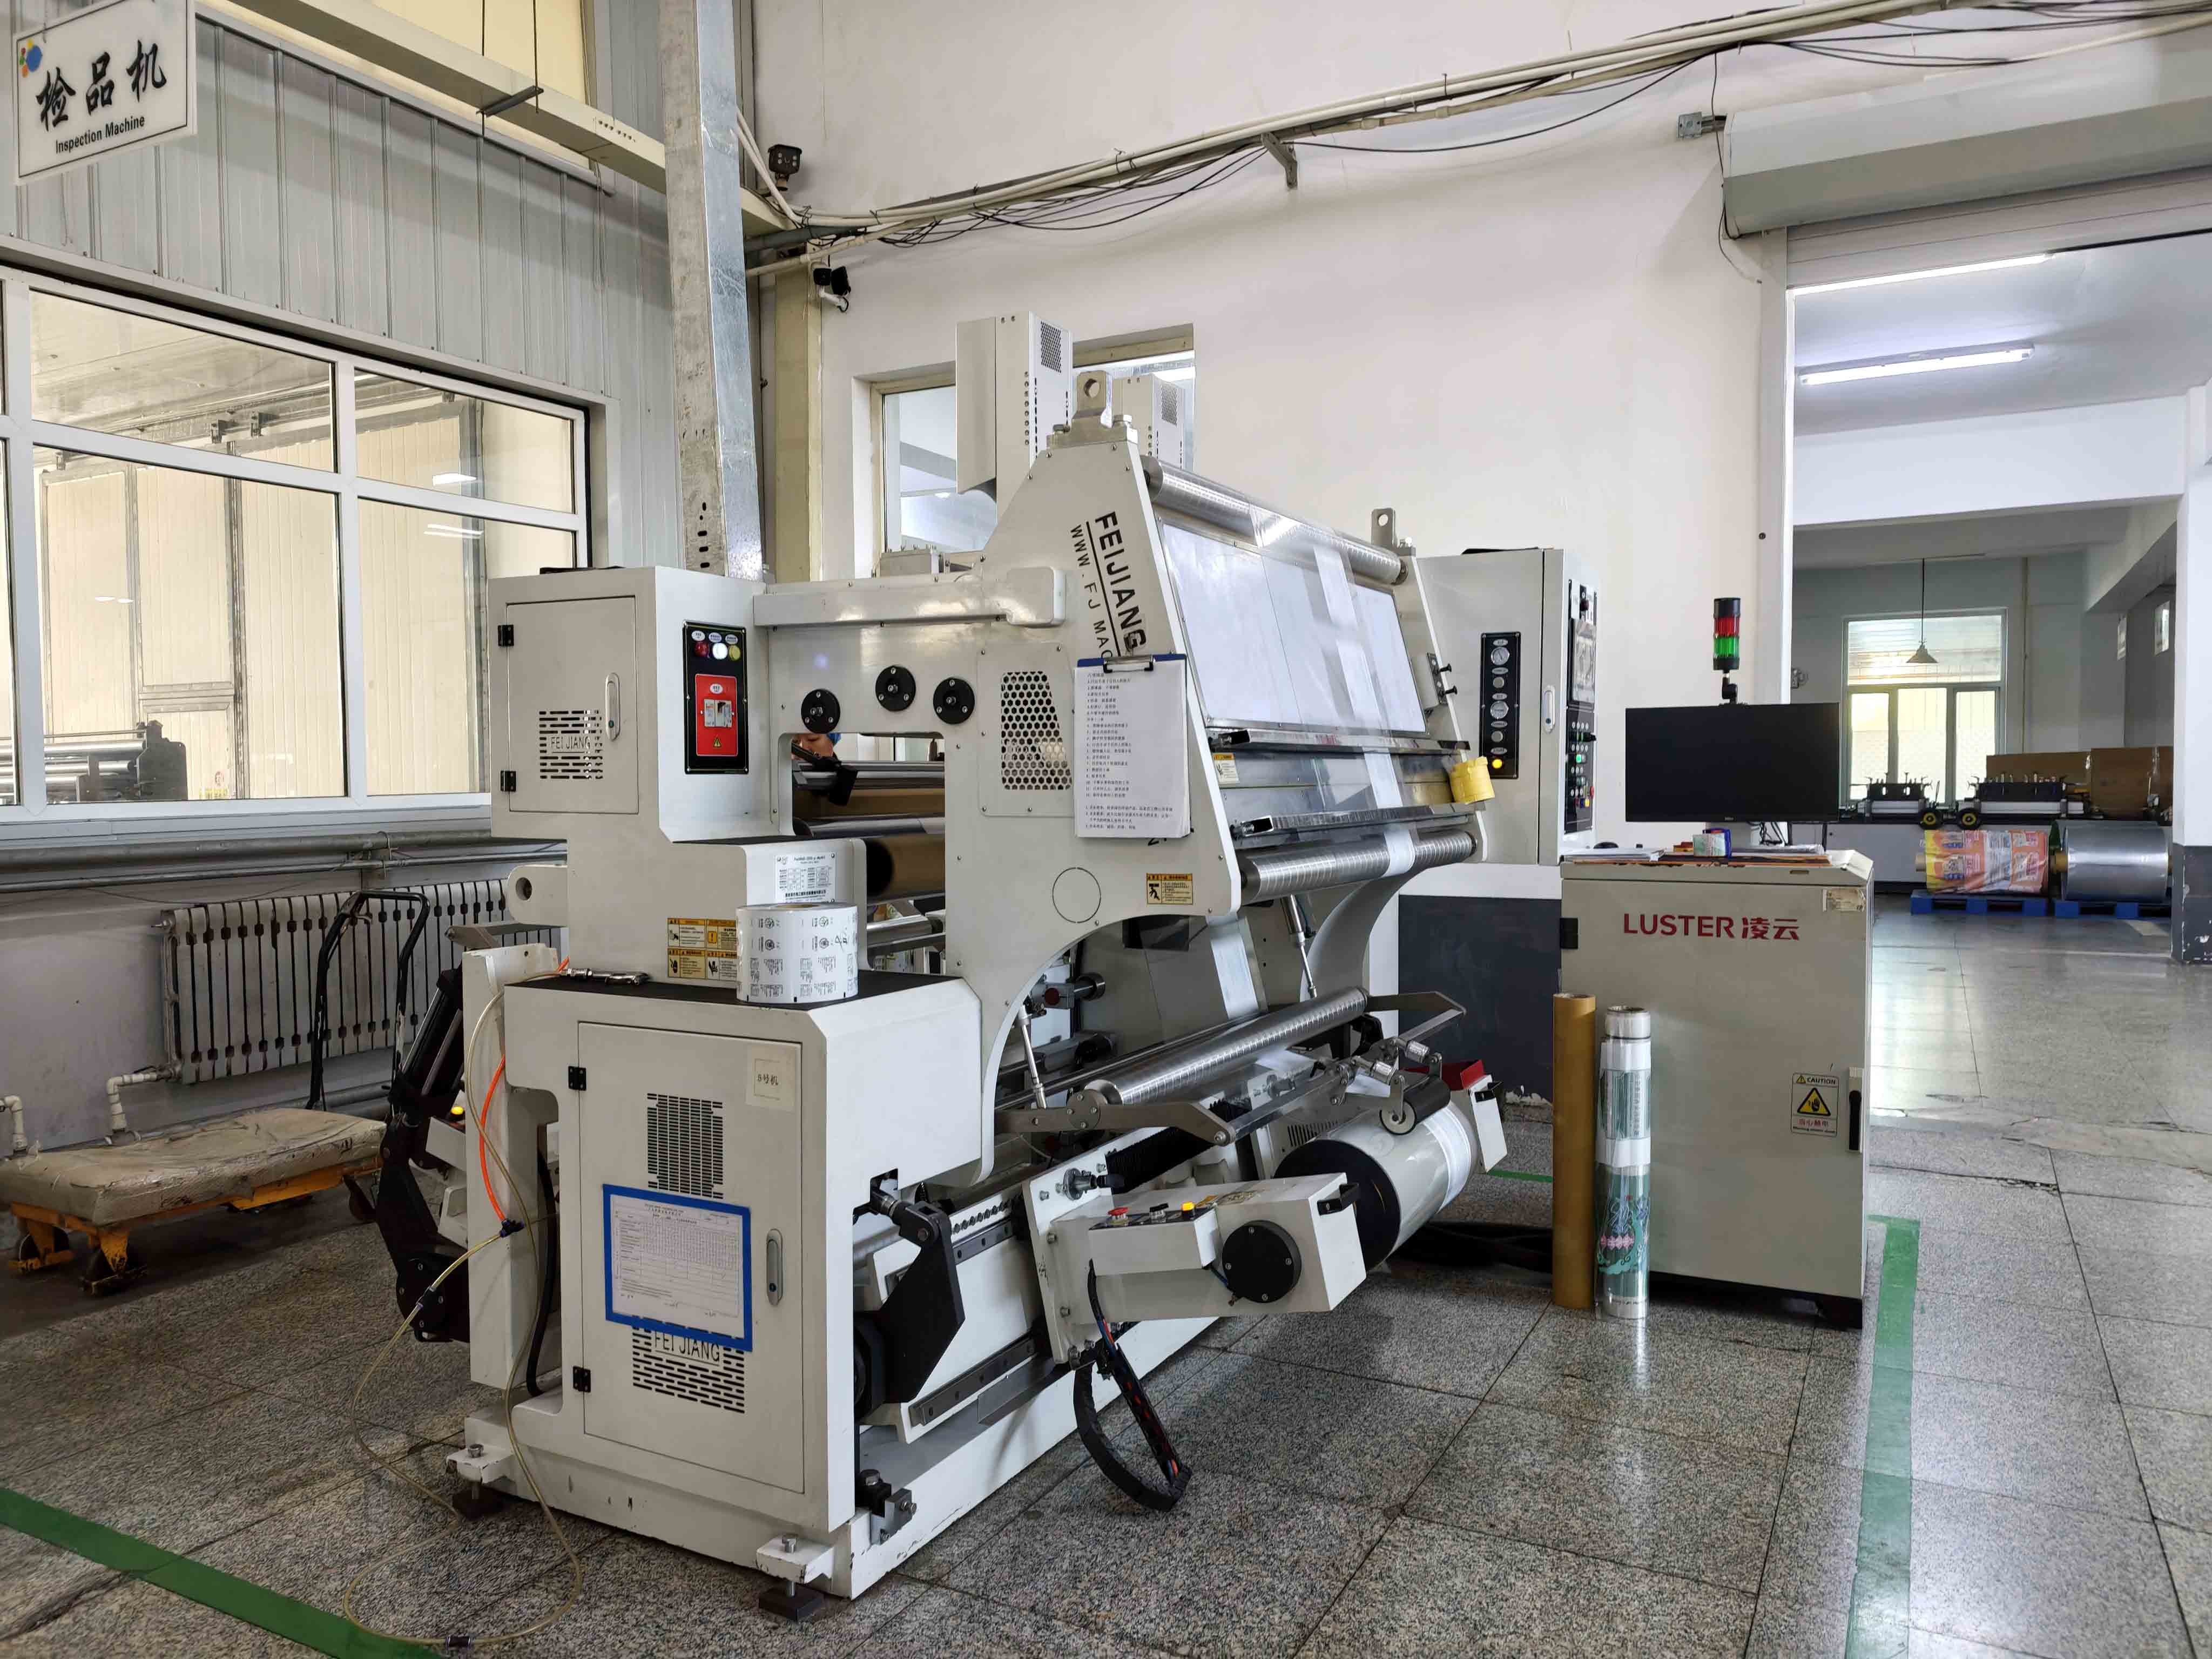
Send a Print-Ready Brief That Prevents Rework
Tell the converter: product and flavor SKUs; approved bag format and dimensions; material and food-contact construction; front, back and gusset orientation; window and closure; sales markets; label-copy owner; GTIN and intended barcode type; date-code method; finish and color references; artwork file format; proof stages; quantity and repeat forecast; and change-control contacts. Request the converter's current dieline and written technical art specification rather than drawing seals from memory.
Ask exactly what the quote includes: print samples, cylinders if applicable, physical pouch samples, color approval, barcode verification, change fees and tolerance review. An agency can design attractive artwork, but a packaging engineer and food-label reviewer need to approve its use on a functioning bag. Include the packer early so the first-seal and code areas suit real equipment.
For a new custom popcorn packaging pouch, the natural next step is a blank physical fit sample followed by a controlled printed proof. If the recipe, bag structure, window or SKU copy changes, review what previous approvals still apply. That staged workflow turns “print my logo on a popcorn bag” into a specification a converter can build and a retailer can read.
Frequently Asked Questions
How do I print on popcorn bags for retail sale?
Choose an approved empty food pouch and obtain its exact dieline. Place artwork outside seal and fold hazards, reserve barcode and date-code space, select a print route for the construction, and approve flat, physical, converted and filled proofs. A home printer is not a substitute for a controlled food-packaging print and converting process.
Can I print directly on a stock popcorn pouch?
Possibly through a supplier-supported method, depending on the material and quantity, but do not assume an arbitrary ink is suitable. Ask the converter which surface, ink system and food-contact construction it will use, and how the pouch will be sealed afterward. Confirm the final sample rather than relying on an ordinary office print.
Do I need a dieline before designing the bag?
Yes, for production-ready artwork. A converter's dieline defines the actual pouch panels, seals, folds, zipper, window, tear and tolerances. A generic rectangle is fine for an early concept but should not be the release file. Recheck the dieline whenever dimensions or structure change.
Should a popcorn bag use digital or gravure printing?
It depends on the program's SKU count, volume, revision frequency, substrate and finish needs. Request comparable project-specific proofs and quotes for viable routes. Digital can support frequent artwork changes; gravure can suit stable repeat runs. Neither name alone guarantees color, cost or lead time.
Where should the barcode go on a stand-up pouch?
Put it on a converter-approved, sufficiently flat and visible area away from folds, seams and other graphics. Preserve the quiet zones and suitable contrast, then scan or verify the symbol on the filled printed pouch. Follow the relevant GS1 and retail-partner specifications for the chosen barcode type.
Can a barcode be printed over a clear window?
It may lose the consistent background and contrast needed for reliable scanning as product color changes behind it. Discuss a controlled backing area with the printer and follow GS1 specifications. Test the exact physical filled bag rather than assuming a digital image will scan. A safer location may exist elsewhere on the panel.
What is a print safe area?
It is the part of a specific dieline where important content can remain after normal registration, trim, folds and sealing. Its margin is not universal. The converter should supply its technical art specification for the exact bag. Keep regulatory text, brand marks and barcode inside approved regions and inspect a converted sample.
Does a kraft-look popcorn pouch need white ink?
That depends on the intended color and opacity, actual substrate and print method. White backing can change how graphics appear over a brown or transparent area. Ask for a physical proof on the selected structure and review it under representative light. Do not assume every kraft design needs the same white treatment.
Can I use one artwork file for several popcorn flavors?
A common design system is possible, but each SKU needs its own approved flavor name, ingredient and allergen information, net quantity and barcode as applicable. Use versioned final files and a cross-check table. If a shared pouch carries a later label, confirm that label application and legibility on the filled shape.
Who approves the legal label text?
The food brand and its qualified label reviewers own product declarations and claims for the destination market. The converter can reserve print space and flag technical conflicts, but it does not know all recipe, allergen or sales facts. Obtain sign-off before plates or commercial printing and again after relevant copy changes.
Does the print proof prove the pouch will keep popcorn fresh?
No. A print proof shows appearance and layout for a defined structure. Shelf-life evidence comes from the actual product in a finished, correctly sealed pack under the intended route. Material, windows and coating changes may require separate performance and food-contact review. Do not treat attractive print as a barrier result.
What should be checked at the start of a production run?
Compare the live film and converted pouch with the signed reference: SKU and version, color, registration, text, window, codes, barcode, seams, zipper and dimensions. Record roll and pouch lots, samples and deviations. If the production material differs from the proof substrate, pause for the appropriate technical and brand review rather than silently accepting a visual approximation.