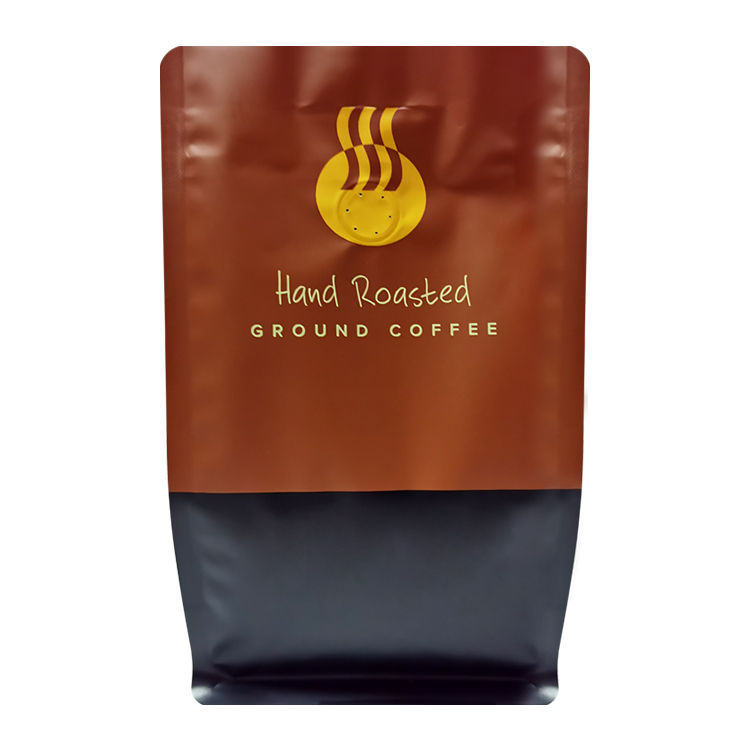
To open a coffee bag without ruining its reclose feature, first identify the intended opening route. If a zipper sits below a sealed top, open or trim only the material above the zipper. If the bag has a pocket zipper, look for its pull, tear point, or exposed access area. If the top is folded around a tin tie, unfold it before taking coffee out, then fold it back along the same path. A one-way valve is not an opening point.
The trouble is that coffee bags do not all open in the same way. Scissors may be useful on one pouch and may cut away the only resealable feature on another. Before you open a bag, take a few seconds to inspect the top edge and front panel, then follow the opening feature built into that bag.
This guide is for people opening retail coffee bags at home, as well as roasters deciding how customers should open and reclose a new package. It focuses on the physical opening and closing steps, not on predicting how long a particular coffee will keep at its best.
Identify the Opening Style Before You Cut
Look at the top third of the bag before you pull, tear, or cut anything. Most coffee bags have more than one feature in that area, and those features do different jobs. Look for the intended way into the bag rather than starting at the valve.
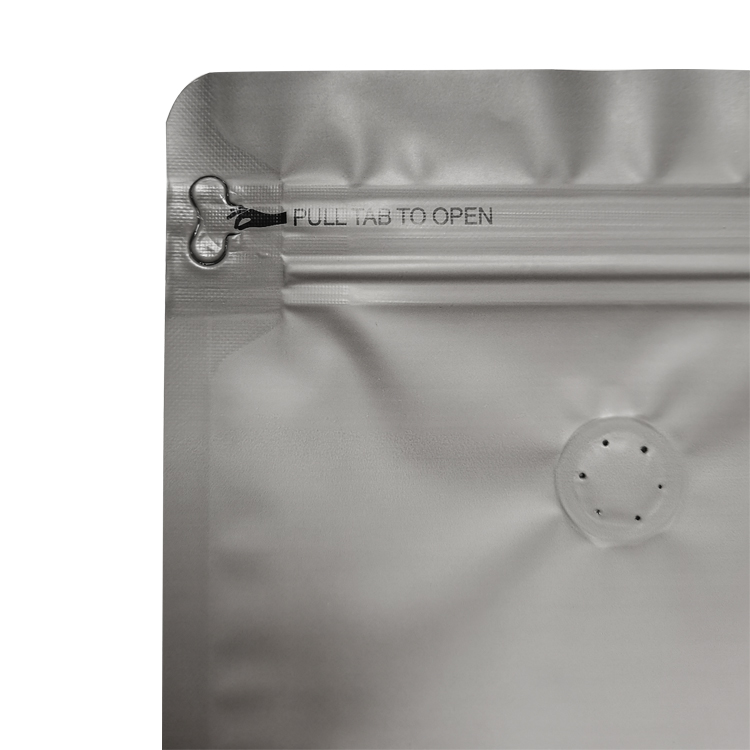
Start with the top edge. You may see a flat sealed strip, a small tear notch, a pull tab, a zipper line, a folded section, or a tie. Sometimes the reclose feature is plainly visible. Sometimes it is behind an outer layer and becomes accessible only after the first opening.
Use the table below to choose the first move.
The top heat seal is usually the first-use seal. A zipper or another reclose feature may sit below it. Cut too low and the bag will still open, but the built-in closure may be gone.
The circular valve sometimes causes confusion because it is visible and placed near the top. Treat the valve as separate from the opening route. Do not try to tear at it, cut it out, or use it as a handle. If you want background on that component, see our guide to the valve or circle on coffee bags.
How to Open a Coffee Bag With a Standard Zipper
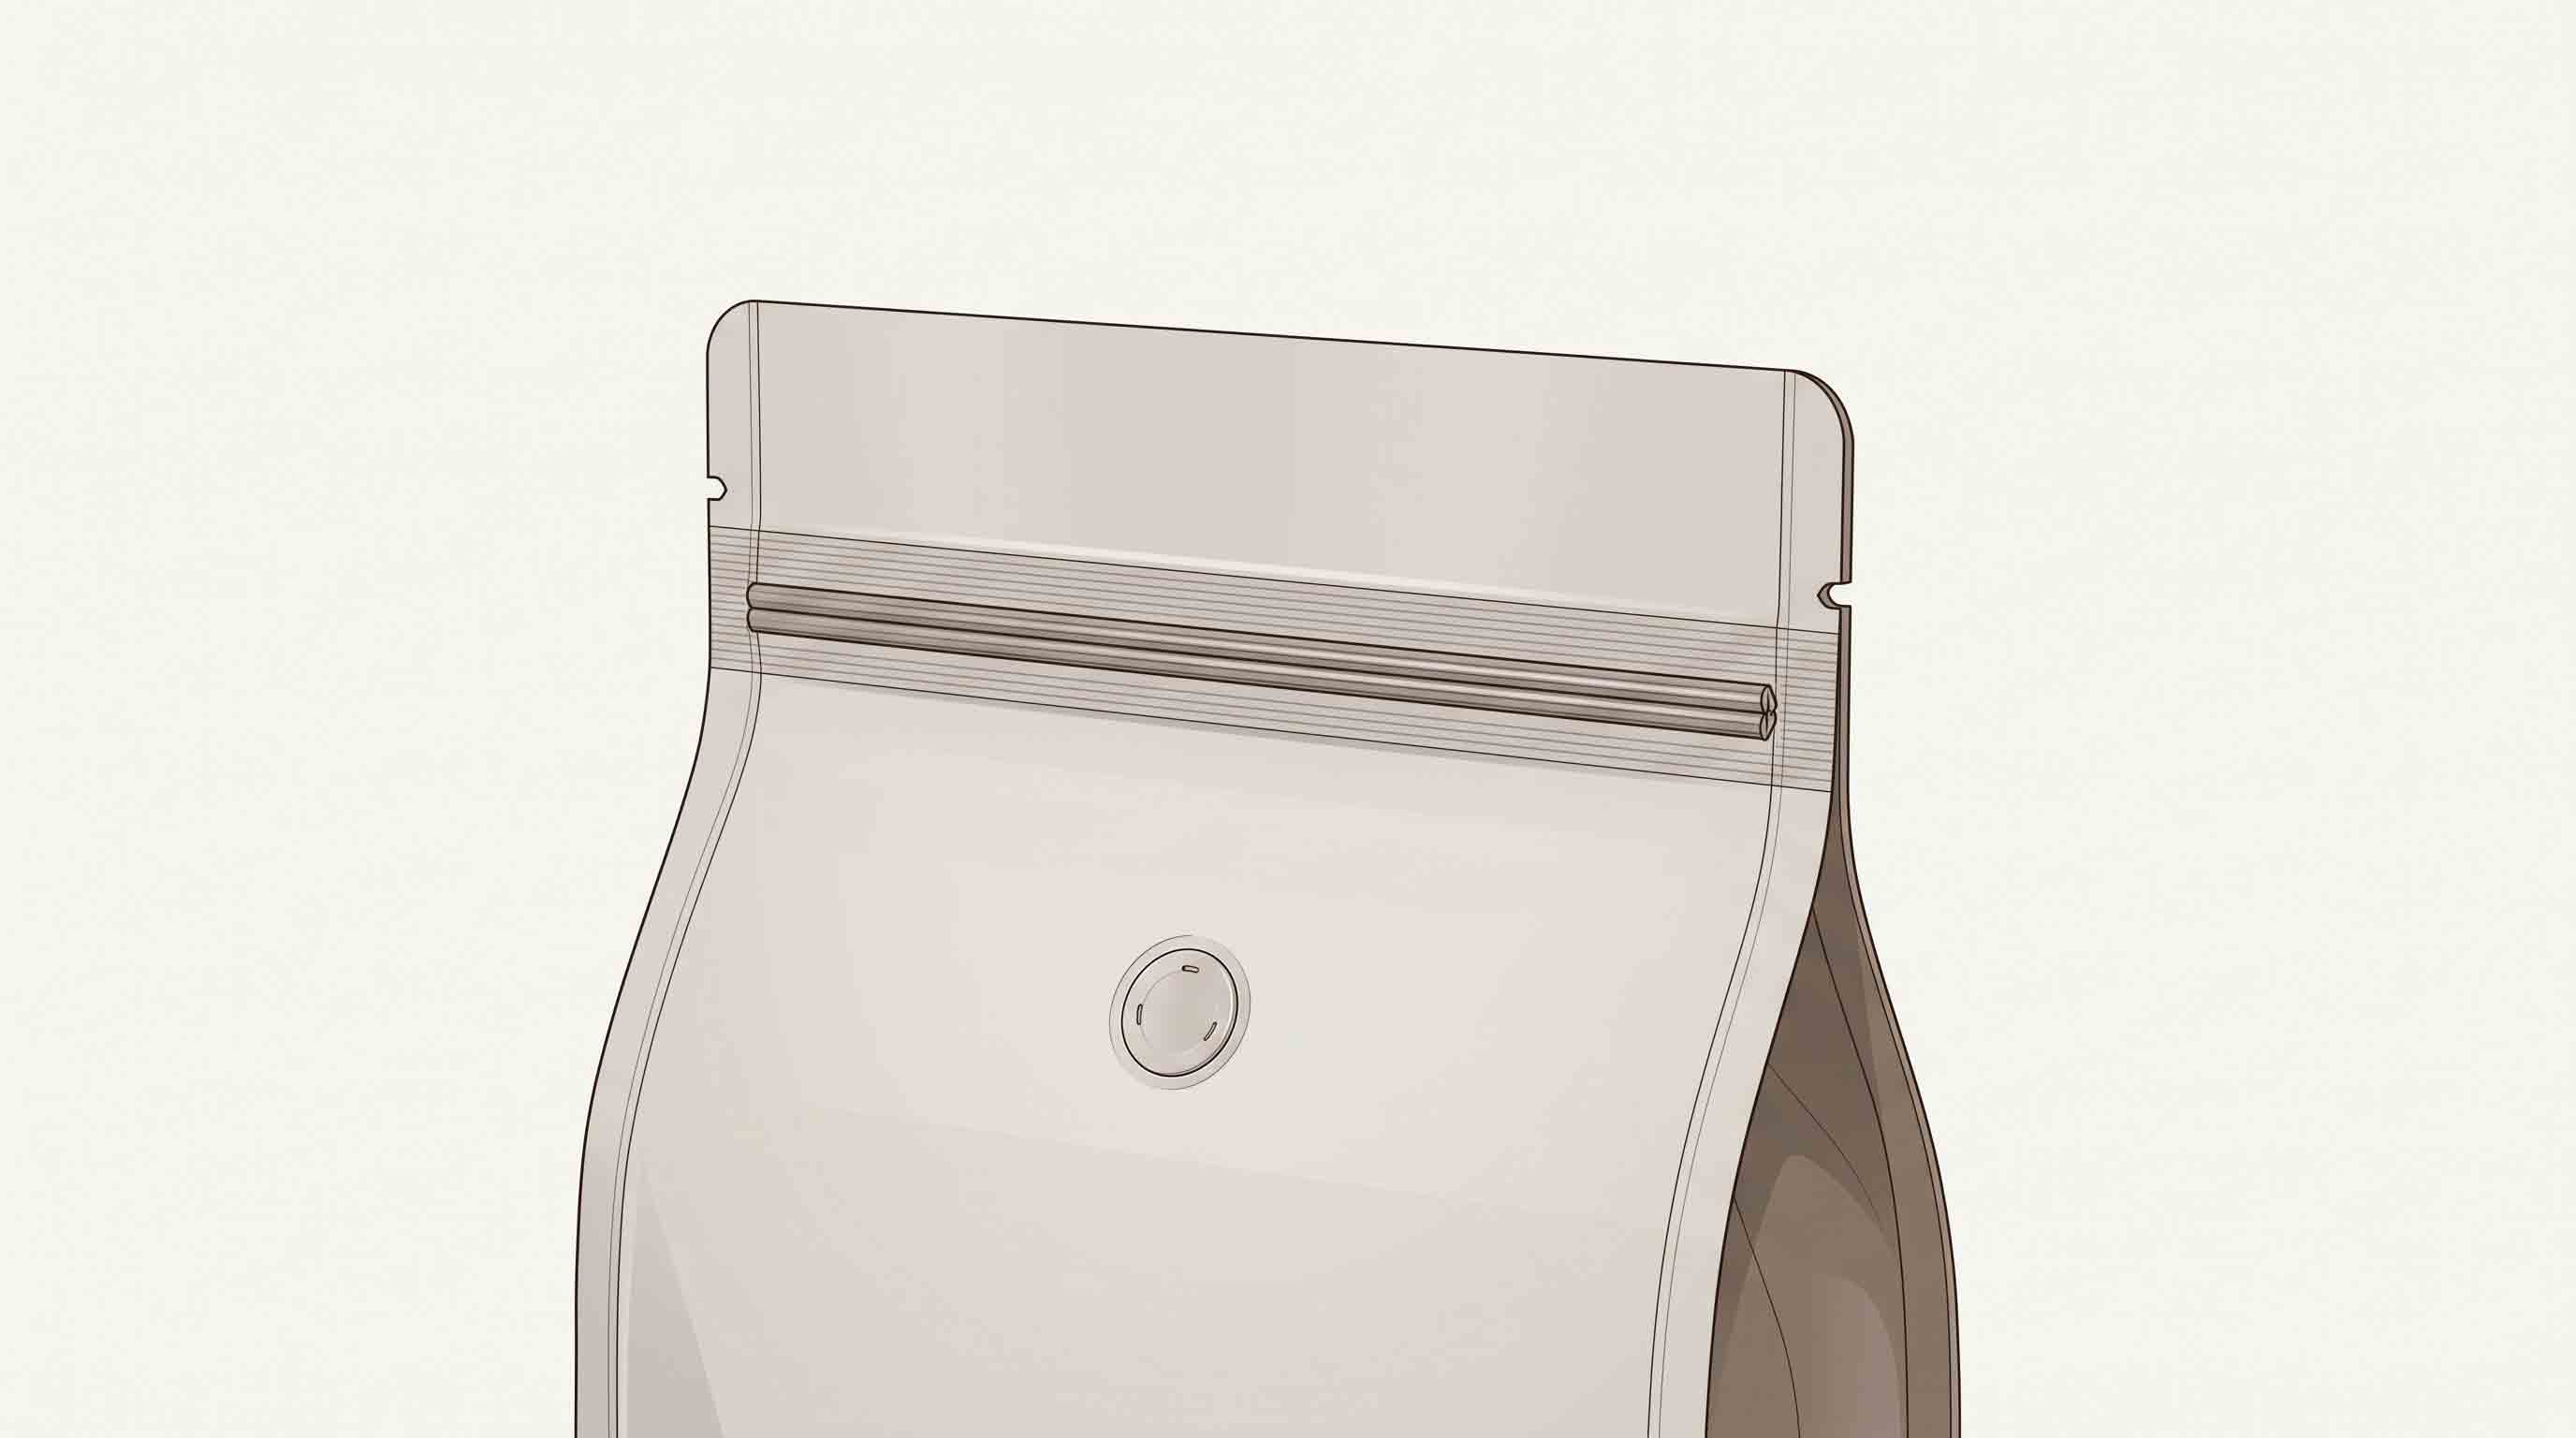
A standard zipper is the simplest format to recognize once the top of the bag is open. It is a pair of interlocking profiles that meet across the pouch opening. On many coffee bags, the zipper sits a short distance below the top edge so the bag can be sealed before sale and reopened by the customer later.
1. Find the zipper before you remove the top strip
Hold the bag upright and look across the full width of the upper panel. If there is a tear notch, it should be in the material above the zipper. If you use scissors, make a shallow, straight cut across that top margin only. Do not start with a deep cut down the side of the bag.
If coffee is close to the opening, keep the pouch upright and make room at the top before cutting. Leave enough material above the zipper so the closure stays intact and easy to reach.
2. Tear or trim above the zipper
When a notch is present, hold the pouch close to the top and tear steadily across the intended margin. If the tear does not start cleanly, stop rather than forcing it down toward the zipper. A pair of scissors can be used to remove only the top strip above the zipper.
On a bag without a notch, use a small, controlled cut across the sealed top. Keep the cut high enough that you can still see and operate the zipper afterward. Do not cut below a line that appears to be part of the closure.
3. Open the zipper across its full width
After the top strip has been removed, separate the two sides of the zipper from one corner. Open it across the full width instead of pulling hard on just one small point. This gives you a clear opening and reduces the chance of tugging on the pouch body or side seals.
If a zipper feels stuck, check whether part of the top seal remains attached. Do not use a knife to pry apart the closure. Recheck the top margin first; a small remaining strip may be holding the opening closed.
4. Keep the opening area clean while you use the bag
Before closing the pouch again, remove loose coffee grounds from the two zipper tracks. A clean, flat closure area is easier to align by hand than one with grounds trapped in it. You do not need to stretch the pouch or press hard on the rest of the bag; focus on the closure itself.
How to Open a Pocket-Zipper Coffee Bag
A pocket zipper is a reclose feature placed behind an outer panel or reached through a designated opening area. The layout varies by bag design. Some pouches expose the zipper after a tear strip is removed; others use a pull tab or a side-access point. Follow the opening feature on the bag in front of you—flat-bottom pouches do not all open the same way.
Look for the access point, not just the zipper line
With a pocket zipper, the first visible surface may be a sealed layer rather than the closure itself. Examine the upper front and back panels for a notch, an opening line, or a pull feature. If you see one, use that feature first. Do not cut across the main pouch face simply because the zipper is not immediately visible.
If the bag has a clear top margin above the intended access point, remove only that margin. Once the outer layer is open, find the zipper tracks and open them across the pouch width. If the layout is unclear, take a close look at both sides before making a second cut.
Do not confuse a pocket zipper with a valve
Both features may be near the top of a coffee bag, but they do different jobs. A pocket zipper is part of the opening and reclose path; a valve is a separate fitted component. Use the pull, notch, or sealed margin intended for opening, then use the zipper once it is exposed.
Example: a 12oz flat-bottom pouch with a pocket zipper
One published U.S. project uses a flat-bottom pouch for 12oz of ground coffee. The public record lists MATOPP/VMPET/PE, gravure printing, a 13 × 22 + 8 cm format, a valve, and a pocket zipper. It shows one documented arrangement, not a standard for every coffee bag. See the details in this 12oz flat-bottom coffee pouch project.
How to Open and Reseal a Tin-Tie or Fold-Top Coffee Bag
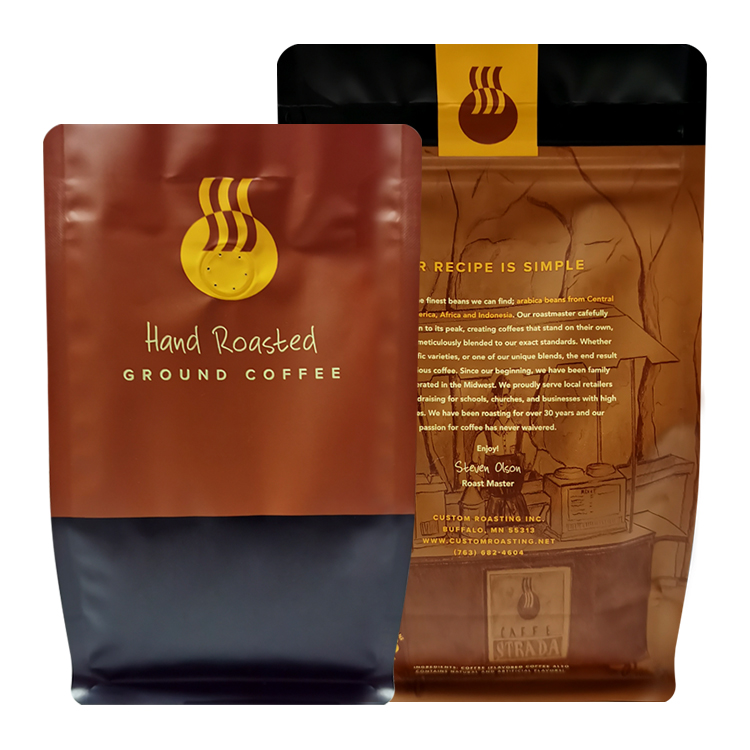
Some coffee bags close with a fold-over top rather than a press-to-close zipper. A tin tie is a bendable tie attached near the top of the bag. It is commonly used with a rolled or folded opening. The consumer experience is different from a zipper: you unfold the pouch to open it, then recreate a neat fold before securing the tie again.
Opening a folded top
Start by straightening both ends of the tie. Then unroll or unfold the top one layer at a time until the opening is clear. Do not pull the two folded sides apart sideways. That can crease, distort, or tear the material at the top of the pouch.
Once the top is fully open, take out the amount of coffee you need. If you use a scoop, keep it away from the folded edge so you do not drag coffee grounds into the area that will be refolded.
Resealing with a tin tie
After use, bring the top edges together and fold the pouch down along the existing crease. Keep the fold reasonably even from side to side, then bend the tie ends around it. Follow the original closing path where possible, since materials and closure layouts differ from bag to bag.
If the bag has a tie but the top is still sealed when you first receive it, open the sealed margin according to the pouch’s visible notch or opening instruction before relying on the tie for later use. The initial opening and the later reclose method are often two separate steps.
When the bag has a folded top but no visible tin tie
Some bags may have a folded top, a clip, a separate closure, or another arrangement. Do not assume a particular closure simply because the pouch is side-gusseted or because it resembles another coffee bag. Inspect the actual bag and follow its visible design.
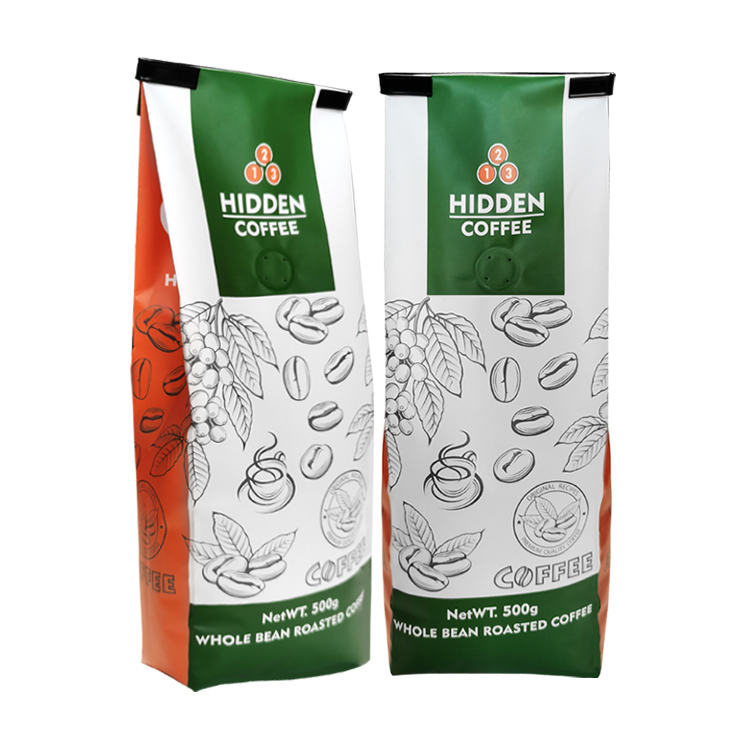
A published 500g whole-bean side-gusset coffee pouch project from Cambodia shows why pouch shape alone does not identify the closure. Its public record lists a side-gusset pouch, digital printing, MATOPP/VMPET/PE, a valve, and a 10 × 34 + 6 cm size. The photo can show the pouch shape, but it cannot confirm a closure type that is not recorded. See the published 500g side-gusset project.
How to Reseal a Coffee Bag After Opening
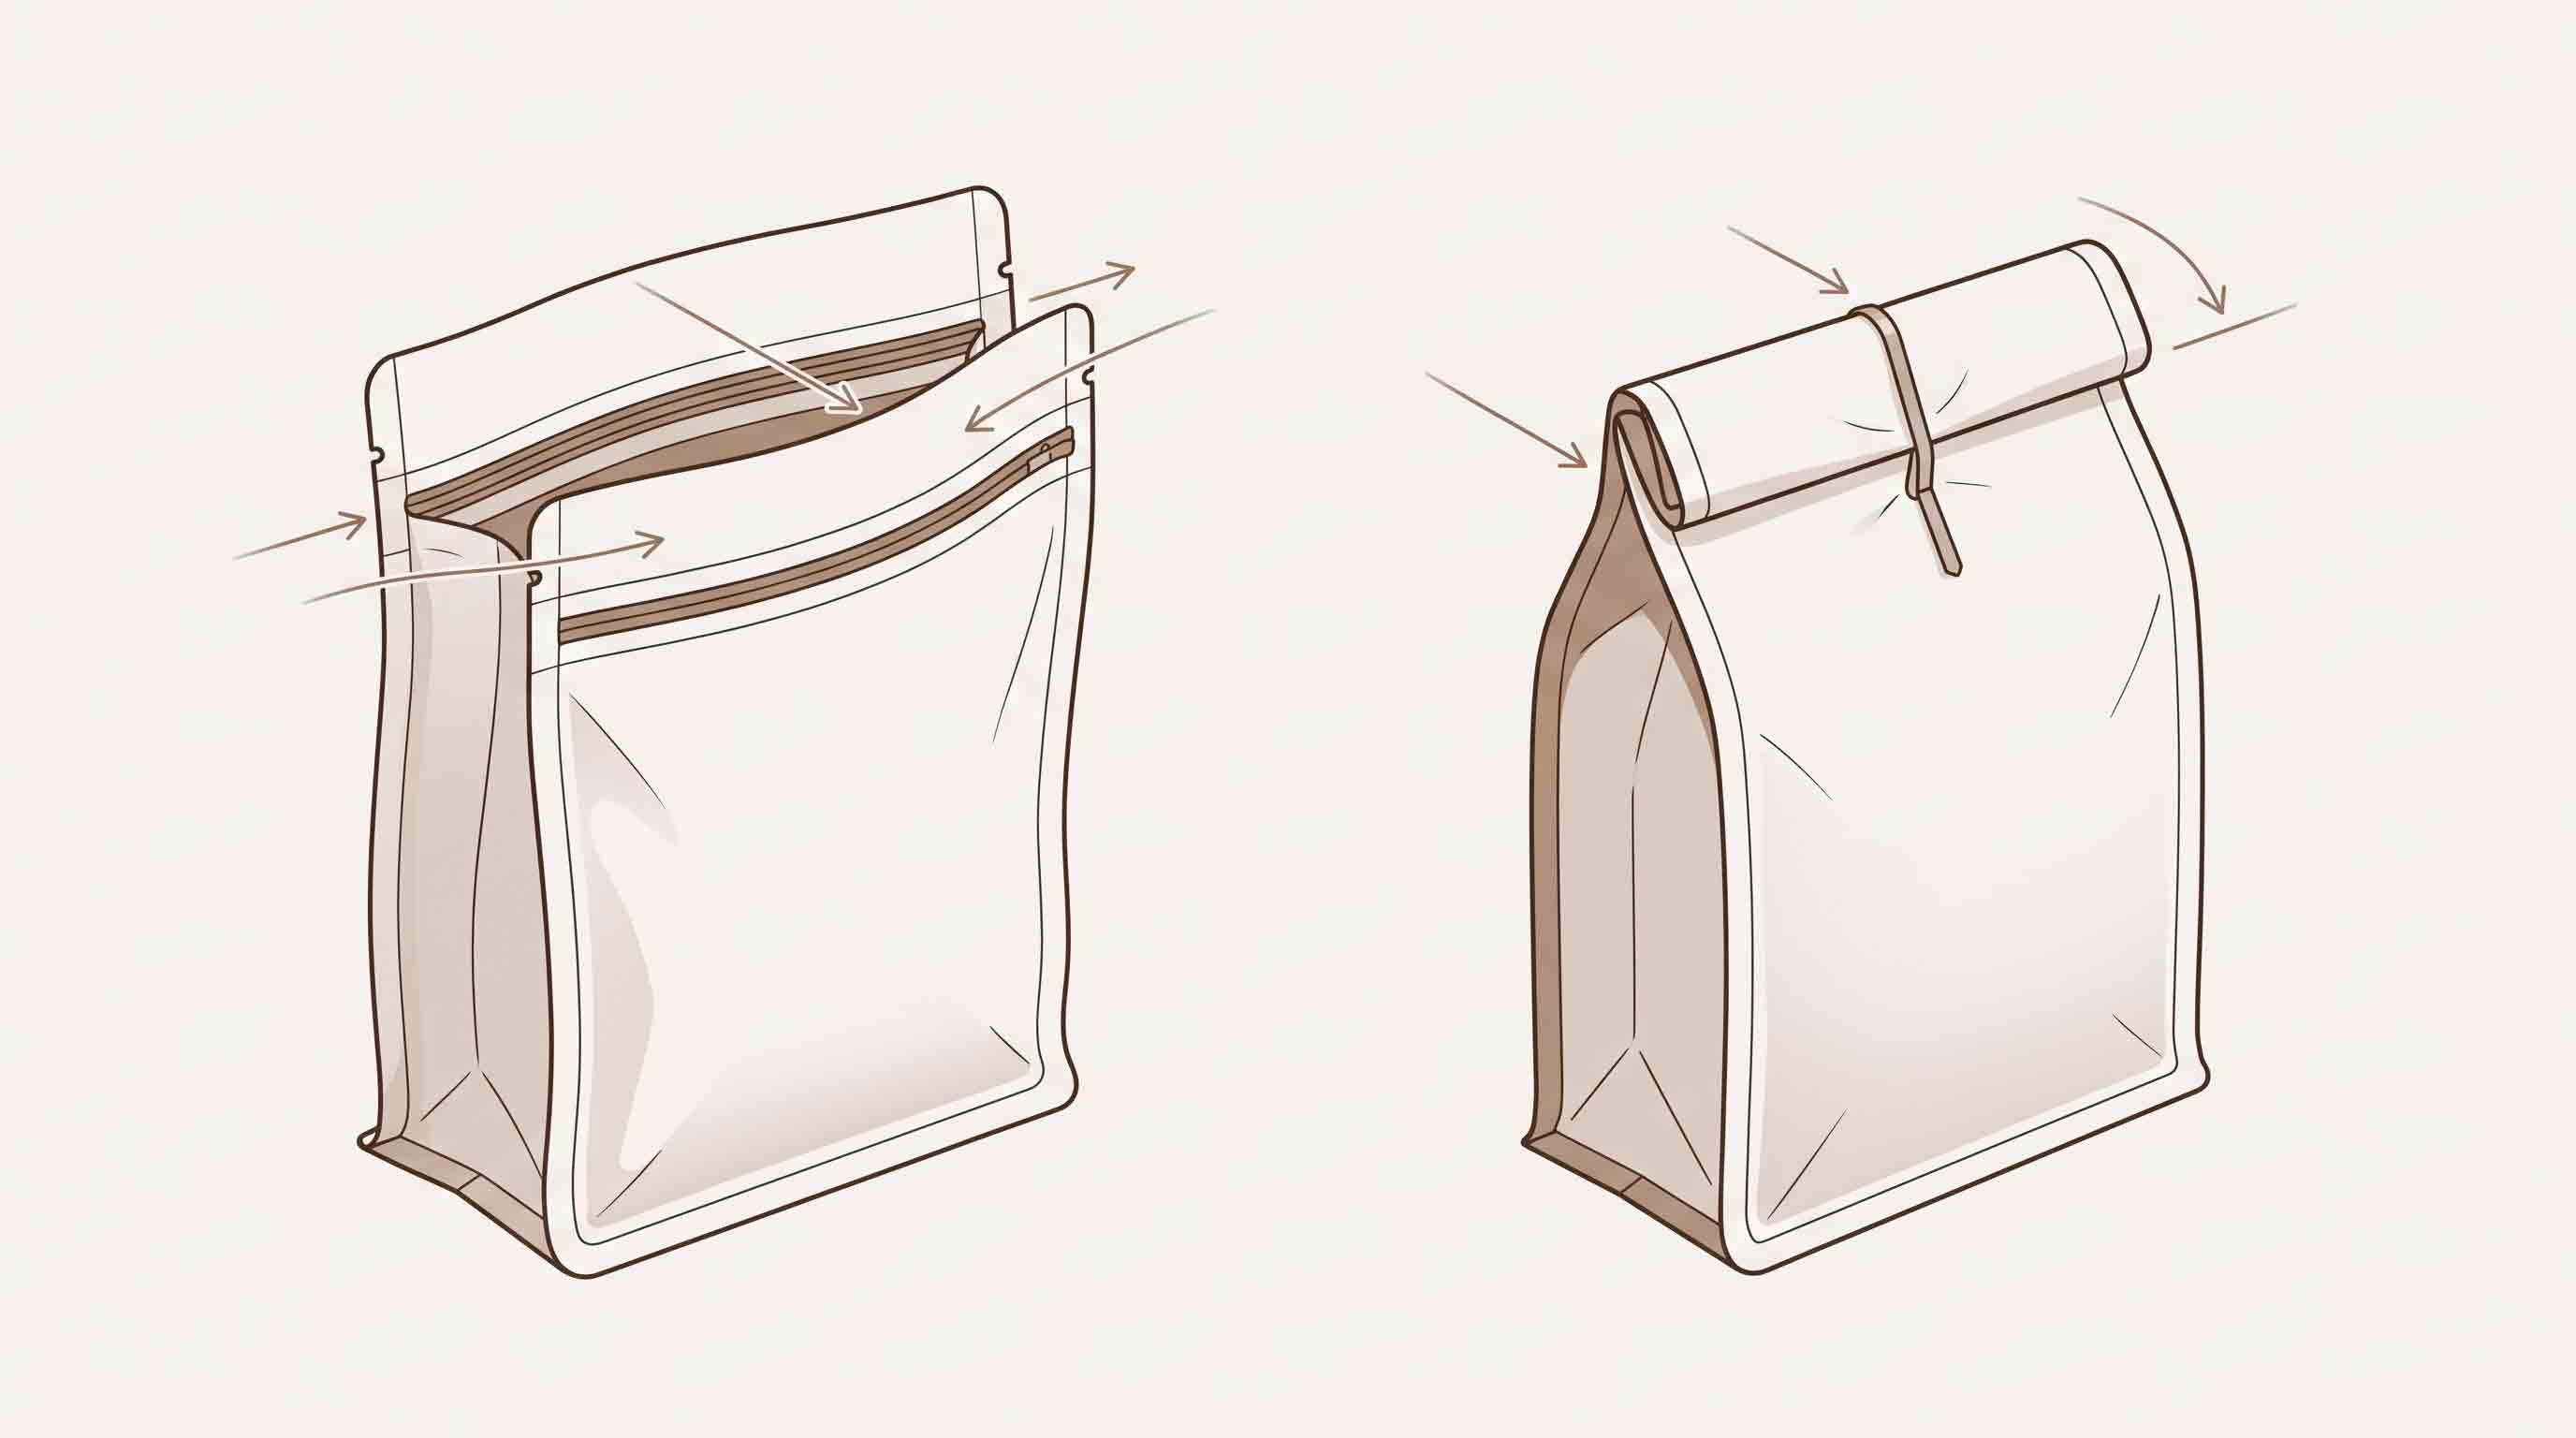
To reseal the bag, set it upright on a stable surface instead of trying to close it while holding one corner. Find the intended closure and use the method that matches it.
Resealing a zipper
Start at one end of the zipper. Align the two tracks, then press across the pouch to the other end. Run your fingers over the closure once more to check for gaps. If grounds are caught in the zipper, brush them away and try again instead of pressing harder.
Avoid stretching the pouch sideways while closing it. The zipper should meet because the two tracks are aligned, not because the bag is under tension. If it does not close smoothly, reopen a short section, realign it, and press again.
Resealing a pocket zipper
Once the pocket zipper is exposed, use the same basic approach: begin at one end, align the tracks, and press across. Before putting the bag away, make sure the zipper is not caught under an outer flap or folded portion of the pouch. A pocket zipper can be less obvious to locate after the first opening, so take a moment to find the actual tracks rather than pressing randomly on the outer panel.
Resealing a fold-top or tin-tie bag
Bring the two top panels together, fold downward along the previous crease, and secure the closure feature supplied with the bag. A short, even fold is easier to repeat than a loose, uneven roll. If the original tie is damaged, use a clean bag clip as a temporary closure.
Common Mistakes That Damage the Reseal Feature
Most damaged closures come from one of these simple mistakes.
Cutting too low
The most common error is cutting directly through the zipper because it sits close to the top. Before you use scissors, feel or look for the zipper line. Leave a visible margin above it.
Starting at a side seam
Unless the bag visibly provides a side-opening feature, treat a side seam as off-limits. If you cannot find a notch or opening strip, make a cautious cut across the top margin rather than tearing down a side.
Opening at the valve
The valve is not a handle, tear point, or substitute for a zipper. Opening around it can damage the pouch and does not provide a controlled access route to the coffee.
Pulling a folded top apart sideways
On a fold-top pouch, unfold first. Pulling from the sides can create an uneven opening and make it harder to restore the original fold later.
Treating every coffee bag as the same format
Bag shape alone does not tell you exactly how it opens. A stand-up pouch, a flat-bottom pouch, and a side-gusset pouch can each be made with different opening and reclose features. Check the specific bag in front of you.
For Roasters: Specify the Opening and Reclosing Experience Early
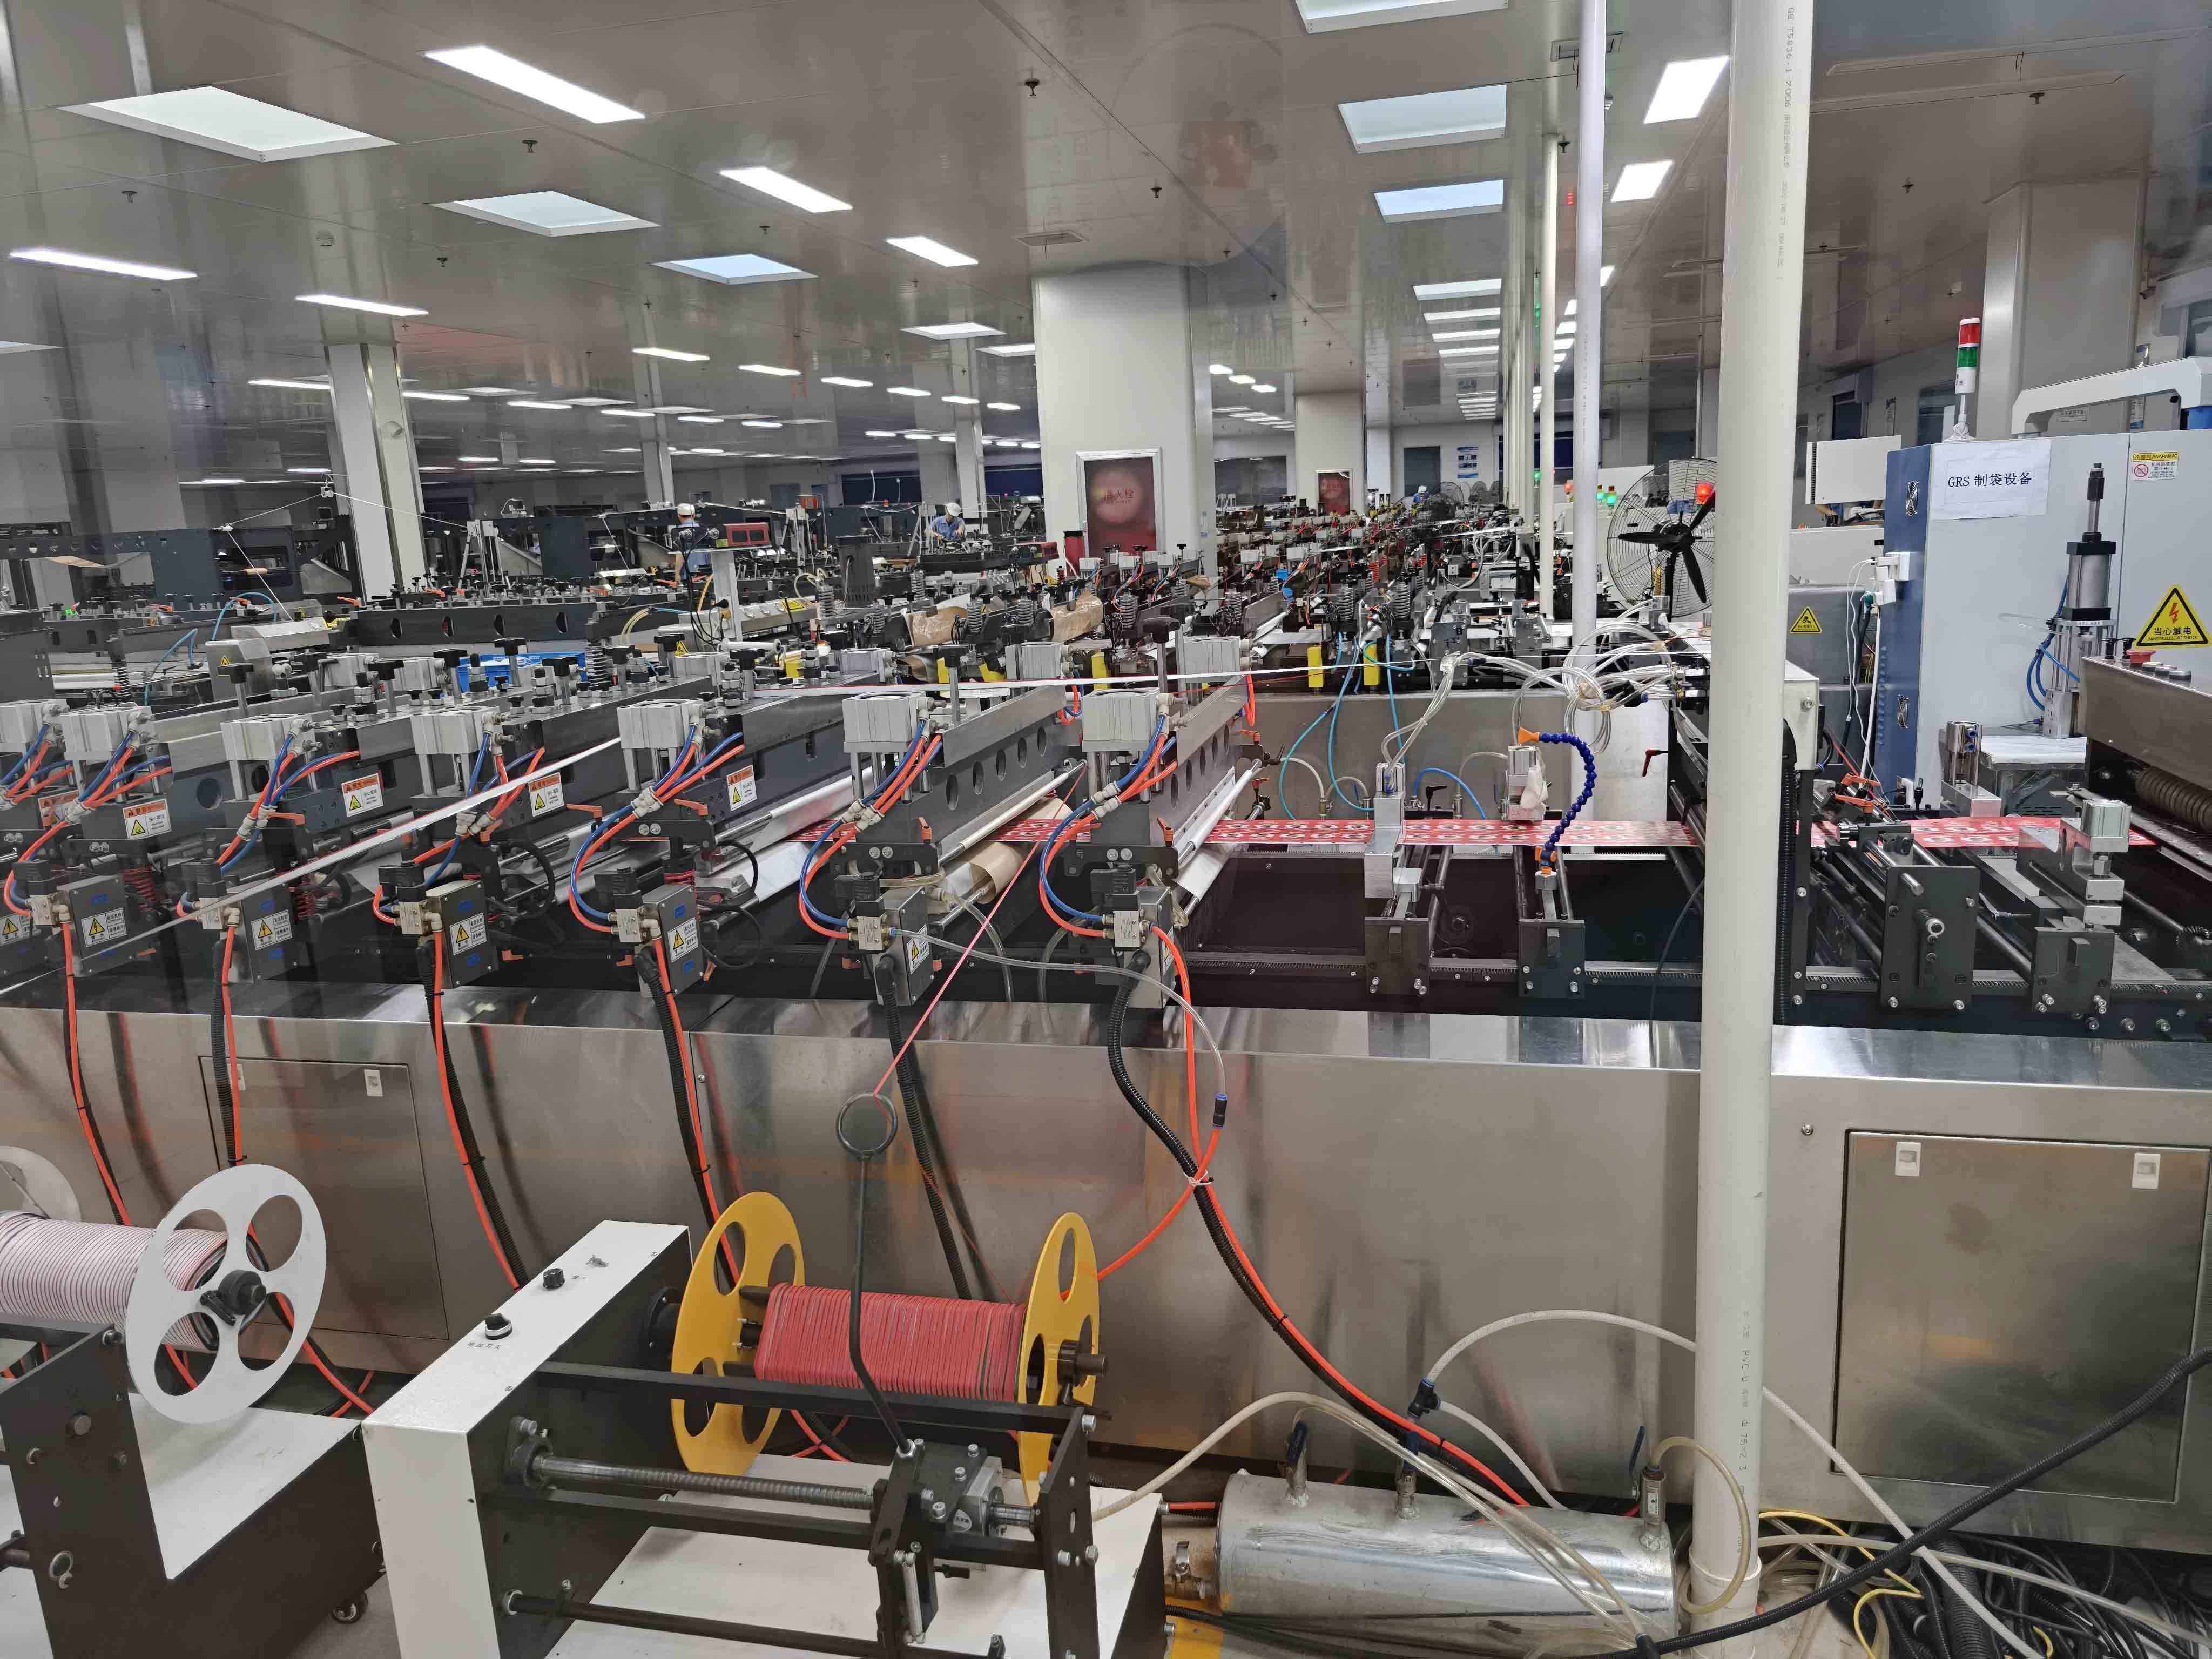
For a roaster, the opening experience is part of the packaging brief. It should be discussed at the same time as pouch format, fill weight, artwork, and packing process—not added as an afterthought once the rest of the bag is approved.
Begin with how you expect the customer to open the bag. Should they tear off a top strip and use a standard zipper? Should the first opening reveal a pocket zipper? Or does a folded top with a tie suit the pouch and intended use better? Describe the bag format and desired opening sequence clearly when you request a quote.
When requesting a quote, it helps to send:
- the coffee format, such as whole bean or ground coffee;
- the target fill weight or a sample of the product;
- the preferred pouch style and shelf presentation;
- the desired first-opening feature and the desired reclose feature;
- the filling and sealing process you plan to use;
- the target market and any documentation you need to evaluate for the project.
If you are comparing pouch formats and closures for a new product, explore coffee bag formats and closure options. Then discuss the exact structure and opening sequence for your project rather than assuming that one published pouch will suit every coffee line.
Frequently Asked Questions
Can I open a coffee bag at the valve?
No. Use the designated top opening, tear notch, pull feature, or fold-top design. The valve is a separate component and is not the intended access point for removing coffee.
Can I cut a coffee bag open with scissors?
Yes, if you cut only the top margin and first check whether a zipper sits below it. A short, controlled cut above the closure is safer than cutting deep into the pouch or down a side seam.
What if I accidentally cut off the zipper?
The bag can still be used, but its built-in reclose feature is no longer available. Keep the top tidy and use a practical temporary closure, such as a clean bag clip, or transfer the remaining coffee to a suitable container. For a future purchase, look for the opening route before cutting the top strip.
How do I know whether my coffee bag has a pocket zipper?
Look for a pull feature, tear point, or sealed outer layer that reveals a zipper after the first opening. The layout differs by pouch design, so inspect the bag itself rather than assuming every flat-bottom bag uses the same arrangement.
Does every side-gusset coffee bag use a tin tie?
No. A side-gusset pouch can be specified with different closure arrangements. Treat the pouch shape and the closure feature as two separate things, then follow the design that is actually on your bag.
What should a roaster include when asking about a coffee-bag closure?
Include the coffee type, target fill, pouch format, first-opening preference, reclose preference, filling process, and target market. That is enough to start a practical closure discussion. Any questions about performance, price, minimum order quantity, or lead time should be confirmed for the specific project.
Before You Order a Coffee Bag
For consumers, the best rule is simple: find the intended opening before you cut, and keep the reclose feature intact. For roasters, make the opening and closure sequence part of the packaging brief from the start.
If you are planning a new pouch, tell us about your custom coffee bag project. Include your product type, target fill, bag format, and the way you want customers to open and reclose the pouch, so the conversation starts with your actual requirements.