
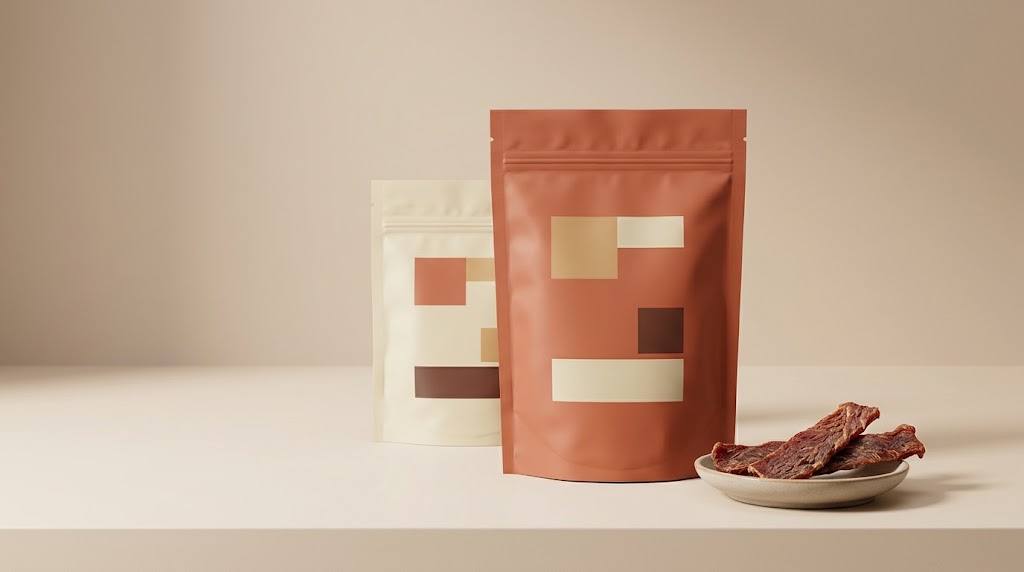
To package beef jerky for sale, start with a product and process suitable for your intended storage conditions. Then choose a food-contact pouch, test it with the actual jerky, establish the oxygen-control and heat-sealing process, prepare the label, and check the finished pack through storage and shipping. The bag, product and packing method need to work together.
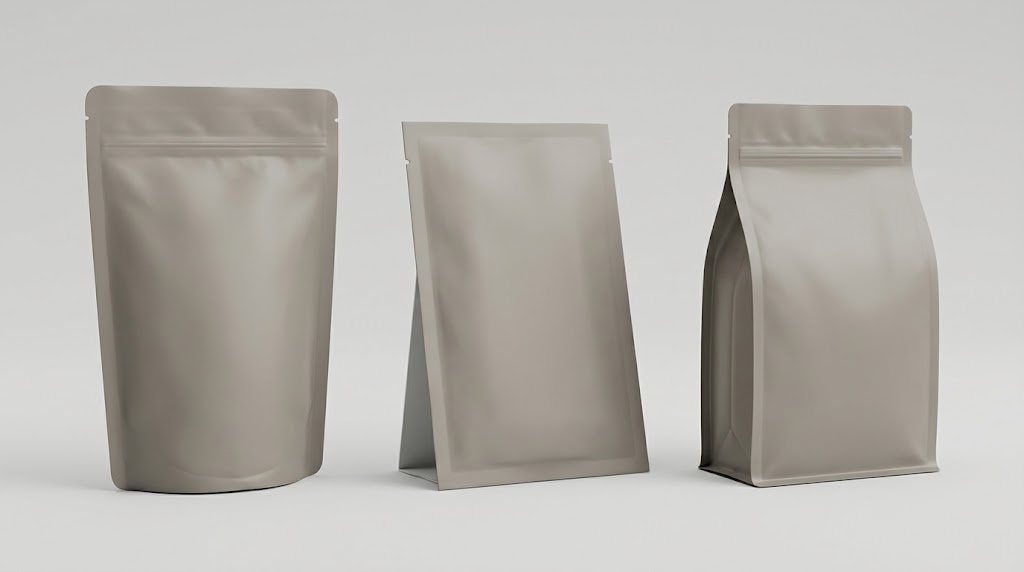
A resealable stand-up pouch is a useful starting point for a multi-serving retail pack. A flat pouch may suit a small portion or hanging display. Neither format determines shelf life by itself. Your recipe, processing, seal quality and distribution conditions still need evaluation.
For a brand buying custom beef jerky bags, the most useful first conversation includes the target net weight, a product sample, the filling method and the intended sales channel. Those details give a supplier something concrete to design around. Here is how to work through the decisions before ordering printed packaging.
1. Write a packaging brief before choosing a bag
Start with the product you will actually sell. Long strips, short pieces and thick, irregular cuts can behave differently during filling. A pouch that accepts one batch easily may be awkward with another cut size.
Build the brief around these questions:
Keep the food process and packaging decisions connected
If you are moving from homemade beef jerky to commercial sales, involve the processor and the relevant inspection authority early. Determine which production, inspection and sales requirements apply to your operation. A professional-looking pouch does not establish that a product is ready for ambient retail sale.
The USDA FSIS jerky production guideline addresses safe process development for small and very small establishments. Use it with your qualified food-safety adviser when defining the product conditions the packaging must support. Keep the agreed process limits and storage instructions in the product specification.
Give your packaging supplier that specification. Asking for “a bag that lasts twelve months” without describing the food leaves the most important part of the brief unanswered.
2. Match the pouch format to the buying occasion
A useful comparison starts with how the pack will be displayed, opened and handled. Consider the whole selling unit, including any display tray or shipping carton.
For a resealable retail range, compare stand-up pouch options using your own filled samples. An empty pouch that stands neatly on a desk may lean or bulge once loaded with uneven meat pieces.
For smaller portions, flat pouches can offer a straightforward layout. Check that a hang hole sits outside the product's sealed compartment. Also check that the opening remains large enough to remove the longest piece without tearing the bag farther down.
A vacuum pack requires another question: will your machine extract air from this particular bag? Smooth chamber-vacuum bags and textured bags intended for some external-suction machines are not interchangeable by assumption. Send the machine model before ordering samples.
3. Specify the material by its job
The outer appearance is only part of a pouch specification. Ask what each layer does and what evidence supports the proposed finished structure.
Separate barrier performance from toughness
Oxygen protection, moisture protection and resistance to physical damage are different requirements. A film can feel substantial without offering the barrier performance your product needs. Equally, a strong barrier film still needs suitable seals and handling durability.
These are structures to discuss with a supplier, rather than a ranking that applies to every jerky product:
OTR measures oxygen transmission; WVTR measures water-vapor transmission. For flat films, reports commonly use cubic centimeters per square meter per day for oxygen and grams per square meter per day for water vapor. Temperature, humidity and other stated test conditions matter. AMETEK MOCON explains these reporting conventions and test controls.
Request the full report instead of comparing isolated numbers from quotations. Check whether the result describes a flat film or an entire package. Keep those measurements separate in your comparison sheet.
Ask for thickness with units and tolerances
“Thick plastic” is not a purchasing specification. Record total thickness, units, tolerance and the layer structure. One mil equals 25.4 micrometers; a mil is not a millimeter. This small clarification prevents a surprisingly large specification error.
Choose trial thicknesses with the supplier using the product's shape, handling and equipment. Then test them. Avoid adding thickness simply because the package looks more expensive.
If a transparent window matters to the design, request performance information for the windowed construction too. A result for an opaque laminate should not be treated as evidence for every window option.
4. Find the size through a real fill trial
Net weight does not translate directly into a universal bag dimension. Different cuts occupy different amounts of space, and side seals, the bottom gusset and the top closure reduce the room available for food.
Use common portion sizes as starting points for trials, not as bag-capacity guarantees:
We recommend comparing several sample sizes before freezing the artwork. Fill them using the normal product mix, including larger pieces. Check them upright, lying flat and inside the planned carton.
Record the pouch's outside dimensions, opening width, fill weight, remaining clearance and any handling difficulty. Photograph each sample beside its trial ID so a supplier can connect the comments to the correct bag.
Why do beef jerky bags sometimes look empty?
Some space may be needed for sealing, product movement, filling equipment or an intended packaging atmosphere. Pieces can also settle after packing. The visible gap alone does not tell you whether nitrogen was used.
For your own pack, decide what that space is doing. If the bag is larger than the filling and sealing process needs, test a smaller format. If a tighter fit pushes seasoning into the seal, correct the size or filling process before approving it.
5. Choose an oxygen-control method with the processor
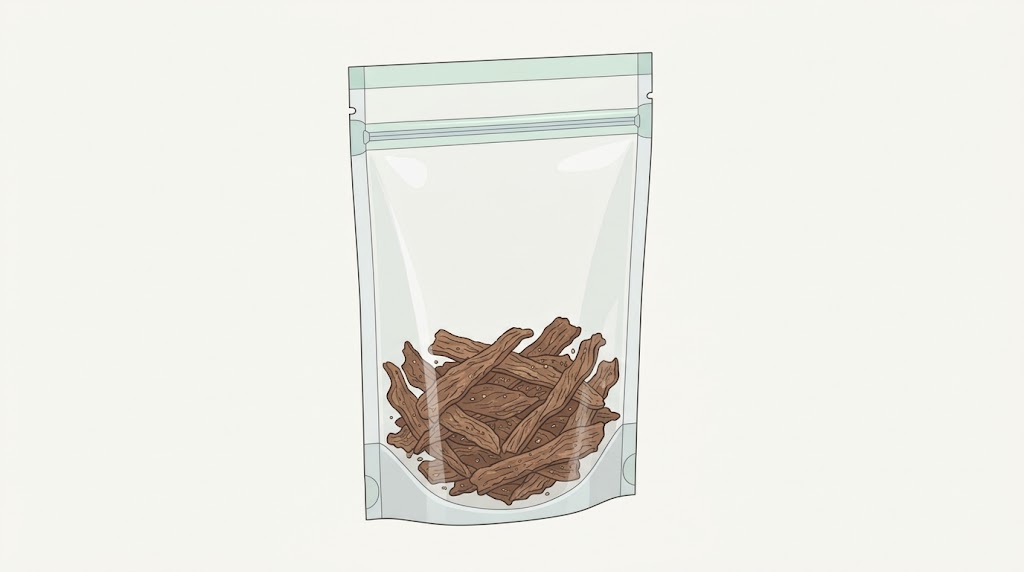
Vacuum packaging, gas flushing and oxygen absorbers are options to evaluate around the product and packing line. They need defined operating conditions and verification.
Mitsubishi Gas Chemical's oxygen-absorber packaging guidance connects absorber selection with the product, package volume, barrier material, sealing and correct handling. That is a useful basis for the discussion with your absorber supplier. The sachet should be selected for the actual pack, rather than copied from a different brand's bag.
Do not substitute silica gel just because it comes in a similar-looking packet. Multisorb distinguishes oxygen absorption from moisture control; the two address different packaging needs.
For purchasing, ask who owns the oxygen-control specification: your processor, co-packer or technical adviser. Record the approved combination of product, pouch and method so a later bag substitution triggers a review instead of becoming an unnoticed change.
6. Establish a repeatable top seal
For the resealable retail pouch discussed here, the zipper provides access after opening. The original top heat seal closes the package for distribution. Treat these as separate features when approving the drawing.
Ask the pouch supplier for a starting sealing range, then establish settings on your own machine. Temperature, contact time and pressure work together. A setting copied from a different laminate or sealer is only a trial point.
Check the conditions around the sealing jaws
Keep loose seasoning, oil and folded film out of the sealing area. Look at how operators hold the pouch, how far it opens during filling and whether product catches near the zipper. Increasing heat will not remove a piece of meat trapped across the seal.
A practical sealing record should identify:
- Pouch specification and packaging batch.
- Machine, jaw configuration and operating settings.
- Product condition and fill weight.
- Visual defects and the checks performed.
- Acceptance criteria, results and any adjustment made.
Agree separately on seal-strength and leak checks. ASTM F88/F88M describes a method for measuring the strength of seals in flexible barrier materials. It is a reference for discussing strength testing, not a certificate that a particular jerky pouch cannot leak. Select the applicable methods and limits with the testing laboratory.
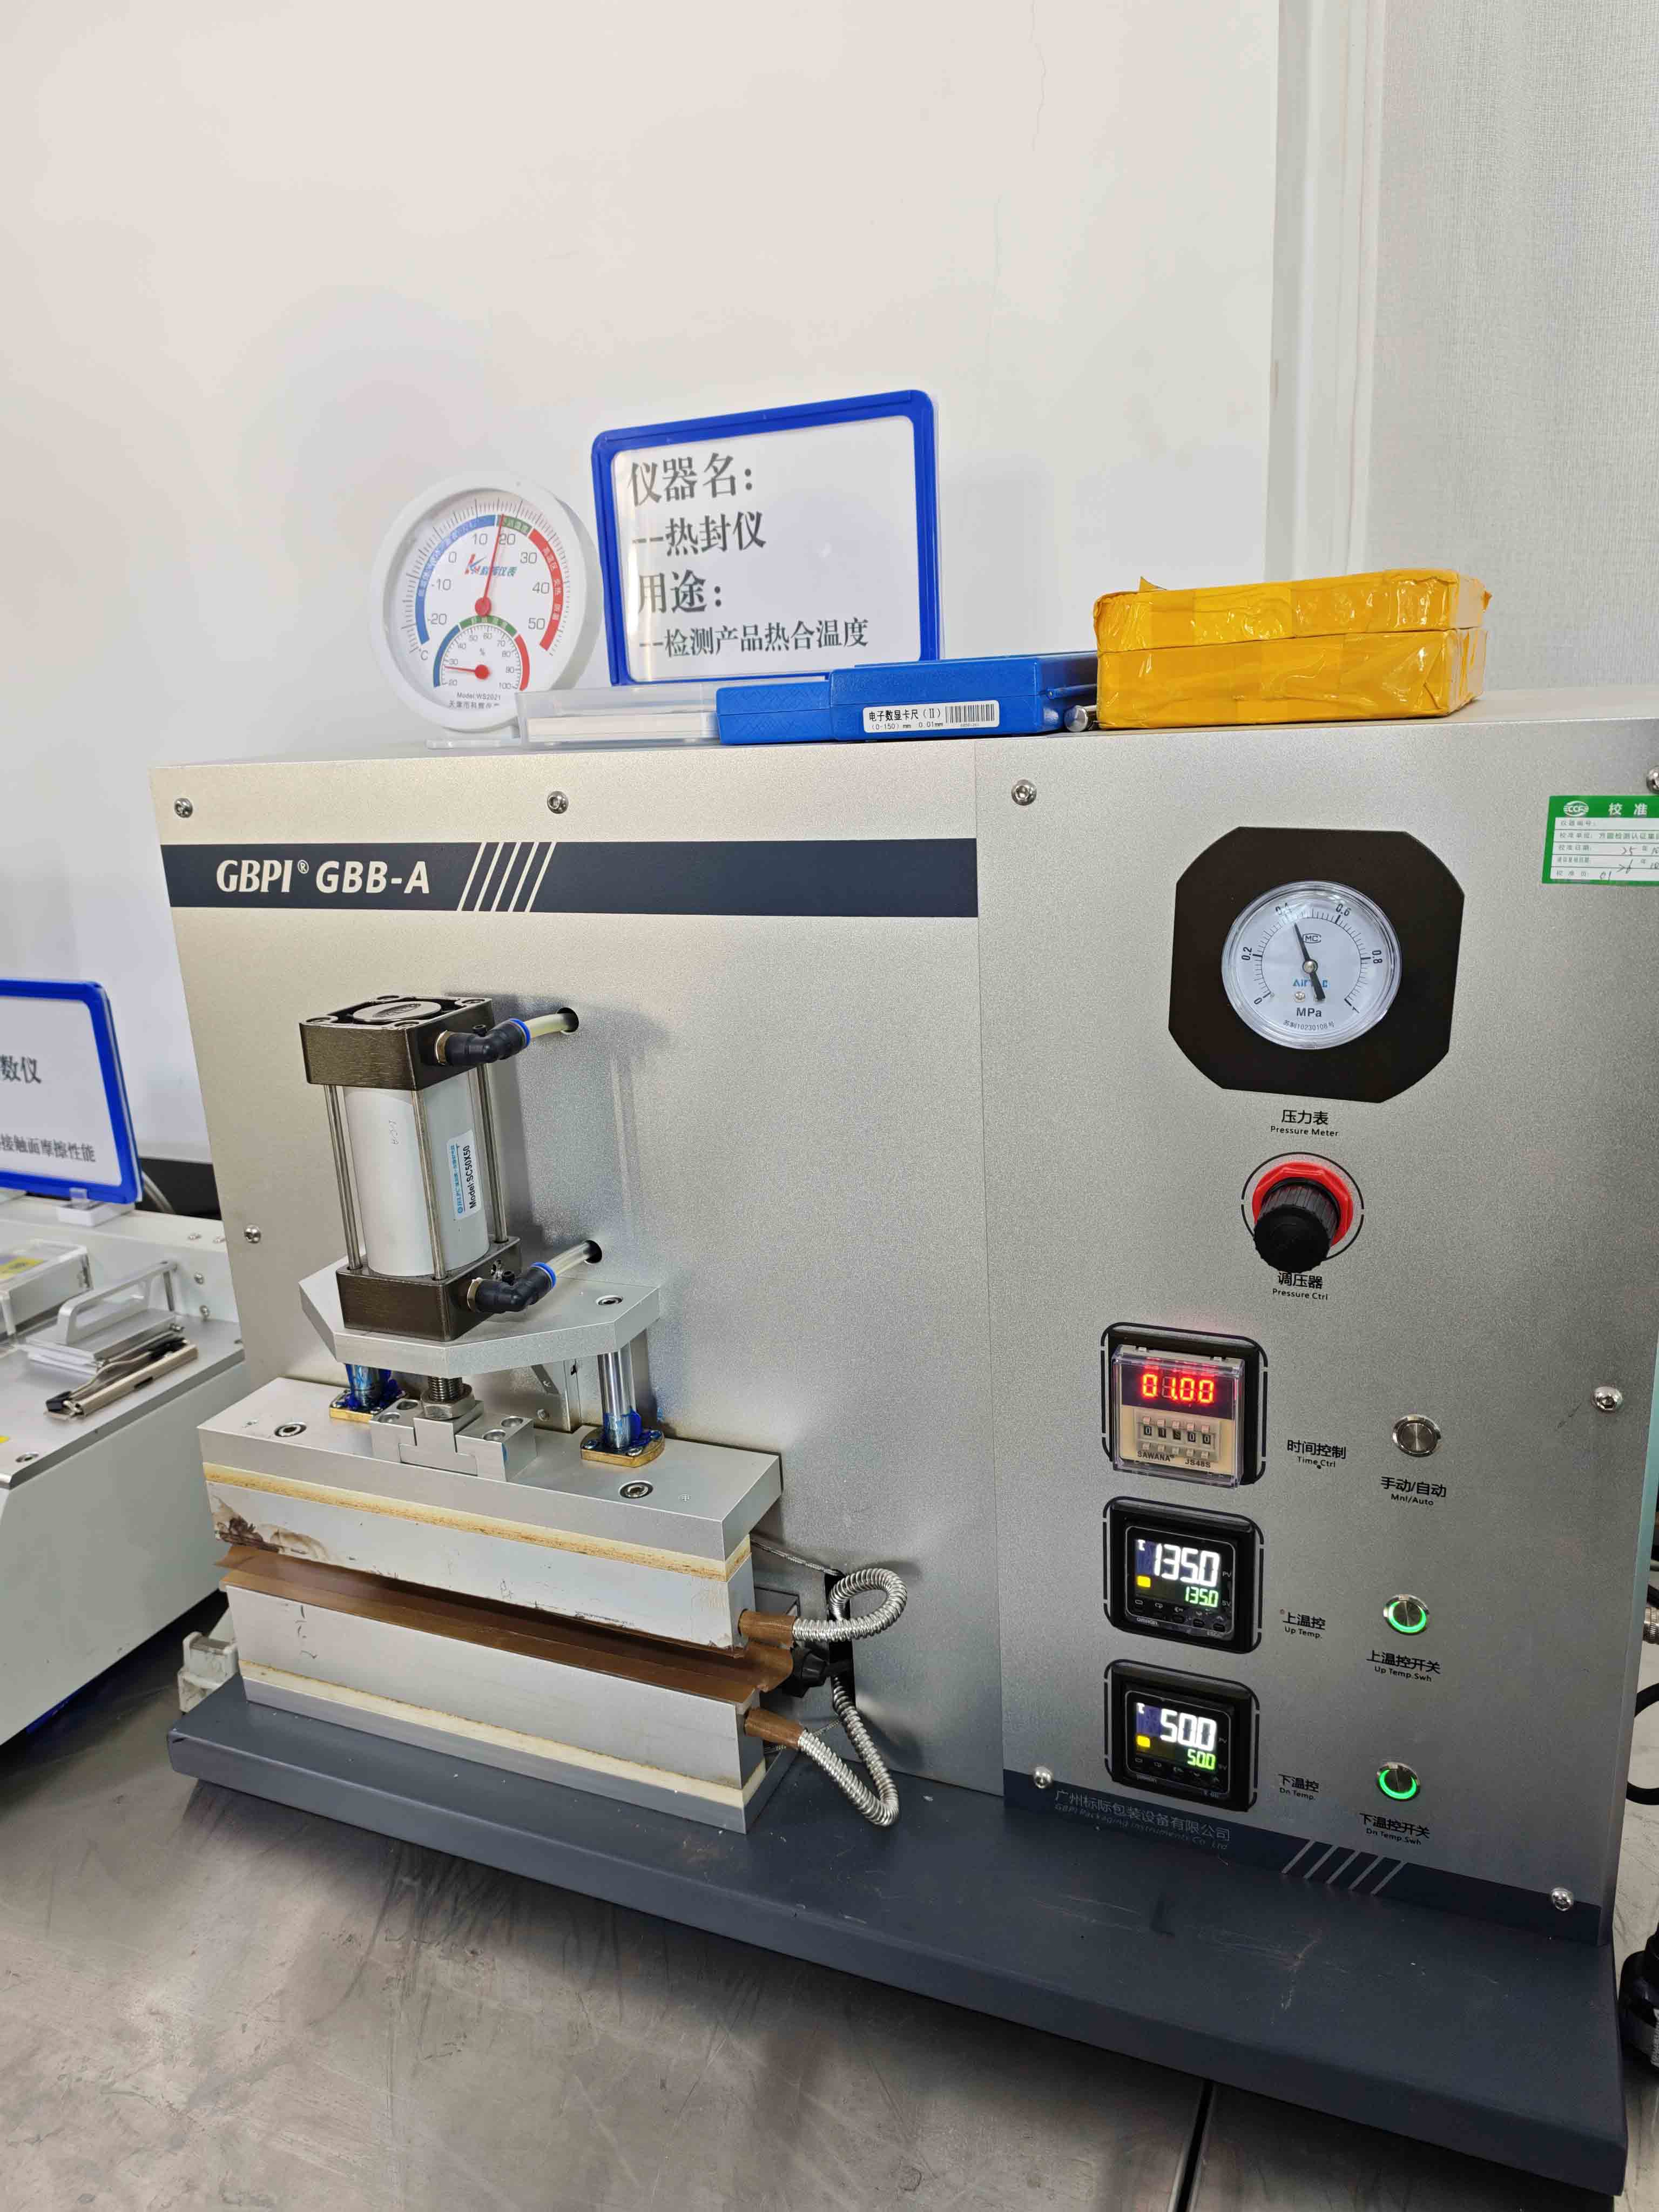
Check startup packs and samples made during normal operation, including after planned adjustments. A demonstration on one carefully prepared pouch does not show how consistently the line will pack a full order.
7. Make the design easy to shop and practical to print
Start with a full-size pouch drawing. Mark the seals, zipper, tear notches, bottom fold, window and any hang hole before placing the artwork. Reserve a usable area for variable batch and date information.
Give each panel a clear purpose
The front should help a shopper identify the product and flavor quickly. The back can carry the fuller product information and brand story. Test the design at actual size, then photograph it as a small online-store thumbnail. Fine print and subtle flavor changes that look attractive on a large monitor may be hard to read in either setting.
Avoid promising “maximum sales” from a finish or pouch shape. A useful design trial compares how readily customers can identify the product, distinguish flavors and read the relevant information. Record the questions they ask; those questions often reveal what the artwork is missing.
Compare printing methods using the order you expect
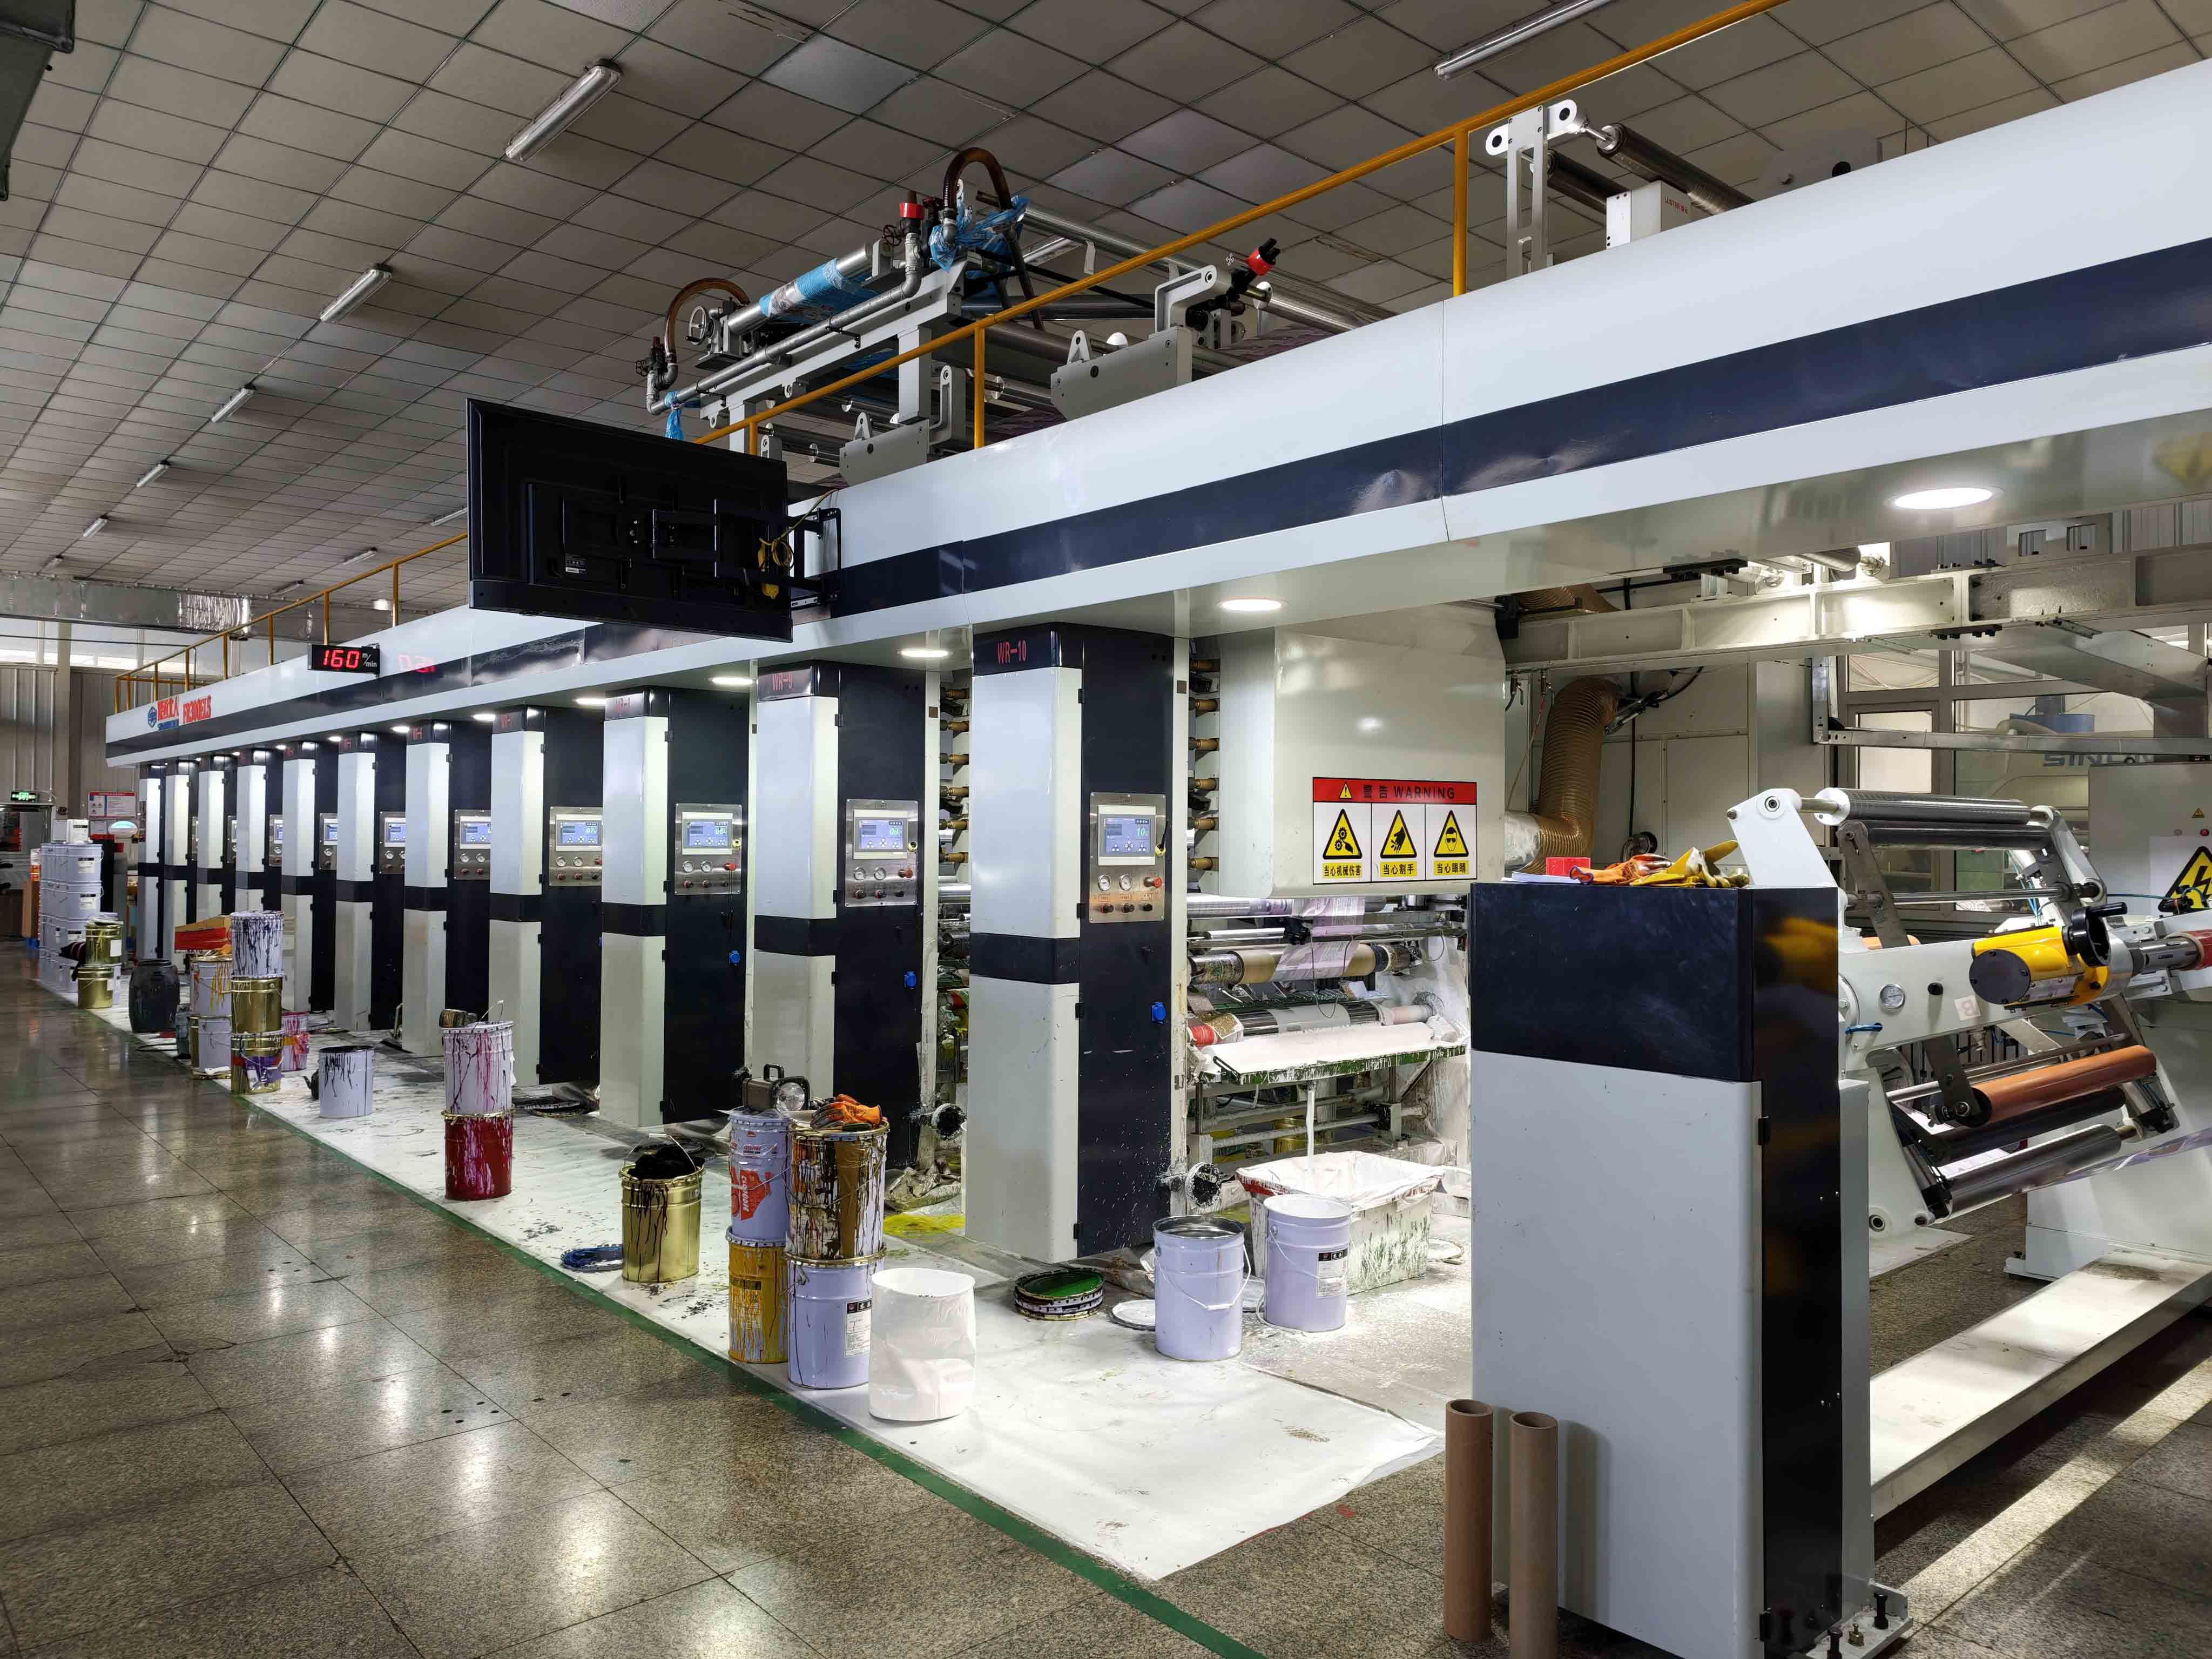
Ask for quotations at the same dimensions, structure, finish and artwork count. Include setup costs, proofing, expected repeat orders and the quantity needed for each flavor. This makes a digital-versus-gravure comparison more useful than comparing only the printed unit price.
Request a proofing plan that explains what the proof represents. Check fine type, barcode reproduction and color on the intended substrate. Recheck the layout after any change to pouch dimensions.
8. Prepare the label for the market where the jerky will sell
For a US launch, have the processor or a qualified label reviewer check the applicable meat-product labeling requirements before approving printing. FSIS lists the main meat and poultry label features; which statements and exceptions apply must be assessed for the actual product.
Prepare the product name, ingredient and allergen information, declared net weight, responsible business details and nutrition information. Ask the reviewer to confirm the inspection identification, applicable handling statements and any special claims. Keep retailer-required barcodes and your batch/date coding needs in the artwork brief too.
The FSIS Guideline for Label Approval explains how establishments determine whether a label needs submission for approval. Have the responsible establishment settle that question before the artwork is released.
Treat the printer's proof as the final manufacturing reference. Check every flavor separately: an unchanged pouch layout can still contain the wrong ingredients, net weight or barcode. Save the approved file with a revision number, approval date and named approver. Retire the old version so it cannot accidentally be reordered.
For another destination market, prepare a separate reviewed label file. Packaging that is physically suitable for the product still needs information appropriate to where it is sold.
9. A real kraft meat-snack pouch: what the details tell a buyer
Our New Zealand 80g kraft stand-up pouch case provides a concrete packaging reference. The listing sits in the beef-jerky category; the photographed artwork identifies the product as Bob's Biltong. We use it here to examine the package, without treating the two foods' processing requirements as interchangeable.
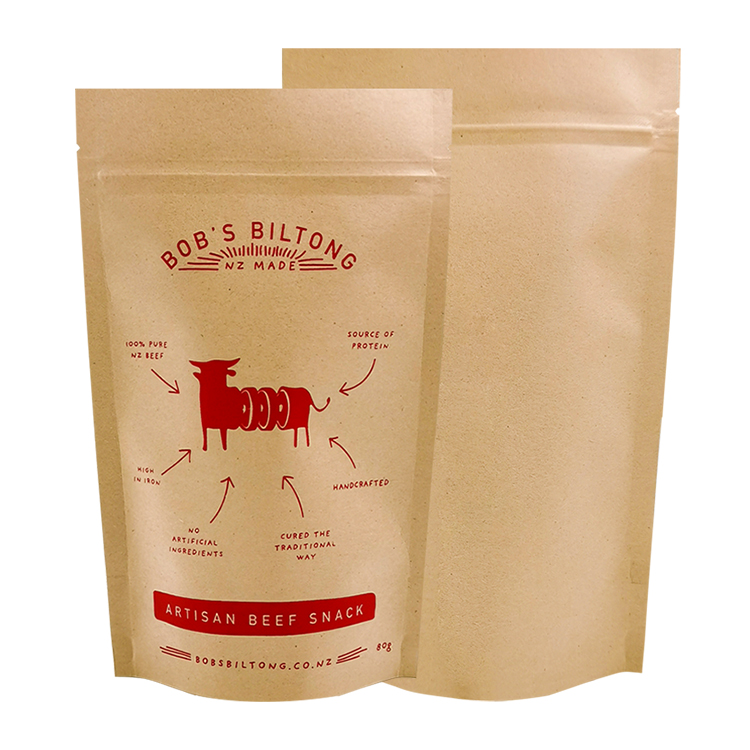
There are three useful purchasing lessons in this example.
First, write down the whole laminate. The kraft appearance is visible, but the specification also includes a metallized film and sealant layer. Asking another supplier for “the same paper bag” would leave out much of the construction.
Second, discuss the drawing as well as the size. Confirm whether the gusset measurement denotes the folded or fully opened dimension before using it in a comparison. The printed dimension alone is not enough to reproduce the pouch reliably.
Third, review the pack as a three-dimensional object. The alternate photograph shows how the base and side profile change the presentation. That is useful when planning the shelf footprint and how the front artwork reads on a filled pack.
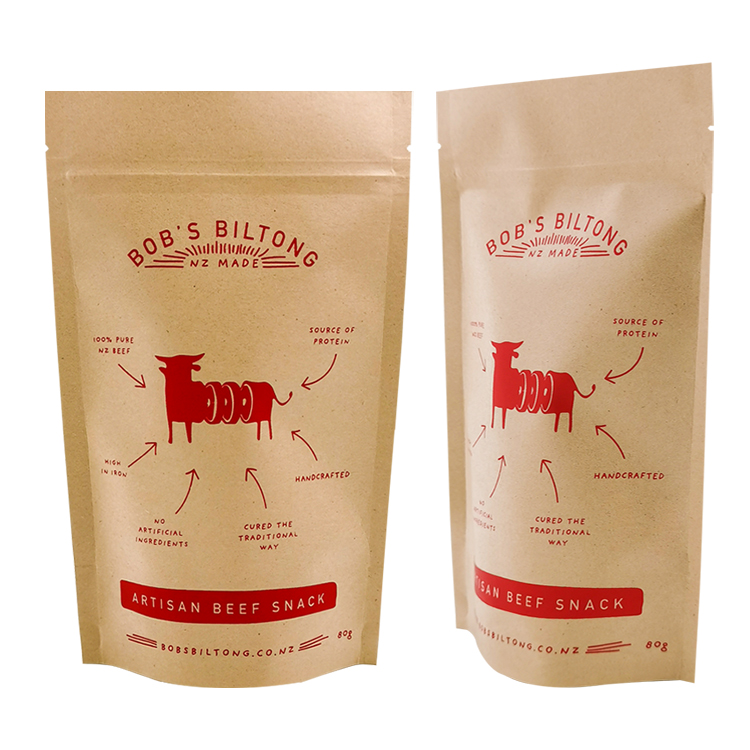
These details help define a sample request. They do not establish a shelf life for your recipe. To develop your own beef jerky pouch specification, send the target portion, product format and filling method alongside any reference image you like.
10. Set approval criteria before placing the production order
Agree what counts as an acceptable pack while the sample is being developed. Otherwise, a complaint such as “the pouch feels different” becomes difficult to investigate.
Use an approval sheet covering the physical sample, artwork revision, material specification, dimensions and agreed checks. Record what was tested, who tested it and the result. Keep an approved reference sample where the packing team can compare it with incoming stock.
Keep product shelf-life validation separate from bag inspection. A pouch supplier can document packaging properties; the food business still needs evidence for the finished food under its intended conditions.
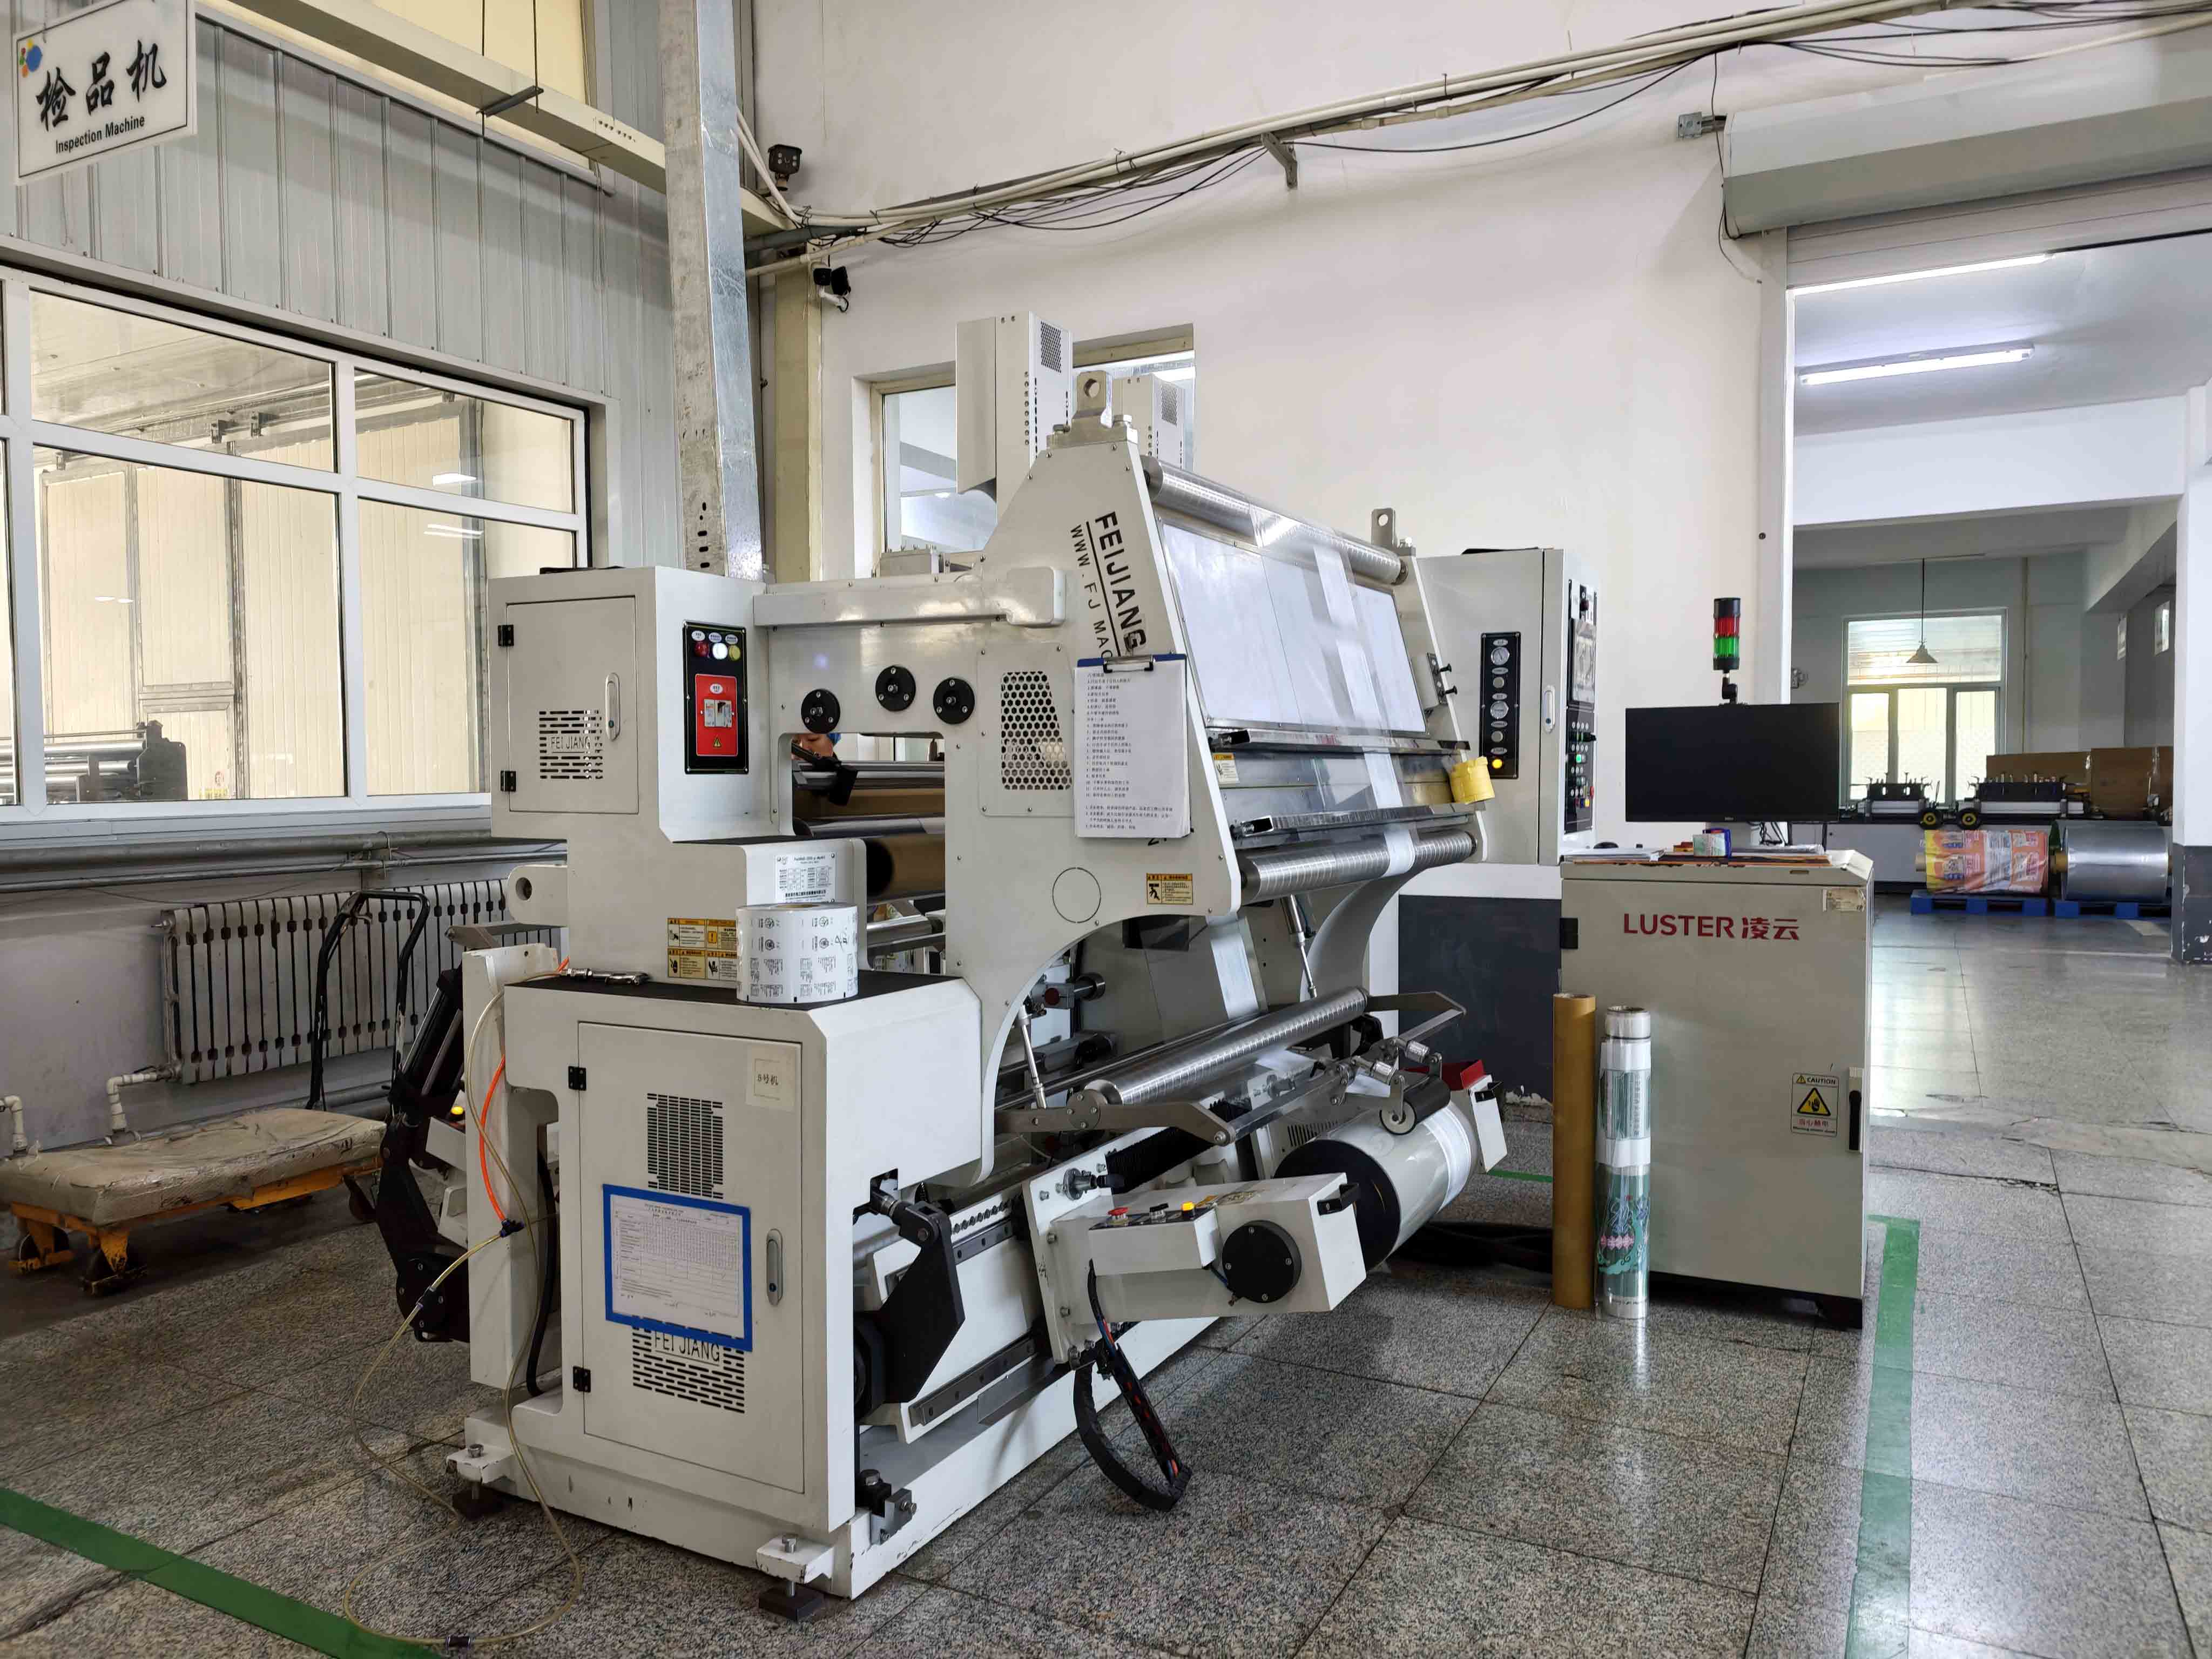
Equipment photographs show the manufacturing environment. Ask for the records relevant to your specification when assessing a particular order.
11. Package beef jerky for mailing as a complete shipment
The retail pouch is the primary package. The shipping box protects the selling unit through distribution. Evaluate both together, using the quantity and arrangement you plan to dispatch.
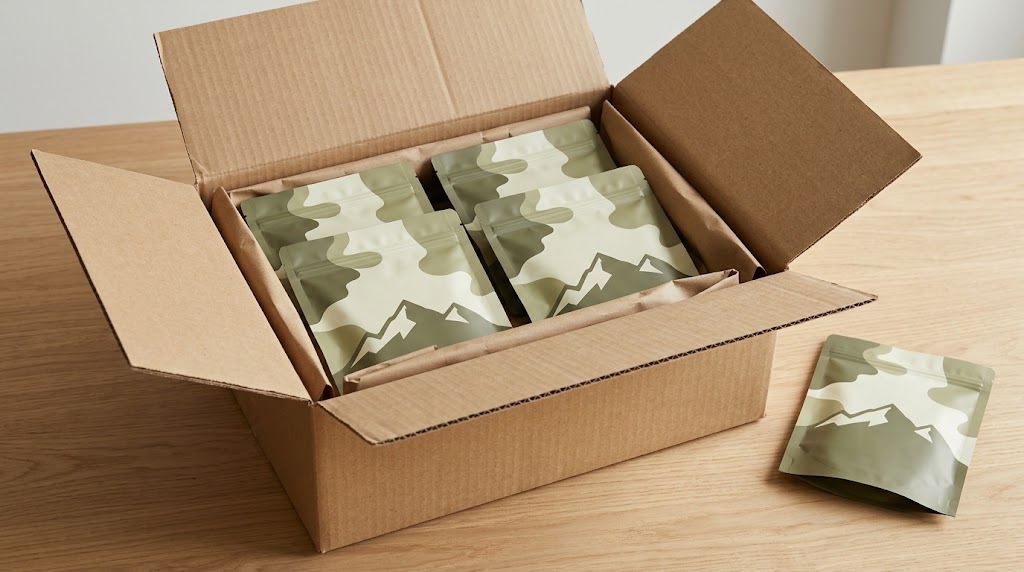
For a parcel trial, place the sealed pouches in a suitably sized corrugated box. Evaluate whether dividers or cushioning are needed to limit rubbing and movement. Check that carton closure does not press a hard crease into the top seals or force the pouches against a sharp edge.
A flexible outer mailer may be worth testing for some orders, but do not assume it provides the same protection as a box. Compare the received condition before choosing it on postage cost alone.
Make the shipping trial useful
Document the carton size, pouch count, orientation, fill weight and protective materials. Photograph the pack before dispatch and after receipt. Ask the receiver to look for punctures, scuffing, opened seals, crushed displays and unreadable codes. Include the carrier, route and delivery duration in the record.
Temperature exposure needs its own decision. Products requiring refrigeration need a suitable temperature-controlled shipping system. For an ambient product, use the processor's supported storage and distribution limits when evaluating the route. Delivery speed alone does not establish that the conditions were suitable.
If the finished pack changes unexpectedly during storage or shipping, hold the affected stock and involve the responsible food-safety team. A change in bag shape should be investigated with the product history and packaging records available.
12. Send a quotation request suppliers can answer
A useful enquiry lets suppliers compare the same job. Attach the product brief, draft artwork and any existing sample photos. State which details are fixed and which you want help choosing.
Include these eight items:
- Product form and target net weight.
- Destination market and sales channel.
- Proposed pouch style and dimensions, or a request for trial sizes.
- Material requirements and available test specifications.
- Filling machine and intended oxygen-control method.
- Number of designs and quantity per design.
- Required delivery location and launch schedule.
- Samples, documents and validation support needed before approval.
Compare setup, proofing, packaging, freight and repeat-order assumptions alongside the unit price. Ask how revisions to the material or dimensions will be controlled after the sample is approved.
Ready to turn the brief into samples? Share it through our custom beef jerky packaging page. We can discuss the pouch construction, printing and sample options around your product and packing process.
Frequently asked questions
What bags should I use to package beef jerky for sale?
Start by comparing a heat-sealable stand-up pouch for multi-serving retail packs and a flat pouch for smaller portions or hanging displays. Select the material around the product, process and distribution requirements. Approve the format only after filling and sealing it with the actual jerky and equipment.
Can I use a resealable zipper bag without heat sealing?
For the conventional retail pouch in this guide, specify a separate top heat seal. The zipper is intended for convenient access after opening. Closing it by hand does not substitute for validating the original package closure. Confirm the seal location and clearance in the pouch drawing.
Should beef jerky be vacuum packed or packed with an oxygen absorber?
Discuss both with the processor. Vacuum changes the package's shape and contact with the product; an absorber requires a suitable pouch and an appropriate sachet specification. Choose according to product suitability, equipment and verified results. The absorber supplier should confirm the type and capacity for the proposed pack.
Why do beef jerky bags have so much empty space?
The space can relate to filling, sealing, settling or an intended packaging atmosphere. It does not prove that the bag contains nitrogen. For your own product, compare trial sizes and identify the clearance the packing process actually needs. Check net weight and presentation independently.
How should I package beef jerky for mailing?
Use a verified primary package and evaluate it inside the proposed outer shipment. Check rubbing, compression, seal condition, readability and temperature exposure on the intended route. Match storage conditions to the product's supported requirements. Keep records so damage can be traced to the package, packing arrangement or distribution conditions.
What changes when homemade jerky becomes a commercial product?
Confirm the applicable production, inspection and sales requirements before launch, then establish the commercial product specification. That specification should guide packaging, storage instructions and shelf-life work. Coordinate with the processor and relevant authority; choosing a printed pouch is one part of preparing the product for sale.