
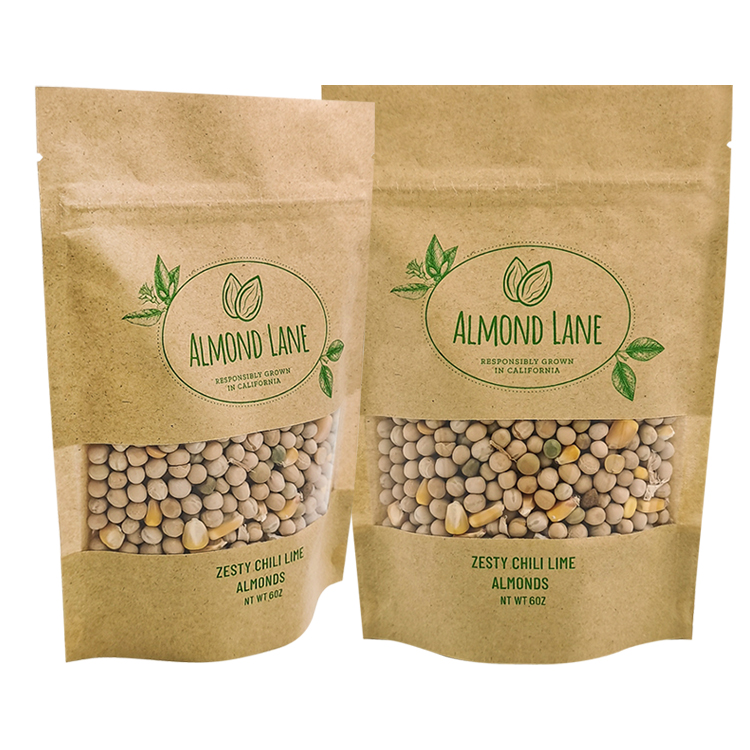
If your granola will sit in a shallow retail tray, compare a bottom-gusset stand-up pouch and a flat-bottom pouch. Fill both to the same net weight and see whether the flavor name clears the front of the tray. For an individual bar in a display carton, start with a flat pouch. A side-gusset bag is worth sampling for a bulk refill. For sauce, specify how the packer will fill the pouch and how the cook will dispense it.
Start with the selling unit
Is the shopper buying a single portion, a week’s supply or a refill? Where will they open the pack, and where will they keep what remains?
Consider a seasoning blend. A sachet tucked into a meal kit needs to fit beside the other ingredients and pour into a pan in one go. The same seasoning sold in a shop may need an upright front panel, an opening wide enough for a spoon and a closure that the cook can operate with powder on their fingers. For a refill sold inside a shipping carton, an elaborate display base may contribute little, while a controlled pour into a narrow jar could make a real difference.
Write the brief as a sentence you could hand to the person filling the bag. “Whole dried fruit, packed to a declared weight for a hanging retail display and eaten over several days” already gives that person three things to check. Can the largest piece get through the mouth? Can the filled pack hang in the available space? Can the customer get another piece out after the first opening?
A shortlist for five common buying requests
Suppliers use some names for the body of a bag and others for the way it opens. Ask for a front view, a base view and the drawing when comparing quotes. In particular, a spout describes an outlet. A pouch with a spout can also have a stand-up body.
| What the pack needs to do | Candidate to sample | What to check on the sample |
|---|---|---|
| Hold one bar, a portion or a slim refill in a carton or on a peg | Flat pouch, often a three-side-seal construction | Pass the actual product through the filling edge and open it as a customer would. |
| Face forward on a shelf and allow repeated access from above | Bottom-gusset stand-up pouch | Fill to the intended weight, check how the base opens during normal filling, then try reaching the last portion. |
| Keep a box-like footprint and show artwork on the sides | Flat-bottom or box-bottom pouch | Measure the filled base against the shelf and read the artwork from the aisle. |
| Expand at the sides for a granular fill or a larger refill | Side-gusset bag | Settle the product, finish the top in the intended way and check the resulting shape in its case. |
| Deliver portions of a pourable or squeezable food | Pouch with a spout and cap, on a suitable body | Try the real food through the proposed outlet and establish how the pack will be filled and closed. |
Before ordering either sample, ask the packer which edge or fitment its line can fill through. Cross off any option the line cannot run. If two bodies remain on the shortlist, give the supplier the inside width of the shelf tray and the number of units the retailer wants per row. Those details let you check both candidates in the same space.
Flat and three-side-seal pouches
For an individual bar, the critical dimension may be the width of the filling opening. The broad face in a catalog photograph can look generous while the sealed edges and the thickness of the bar use up the clearance needed to insert it. Take a bar from the upper end of your normal size range. Try loading it in the orientation the operator or feeder will actually use. Look for a corner that catches, a coating that rubs off or an edge of the bag that folds inward as the bar slides in.
On a pre-made three-side-seal bag, the packer receives a pouch with an edge available for filling. Confirm which edge on the drawing. A tear notch or hang hole can make one end look like the top even when the filling operation is planned from another edge. Give the printer and packer the same marked drawing so the branding faces the right way after filling and sealing. For construction details and examples of individual bar packs, see three-side-seal flat pouches.

Bottom-gusset stand-up pouches
A folded section at the bottom opens to make a base. How the bag sits then depends on the fill as well as the bag. Granules can move into the base differently from large, irregular pieces. Compare samples on the intended shelf with the actual product inside. Look at what a shopper sees when a filled pouch is taken out of its case and set down without anyone arranging it for a photo.
Plan for the second opening as well as the first. If the pack includes a self-sealing strip, have someone reach through it for a snack and close it again. For a powder, try the scoop and see whether its handle can clear the top edge. See bottom-gusset stand-up pouches for base details and real project photographs.
Flat-bottom or box-bottom pouches
A box-bottom pouch has a front, a back, two sides and a formed base. The extra panels can carry preparation instructions or flavor information. If a quote says “eight-side seal,” use the approved panel drawing to see how much of each face the designer can use.
The filling edge and the opening a shopper uses can be in different places. On the 12 oz coffee bag with a pull-tab opening from our EcoCoffeeBag range, the shopper pulls a tab below the top edge to reach the self-sealing strip. On your shelf mock-up, check whether the tray lip or a price sticker hides the tab.
Mock up one version of the pack at actual size. Put another flavor beside it at the spacing the retailer allows. Is the flavor name distinguishable head-on, or does the customer have to turn the bag to identify it? Read the side copy on a filled sample too. A seam, fold or neighboring pack may cover the part that looked most prominent on a flat proof. The flat-bottom pouch guide shows how the formed base and side panels fit together.
Side-gusset bags
The depth in a side-gusset bag comes from folds down the sides. Two bags described by the same front width can present differently after those folds open. Ask the supplier to mark the folded and fully expanded gusset depths with units, the seam position and the intended top closure on each drawing. If the packer folds over the top, mark the fold on a filled mock-up before deciding where a lot code or a variety name belongs.
For a foodservice refill, give an employee the receiving bin and ask them to lift, open and empty a filled sample. For retail, test the support the display provides. Request a filled side view and use the side-gusset bag specifications to discuss the opening and seams.
Spouted pouches
For a spouted pack, choose the body and the outlet together. The packer needs to know whether the proposed construction will be filled through the spout or through an open edge. Equipment maker Waldner illustrates both arrangements in its guide to spouted pouch filling. A sauce that flows evenly from a spoon may behave differently when squeezed through a small outlet, especially if it contains pieces. Put the intended serving size into the brief and ask for the actual fitment and cap with the trial sample. Match filling temperature, subsequent processing and storage requirements with your packer and supplier before ordering. The spout pouch page gives you the configuration details to discuss.
Sachets, stick packs and other single portions
“Single-serve” describes a portion. A sachet, a narrow stick pack and an individual flat pouch can all deliver one serving. A pillow pack around a snack is another familiar example. When specifying one for a form-fill-seal line, ask for the film and seam layout the machine uses. Tell the packer how it should open and where the contents will land. A narrow opening may help a fine mix enter a bottle, while a wide opening helps someone remove an intact piece of food. Confirm whether the packing partner needs finished bags or printed film supplied on a roll. That distinction changes what you order and which kind of sample can answer a production question.
Choose the body, then specify what goes into it
Product space. Write down the net fill and the physical characteristic most likely to cause trouble. For a cereal with large clusters, measure several of the largest saleable pieces. For a fine powder, ask the packer what happens between dosing and sealing. A bag that looks nearly full directly after dosing may look quite different once the contents settle in the case. Have the supplier identify the usable mouth, closure position and final seal area. Overall width and height alone leave out all three.
Protection. Two pouches with the same outline can have different resistance to moisture or oxygen transfer. If an existing product loses its crunch or picks up moisture in storage, tell the supplier which quality attribute matters, how the pack will travel and what evidence your quality team needs. Request the proposed material structure and relevant test conditions. Use the guide to barrier layers to discuss film options. A window, cap or change of closure also belongs in the specification your quality team reviews for the finished pack.
Presentation and handling. Separate what the shopper sees from what staff handle. A large front panel can be useful for a shelf display, yet the sealed top might be hidden under a shelf lip or folded into a tray. Ask the retailer for the actual display space and case arrangement. For a printed trial, position the net quantity, variety name and opening cue on the mock-up and test the first tear. Information someone needs after opening belongs on the portion of the pack they keep.
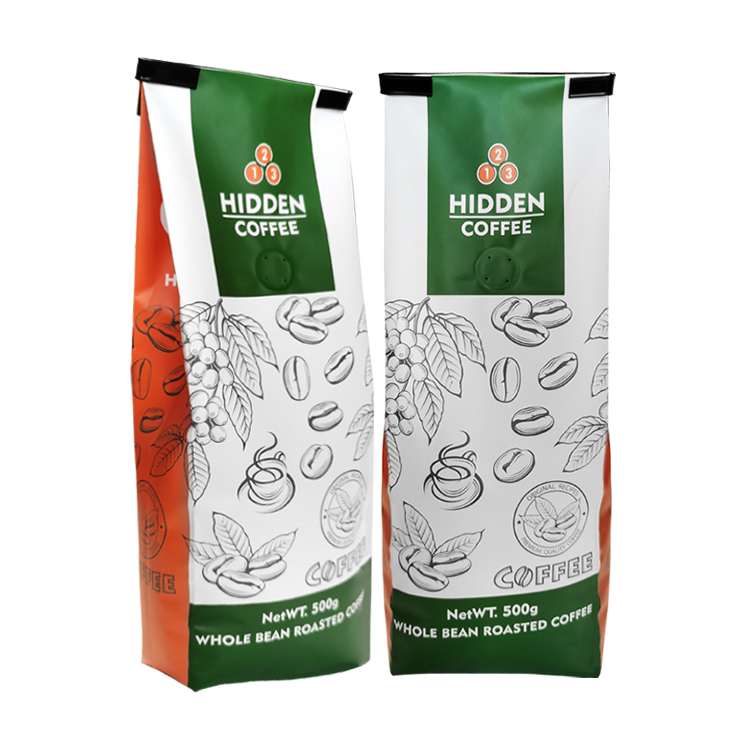
For a product range with both loose leaves and individual tea bags, the tea packaging format guide goes further into the distinction between the inner brew bag and the outer retail pack. A roaster comparing a coffee-specific valve or closure can continue with the coffee bag format guide.
What three real food packs tell you about a quote
Two of Mylarbag’s published projects use the same broad body shape. One is a 6 oz stand-up pouch for nuts and seeds, with a horizontal window, a kraft paper/PET/PE structure and digital printing. The other is an 8 oz stand-up pouch for mole paste. Its specification names MATOPP, VMPET and a sealant the project record calls “liquid PE.” It also specifies gravure printing. On your quote request, give the body shape its own line. Use a second line to say whether the product must be visible through a window, and ask the supplier to name the film structure it has priced. That makes two quotes for “stand-up bags” easier to compare.
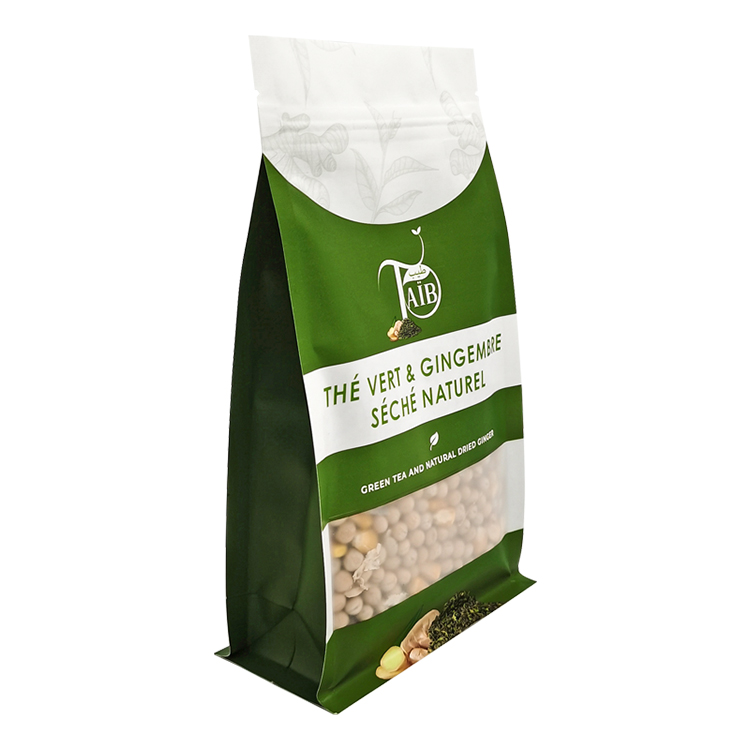
A third project combines a window with a different body. Mylarbag’s 125 g loose-leaf tea pouch has a flat bottom. The project lists its dimensions as 12 × 22 + 6 cm. Try that body and a bottom-gusset sample with your own leaves. Set a full row of each in the retail tray and remove one pack from the middle. Which row still presents the other labels face forward? The 125 g entry belongs to this tea project.
Run a fill trial before approving the pouch
Check shelf width on the drawing. To see whether a shopper can reach in and remove a whole cracker, you need a filled sample. Bring the peg or subscription box to the same trial if the bag also has to fit one of those fixtures.

Give each sample a fair comparison
Identify the supplier, sample reference and drawing revision on each bag. Note whether it is an existing stock sample or a sample made to your proposed specification. A stock bag with a different film may still help you choose an opening width. Record that difference so nobody treats approval of the opening as approval of the finished construction.
Weigh out the same quantity of food for each candidate. Include large pieces and the smaller fragments that settle around them. A pouch filled from the top of a mixed bin and a pouch filled from the crumbs at the bottom tell you little about the difference between the bags.
Have the packing operator run the trial. Can the operator guide the longest piece through the mouth without turning every piece by hand? Does powder brush against the area reserved for the final seal? If a co-packer will run the job, reserve samples for its filling and sealing equipment.
Follow one filled pack through sale and use
Put the closed sample where the customer will see it. Load the intended number into the display tray or shipping case and close the case. Take a unit out and place it back. Look at the front from the shopper’s usual angle. A product name that reads well in the artwork may disappear behind the tray lip once the pack settles. Photograph the actual filled pack beside the tray before moving any copy on the drawing.
Then open a fresh sample by hand and serve the food as intended. Use the scoop, cup or utensil the customer is likely to have. Where the pack is intended for repeated use, try it again when only the last serving remains. The person holding a nearly empty pouch has a different grip from someone holding a full one. Record which motion was awkward and where the food landed.
Keep one copy of this record with each labeled sample. If a trial fails, mark the point of contact on a photo so the supplier can locate it on the drawing.
| Trial record | What to enter | Your sample |
|---|---|---|
| Sample identity | Supplier reference, drawing revision, supplied material and any differences from the proposed order | |
| Product and fill | Food tested, its condition, actual net fill and filling method | |
| Check and acceptance condition | The task, who performs it and what they must be able to do | |
| Observation | Result, exact location of any difficulty and matching photo or video | |
| Decision | Accept for this task, revise and repeat, or assign a separate verification | |
| Follow-up | Named owner, proposed change and the sample reference for the next review |
Turn an unsuccessful sample into a specific revision
Keep the sample that exhibited the problem. Photograph it in the position where the problem occurred, label the image with the sample reference and describe the sequence from filling to observation. For example, Greener Corporation describes how delays in product flow can bring food into the end seals of a vertical bagger. Its product-flow note gives a line operator a cause to investigate. For a pre-made pouch, observe the actual dosing and closing sequence on that line.
| What you observe | What to inspect | Useful next trial |
|---|---|---|
| The filled pouch leans in its display tray | Base opening, where the product settles, fit against the tray sides | Place the same fill on the shelf and in the actual tray. Note where the lean begins. |
| Powder appears across the top seal area before sealing | Product path, fill height, dust and clearance above the fill | Observe a fill cycle and change one suspected contributor with the packing operator. |
| Pieces fit inside but catch as a customer reaches in | Narrowest usable opening, piece shape and hand or scoop clearance | Compare candidate openings using the same representative pieces and serving motion. |
| The pack fits individually but the shipping case bulges | Filled thickness, pack arrangement and protruding closures | Load and close the specified case at its planned count. Photograph the point of contact. |

When a revision works, write down what was changed. If a wider mouth required a new bag width, repeat the case and display checks as well as the opening check. Keep sealing-process approval, distribution testing and shelf-life verification with the co-packer or quality team responsible for them.
Two ways a purchase brief can change after sampling
These two hypothetical briefs show what to revise when a shelf constraint or a filling requirement rules out the first choice.
A brittle snack for a countertop display. Suppose the largest fruit chips catch in a pouch that fits the retailer’s display tray. A wider mouth could make it easier to take out a whole chip. A wider bag might also reduce the number of units that fit across the tray. Ask the supplier for the usable opening on both drawings. Try the chips again, then load a complete row of packs. That gives the retail buyer a choice they can price and the packer a change they can test.
A sauce for portioning in a restaurant kitchen. This buyer initially asks for a spouted pouch because staff will dispense sauce several times during a shift. Before choosing a cap, find out who will fill the pouch, how the filling equipment connects and where the filled pack will be kept. Give the intended user a representative sample to dispense into the actual portion cup. Record how easily the user controls the pour and handles the closure between servings. Any change to the fitment goes back to the filling team for review. The food producer and co-packer must also confirm that the proposed construction and process suit the product and its storage conditions before the buying team signs off.
What to send with the request for a quote
Give each supplier the same drawing or sample reference, product description, target net fill, intended filling method and sales channel. Include the quantity per design, the number of designs, the delivery destination and the timing you need. A photo of the shelf tray or a drawing of the shipper can explain a space constraint more clearly than a request for a “retail-ready bag.”
Describe the dispensing opening too. A drink intended for a straw and a sauce portioned through a capped outlet call for different components.
Mark which constraints are fixed, such as case count and the space reserved for a price label, and which are open, such as bag width. Ask the supplier to list any differences from your reference and identify the sample it can send. Keep its reply with the trial record so purchasing and packing use the same revision.

Frequently asked questions
Can two flavors share one pouch size?
Use the same size if it passes the trial for each flavor. Sample each one at its declared fill, especially when piece size, density or surface coating differs. Keep separate trial records if the two products behave differently during filling.
What if my co-packer has already specified a bag?
Ask for its current drawing and the requirements that follow from its equipment. Start supplier comparisons within those limits and return proposed changes to the co-packer before placing an order.
Can I use the dimensions of a competitor’s pouch?
Use it as a reference for shelf appearance. For an accurate size discussion, supply your own food, target fill and opening requirements. Two packs with the same outside dimensions can have different usable space.
Can artwork start before the bag size is final?
A designer can develop copy and a visual concept early. Set final print positions on the approved supplier dieline. Check the folds, seals, opening feature and visible area in the filled display before approving print.
What is the difference between a flat pouch and a flat-bottom pouch?
On a flat three-side-seal pouch, two faces meet at the sealed edges. On a flat-bottom bag, a formed panel makes a base that the filled pack can stand on. Ask for a photograph taken from underneath or the corresponding drawing detail if a quote simply says “flat bag.”
Which sample should the buyer keep after approval?
Keep a labeled sample linked to the approved drawing, artwork revision and written specification. Identify which features the sample represents and which were approved separately. Give the packing team access to the same reference.
If you have a food sample, target fill and sales format in mind, send your pouch brief to Mylarbag for a discussion of candidate formats and the samples you need.