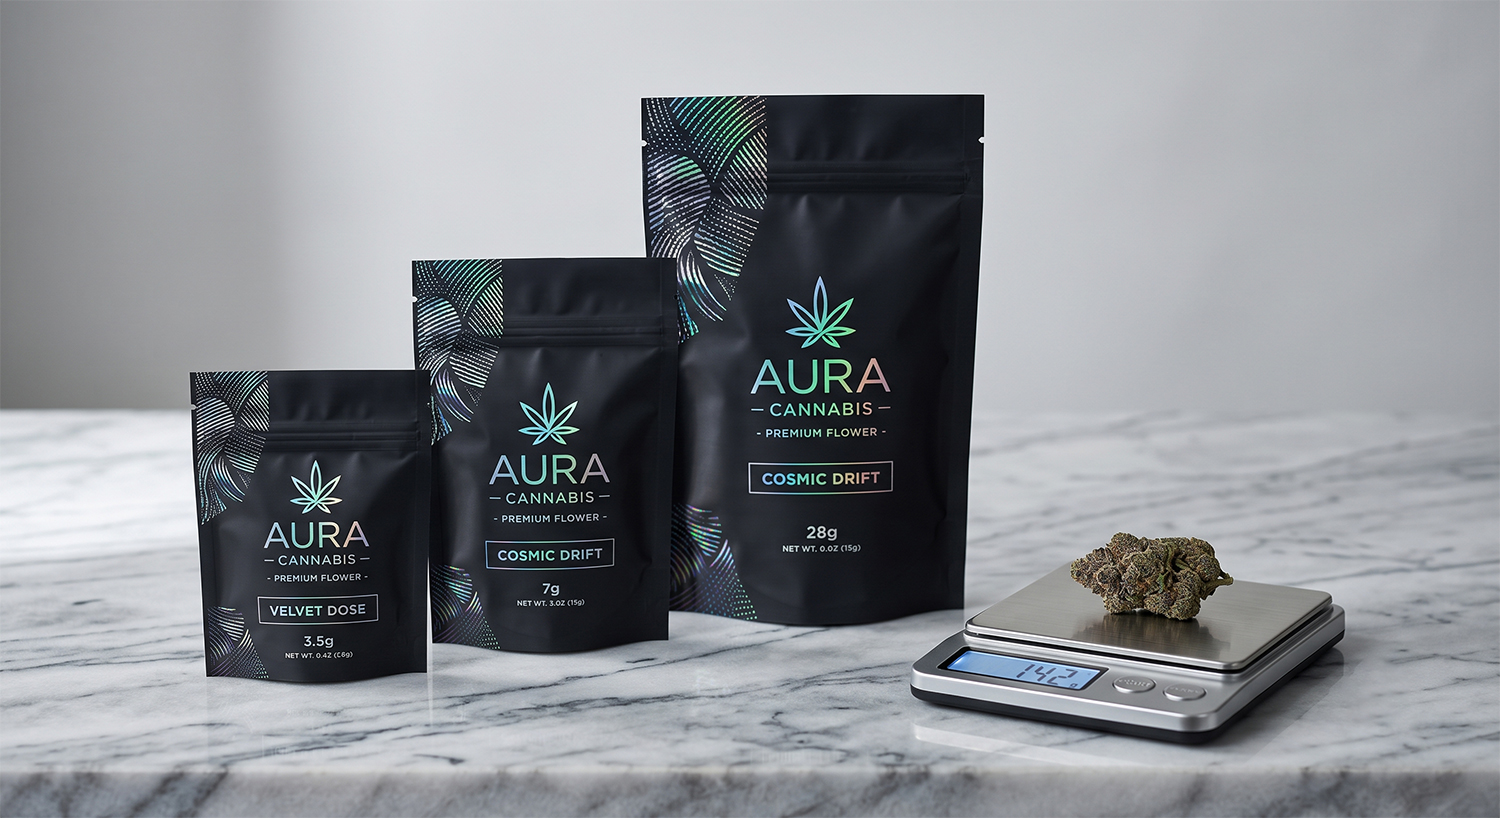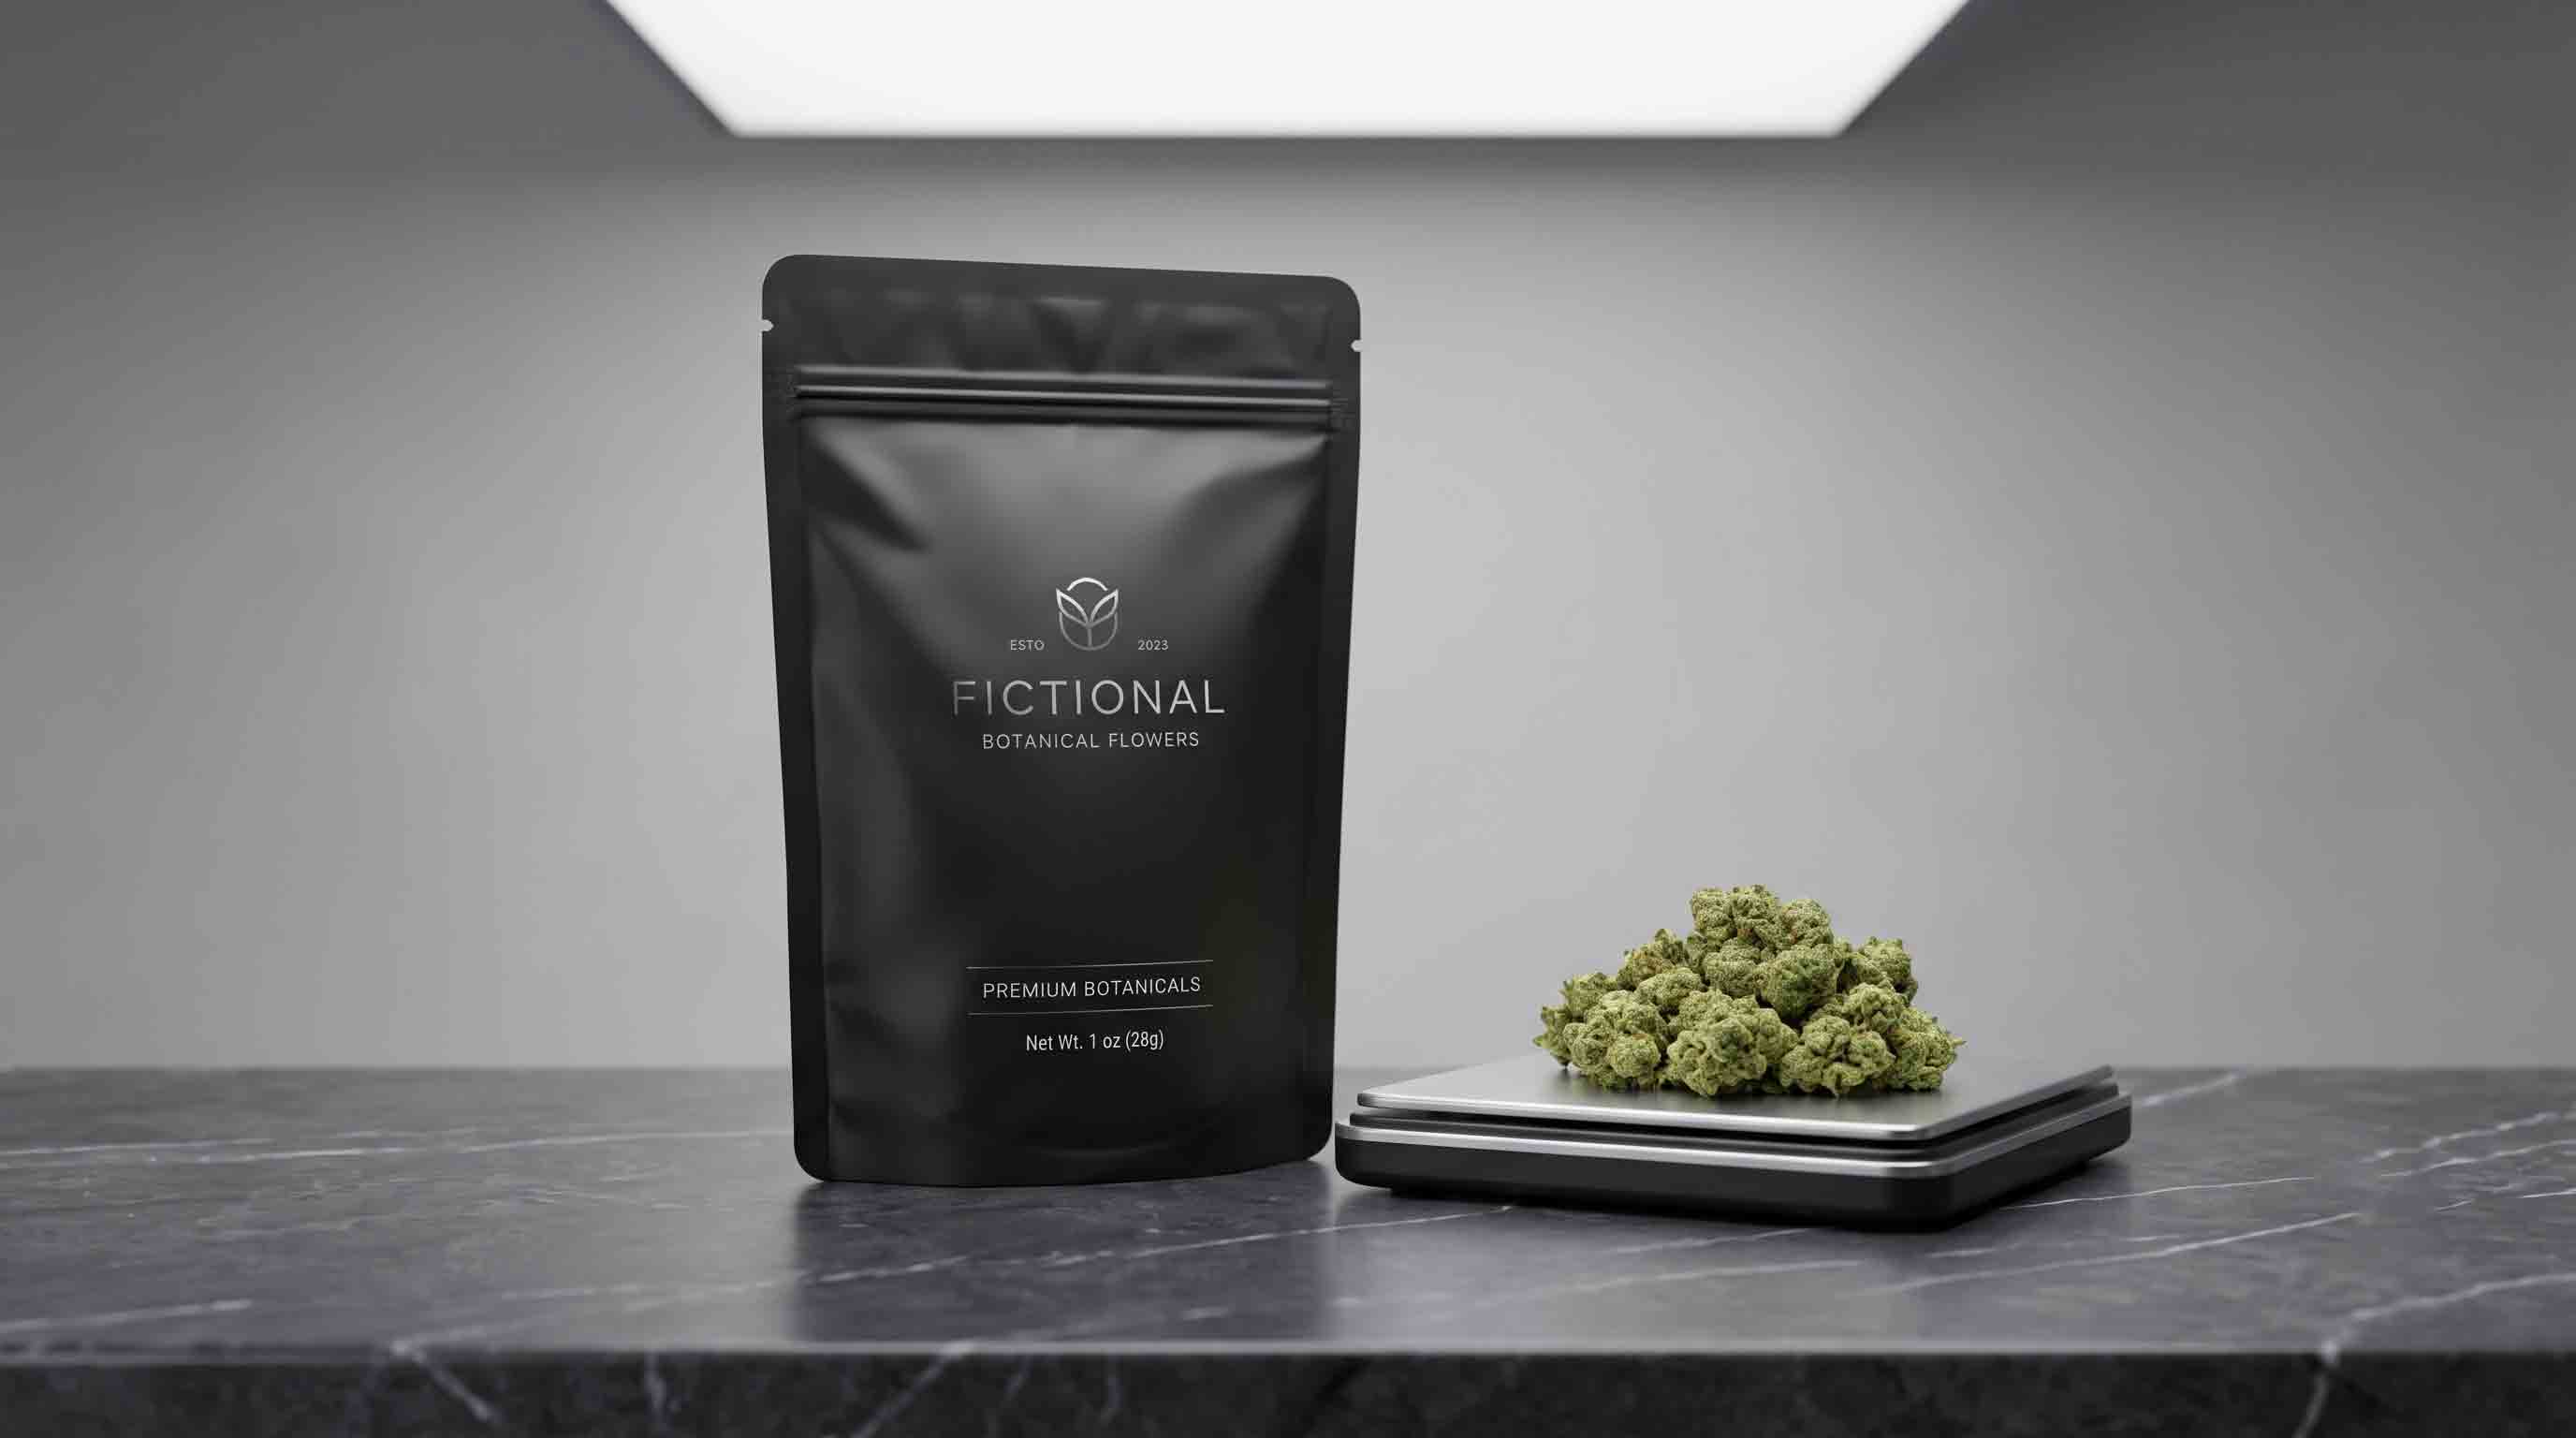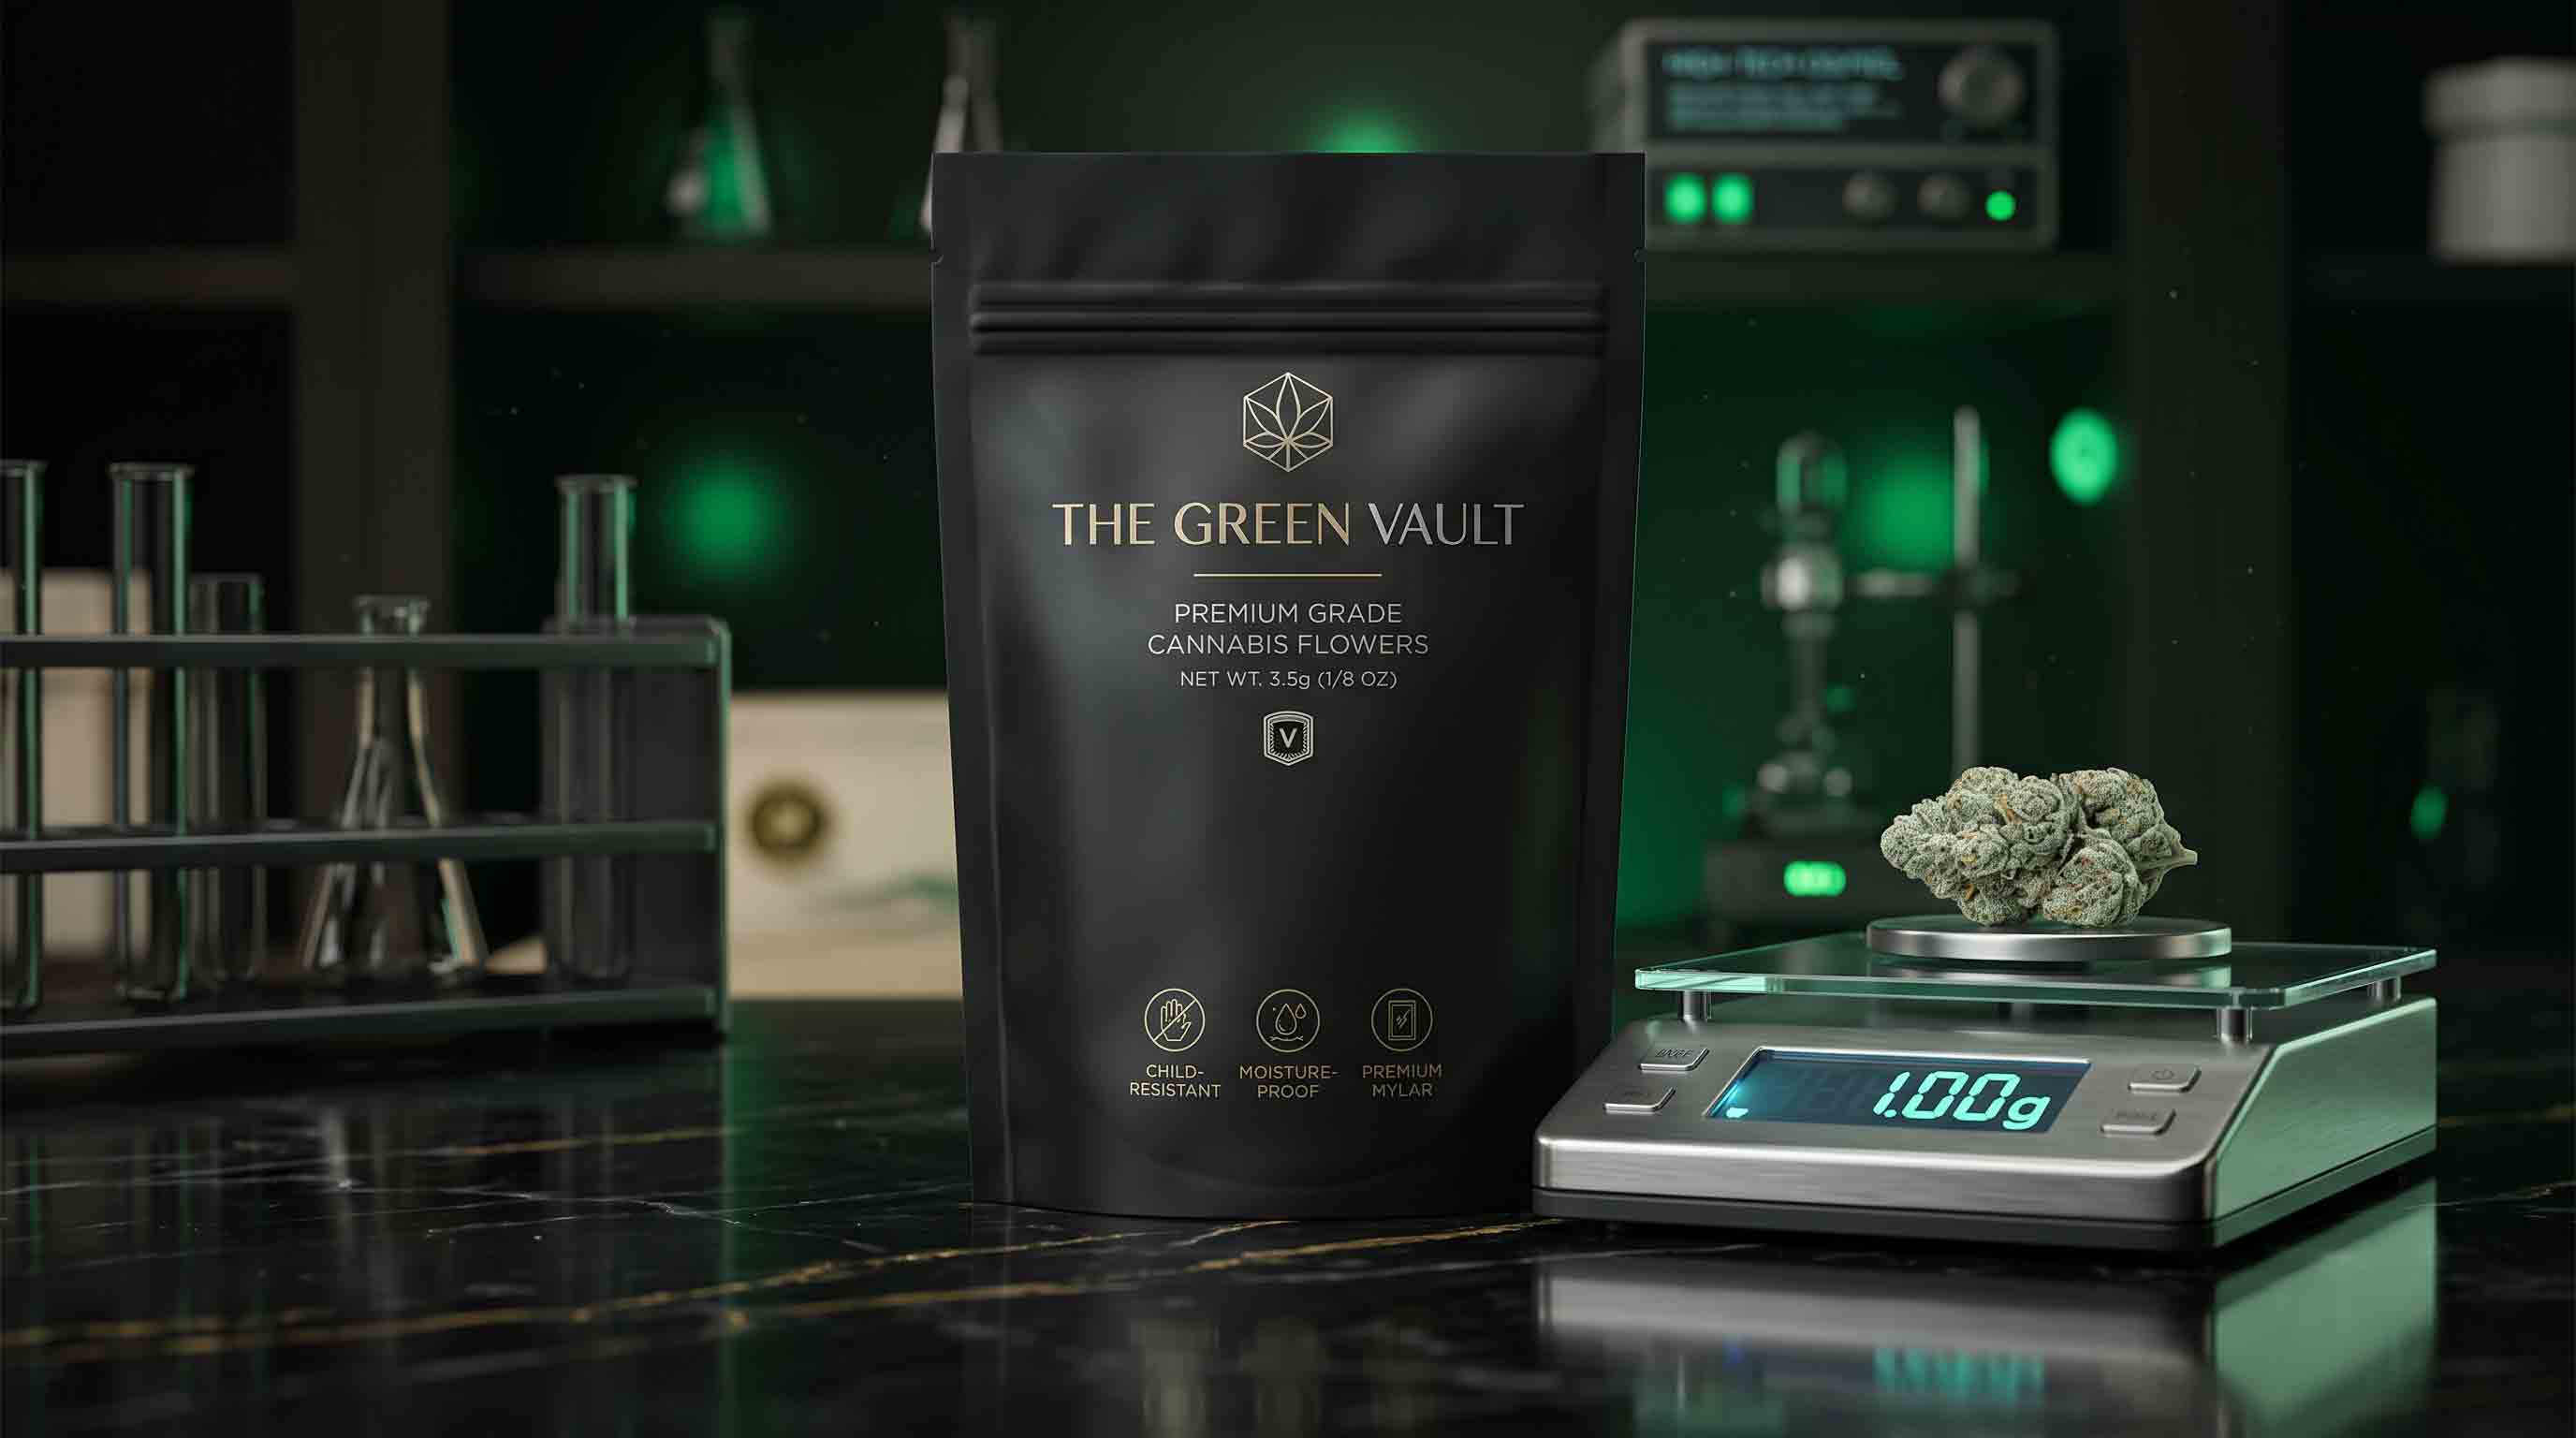
How to Seal Mylar Weed Bags: Heat Seals, Zippers, and Packaging QA
Quick answer
For a lawful cannabis brand, sealing a Mylar pouch is not a matter of copying one temperature, dwell time, or machine setting from the internet. The seal has to suit the exact laminate, pouch format, fill, equipment, and retail requirements. Start with a written package brief, trial the real pouch with the real product, inspect finished samples, and record the approval criteria before a full run. A zipper can support resealing, but it is not automatically the same thing as a finished top heat seal.
This guide is for cannabis brands, co-packers, dispensary packaging teams, and procurement staff working on lawful retail packaging. It is not legal advice, and it is not a universal equipment recipe. Packaging rules and validation needs differ by market, product, and process.
What "sealing" means on a finished cannabis pouch
When people search for how to seal Mylar weed bags, they often mean several different things at once. They may be selecting a pouch for a new flower SKU, trying to prevent product from entering the top seal area, choosing between a zipper and a heat seal, or trying to define what their team should inspect after filling. Those are connected decisions, but they are not interchangeable.
The useful unit of analysis is the finished retail pack. That includes the pouch structure, the converted side and bottom seals, the available top-seal area, the zipper or other closure, the product fill, the way the pouch is handled, and the evidence used to approve the result. A bag that looks correct when empty may still be unsuitable when it is filled on the actual line.
For that reason, a package brief should distinguish the following functions.
| Package element | What it is meant to do | What a team still needs to verify |
|---|---|---|
| Pouch laminate | Provides the material construction selected for the project | The full layer structure, its intended use, and relevant supplier documentation |
| Converted perimeter seals | Join the pouch panels supplied by the converter | Visual condition, dimensions, handling, and any project-specific acceptance checks |
| Top heat seal | Closes the filled retail pouch where the process calls for one | Usable seal area, fill clearance, equipment compatibility, and finished-sample review |
| Zipper or press-to-close feature | Supports consumer access and resealing when that format is selected | Opening and reclosing function after filling and after any top closure is applied |
| Tamper-evident or child-resistant feature | May be required by a particular market or product format | The actual rule, documentation, design integration, and approval for the destination market |
| Printed and label areas | Carry the artwork, lot information, and required package information | Legibility, position, and whether any feature interferes with the intended layout |
This separation keeps the conversation practical. A brand should not assume that a listed zipper proves the quality of a heat seal, that a high-barrier description proves the performance of a completed pouch, or that a photo of a pouch proves regulatory approval. Each statement has its own evidence.
If your project also needs a broader material, closure, and finished-package discussion, read the cannabis packaging odor-control guide. That article covers how barrier structure, seals, handling, and validation fit together. This guide focuses on the specific production and quality-assurance decisions behind a pouch seal.
A zipper and a heat seal solve different problems
A zipper is usually a resealing feature. It lets a consumer open and close a selected pouch format after the initial package opening. A heat seal is a process-created closure made when the pouch's sealant layers are brought together under conditions suited to that particular material and equipment. Depending on the design, a filled pouch can have both: a zipper below the top and a heat-sealed area above it.
That distinction affects the workflow. A zipper does not tell the packing team how much clean top material is needed for a top heat seal. It does not determine whether flower, trim, powder, or another product will enter the seal zone. It does not replace a review of the pouch after filling. Equally, a strong-looking top seam does not establish whether a pouch is resealable, child-resistant, tamper-evident, or suitable for every market.
For a single-use pack, the design may emphasize a defined opening and a clear finished closure. For a multi-use format, a zipper may be part of the usability brief. For a regulated retail package, the market can add requirements that must be reviewed separately. The correct design comes from the product and destination, not from a generic statement that every pouch needs the same arrangement.
New York is one useful example of why the destination market belongs in the brief. Its current adult-use cannabis guidance says retail packages must be child-resistant, tamper-evident, fully enclose the product, be sealed to protect the product from oxygen exposure, contaminants, and degradation, and be resealable when the package contains multiple servings. Those are New York requirements, not a universal rule for every market. Review the New York Office of Cannabis Management guidance for the current wording, and have the responsible party confirm the rules that apply to the intended product and jurisdiction.
How to seal Mylar weed bags without relying on a generic machine setting
The reliable answer is to qualify the pouch and process together. Two flexible pouches may both be described as Mylar, metallic, foil, or high barrier, yet use different sealant layers, thicknesses, coatings, zipper positions, or pouch geometries. A setting that works on one line and one construction can be unsuitable for another.
That is why production teams should treat the first sealing exercise as a controlled sample trial rather than a one-size-fits-all tutorial. The goal is not to chase a universal number. The goal is to establish a repeatable, documented process for the actual package.
Start with the complete pouch specification
Ask for the material structure in a form that can be compared. The difference between PET / VMPET / PE, PET / PE, and a paper-based multilayer structure is meaningful. The final seal is created through the sealant-side material and the converting process, not through a marketing name alone.
The pouch specification should also state the finished dimensions, pouch style, zipper position if present, intended top-seal area, tear notch position, and artwork or label zones. For a stand-up pouch, a bottom gusset changes how a filled pack sits and how much material is available near the top. For a three-side-seal pouch, the opening geometry and fill method can be different. A team's process has to work with those dimensions rather than force the product into an unsuitable bag.

Define a clean, usable seal zone
The part of the pouch intended for a top heat seal needs to remain usable after the actual filling step. That sounds obvious, but it is where many production problems begin. A loose flower fill, a wide scoop, a powdery product, a sticky edible, or an inconsistent fill height can leave material where the seal is meant to form.
The brief should state the planned fill weight, physical volume, target headspace, filling method, and the specific area that must remain clear for sealing. The trial should use representative product, not an empty pouch or a substitute with very different shape or handling behavior. This gives the packaging team a realistic basis for deciding whether the selected size, opening width, and seal zone are practical.
The same logic applies to the pouch's appearance after sealing. A bag can technically close while still looking overfilled, uneven, or difficult to present on a shelf. Approval criteria should include both package function and the way the intended retail pack looks after the normal process.
Record the trial instead of copying a recipe
Heat, dwell, pressure, cooling time, jaw condition, pouch alignment, and material condition can all affect a flexible-package seal. The appropriate process range should come from the pouch supplier, sealing-equipment provider, and trial results for the actual construction. It should not be inferred from a different laminate or a social-media demonstration.
During a controlled trial, record the variables that could explain the result. This makes a later decision auditable and helps identify what changed if production quality drifts. At a minimum, the record can include the pouch construction and size, the product and fill range, the equipment used, the candidate process range, the sample quantity, the visual observations, and the acceptance decision.
This is especially valuable when a project changes one element at a time. A new pouch size, a different print finish, a shifted zipper, a different product density, or a new filling method can all justify another sample review. A written record makes it easier to distinguish a material question from a filling or handling question.
Build a sealing brief before ordering printed pouches
Brands often begin with an artwork file and a rough weight target. Those are important inputs, but they are not enough to confirm that a pouch will run well. A better request gives the supplier and the packing team the information needed to identify constraints early.
| Brief field | Why it belongs in the brief | Example of a useful request |
|---|---|---|
| Product format | Different cannabis products fill and handle differently | Identify flower, pre-rolls, edibles, or another defined product format |
| Physical sample or representative volume | Weight alone does not define pouch capacity | Provide product samples or volume information alongside the target fill weight |
| Pouch format and finished size | The format controls shelf presentation, opening, and usable seal zones | State stand-up, flat, or three-side-seal format and the finished dimensions being considered |
| Material structure | A structure is more informative than a broad material label | Request the full layer description and available supporting documentation |
| Closure plan | The supplier needs to know how the finished pouch will be opened and reclosed | Identify whether the pack needs a top seal, zipper, tear notch, or another selected feature |
| Filling and sealing equipment | Compatibility cannot be assumed from a photo | State whether filling is manual, semi-automatic, or automated and identify the equipment where possible |
| Destination market | Regulations, labels, and closure expectations can vary | Provide the market and the party responsible for final regulatory review |
| Approval criteria | A bulk run needs a defined handoff point | List the visual, functional, and documentation checks required before approval |
The point is not to make every small project bureaucratic. It is to make the first sample useful. When a supplier receives only a product name and an artwork file, the supplier has to guess at the filling and closure process. When it receives the brief above, it can identify questions before printed inventory is committed.
Readers searching for how to bag weed or how to bag weed up can apply the same principle. Treat bagging as a controlled retail-packaging process: define the product, choose a format that suits its physical volume, specify the closure plan, and review the filled result. Do not treat an empty pouch as proof that the final pack will work.
Inspect the finished pouch, not just the empty bag
Empty pouches are useful for reviewing print, general dimensions, zipper placement, and the look of the material. They cannot show whether the real product stays out of the seal zone, whether the chosen filling method is repeatable, or whether the finished closure is visually consistent.
After a trial, inspect the pouches that went through the intended fill and sealing process. The inspection can be organized around straightforward questions:
- Is the pouch filled within the agreed range, with usable room in the intended top-seal area?
- Does the heat-sealed area look continuous and free from obvious wrinkles, contamination, or unsealed sections?
- Does the pouch remain aligned and presentable after normal handling?
- If the design includes a zipper, does it open and reclose as intended after the primary closure is applied?
- Are printed elements, labels, lot codes, and mandatory information where they need to be?
- Does the finished sample match the written acceptance criteria, or does the project need a change to the pouch, filling method, or process?
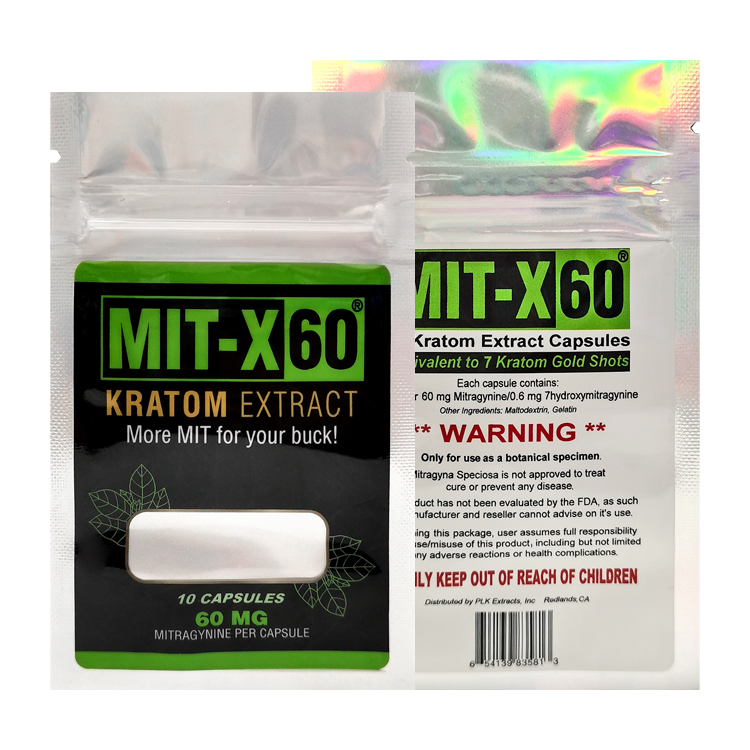
These checks are not a substitute for a validated test plan when one is required. They are the day-to-day observations that help a team discover practical problems before scaling up.
Match the inspection method to the question
Different quality questions need different evidence. ASTM F88/F88M covers the measurement of seal strength in flexible barrier materials and explains why seal strength can be useful in process validation, capability, and control. It measures force in a defined test configuration, not every aspect of a consumer opening experience. ASTM F88/F88M is a useful reference when a project needs a defined seal-strength discussion.
ASTM F1886/F1886M concerns visual inspection of flexible-package seals for channels and other visible seal conditions. Its scope is tied to packages with at least one transparent side so the relevant seal area can be viewed. That limitation matters: an opaque cannabis pouch may require a different inspection or validation approach. ASTM F1886/F1886M is useful for understanding why visual defects can be an early indicator of process variation, not as a universal claim that every pouch can be verified by one visual method.
For a particular project, the right plan may combine a visual review, a documented sealing trial, supplier data, and a project-specific test or inspection method. The important principle is simple: make the claim match the evidence. Do not describe a pouch as validated for a performance outcome that was never evaluated on the completed package.
Choose the pouch format before you choose the sealing process
Pouch format and sealing are linked. A choice that looks minor on a product render can affect filling, the usable top zone, shelf stability, and how a consumer interacts with the pack.
Flat and three-side-seal pouches
A flat pouch can be appropriate for a compact product, a sample format, or a pack that does not need a bottom gusset. The opening width, seal margins, and product geometry still need to be checked with the actual fill. A flat shape does not eliminate the need for a clean top-seal area or finished-sample review.
The published holographic three-side-seal pouch project lists a 7 × 10.8 cm format, PET / laser / PE material, and digital printing. It is a useful example of the kinds of configuration details a buyer should capture. The public record and image do not prove a seal-strength result, a market approval, or a customer outcome.
Stand-up pouches
A stand-up pouch provides a bottom-gusset format and more display area, but the selected fill must be tested in the actual pouch. Product volume can change how the pouch sits, how easily a filling team can keep the seal area clear, and how much space remains above a zipper.
A published Mylarbag stand-up pouch record can tell a buyer the listed material structure, dimensions, print method, and visible format. It should be used as a sourcing reference, not as evidence that the same bag will work for another product without a sample review. The packaging team still needs to test the proposed fill, closure plan, and process before a bulk run.
The correct format is the one that supports the whole process
The best choice is not always the bag with the most features. It is the format that gives the product appropriate physical room, makes the closure plan feasible, provides the needed artwork and label space, and can be evaluated with the available process and evidence. A brand that makes that decision before printing is less likely to discover a conflict after a large pouch run arrives.
A simple approval flow for cannabis packaging teams
The following sequence makes the process clear without pretending that one machine setting will serve every pouch.
- Define the retail pack. Confirm the product category, fill weight, physical volume, pouch style, material structure, closure arrangement, target market, and information that must appear on pack.
- Confirm the usable closure geometry. Check the opening, zipper position if applicable, top-seal zone, tear feature, and label or code locations against the actual product and filling method.
- Run representative samples. Use the actual pouch construction and representative product. Record the equipment, trial conditions, sample count, and observations.
- Inspect the filled, sealed samples. Review fill clearance, seam appearance, pouch alignment, closure operation, print and label placement, and any agreed acceptance criteria.
- Use the right evidence for the claim. If the project needs seal-strength data, visual channel inspection, or a market-specific documentation review, define that requirement and the appropriate method before making the claim.
- Approve or revise before scale. If the sample does not meet the brief, change the relevant part of the system and repeat the review. Do not turn a marginal sample into a production promise.
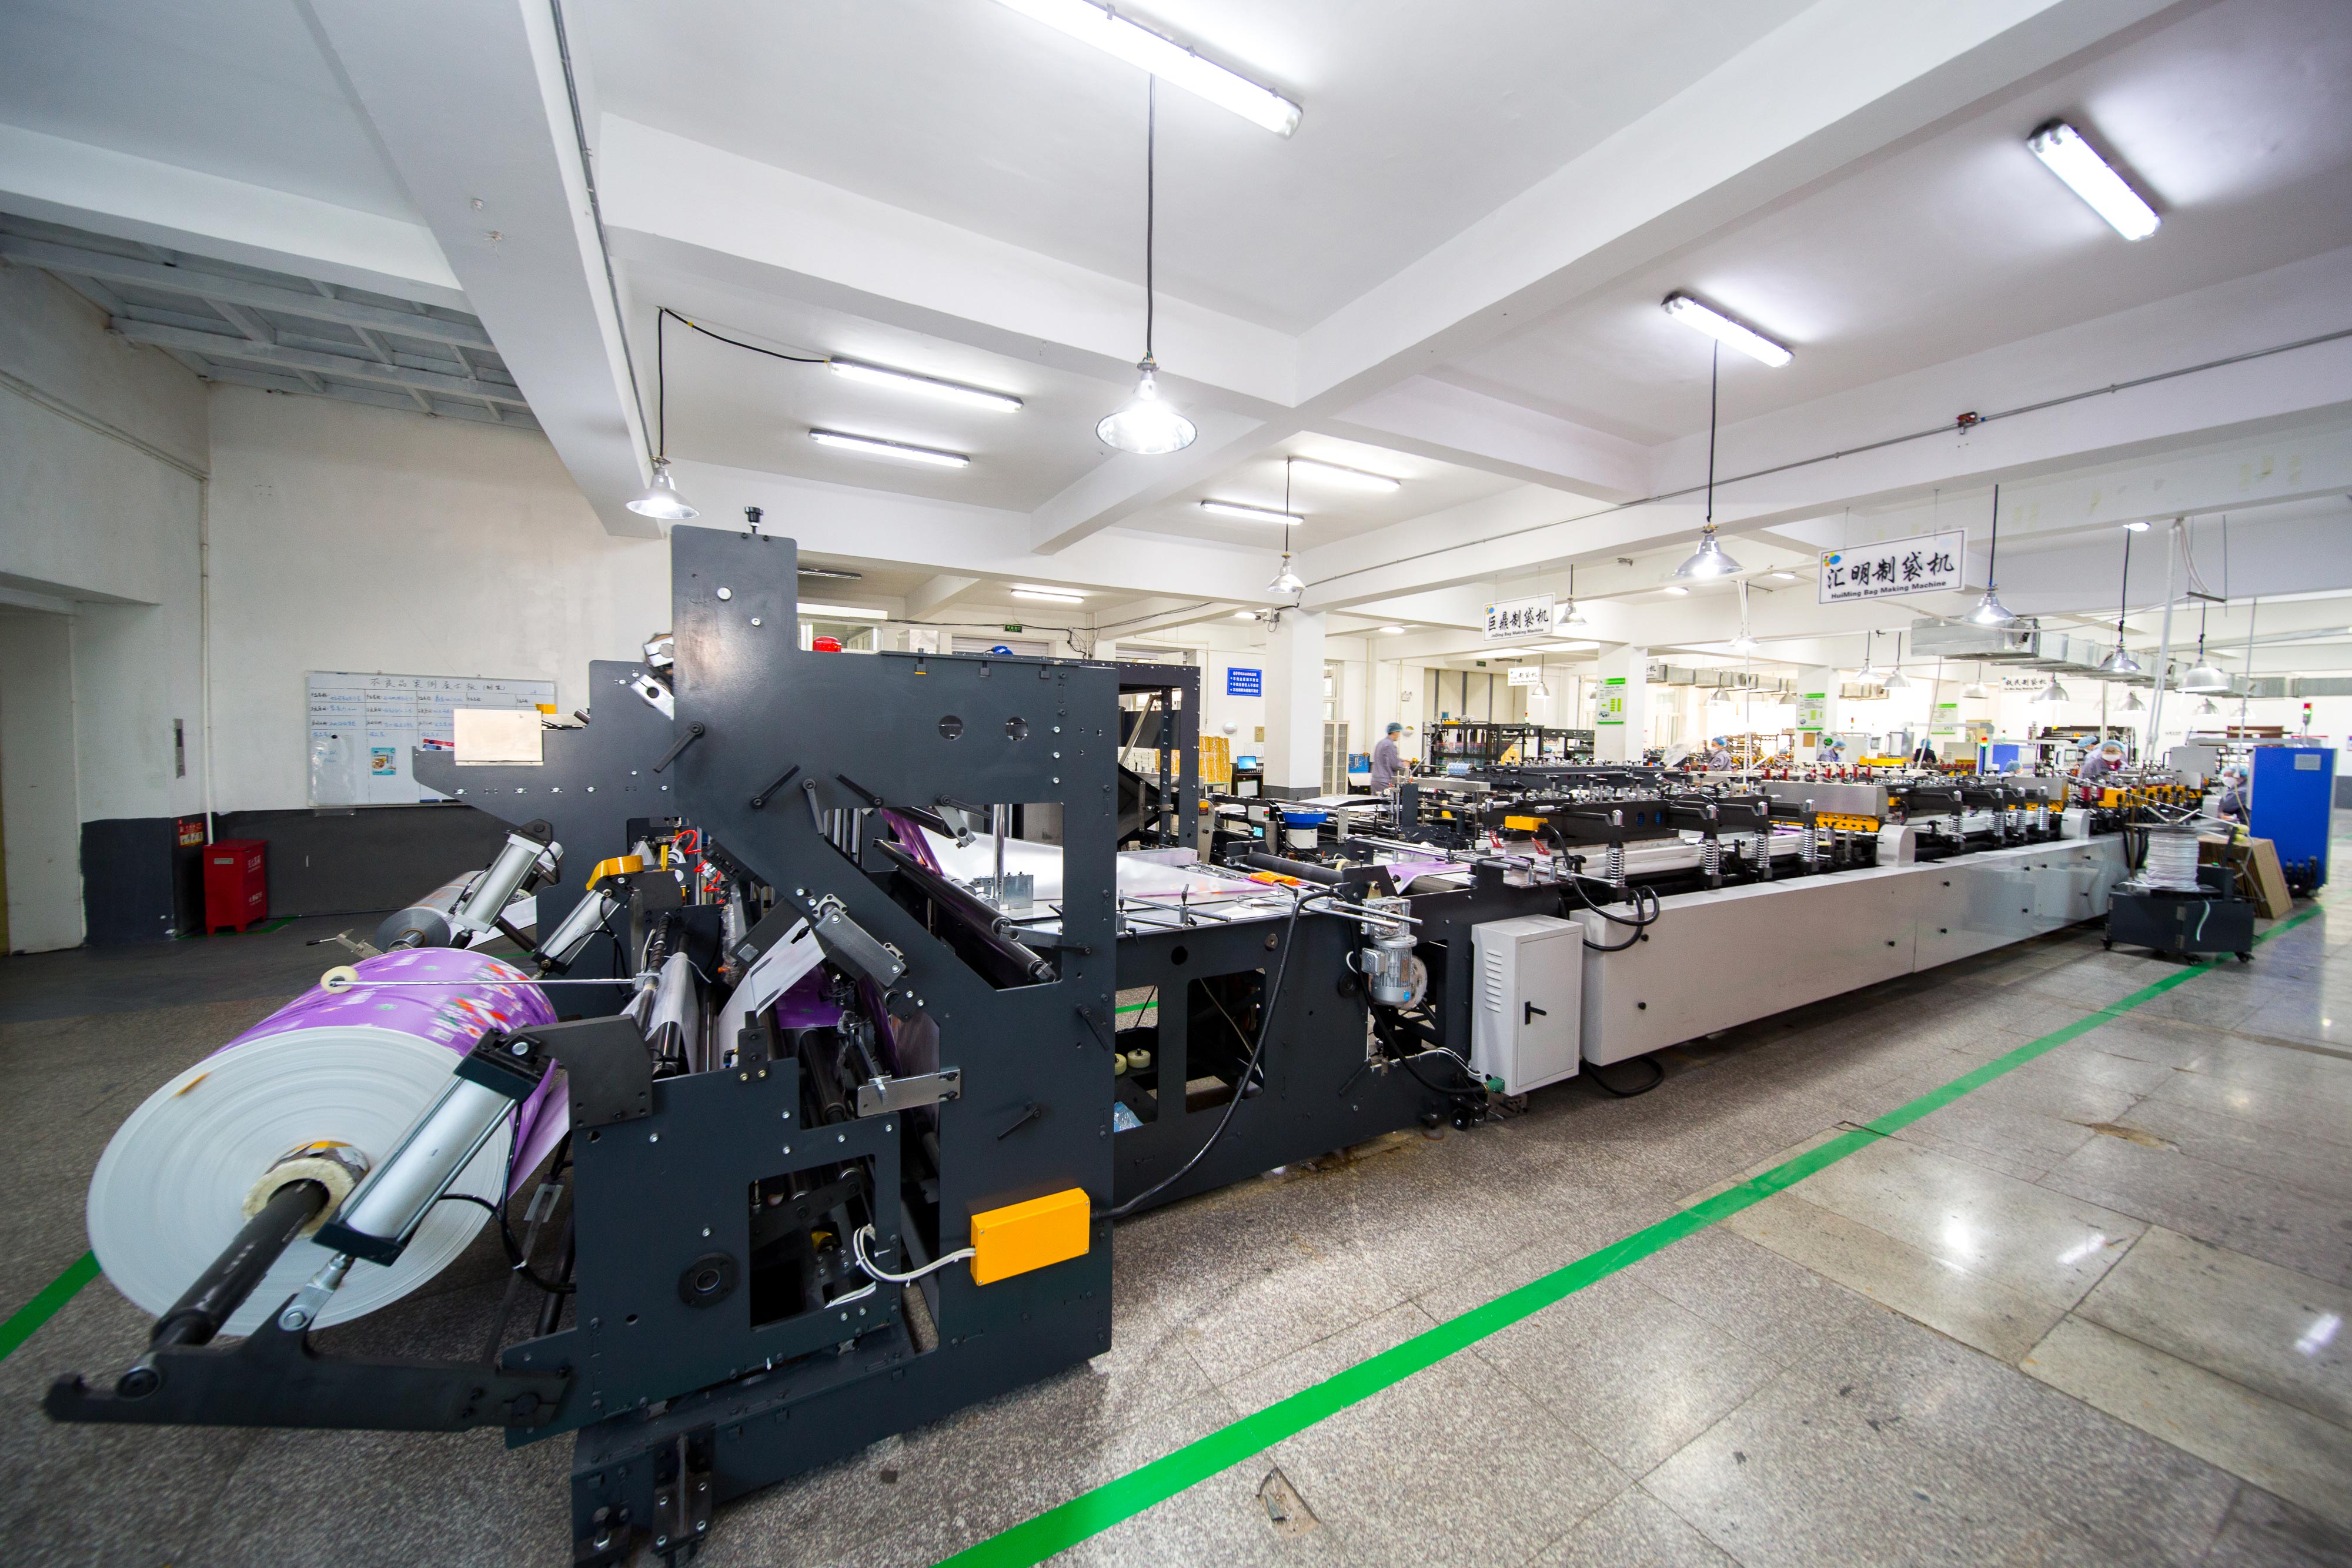
This flow also protects the marketing team. A product page can accurately describe the agreed pouch format, material structure, print finish, and selected closure features. It should not add claims about shelf life, odor outcome, regulatory status, or customer results unless those claims are supported by relevant, confirmed evidence.
Where this guide fits in your cannabis packaging decision
This page addresses the production question behind how to seal Mylar weed bags. If the project is still comparing general storage bags and specified cannabis pouches, the Ziploc versus Mylar guide answers that earlier consumer-facing question. If the project already has a clear retail brief, Custom Cannabis Packaging is the relevant service page for discussing pouch formats, materials, printing, and sample requirements.
For a quote or sample discussion, bring the product type, target fill, physical sample or volume information, target market, preferred pouch format, artwork needs, and the items your team needs to validate. That is enough to begin a useful conversation. It is much more actionable than asking for a universal heat-seal setting or a vague promise about a generic bag.
Frequently asked questions
What is the difference between a zipper and a heat seal on a Mylar pouch?
A zipper is generally a resealing feature for consumer access. A heat seal is a process-created closure applied to the pouch where the design and packaging process call for it. A finished retail pouch can include both, but each serves a different function and should be checked separately during sample approval.
Can a zipper replace a top heat seal for cannabis packaging?
Not automatically. Whether a zipper can serve the intended package design depends on the product, pouch format, destination-market requirements, and the agreed closure plan. If a project requires a top heat seal, it needs a clean usable area, suitable equipment, and a finished-sample review. A zipper alone is not evidence that those requirements have been met.
What should a cannabis brand include in a sealing trial brief?
Include the product format, target fill weight and physical volume, pouch size and material structure, selected closure features, filling and sealing equipment, destination market, sample quantity, and written approval criteria. The supplier and packaging team can then identify the questions that need a trial rather than guessing from an empty pouch.
What should be inspected after a Mylar pouch is sealed?
Inspect the filled pouch against the written brief: fill clearance near the intended seal area, visual continuity of the closure, pouch alignment, zipper function if present, artwork and label position, and any project-specific acceptance criteria. If the project needs a formal test or market-specific documentation, define that requirement separately.
Should one heat-sealer setting be used for every Mylar pouch?
No. Appropriate process conditions depend on the actual laminate, pouch format, equipment, product, and process. Establish the range with the pouch supplier and equipment provider, then document representative trials and the acceptance decision for that specific package. Do not copy a setting from an unrelated pouch construction.
Can a published pouch photo prove seal quality or legal compliance?
No. A published image or product record can support factual statements about visible format and listed configuration details. It does not prove seal strength, package integrity, shelf life, legal compliance, or a customer outcome unless those facts are separately confirmed for the completed package and intended market.
Treat sealing as a package-quality decision
Good pouch sealing begins before the sealer is turned on. Define the exact pouch, product, fill, closure, market, and approval criteria. Test representative filled pouches, document what was reviewed, and use evidence that matches the claim. That approach helps cannabis brands make better packaging decisions without turning a stock description or a single sample into an unsupported promise.
If you are planning a lawful cannabis packaging project, contact Mylarbag with the product type, fill weight, target market, artwork needs, pouch format, and the quality questions you need to resolve.