
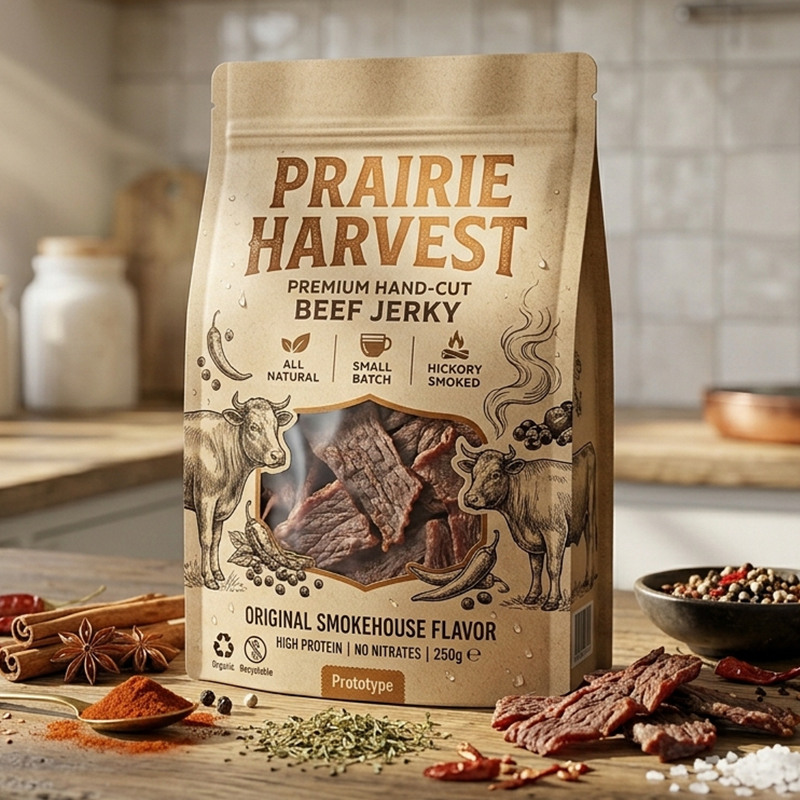
Short answer: A jerky bag can look partly empty because irregular pieces settle, the pouch needs room for filling and a clean top seal, or the packer uses a validated packaging atmosphere. Bag shape alone cannot tell you the product's net weight, whether nitrogen was added, or why one pack looks different from another. Compare actual filled, sealed packs at the same net weight before changing the bag size.
If you are buying custom pouches, the fix is rarely “remove all the air.” A smaller bag may look fuller yet be hard to fill, contaminate the seal with meat, or place the product behind a fold instead of the window. A much larger bag can leave the shopper wondering what they paid for. The right size is the smallest workable and honest format that passes the product, filling, seal, display, and distribution checks for your project.
This guide is for commercial jerky brands, copackers, and packaging buyers, primarily considering the US market. It focuses on how a newly packed retail pouch looks and how to test that appearance. It does not diagnose a bag that became swollen later, determine whether a product is safe to eat, choose an oxygen-absorber capacity, or establish a shelf life. Those questions have different evidence requirements; see our packet and absorber guide and Mylar bag and shelf-life guide where relevant.
First separate four different meanings of “empty”
People use the word empty for several observations. A bag may have a large printed face with product near the bottom. It may have a genuine internal gas space. It may contain the declared weight but pieces are compacted in one corner. Or it may actually be underfilled. You cannot reliably identify which case applies from one front-facing photograph.
Start with the question the buyer actually wants answered: “Does this pack contain the labeled net amount, and does its presentation accurately reflect the product?” Net mass, visible fill, and gas space are not interchangeable measurements. For US meat products, 9 CFR 317.2 addresses required label features including net quantity, while 9 CFR 317.8 prohibits misleading labels and containers. The responsible food business should review its particular pack and applicable requirements with its regulatory team. A pouch supplier cannot validate net-content compliance from the bag's appearance.
Net weight is not a measure of pouch fullness
Jerky pieces vary in length, thickness, curl, and the way they stack. Two portions with the same actual mass can occupy different apparent heights. The film also changes shape around them. An upright stand-up pouch can look half-filled from the front while the bottom gusset holds a substantial amount of product. A flat pouch may look fuller simply because it offers less vertical display area.
For comparisons, use the same defined product lot and the same intended net weight. Record the weight using the packer's normal, verified equipment and procedure. Do not let a person hand-select an especially flattering set of strips for the approval photo. The goal is a sample that represents normal production, including awkward pieces that the filling line will encounter.
The pack's printed size is another source of confusion. A 13 cm by 21 cm outside dimension is not a 13 cm by 21 cm box of usable food volume. Side seals, a bottom fold, tear features, a zipper, and the top seal all affect how product can be loaded and displayed. If a buyer wants the product to sit higher, the team might change bag height, bottom geometry, artwork position, or product presentation. None of those changes should be approved solely from a flat rendering.
Where does the visible space come from?
There are several legitimate reasons for unfilled-looking space. There are also cases where the chosen pouch is simply too tall for the amount of jerky. The job is to separate those conditions with a trial rather than defend every gap as “necessary headspace.”
Irregular product shape. Long pieces can bridge across the opening and then drop lower after vibration. Thick pieces stack differently from small pieces. A change in cut or recipe may alter apparent volume without a change in weight. Record the largest normal piece and a representative distribution, not only an average length.
Filling access. The pouch must open sufficiently for the product and the chosen equipment or operator. Narrowing the width can slow manual loading or cause pieces to snag. A bag that works for short fragments may fail with full-length strips. Ask the packer to run the trial through its real fill path where possible.
A clean closure area. Product, crumbs, and oil should be kept away from the heat-seal region. The required clearance depends on the pouch, closure features, filling process, and validated sealing setup; there is no universal margin to copy from another project. A zipper and a tear notch may need additional geometry above the food. Compressing those zones to make a photo look fuller can create a bad opening experience or an unreliable initial seal.
Settling and orientation. A pouch may leave the packing line with product spread across the panel and reach a shelf with the pieces settled in the gusset. Compare time-stamped photos at the line, after normal case packing, and after representative distribution handling. Label each image with the pouch candidate, fill weight, orientation, and time. Otherwise, two pictures can look like evidence of a material difference when they were simply taken at different stages.
A specified packaging atmosphere. Some lines may use vacuum, gas flushing, or another validated approach; others may use a suitable absorber in a sealed pack. These methods do different jobs and can produce different initial shapes. Do not claim that every puffy pouch contains nitrogen. Ask the processor for its actual packaging specification and verification method. A visual estimate of space is not a residual-oxygen measurement.
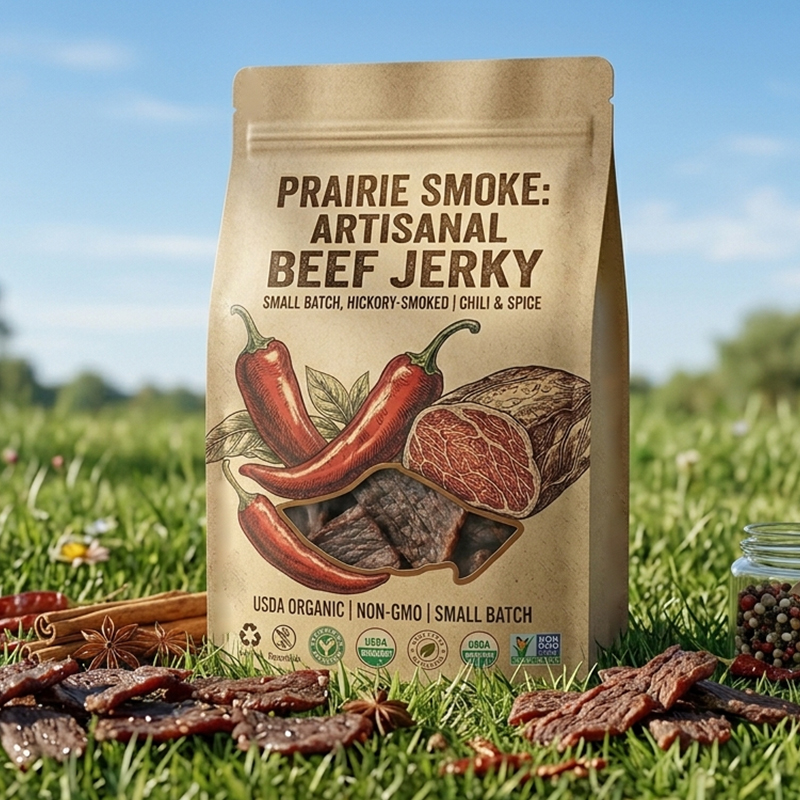
Compare bag sizes with a controlled fill trial
A supplier's pouch drawing and a packer's real product should meet before printing a full run. The trial does not need a fabricated “perfect fill percentage.” It needs two or three viable pouch candidates, the same target net weight, representative jerky pieces, and a recorded result that the team can repeat.
Step 1: Hold the product conditions steady
Define the SKU, target net weight, typical and large piece sizes, filling method, closure method, and channel. Use product from a representative production lot when possible. If one candidate is tested with short pieces and another with long strips, the visual comparison is weak. Keep the product sample identifier with every photo and measurement. Include enough units to see normal variation rather than making a decision from one hand-arranged pouch; the appropriate trial quantity belongs in the packer's quality plan.
Put the same branded front-panel mockup on each bag size if the finished appearance matters. A blank white bag can make a gap look larger or smaller than artwork would. Keep the product name and declared quantity legible in each option. The point is to compare formats fairly, not to disguise a size difference with a busier design.
Step 2: Record usable geometry, not just outside dimensions
For each candidate, ask the pouch supplier for the finished outside width and height, gusset dimension where relevant, opening width, seal positions, zipper location, and tear feature. Mark the region where product can safely be filled and the region the packer needs clean for the initial heat seal. Measure the appearance after filling without turning the drawn seal line into an assumed specification for every machine.
An especially useful observation is the highest normally occurring product piece when the filled pack is held as it will be sealed. If that piece rises into the seal zone, the bag is not made suitable by pressing the meat down for the photo. Review the variation across normal samples. A shorter pouch with a cramped opening may be a false economy even when it looks better on a shelf.
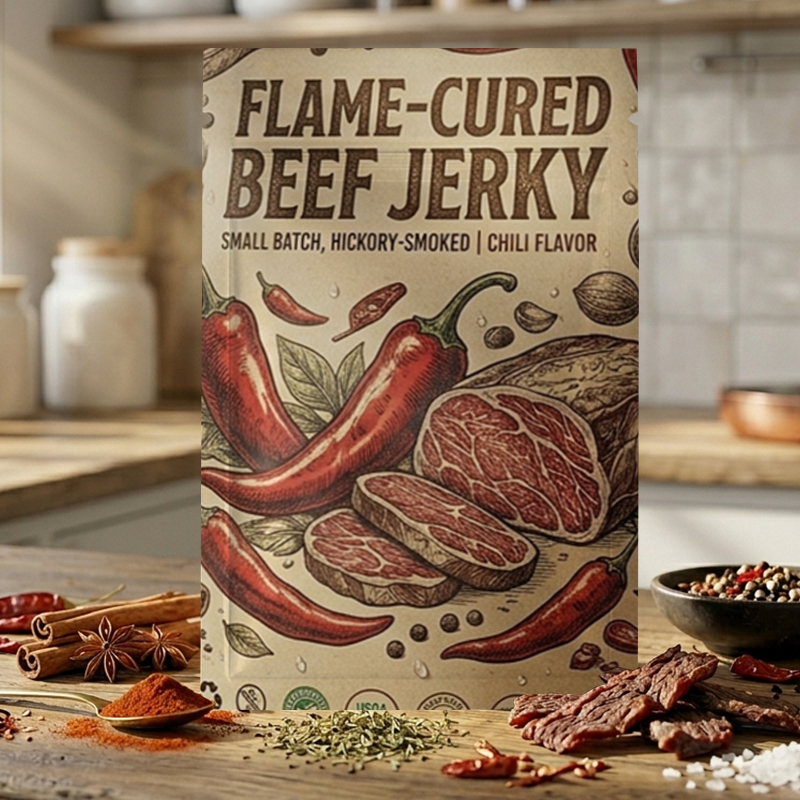
Step 3: Fill, seal, settle, and photograph the same units
Mark each pouch with a trial ID. Fill through the intended method, seal using the packer's test procedure, and record any trouble with loading, crumbs in the closure area, wrinkles, and first-open features. Photograph the pack upright and lying flat immediately after sealing. Pack it into its intended carton configuration, then repeat the photos after the handling sequence agreed for the project. Do not compare a fresh upright pack of one size to a shaken, flattened pack of another.
Use the same camera distance, orientation, and lighting. A front image taken close with a wide-angle lens can exaggerate the upper panel; a backlit window can make the contents almost disappear. Keep an identifying ruler or reference board beside the package if your quality team uses one, without allowing it to obscure the pack. A short video of normal filling can explain a clearance issue that a still image misses.
Step 4: Reject failures before ranking appearance
The first pass is practical: can the packer fill it, keep the seal region clean, make the intended initial seal, open it as specified, and handle it without obvious damage? If not, a pleasing front view cannot rescue the candidate. Only then compare shelf appearance, product visibility, code area, carton fit, and cost.
One candidate may win on shelf appearance but lose on filling speed or seal clearance. Another may pass the line but look awkwardly tall after handling. Write down the trade rather than hiding it in a single “approved” checkbox. The brand, packer, and pouch supplier should know which issue each change is supposed to solve.
If a trial seems inconsistent, separate the sources of variation before ordering more samples. Repeat the comparison with the same bag and different normal piece mixes; then hold the product mix steady while changing the bag. Otherwise, the team may attribute a low product line to pouch height when that day's pieces were unusually short. The packer can also compare packs taken from the beginning, middle, and end of a normal run if its process changes during production. A photograph should identify the unit and time, not merely show a selected result. Where the brand uses an online product image, compare that image with the distribution-handled sample as well. An attractive, carefully arranged prototype can create an expectation the routine shipped pack does not meet.
Does nitrogen flushing explain the space?
It might in a particular validated process, but a puffy bag is not proof of nitrogen. The initial appearance can reflect gas flushing, trapped air from the seal process, product shape, and the compliance of the flexible film. A package may also look different as the product moves inside it. Ask the packer what it actually does and what it measures. Do not reverse-engineer a gas specification from a retail photograph.
Vacuum tends to draw film closer to the product; it can change the look markedly and may be unsuitable for a particular presentation or product piece. A gas-flushed bag can have more apparent internal space. A suitable oxygen absorber is a separate component whose size, compatibility, and handling must be chosen with the supplier and packer; its presence does not mean an oversized bag is required. The guide to the little packets in jerky covers packet identification and selection in detail. This article does not repeat its headspace arithmetic or sachet sizing.
The bag supplier can provide construction and sample options. It cannot infer a product's safe storage time from how full the bag looks. The processor owns the food process, atmosphere specification, monitoring, and shelf-life work with its qualified partners. If the finished retail design includes a claim about preservation, that claim needs its own evidence and label review.
Initial space and later swelling are different records
An intentionally gas-filled or naturally pillowy pack should have an expected initial appearance recorded at release. A pack that later changes shape beyond that baseline is a different problem. Retain the lot, timing, shipping conditions, and comparable units for the responsible food business to investigate. Do not use appearance alone to declare it safe or unsafe, and do not tell a customer to taste a questionable pack. The separate abnormal-expansion section addresses that investigation boundary.
Make the front panel and product view honest
A pouch's printed face can make the gap more noticeable. A large empty color field above a low product line may look like unnecessary space, even when the pack contains the declared weight. A window positioned above where the meat settles can make a full-weight pack appear vacant. Moving the artwork or window may help, but these are packaging-design decisions that should follow the actual fill trial.
Try three straightforward views for each candidate: the upright retail display, the product-page thumbnail, and the unopened pack held as a shopper would handle it. Ask reviewers to state what they think is inside, what quantity they expect, and whether they can read the net-content statement. Do not ask only which image they “like.” Specific misunderstandings are more useful than a preference vote.
The US regulatory boundary is relevant here. 9 CFR 317.8 addresses misleading meat-product containers as well as labels. It does not give a universal permitted “empty percentage” for every jerky bag. The responsible brand should evaluate the particular filled package and approved label with its regulatory team. A visually fuller pouch is not automatically compliant, and a legitimate working space is not automatically misleading.
What a real 80 g project can and cannot tell us
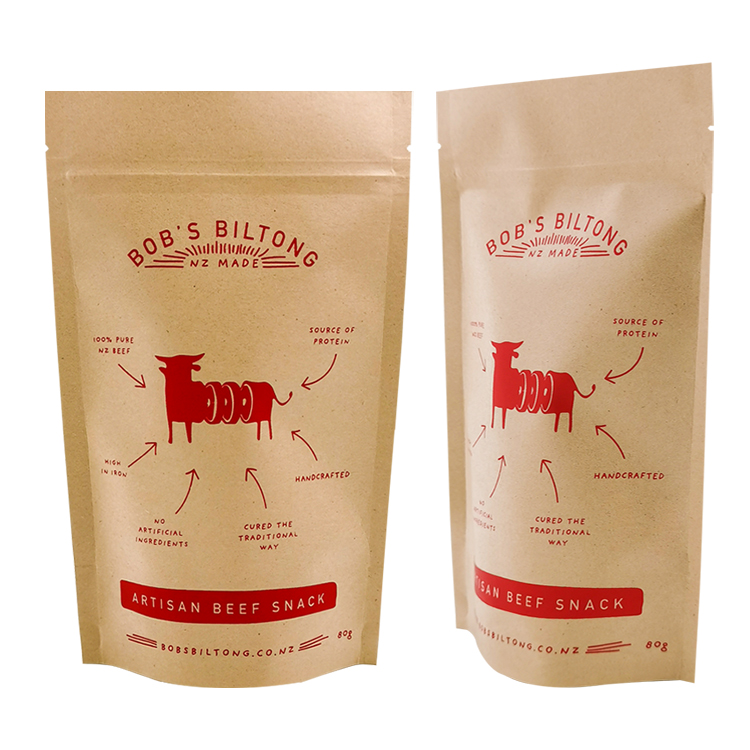
Mylarbag publishes a New Zealand 80 g meat-snack pouch project. The listed format is a resealable stand-up pouch measuring 13 × 21 + 4 cm, with MATOPP/kraft paper/VMPET/PE construction and gravure printing. The product pictured is biltong, although the case is filed under beef-jerky packaging. We use it as a pouch-format reference, not as proof that biltong and jerky behave identically in a packing line.
The published photos show a real printed pouch sample and its panel proportions. They do not show a controlled series of weighed, filled, sealed units; they do not tell us the product's bulk volume, initial gas composition, or acceptable seal clearance. It would be wrong to calculate an “empty percentage” from the image or claim that this exact size is right for another 80 g jerky product.
The case does give a sensible starting question for a buyer: how will my actual product occupy a pouch with this kind of gusset, zipper, and top panel? Bring normal pieces, the intended net weight, and the proposed equipment to a fill trial. Compare the observed product height and opening access with a second candidate. A real case is most useful when it starts a measurable decision, not when its dimensions become a universal recommendation.
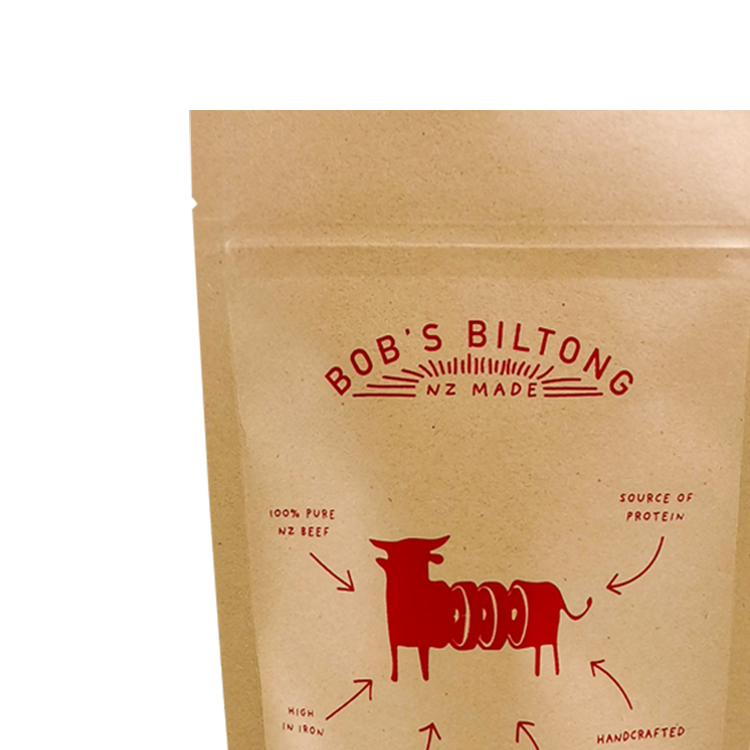
The visible case belongs to another country's customer. A US brand should not lift its displayed copy, sizing, or claimed performance without its own product and regulatory review. The useful transferable practice is to compare a specified format against representative product and process conditions.
The pouch factory's job and the packer's job are different
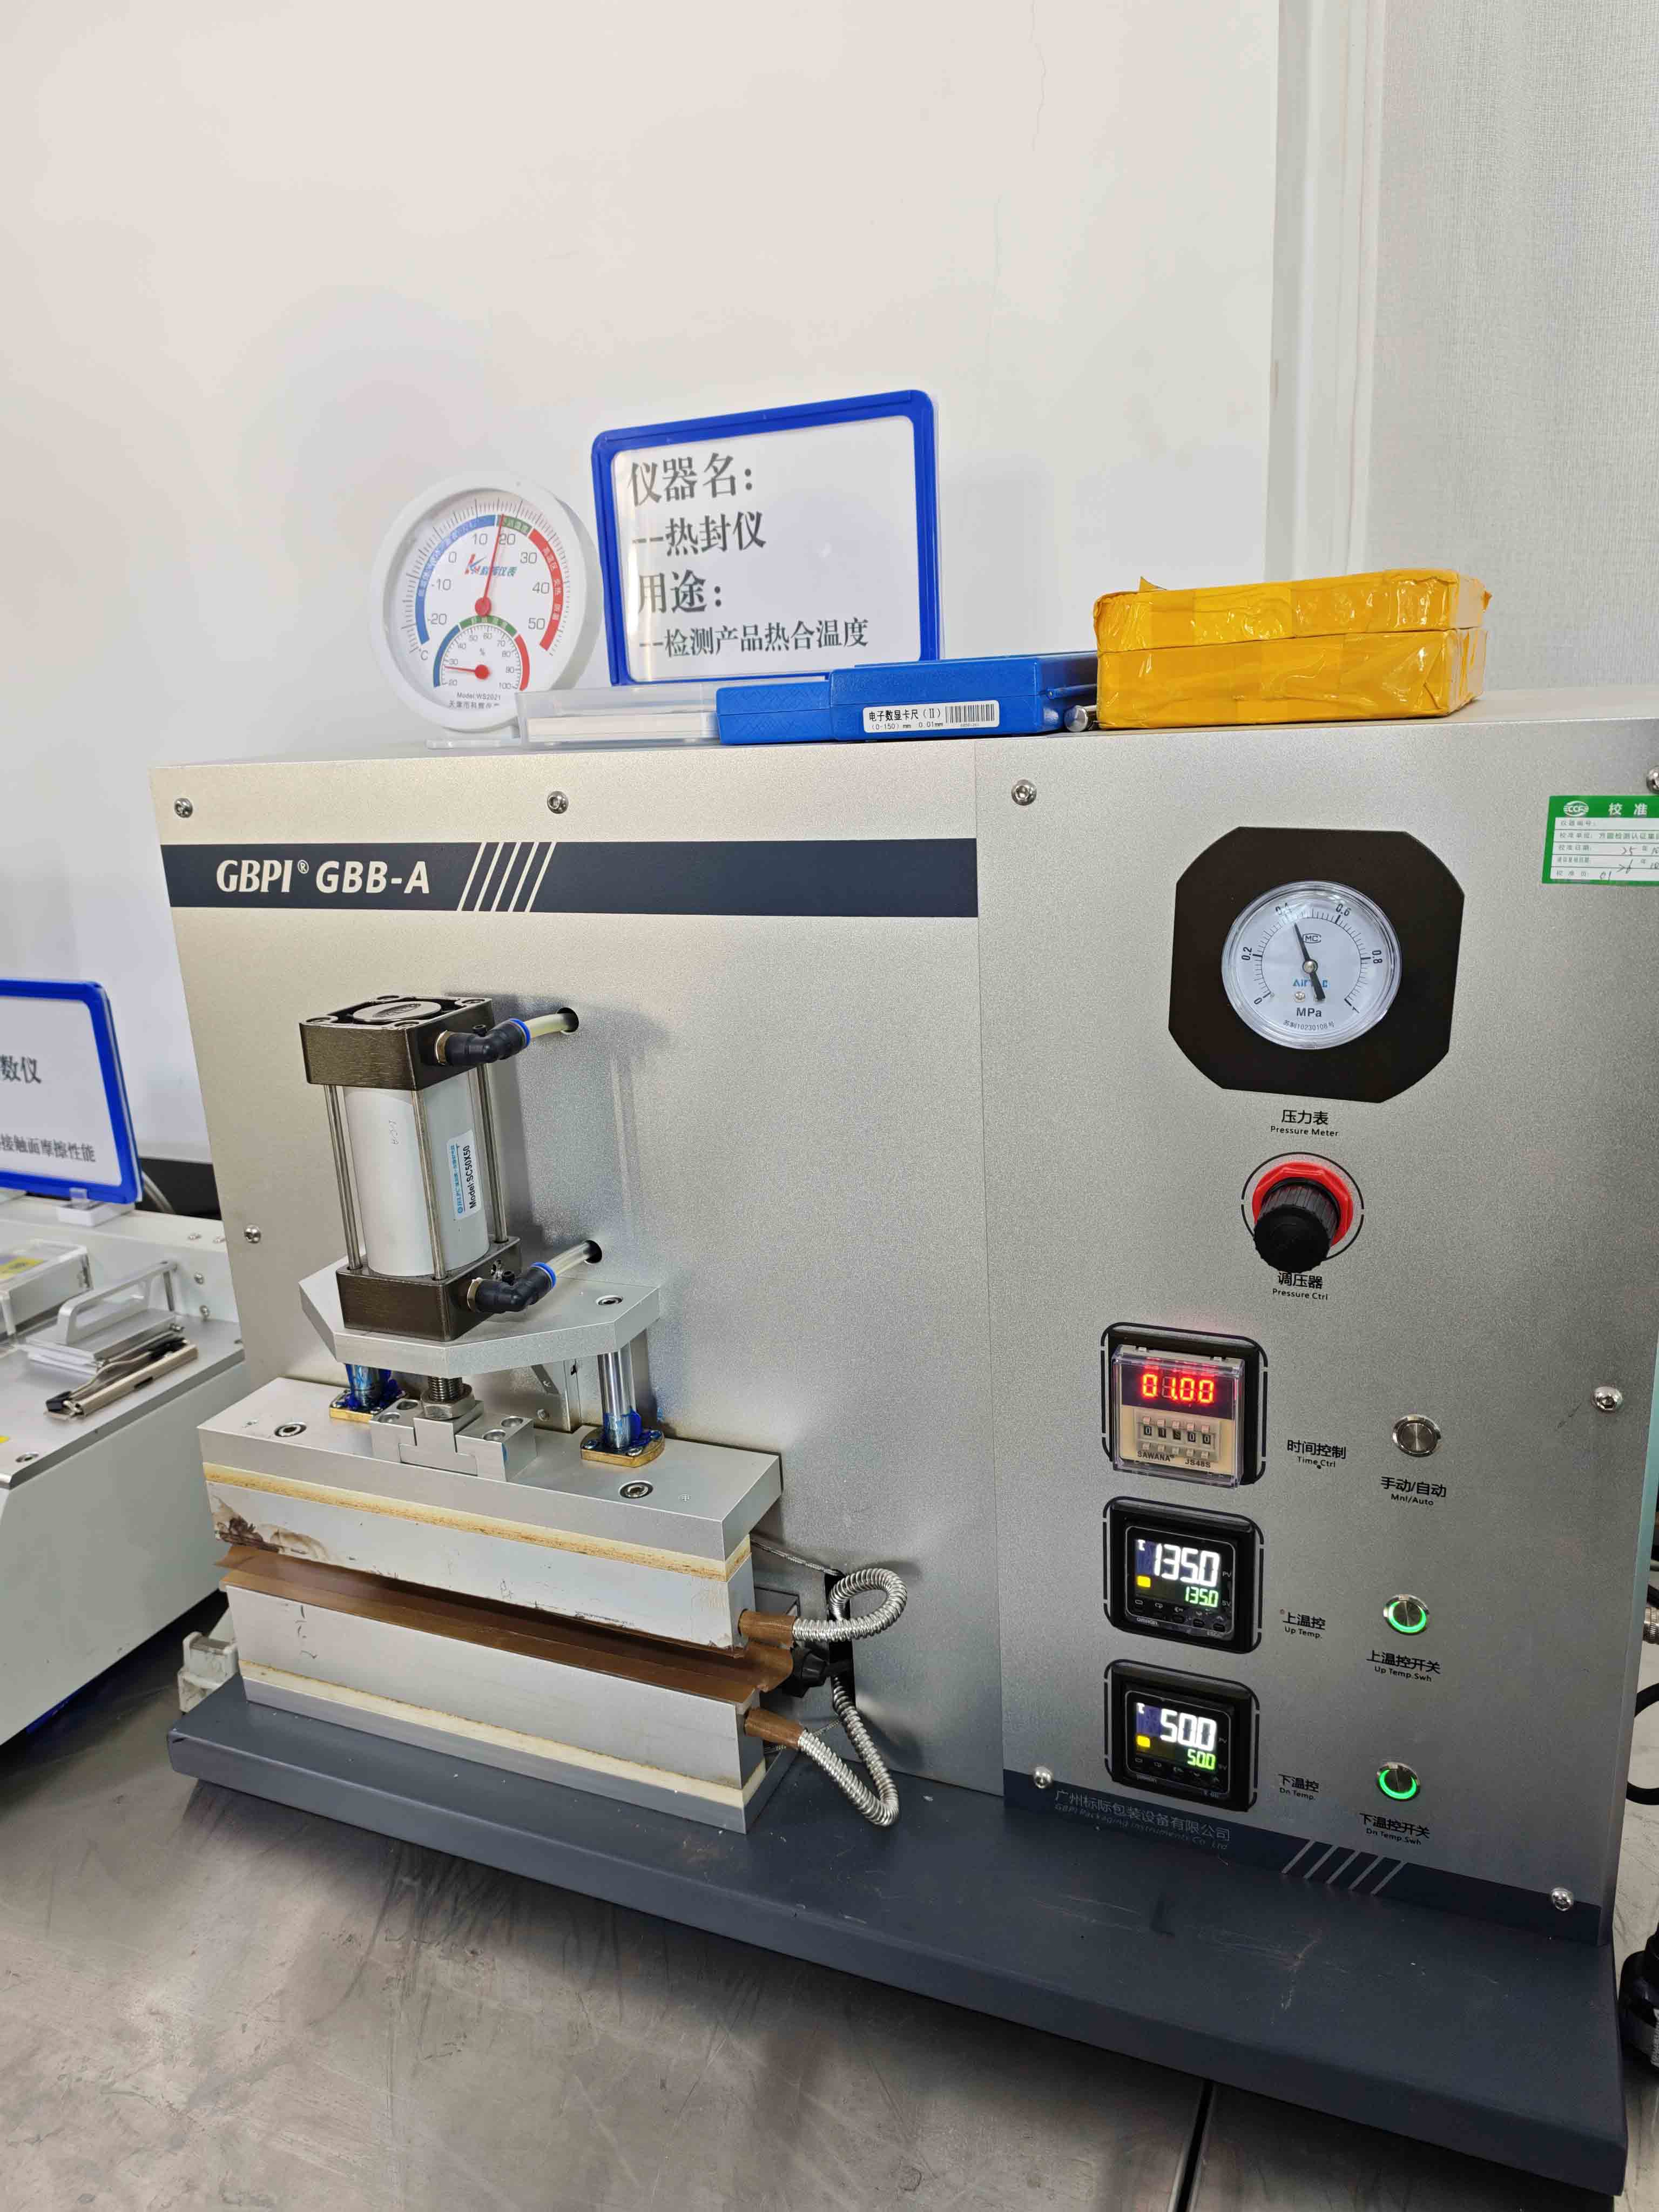
Custom bag production can control dimensions, materials, print registration, placement of closures and tear features, and empty-pouch quality checks. The food packer controls the product fill, food handling, sealing conditions, any vacuum or gas process, net-content checks, and the finished pack release. Both sides need a common sample and drawing, but one should not be credited with the other's test results.
When talking to a supplier about an empty-looking pack, send a short evidence packet: the current bag's dimensions, the actual filled net amount, photographs immediately after sealing and after handling, an example of the longest normal piece, and a description of the filling and sealing equipment. State which problem you are trying to change: visual gap, poor shelf stance, product hidden behind a fold, or line difficulty. “Make the bag 20% smaller” skips the diagnosis and can create new issues.
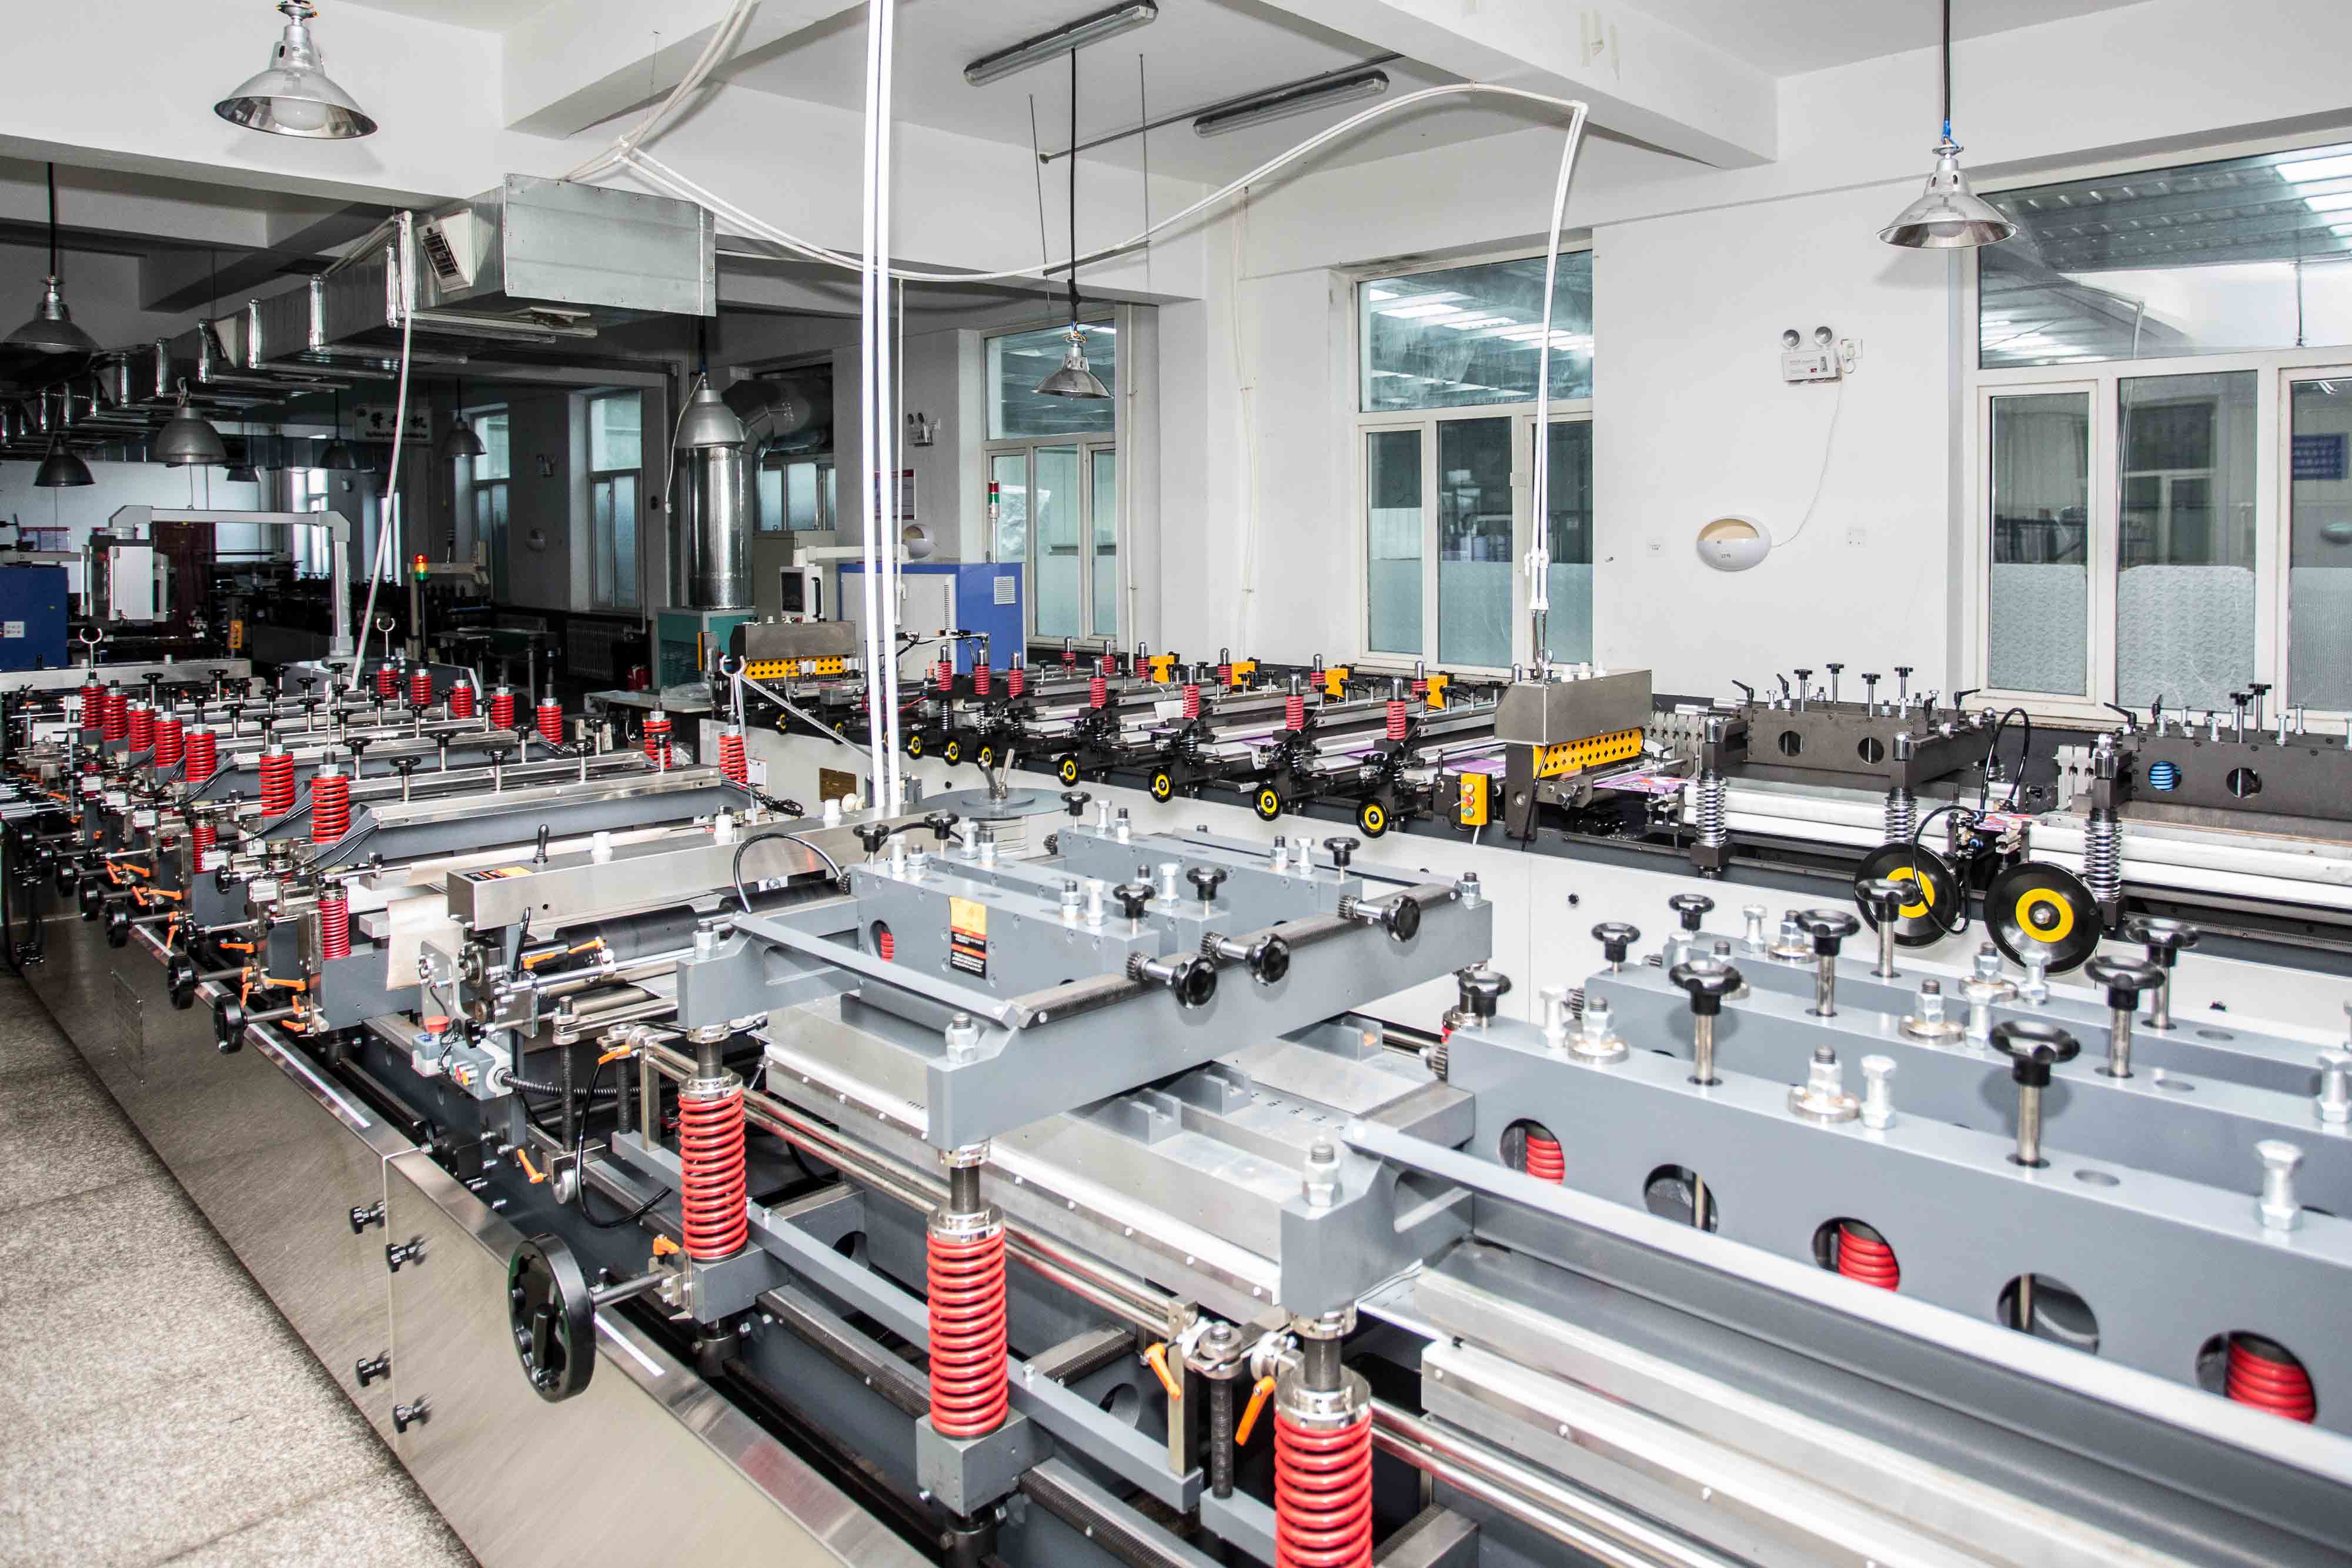
The packer should also identify who may change bag size after the trial. A new cut style, target weight, gas process, zipper, or material structure can invalidate a previous appearance or sealing approval. Keep the trial record and sample ID with the purchasing specification so a reorder is compared with the same version.
Choose a size by decision, not by guesswork
A practical release meeting can be short if it uses evidence. Put the candidate pouches side by side with their filled photographs, measurements, line observations, and costs. Reject any candidate that fails the required filling, seal, opening, or label checks. Compare the remaining sizes for how they present the normal product after handling. The final selection should identify why some visible space remains and who approved the trade.
The decision record can be a one-page table:
If you want a comparison of pouch formats and samples for your own jerky, start with custom beef jerky bags. Send the target net weight, real pieces, current package photos, the intended packing line, and the sales channel. A supplier can then discuss dimensions and materials on a defined project. The packer and food business should validate the finished, labeled product before release.
FAQ
Why are beef jerky bags so empty?
The visible space can come from irregular pieces settling, the bag's display geometry, room needed for filling and sealing, or a specified packaging atmosphere. Some bags may simply be larger than the product needs. Compare actual net weight, filled samples, and packing records before deciding which cause applies.
Does a partly empty jerky bag mean it is underweight?
No conclusion follows from appearance alone. Different piece shapes and bag constructions change visible fill. The responsible food business must check actual net content through its applicable controls and approved labeling; a product photo cannot substitute for a measurement.
Is the empty space always nitrogen?
No. A puffy look does not establish whether nitrogen or another gas was used. Ask the processor about its validated pack method and process records. Initial gas space, trapped air, a flexible pouch's shape, and later conditions can look similar in a photograph.
Should a brand use a smaller bag to remove the gap?
Trial a smaller size only if the longest normal pieces fit through the opening, the packer can keep the initial seal region clear, and the filled pouch still opens, stands, and displays required information as intended. A fuller-looking but hard-to-seal pack is not a good choice.
Why does the same bag look fuller at packing than on a shelf?
Pieces may settle into a bottom gusset or move during case packing and distribution. Take labeled photographs immediately after sealing and after representative handling, using the same units and orientation. If a later change is unusual rather than normal settling, refer it to the responsible quality team.
Is an expanded bag the same as a bag that looked puffy from the start?
No. Record the expected appearance at release. A later change needs a separate lot-based investigation; appearance alone cannot establish its cause or food safety. The abnormal-expansion discussion explains the appropriate distinction.