
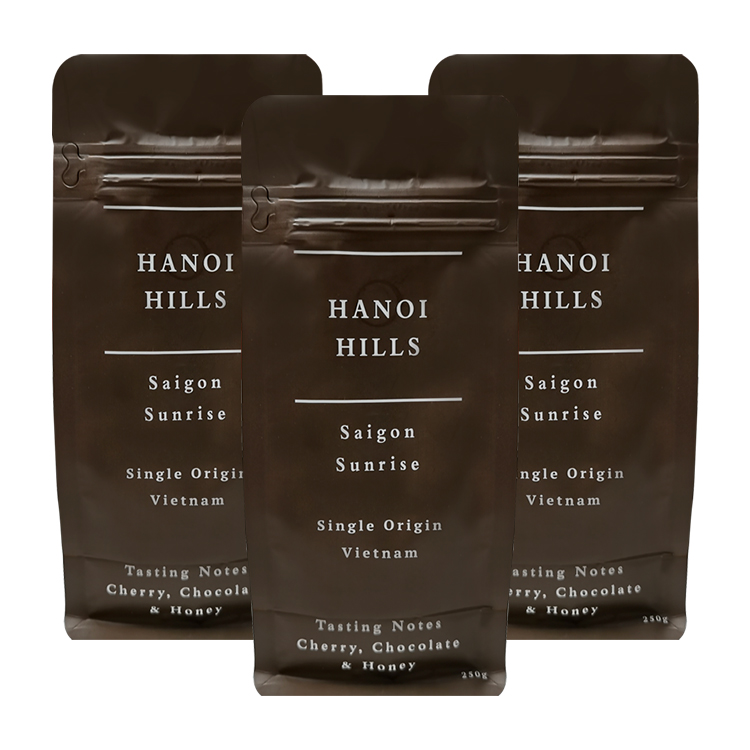
Coffee bagging is the stage where roasted coffee or ground coffee is placed into its final pouch, then the pouch is closed, checked, identified, and prepared for the next handling step. In a real roastery, it is not one machine setting or one type of bag. It is a workflow that connects the coffee, pouch format, fill target, closure, artwork, inspection, and product record.
This guide uses “coffee bagging” in the packaging sense. It does not provide universal heat settings, shelf-life claims, machine recommendations, or compliance approvals; those need project-specific equipment, material, product, and market review.
Coffee Bagging Begins Before Beans Reach the Pouch
It is easy to picture coffee bagging as a simple fill-and-seal action. That image misses the decisions that determine whether the process can be repeated. Before filling begins, the team should know which coffee is being packed, the intended fill, the selected pouch direction, the artwork or label version, the top closure arrangement, and the information that must stay with the finished product.
When any of those items changes, the bagging routine may need a new review. A 250g retail pouch, a 500g side-gusset bag, and a sample-format pouch do not automatically use the same physical layout or handling steps. The correct approach is to document the bagging plan around the actual package, not to assume that all coffee bags are interchangeable.
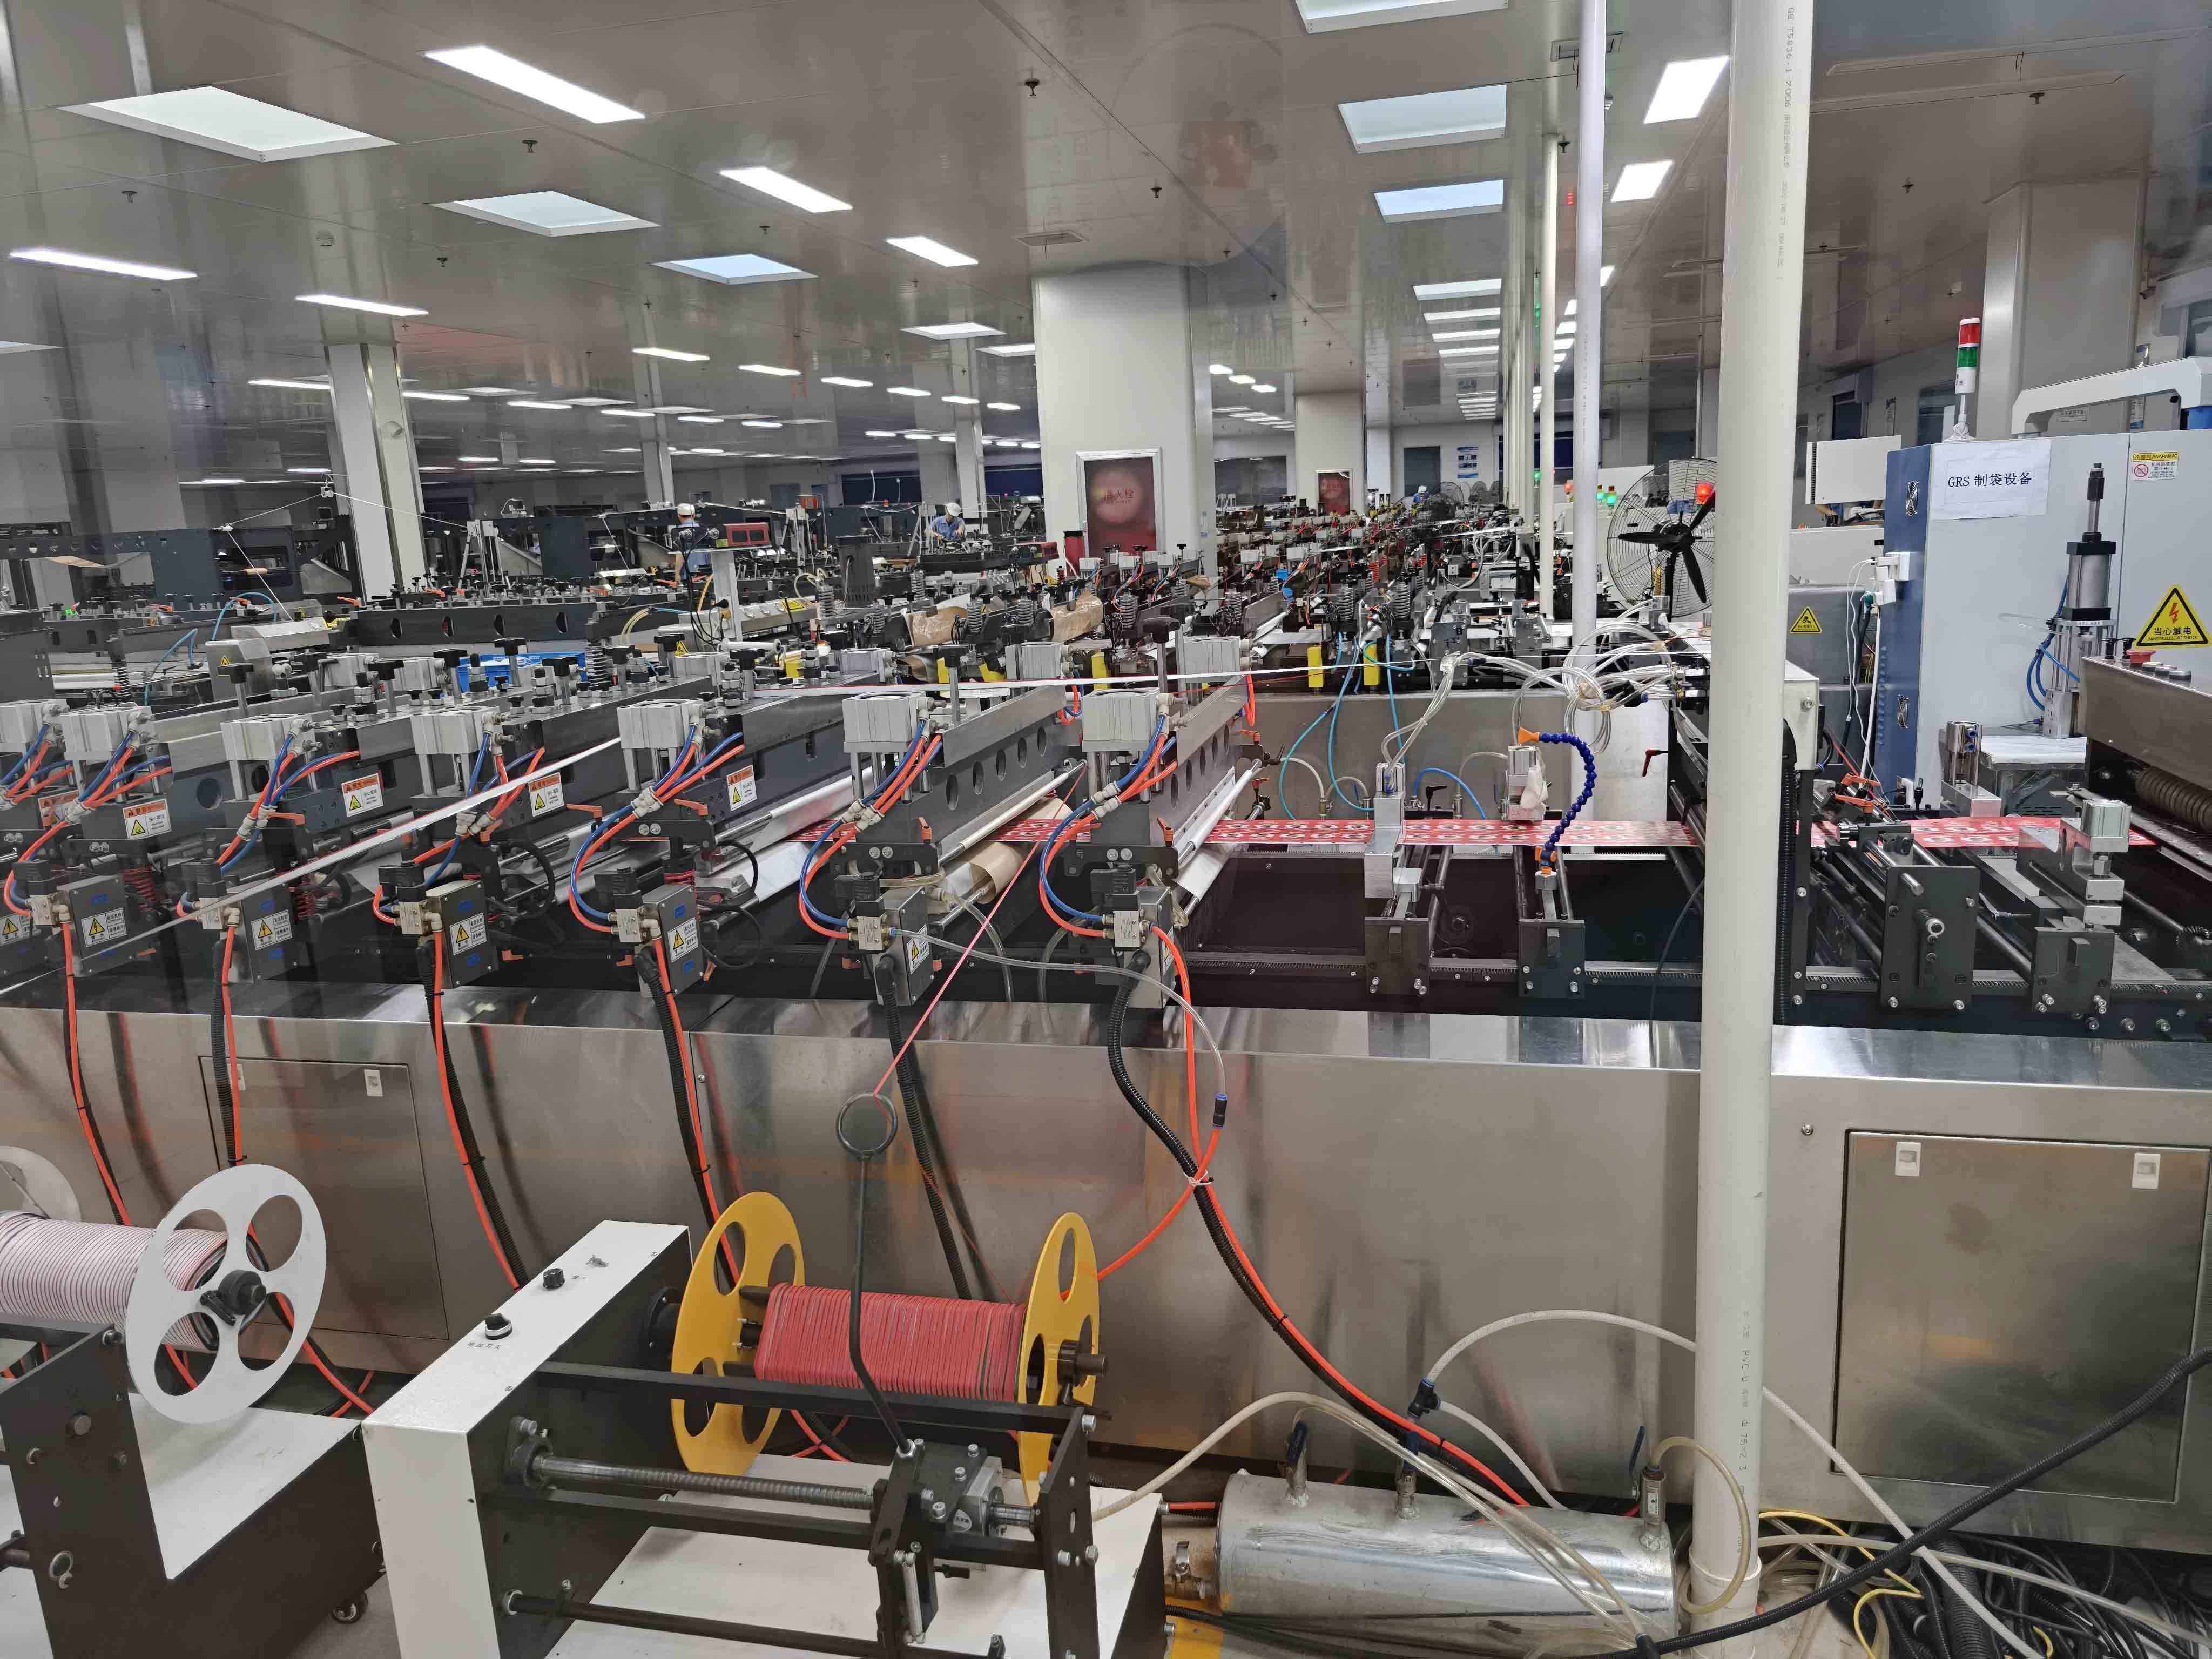
A Practical Map of the Coffee-Bagging Workflow
The exact sequence differs by roastery and equipment. A useful general map keeps each step visible without pretending that every operation has the same controls.
This table is a planning tool. It does not replace a roastery’s food-safety system, equipment instructions, validation programme, or market-specific requirements.
Make One Change at a Time Visible in the Record
Bagging problems are often described as “the bags were different” or “the line was acting up.” Those descriptions are too broad to help the next run. A more useful record states what changed: pouch version, coffee/SKU, target fill, artwork or label file, closure feature, equipment setting reference, or inspection instruction.
The record does not need to include confidential production data in a public article. Internally, it should let the team answer a basic question: was the same product packed into the same pouch using the same reviewed process, or did one of those inputs change?
This approach prevents a team from treating every problem as a machine problem. Sometimes the open question is actually a product change, a pouch change, or an artwork change that was not passed through the same review chain.
Manual Packing and Equipment Packing Need the Same Brief
The physical work may look different in a small roastery and on a more automated line, but the pouch brief is still required. A manual operation still needs the correct pouch, coffee product, target fill, closure arrangement, and identification. An equipment-based operation still needs those same inputs before it can apply its own qualified procedures.
Do not use “manual” as a reason to skip a record, or “automated” as a reason to claim the pouch is universally suitable. The packaging supplier cannot infer a production routine from the bag format alone. A clear brief lets the roaster say what needs review without revealing or inventing a detailed process setting.
For example, a hand-packed small release might need a simple instruction for the first seal and a printed pouch version check. A larger routine may have more formal line controls. In both cases, the exact closure method belongs to the actual material and equipment. The common link is the project record, not a generic temperature or dwell-time recommendation.
Build a Handoff Between Bagging and the Next Team
Coffee bagging does not end when the bag leaves the filling station. It becomes someone else’s inventory, carton input, subscription pack, retail product, or café supply. A simple handoff note makes that transition clearer.
The note can include the coffee/SKU, pouch reference, artwork or label version, packed date or internal lot reference where applicable, and any unresolved packaging question. It should not invent a logistics result. Its purpose is to make sure that the carton, warehouse, customer-service, or quality team is looking at the same finished product the bagging team approved.
When a change occurs later—such as a revised artwork panel or another pouch size—the team can trace the change back to the record rather than trying to identify it from memory or a product photo. This is especially helpful for coffee brands that rotate origins, seasonal artwork, or product formats during the year.
Keep Pouch Selection Separate From Filling Instructions
The pouch is part of the bagging workflow, but selecting a pouch does not provide the operating instruction. A published product photo, a supplier’s sample, or a similar coffee bag can give the team a starting point for format and feature discussions. It cannot establish a safe or effective sealing condition for a different material, machine, or product.
For example, a published Mylarbag record lists a 12oz flat-bottom coffee pouch in MATOPP/VMPET/PE with digital printing, a side zipper, and a degassing valve. See the published 12oz flat-bottom coffee-pouch project.
The useful lesson is not “use this exact bagging setup.” It is that the pouch format, material notation, target product, printing direction, and listed features belong in the project record. A filling and sealing routine has to be developed around the actual pouch and equipment in use.
The Fill Target Is Only One Part of the Package
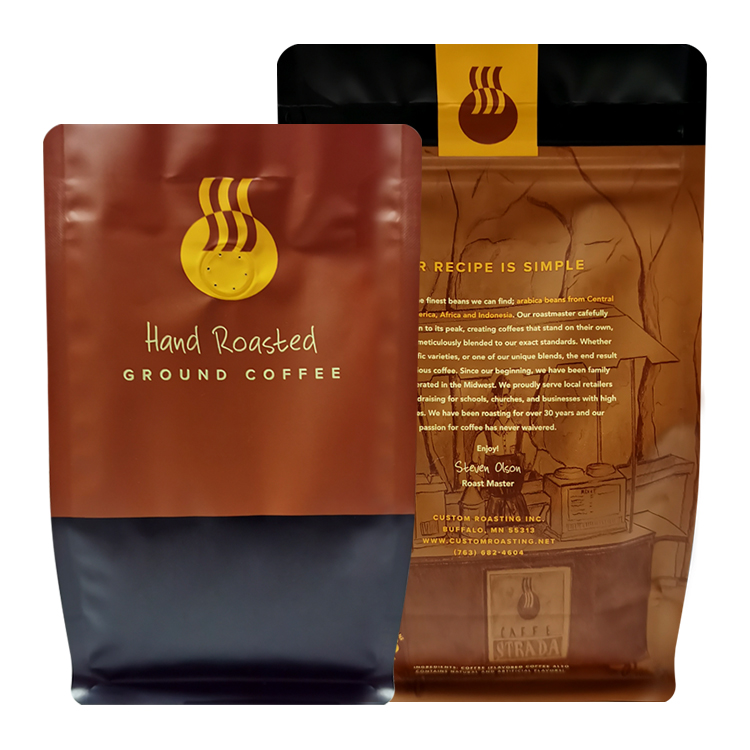
The target fill is important, but it does not by itself define a finished coffee bag. Coffee density, product form, pouch format, intended headspace, closure position, and handling process all affect how a pouch looks and behaves when filled. That is why a project should not choose its final bag dimensions from a weight label alone.
Use a physical pouch or agreed format reference when evaluating a target fill. Record the product, amount under discussion, and sample or pouch version. If the product changes from whole bean to ground, from one coffee to another, or from one size to another, bring that change back into the review rather than assuming the old reference still answers the new question.
For the sizing side of the decision, see Coffee Bag Size Guide: Choosing Pouches for 250g, 12oz, 1lb, and 2lb Coffee. That article covers pouch-size choice; this article covers how a selected pouch moves through the bagging workflow.
Treat the Valve and Reclose Feature as Different Parts of the Workflow
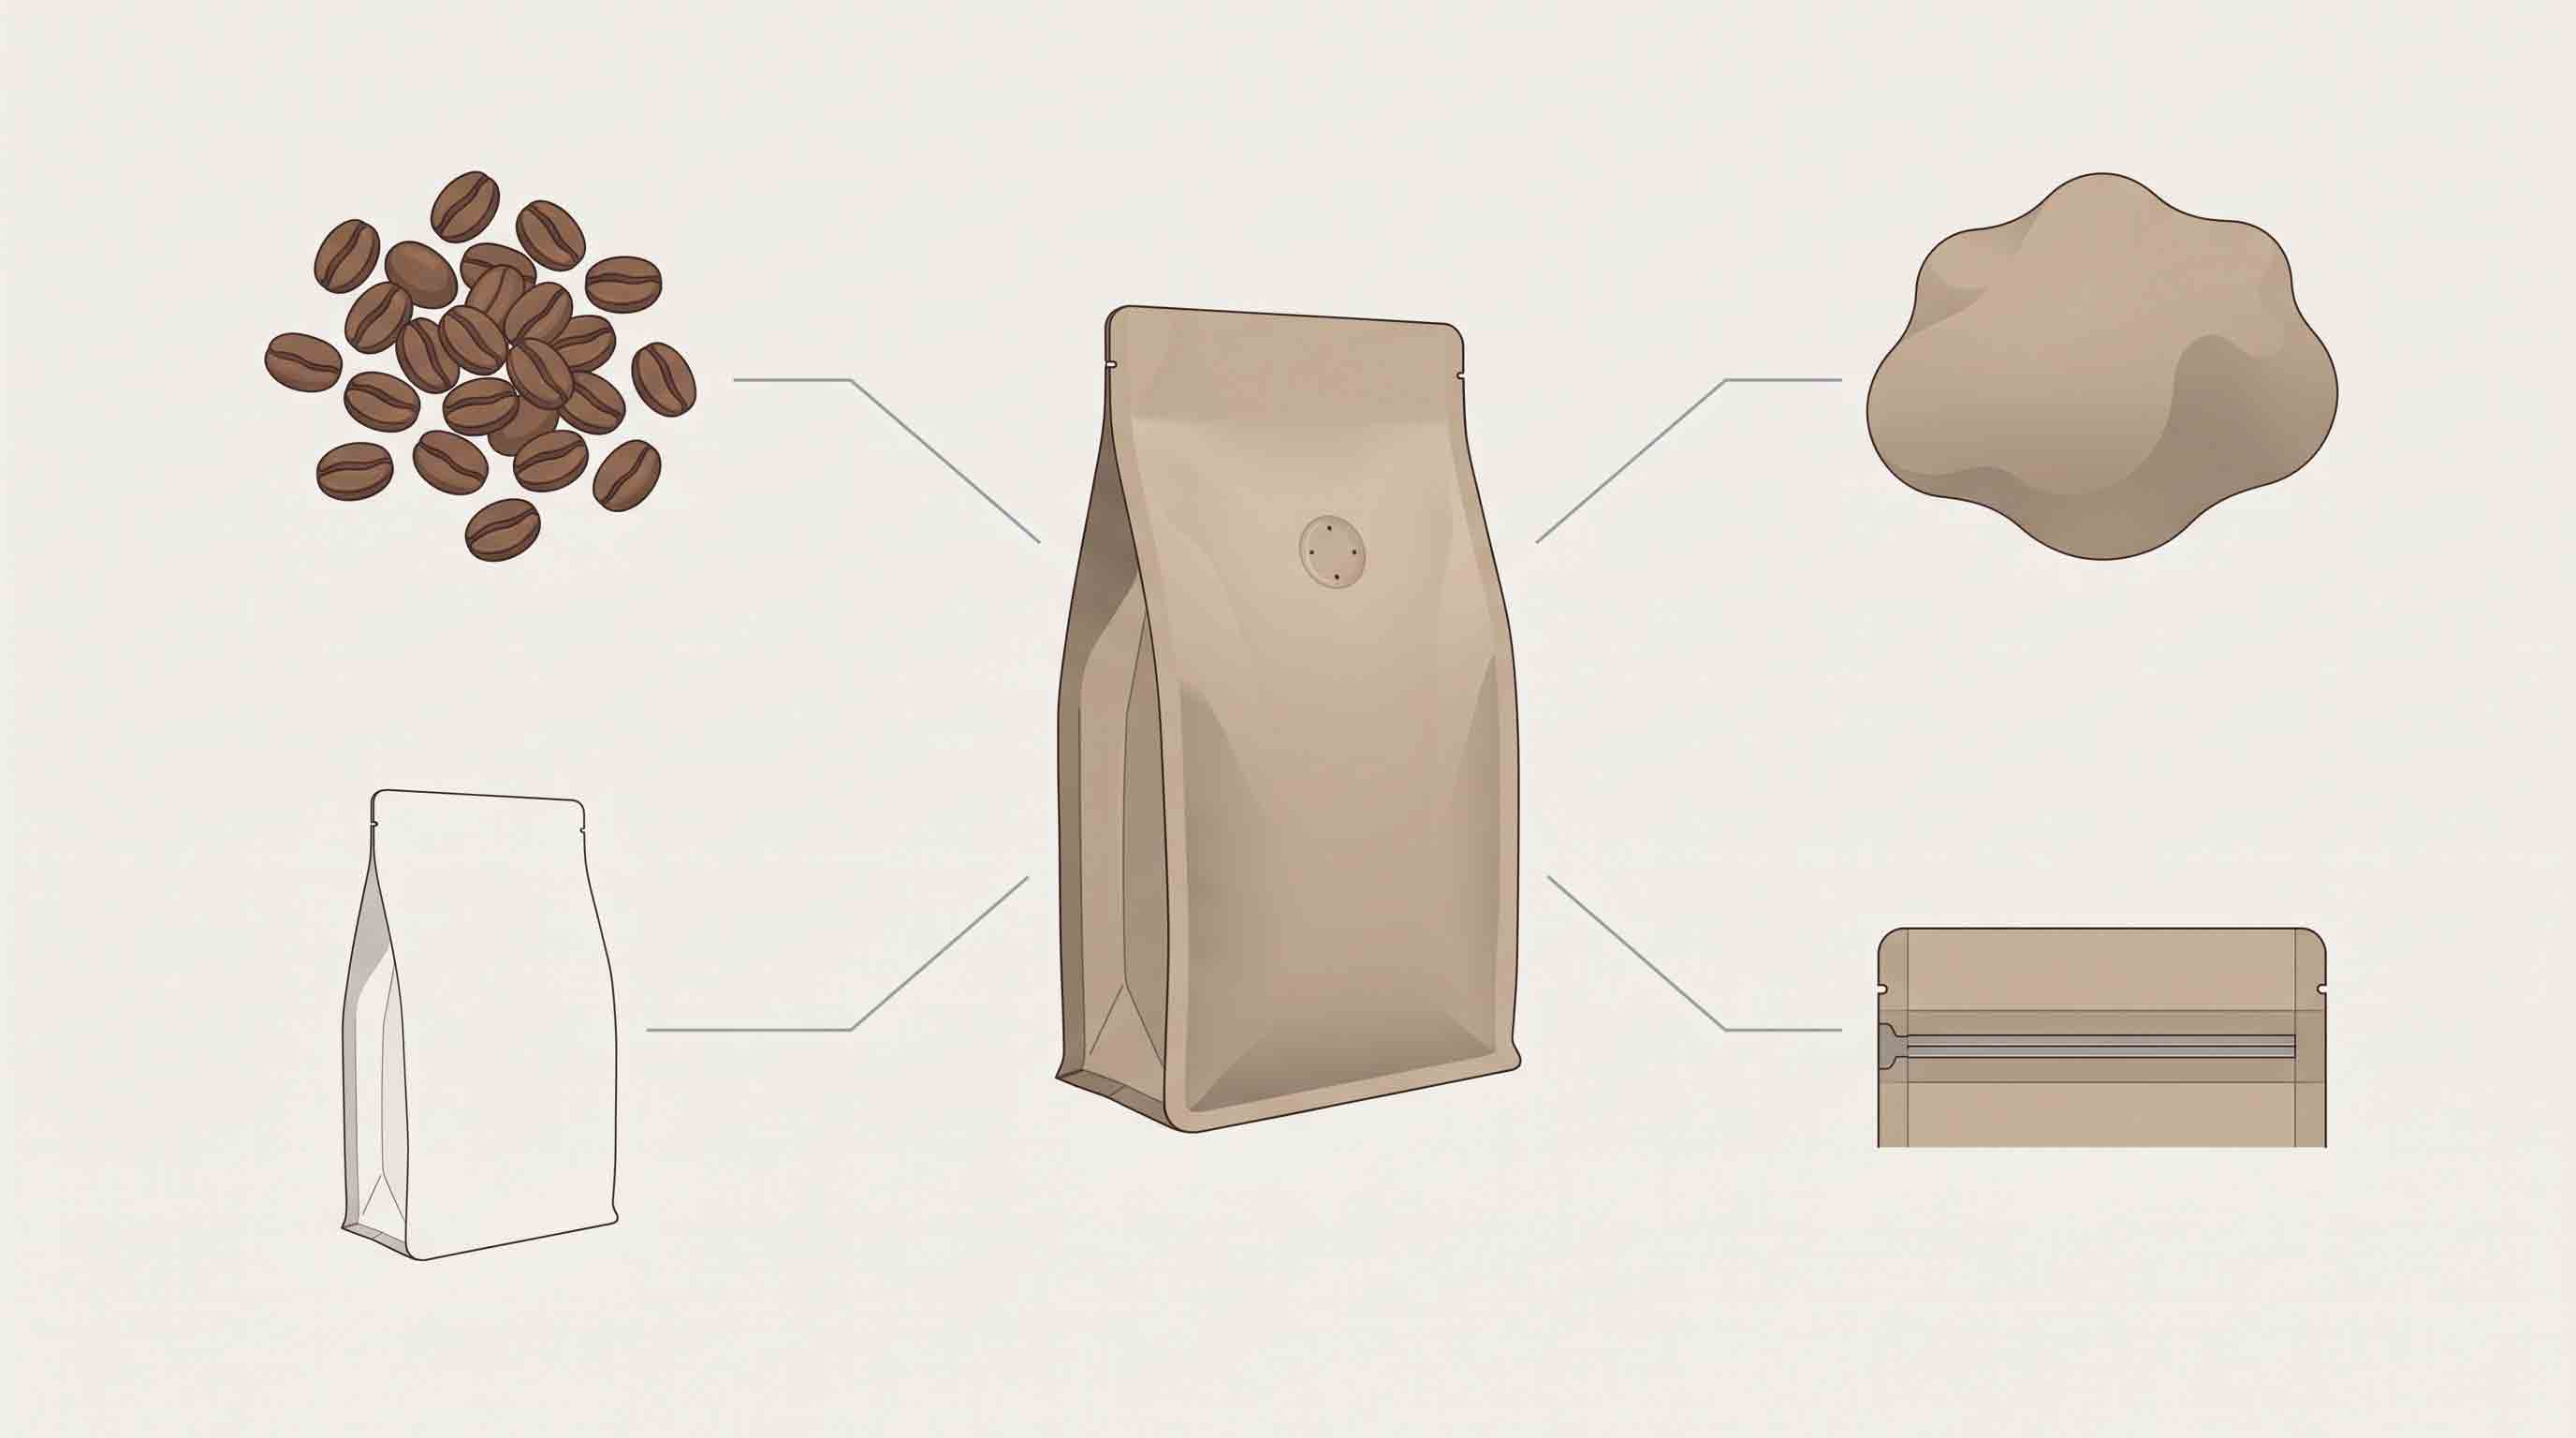
Coffee packaging conversations sometimes combine a valve, a zipper, and the first seal into one vague idea of “a sealed bag.” They have different roles in a pouch configuration. A valve is a component placed in the pouch. A zipper, pocket zipper, or tin tie may be intended for later reclosure after the customer opens the bag. The initial top closure is another part of the package.
During bagging, identify which of those features are actually present. The line operator or project owner should not need to infer them from artwork alone. This is also why the artwork panel map should show the top working area rather than treating it as unused visual space.
If you need the technical choice between initial sealing and later reclosure, use How to Seal Coffee Bags: A Heat-Sealing Guide for Roasters alongside the actual pouch and equipment review. Do not take a general blog as the operating parameter for a specific production line.
Make the Inspection Question Specific
“Check the bags” is too broad to be a useful bagging instruction. The inspection question should match the project stage. Before a run, the team may confirm that the correct pouch and artwork version are present. During the run, the team may follow its internal process to check fill, closure, code, label, and visible pouch condition. After the run, the product record should let the team identify what was packed and when.
Do not convert a visible inspection step into a claim that every pouch is airtight, every material meets a certain barrier level, or every shipment will arrive without issue. Those are different technical or logistical claims. Coffee bagging is more useful to explain when its boundaries are clear.
Use a Short End-of-Run Review
At the end of a bagging activity, a short review can preserve the information that matters for the next run. It does not need to become a public quality claim. It can simply confirm which coffee/SKU was packed, which pouch and artwork or label version were used, which project questions remain open, and where the team recorded its applicable internal checks.
If a change is needed, describe the change in plain language: revise the pouch reference, clarify a feature location, update the artwork panel map, or obtain a new size sample. Avoid an unsupported conclusion such as “the current pouch has failed” unless the relevant internal investigation has reached that conclusion. The point is to carry a defined question forward, not to create a dramatic explanation from a single observation.
That review links the final pouch on the line to the next packaging decision. It is particularly useful when coffee ranges have multiple artwork versions or a roastery moves from one product format to another.
It also gives the supplier a clearer starting point if a new pouch discussion is needed: the team can provide the current product, pouch reference, feature arrangement, artwork version, and the one question that needs to be resolved.
Use Plain Names for Each Part of the Pouch
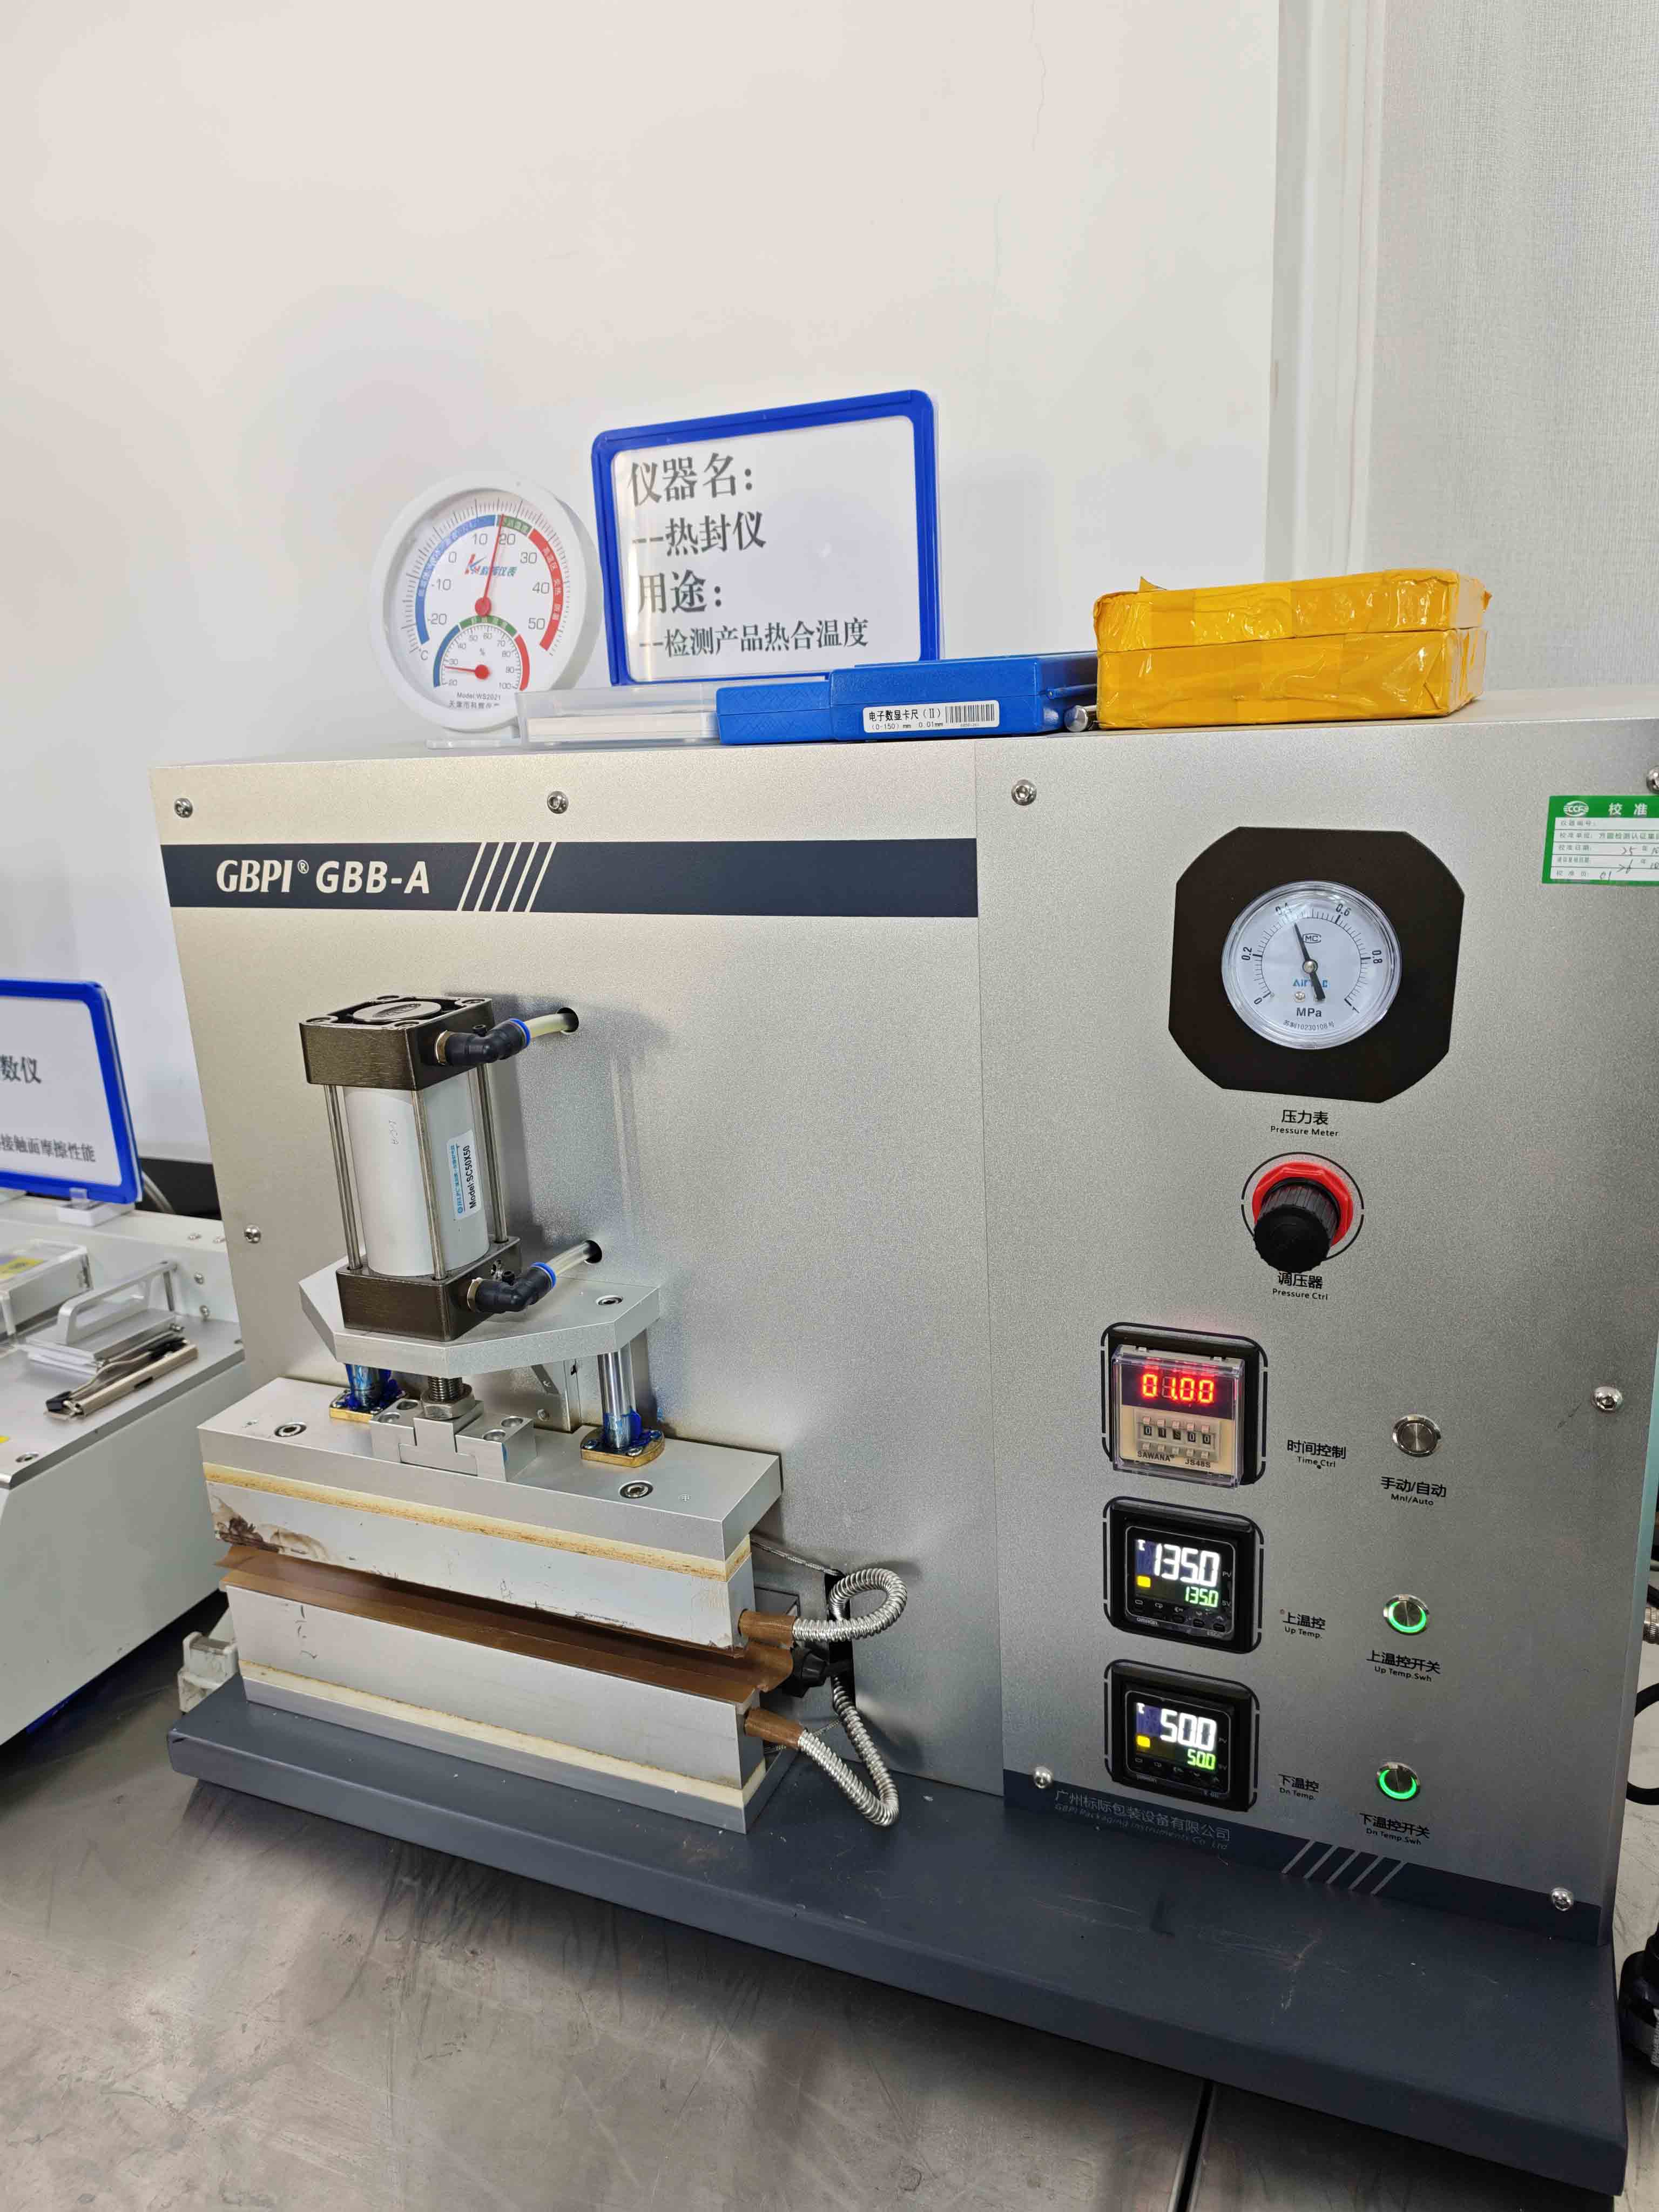
Bagging communication becomes needlessly difficult when every top feature is called “the seal” or every visible area is called “the front.” Use the words that match the pouch under discussion: initial top seal, tear route, zipper or pocket zipper, valve, side gusset, bottom gusset, front panel, and back panel. If the project has a different feature, describe it instead of forcing it into those labels.
Plain names make a checkable instruction. They also help a supplier or designer identify the relevant area without guessing from a thumbnail image.
Where Artwork and Product Information Enter the Process
The artwork file is not a separate branding task that ends before bagging begins. The bagging team needs the correct pouch or label version so product identity and visual panels align with the coffee inside. If a product name, barcode, roast information, or other market-facing copy changes, the project record needs to reflect that change before the next production step.
This is particularly important for multi-SKU coffee lines. A stable pouch shape can carry several different coffees, but every variation still needs a clear version record. Keep the product name, target fill, pouch format, and artwork version together. That prevents an inspection issue from becoming a memory problem after the pallets or cartons have moved.
For artwork mapping and version control, see Coffee Packaging Design Guide: How to Prepare Artwork for Custom Bags.
Coffee Bagging Is Not a Synonym for Shipping
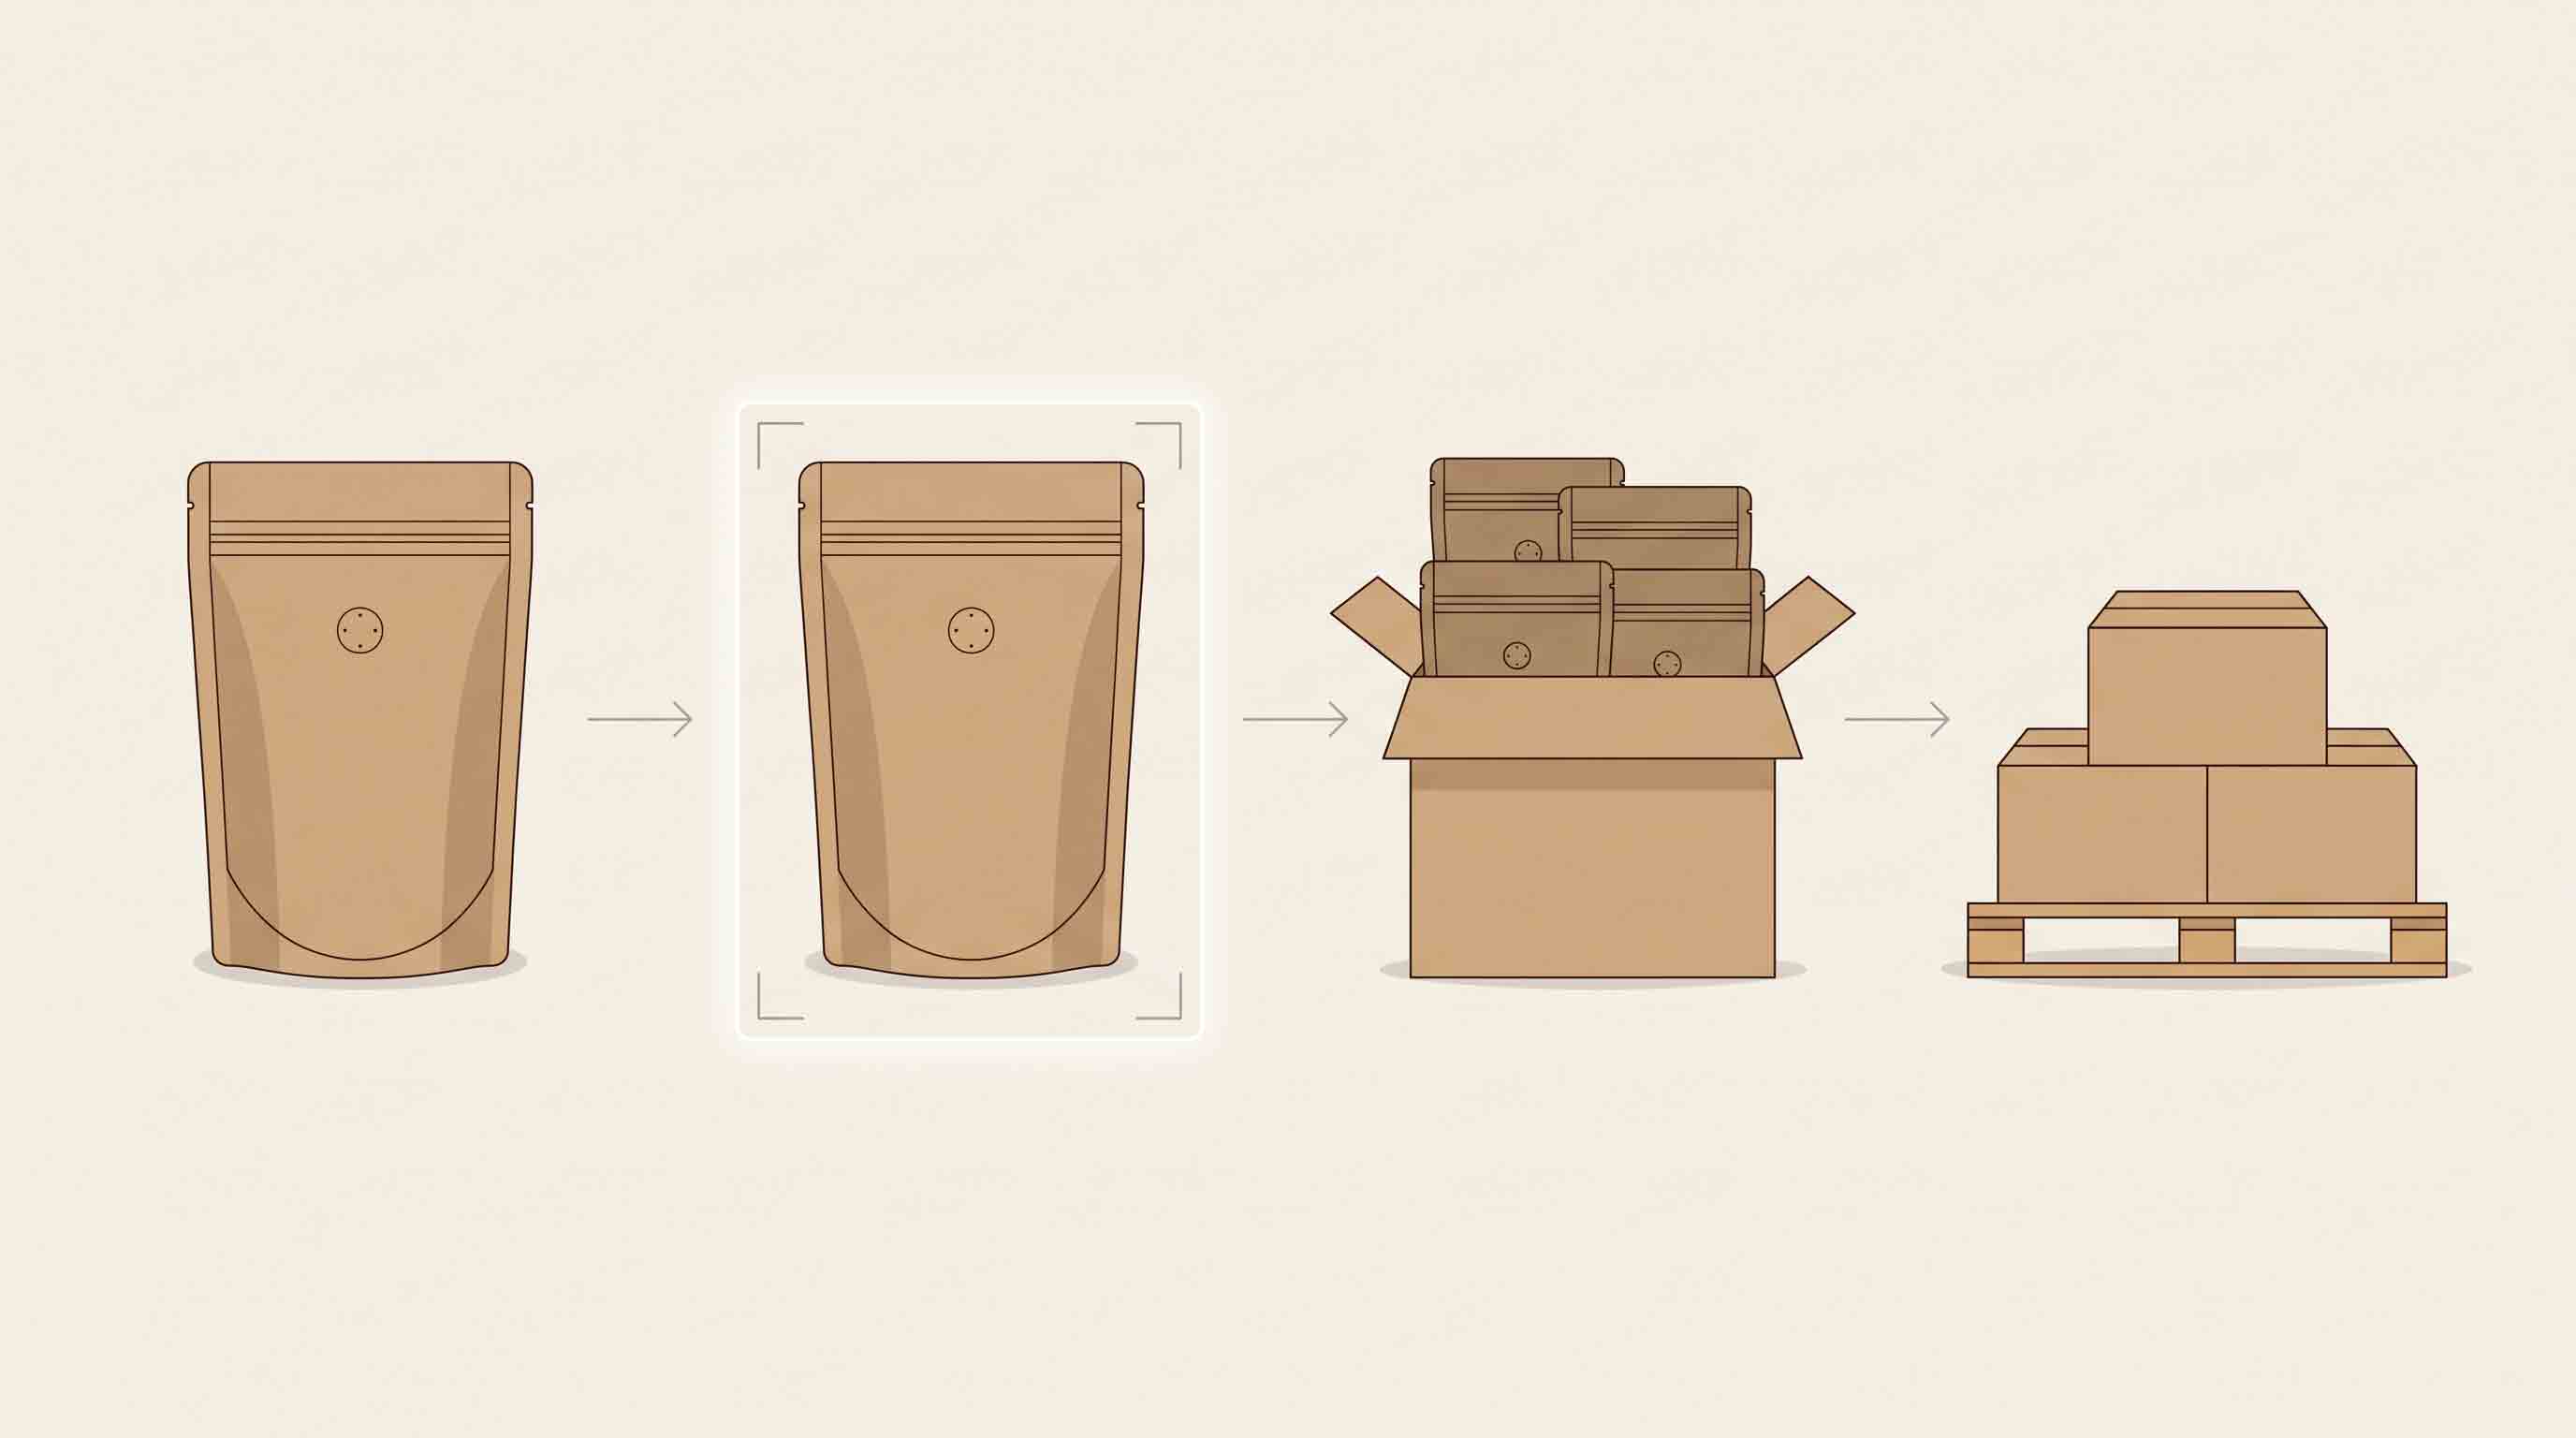
Bagging finishes with a defined packaged product. Shipping starts with a different set of questions: carton selection, packing pattern, pallet arrangement, destination requirements, and logistics documentation. Do not ask the bagging process to prove what happens after the pouch leaves the line.
Keeping those stages separate makes sourcing easier. A roaster can review a pouch format and sealing routine without pretending that the same information determines container loading or delivery terms. For the later logistics discussion, see How to Ship Coffee Bags: Packaging and Pallet Planning Guide.
Recommended Packaging Configuration: Create a Bagging-Ready Pouch Brief
For a coffee bagging project, begin with a bagging-ready pouch brief for evaluation. Include the coffee product, target fill, pouch format, material direction under discussion, size reference or sample, top closure, valve or reclose feature, artwork version, and the equipment or manual packing routine that needs review.
This is not an equipment specification. It gives the packaging supplier and roaster a shared description of the pouch they are trying to fill and close. Start the conversation at custom coffee bags, then send the relevant project details through Contact when you need a custom pouch discussion.
Frequently Asked Questions
What is coffee bagging?
Coffee bagging is the packaging workflow in which roasted or ground coffee is put into its final pouch, closed, checked, identified, and prepared for the next handling step.
Is coffee bagging the same as heat sealing?
No. Heat sealing can be one part of the final closure process. Coffee bagging also includes pouch selection, filling, feature checks, product identification, and inspection.
Do all coffee bags use the same bagging process?
No. Pouch format, material direction, coffee product, target fill, closure features, equipment, and project requirements can change the workflow.
Does a coffee bagging workflow guarantee freshness or shelf life?
No. A workflow can define the process steps, but shelf-life and performance claims require their own project-specific evidence.
What information should be in a coffee bagging record?
Keep the coffee/SKU, target fill, pouch reference, artwork or label version, feature configuration, closure process reference, and applicable internal inspection record together.
Where should a roaster begin a custom coffee-bagging project?
Begin with the actual coffee, target fill, pouch direction, closure and feature needs, artwork status, and packing routine. Those details form a reviewable custom pouch brief.
Make the Workflow Visible Before It Becomes Routine
Coffee bagging works best when the pouch, product, artwork, and closure instructions all point to the same project. Write down the configuration, keep each open question visible, and separate packing, technical validation, and shipping decisions. That gives a roaster a repeatable process without pretending that one generic bagging method fits every coffee.
For the pouch side of that process, custom coffee bags is the page to use when building a project-specific brief.